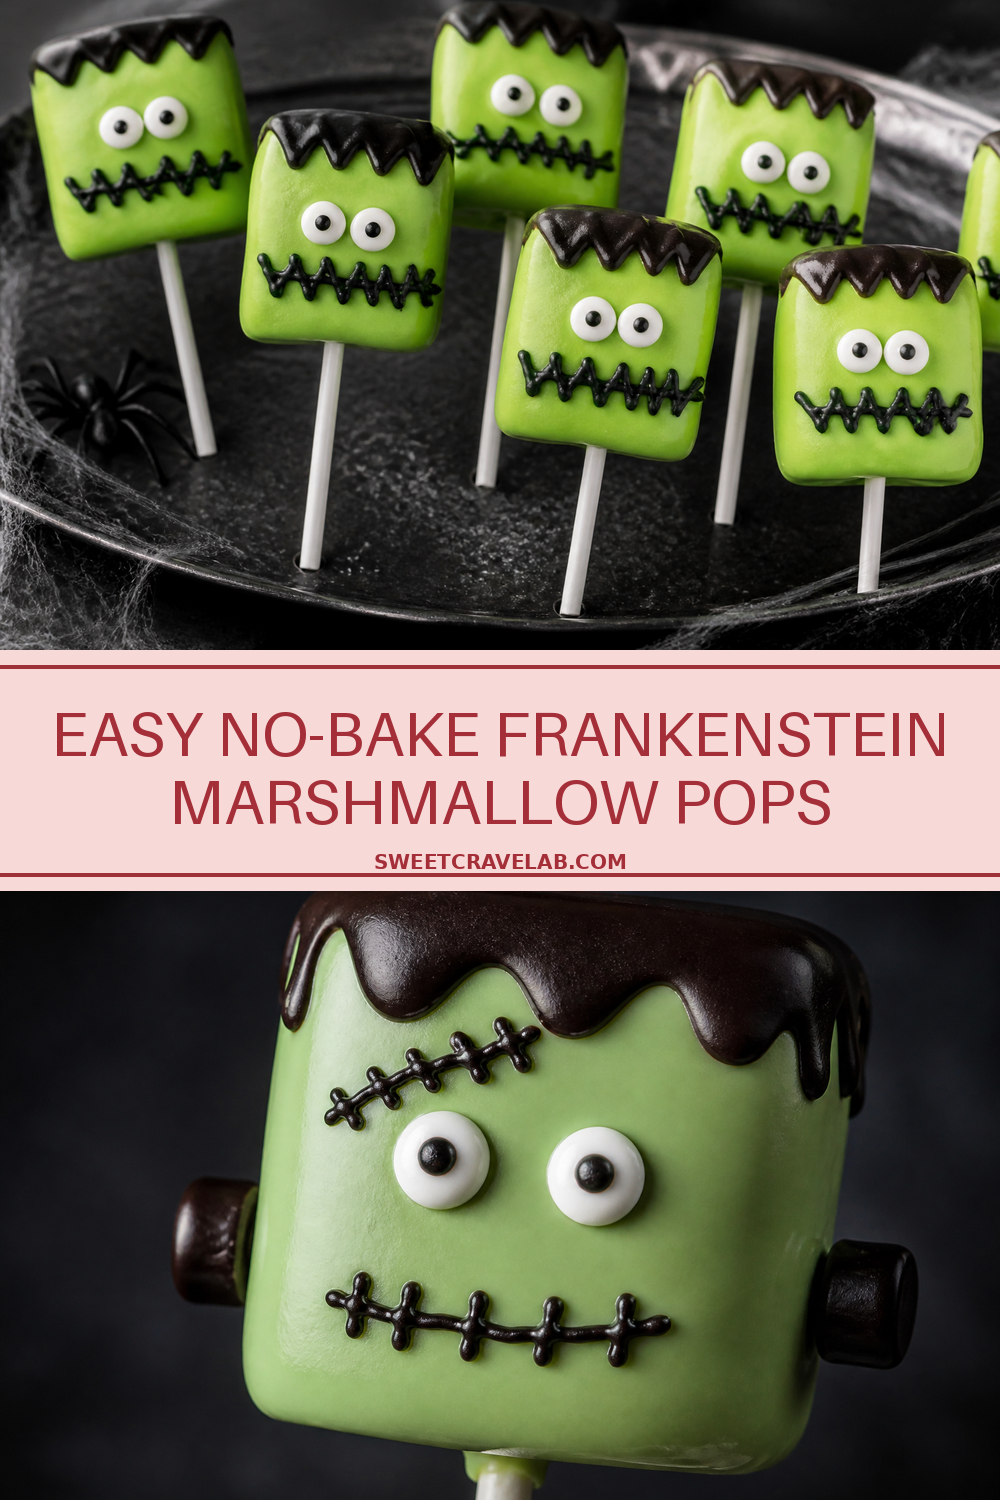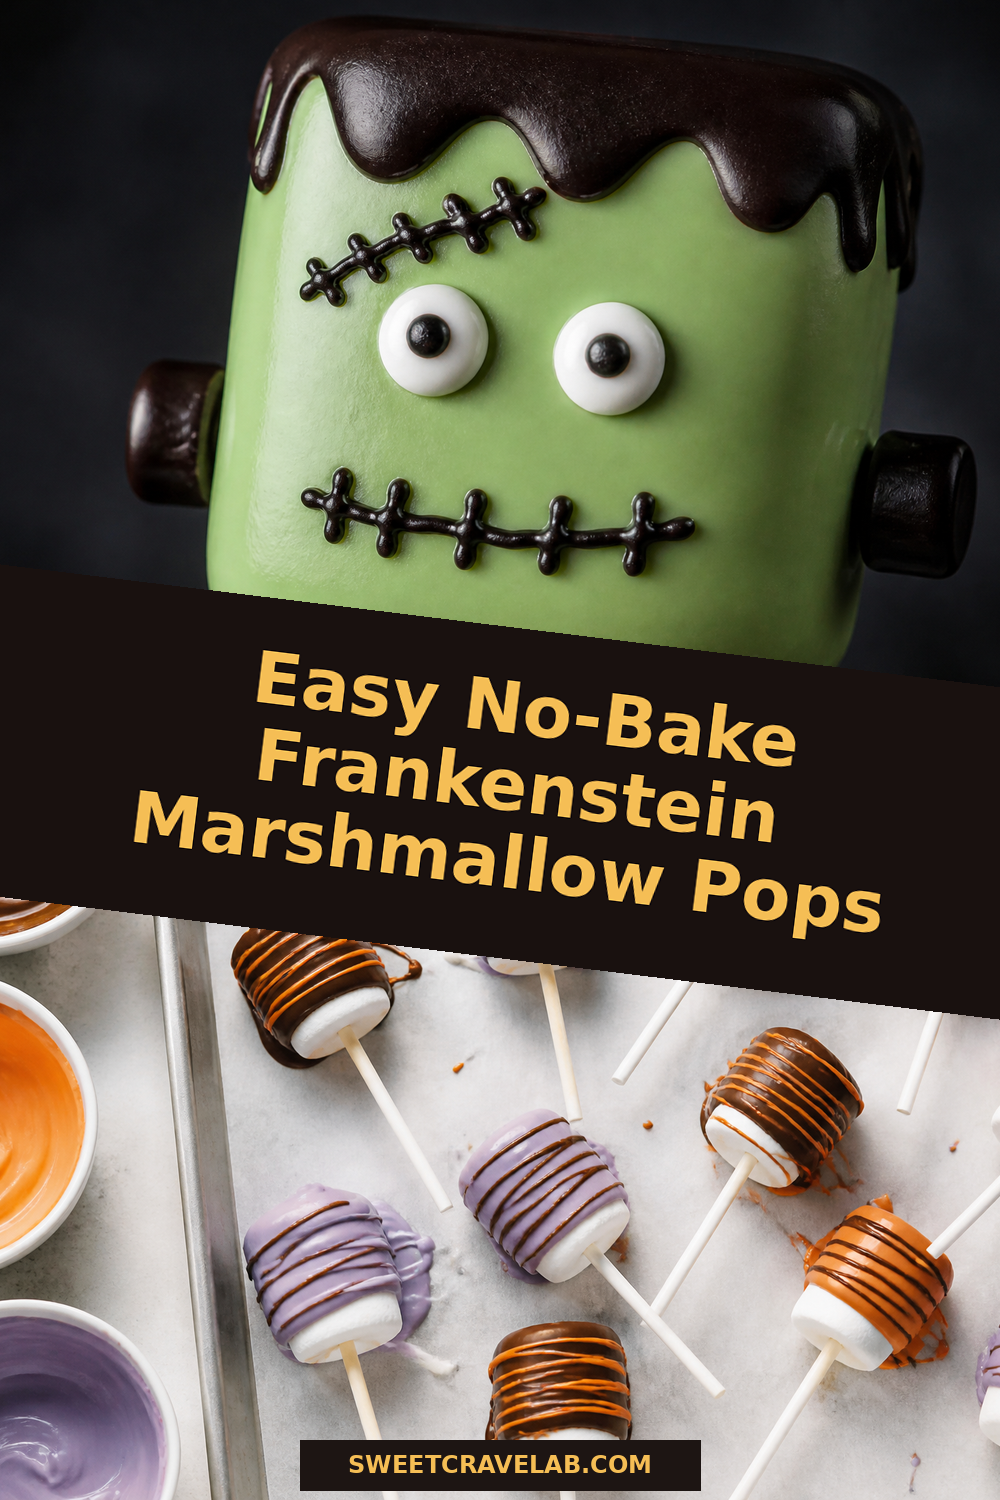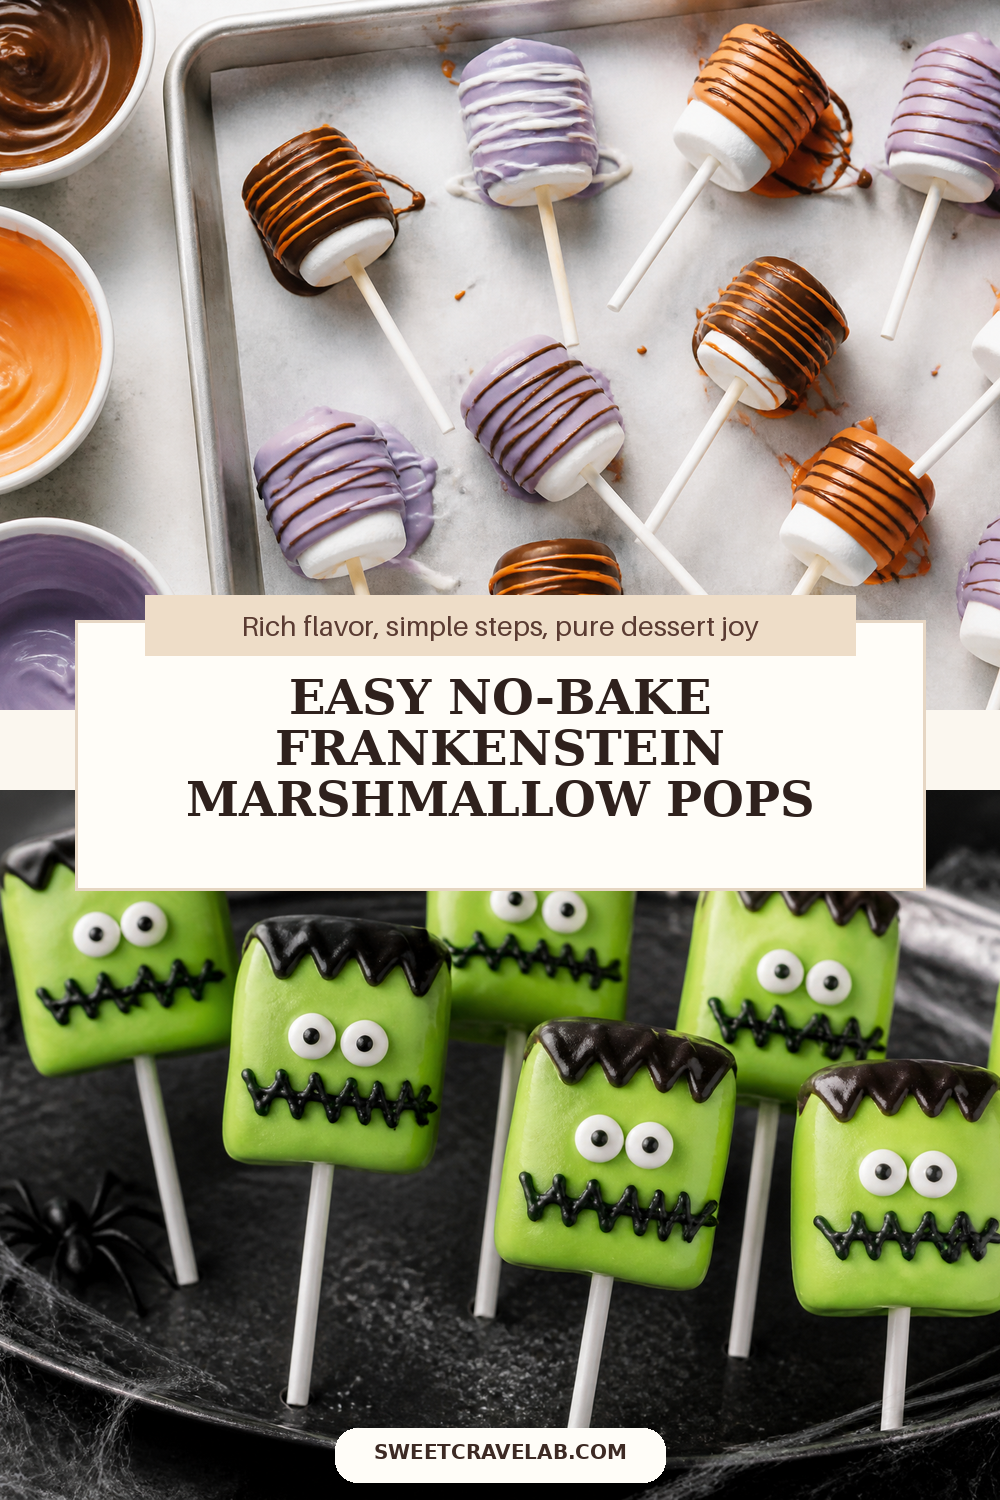
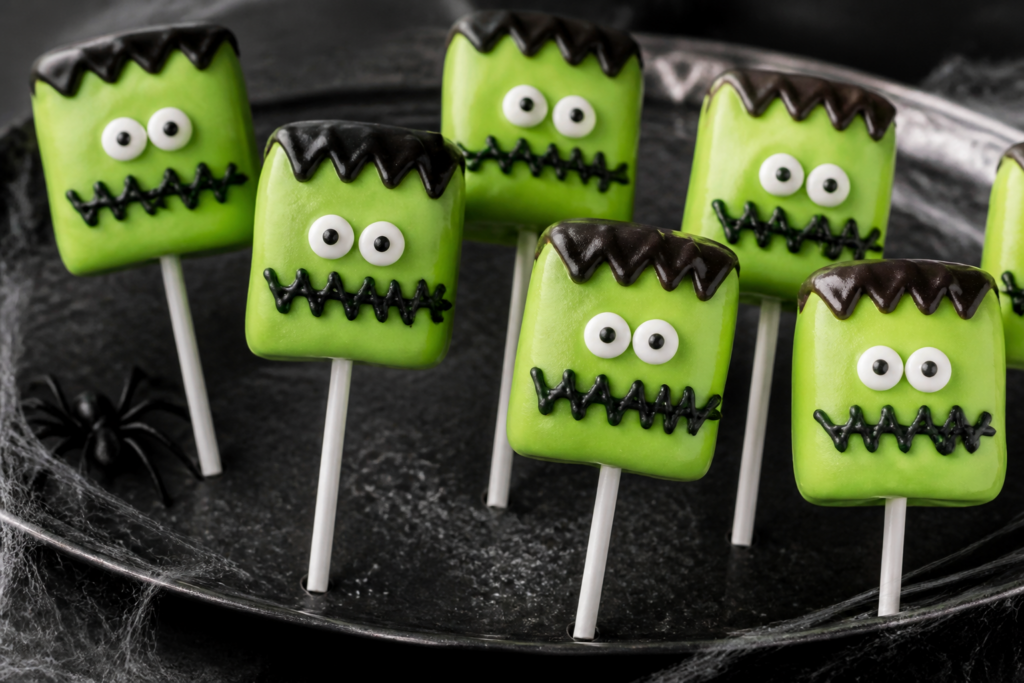
These easy no-bake frankenstein marshmallow pops are the Halloween treat I reach for when I want something cute, dramatic, and genuinely simple. The magic is in the no-fuss technique: colored candy melts to coat the marshmallows, quick eyes, then a contrasting zig-zag “stitched” drizzle that reads as stitched-up Frankenstein from across the room.
I’m keeping the look deliberately clean—no piping bags needed. As they chill, the coating sets with a firm snap, so they hold up like real pops (not melty blobs). If you follow the visual cues in the troubleshooting section, you’ll get smooth coats and crisp details.
What makes these monster pops work (and look stitched)
We coat the marshmallows like lollipops, then “stitch” with a thin drizzle. This works because candy melts form a stable candy shell once they’re cool—so the zig-zag stays raised enough to read as stitching, not just melted chocolate streaks.
Doneness / setup cues
- Melts: stir until fully smooth and fluid, like warm syrup. If it looks thick or grainy, it needs a bit more gentle heat.
- After dipping: the coating should look glossy. Let them set until the surface looks matte and feels firm when lightly touched (no sticky pull).
- Drizzle: the contrasting drizzle should be thick enough to sit on top without running into a smear. If it sinks fast, re-melt briefly or stir in 1–2 teaspoons (5–10 ml) coconut oil.
Flavor & color ideas (Halloween-friendly)
- Green Frankenstein: use green candy melts with black zig-zag and white/black eyes.
- Classic ghoulish: use orange candy melts with black stitched lines and simple white eyes.
- Make it yours: any marshmallow size works, but stick with the same size for even coating.
Simple decorating plan
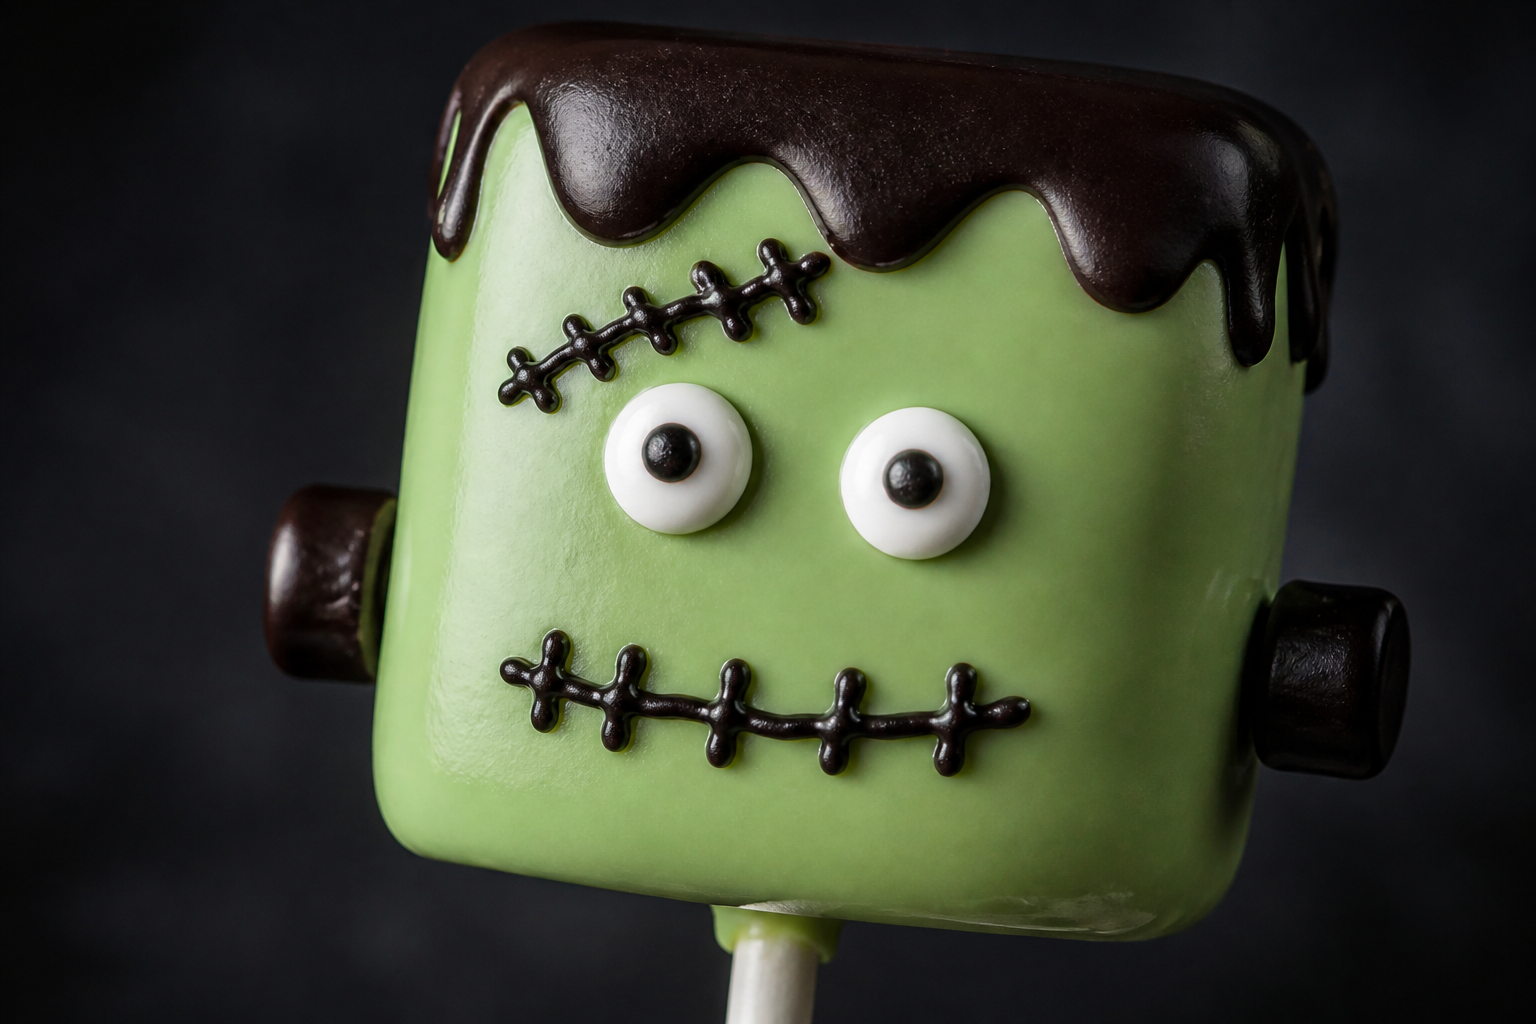
- Eyes: add two small dots for pupils or use pre-made eyes if you prefer.
- Mouth: a tiny “scalloped” or straight line using a black/white squeeze or drizzle.
- Stitching: a quick zig-zag line down the face using the contrasting color. No piping artistry—just steady lines.
Method overview (no-bake, dip + chill)
Briefly: insert sticks into marshmallows, dip each one into colored candy melts, let excess drip, then place on parchment to set. Add eyes and mouth while the coating is still slightly tacky, then finish with a zig-zag stitch drizzle. Chill to fully set.
Troubleshooting
- Coating turns grainy: candy melts seized from overheating or moisture. Remove from heat, stir slowly, and add coconut oil 1 teaspoon at a time (5 ml) to smooth. Keep water away from the melting bowl.
- Drizzle disappears: the base coat is too warm or the drizzle is too thin. Chill the dipped marshmallows 5–10 minutes first, then drizzle again with thicker melted candy (stir well; optionally add coconut oil only if needed).
- Eyes slide off: add eyes soon after dipping, while the coating is tacky-but-not-wet. If it has fully set, re-melt a small amount of candy and “glue” the eye dots.
- Pops stick to parchment: give them more chilling time. Once the candy shell is firm, peel carefully or lift with a flat spatula.
Substitutions & options
- Candy melts: if you can’t find melts, you can use white chocolate + food coloring, melted gently—but texture and set time may vary. Candy melts set more predictably.
- Pre-made eyes: replace with melted candy dots piped with a spoon tip or zipper bag.
- Marshmallows: jumbo marshmallows work; just expect extra time to set fully in the fridge.
Storage
- Room temp: 1–2 days in a cool, dry spot in a single layer (avoid direct sunlight).
- Refrigerator: up to 4–5 days. Store in an airtight container with parchment between layers to prevent sticking.
- Freeze: not recommended—candy coating can dull and condensation may form when thawing.
FAQ
Can I use any Halloween color?
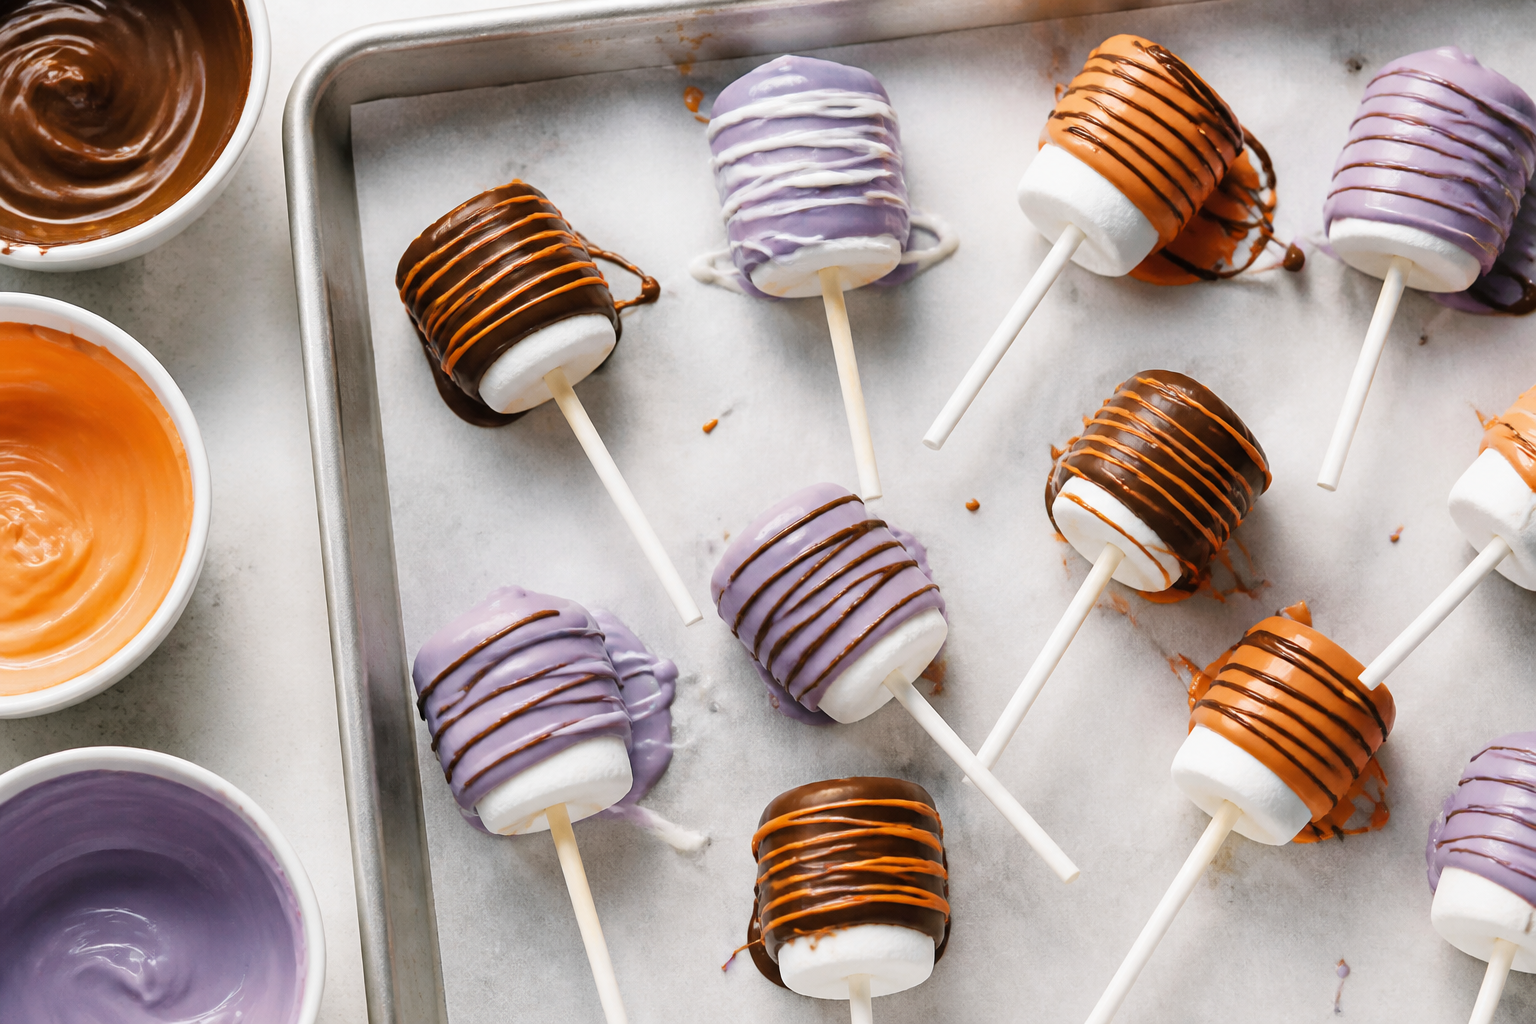
Yes. Green, orange, purple, and black all make strong Frankenstein contrast. Just keep the stitch color darker or lighter than the base for maximum readability.
Do I need molds?
No—these are marshmallow pops. Use lollipop sticks and parchment-lined trays for easy release.
Why does chilling matter?
Chilling helps the candy melt shell fully set, so the “stitches” don’t melt into the surface and the pops stay handheld without stickiness.
What if I don’t have lollipop sticks?
You can use short paper straws or sturdy cocktail sticks, but lollipop sticks give the cleanest, easiest hold.
Print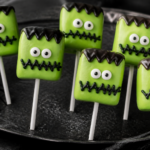
No-Bake Frankenstein “Stitched-Up” Monster Marshmallow Pops
- Prep Time: 20 minutes
- Cook Time: 0 minutes
- Total Time: 1 hour
- Yield: 12 pops
- Category: No-Bake Desserts
- Method: No-bake (dip and drizzle candy melts; chill to set)
- Cuisine: American
- Diet: Vegetarian
Description
Handheld marshmallow pops coated in colored candy melts, decorated as Frankenstein faces, and finished with an easy stitched zig-zag drizzle. No oven—just dip, decorate, and chill.
Ingredients
- 12 large marshmallows (about 2 1/2 in / 6.4 cm each)
- 12 lollipop sticks
- 1 cup candy melts, green (about 170 g)
- 1/2 cup candy melts, black (about 85 g)
- 1/4 cup candy melts, white (about 43 g)
- 1–2 tsp coconut oil (5–10 ml) (optional, only if melts are too thick)
- Edible eyes or candies (optional, about 12–24 small pieces)
- Black decorating gel or extra black candy melts (optional, for mouth details)
- Optional color swaps: replace green candy melts with orange, purple, or any Halloween color (use 1 cup, about 170 g); keep black 1/2 cup, about 85 g for the stitched zig-zag
Instructions
- Line a tray with parchment paper.
- Insert a lollipop stick into the center of each marshmallow and set aside.
- Melt the green candy melts: place in a microwave-safe bowl and microwave in 20-second bursts, stirring between, until fully smooth and fluid.
- If needed, stir in coconut oil 1 teaspoon (5 ml) at a time to loosen only if the melts are too thick.
- Dip each marshmallow: hold by the stick and dip the marshmallow into the green melts, twisting slightly to coat fully. Lift, let excess drip back into the bowl, and return the pop to the parchment.
- If you want thinner coverage, do a quick second dip after the first coating stops dripping.
- While the coating is still tacky, add eyes: for classic Frankenstein, press in small edible eyes or dab two tiny drops of white candy melts for the eyeballs.
- Add pupils: place tiny dots of black candy melts (or use the black candy melts for pupils) on the white eyeballs.
- Create a mouth: add a small straight or curved line using black decorating gel, or drizzle a tiny amount of black candy melts for the mouth.
- Let the pops set until the surface looks more matte and feels firm, about 10–20 minutes in the fridge (do not freeze).
- Melt the black candy melts for stitching (separate microwave-safe bowl). Repeat with 20-second bursts, stirring until smooth.
- If needed, stir in 1–2 teaspoons (5–10 ml) coconut oil total to make a drizzle that holds lines without running.
- Drizzle the stitches: use a spoon or fork to zig-zag thin lines across each face (or down one side for a “stitched up” look). Work quickly before the melts thicken.
- Let everything set again in the fridge until fully firm, about 20–30 minutes.
- Serve at cool room temperature. If storing, keep in a single layer in an airtight container.
Notes
Illustrative image only—this approach is written for dependable results, but individual microwave power and humidity can affect set time. Keep water away from the melting bowls to prevent seized candy melts. For best readability, use strong contrast between the base color and the black/contrasting stitched drizzle.