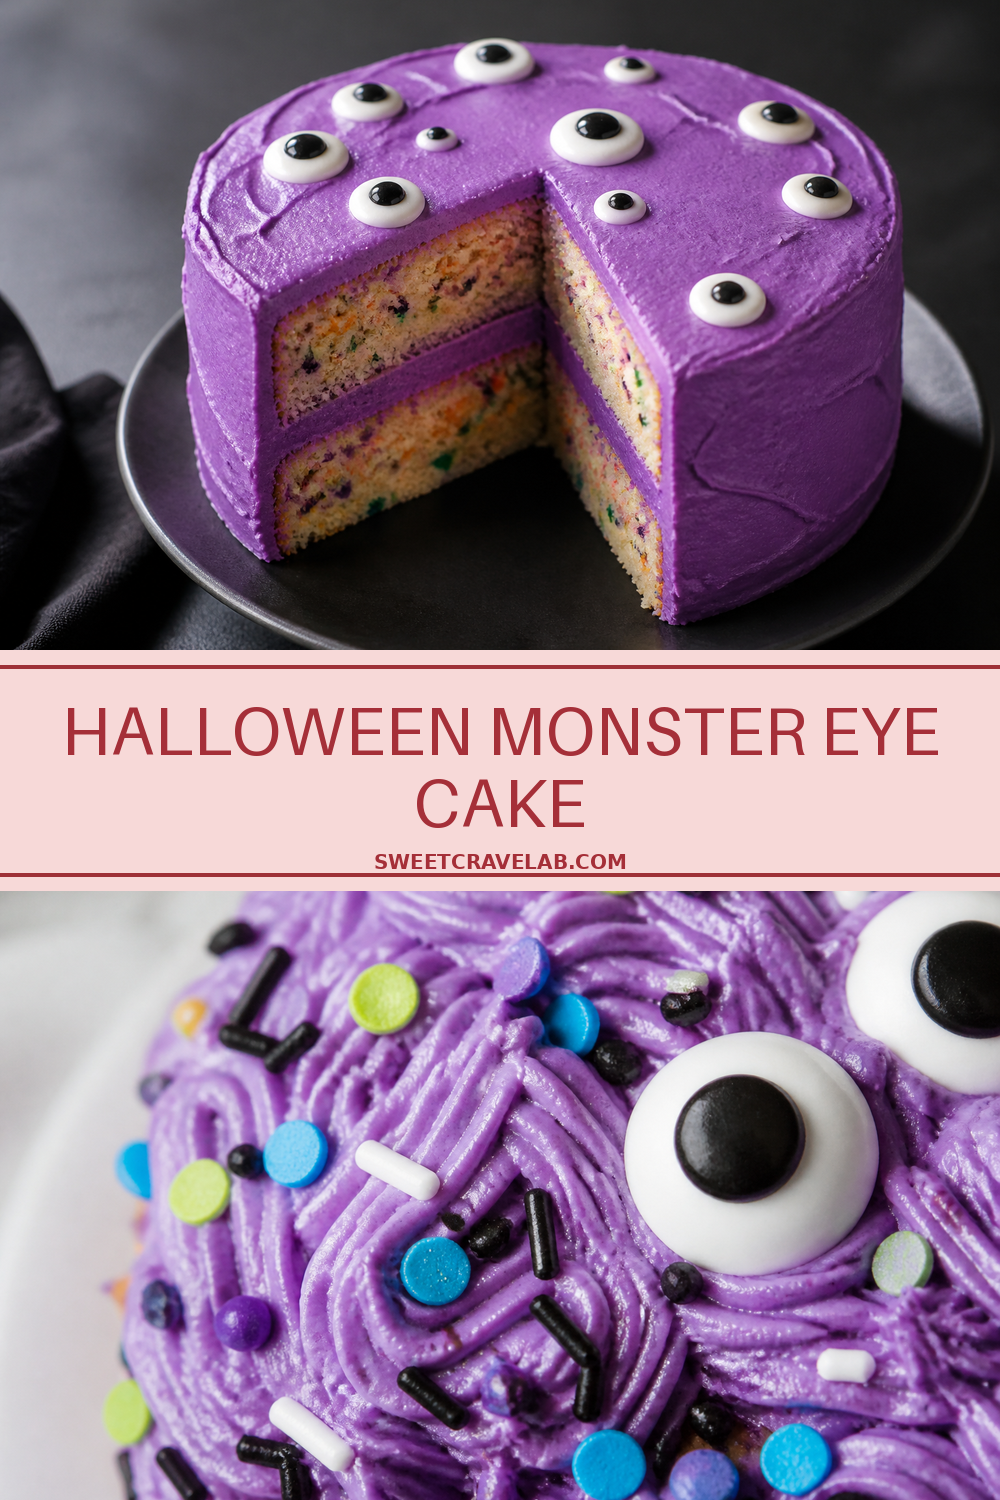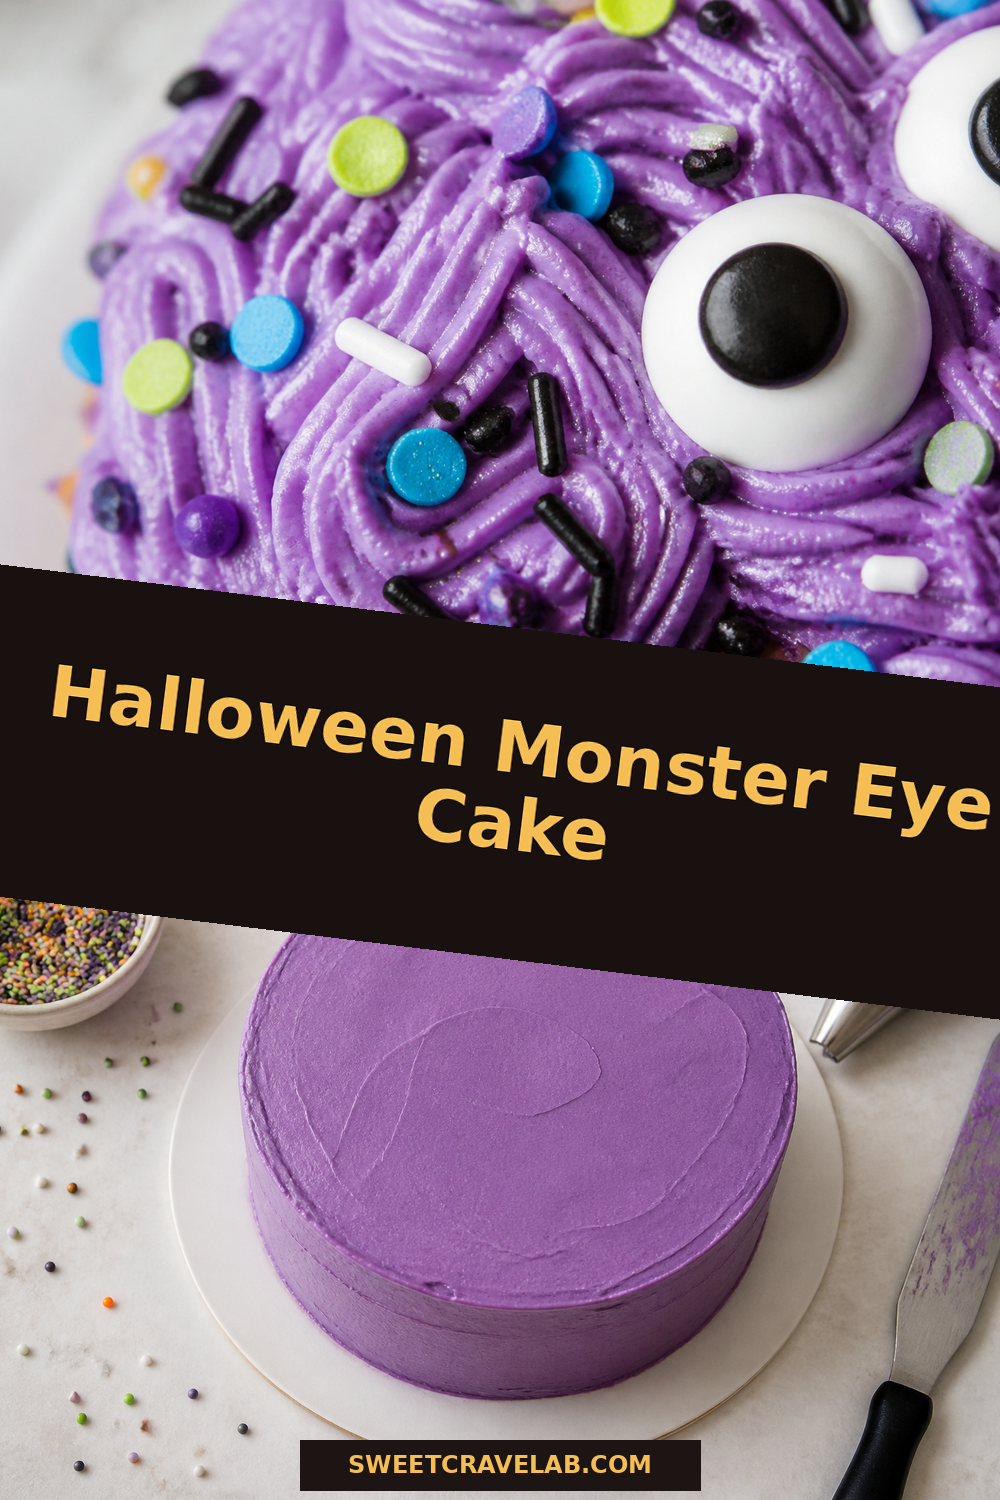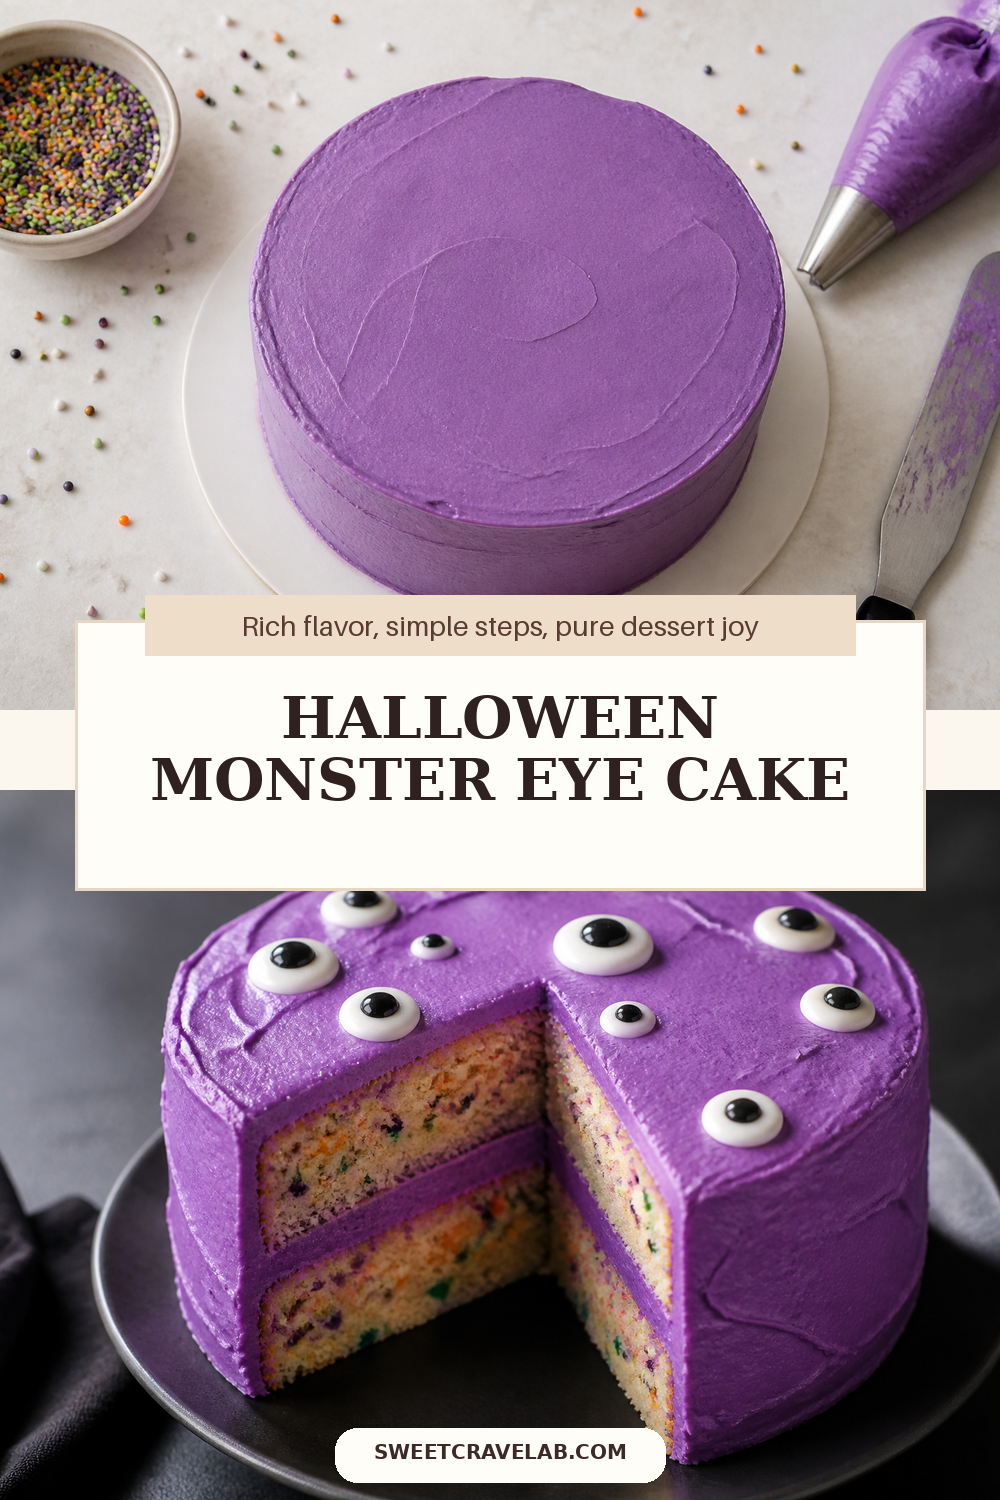
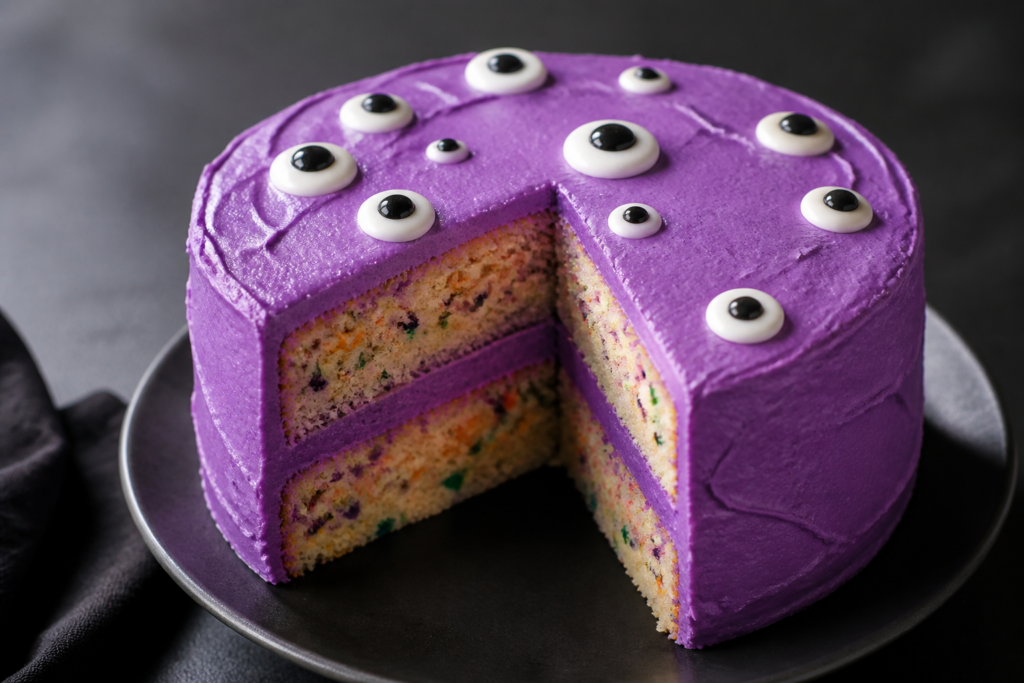
I love a Halloween cake that looks like a little “oops, something’s alive!” without being fussy to make. This Halloween monster eye cake is a classic two-layer vanilla sprinkle base, covered in smooth purple buttercream, then finished with simple candy eyes so the spooky vibe lands fast.
It’s also designed for real home-baker timing: bake, cool completely, frost cleanly, and place the eyes at the end so they look crisp and glossy.
What makes this monster-eye cake work
Two things matter most: (1) bake doneness so the layers slice flat, and (2) buttercream consistency so it pipes and smooths cleanly.
- Doneness visual cues: the center should spring back when gently pressed, and a toothpick inserted near the middle should come out with a few moist crumbs (not wet batter).
- Cooling cue: warm cakes sweat and soften frosting—let layers cool fully before you frost to avoid tearing and sliding.
- Purple buttercream cue: if it’s too stiff, add milk 1 teaspoon at a time; if it’s too loose, add powdered sugar 1–2 tablespoons at a time.
Pan prep (so the layers release cleanly)
I always line the bottoms with a full circle of parchment and then grease the parchment lightly. That extra barrier helps the edges stay pretty—especially with sprinkles, which can catch on the pan.
Quick method overview
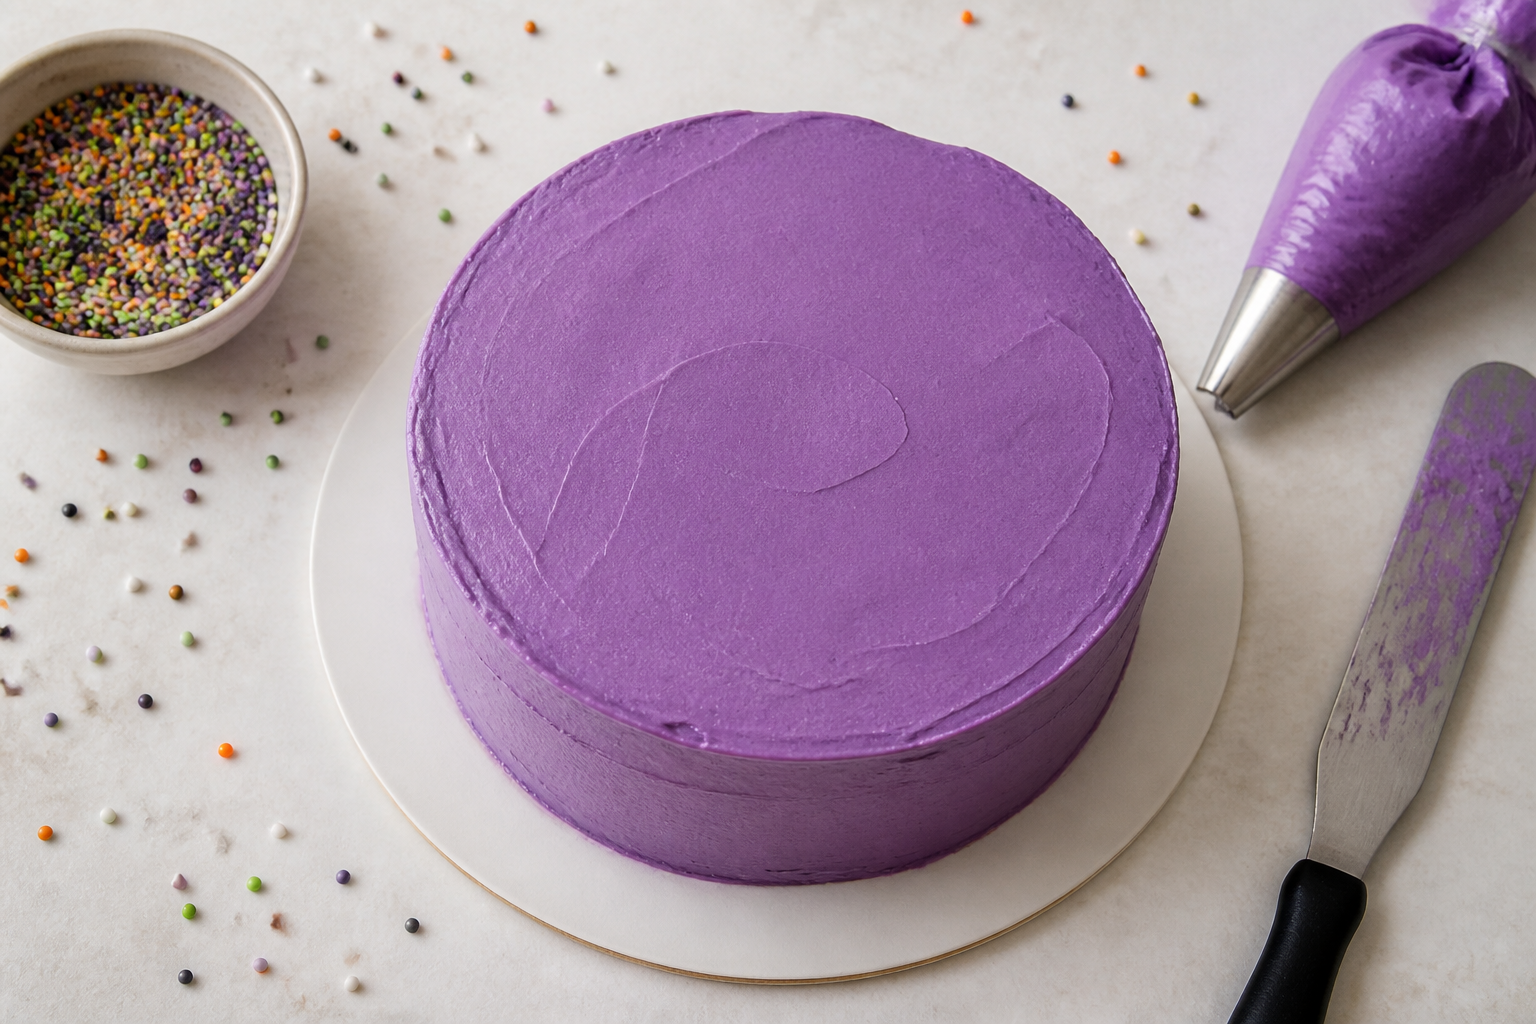
You’ll bake two 8-inch vanilla sprinkle layers, cool them completely, then stack with purple buttercream. After a crumb coat and chill, you do a final smooth frosting layer and place the candy eyes on top right before serving.
Troubleshooting (the stuff that saves the cake)
- My cake domed too much: Trim only the very top bump after cooling. Level layers = easier stacking and smoother frosting.
- My toothpick came out wet: bake 3–5 minutes longer and re-check. Sprinkles can look “doughy,” so focus on the center.
- Buttercream looks grainy: mix 30–60 seconds more on medium speed, then reassess. Granulated frosting usually tightens up with mixing.
- My frosting is sliding: chill 15–20 minutes, then re-smooth. Warm kitchen + lots of buttercream can make it soft.
- Eyes look cloudy or melt: place candy eyes at the very end. If your frosting is fridge-cold, press gently so the points don’t drag.
Easy substitutions
- Sprinkles: use jimmies (best color bleed) or nonpareils. If using nonpareils, stir gently so they don’t bleed.
- Milk: use buttermilk for extra tang, or swap for an equal amount of whole milk.
- Purple color: purple gel food coloring gives the most even color without thinning the frosting.
- Candy eyes: if you can’t find ready-made eyes, use white candy melts/white fondant circles and add pupils with black gel.
Storage
- Room temperature: 1 day, covered, if your candy eyes are stable and won’t soften.
- Refrigerator: up to 3 days, covered. Let slices sit at cool room temperature 15–20 minutes for the frosting to soften slightly.
- Freezer: freeze baked, cooled layers (wrapped well) up to 2 months. Thaw overnight in the fridge, then frost.
FAQ
How many candy eyes should I use?
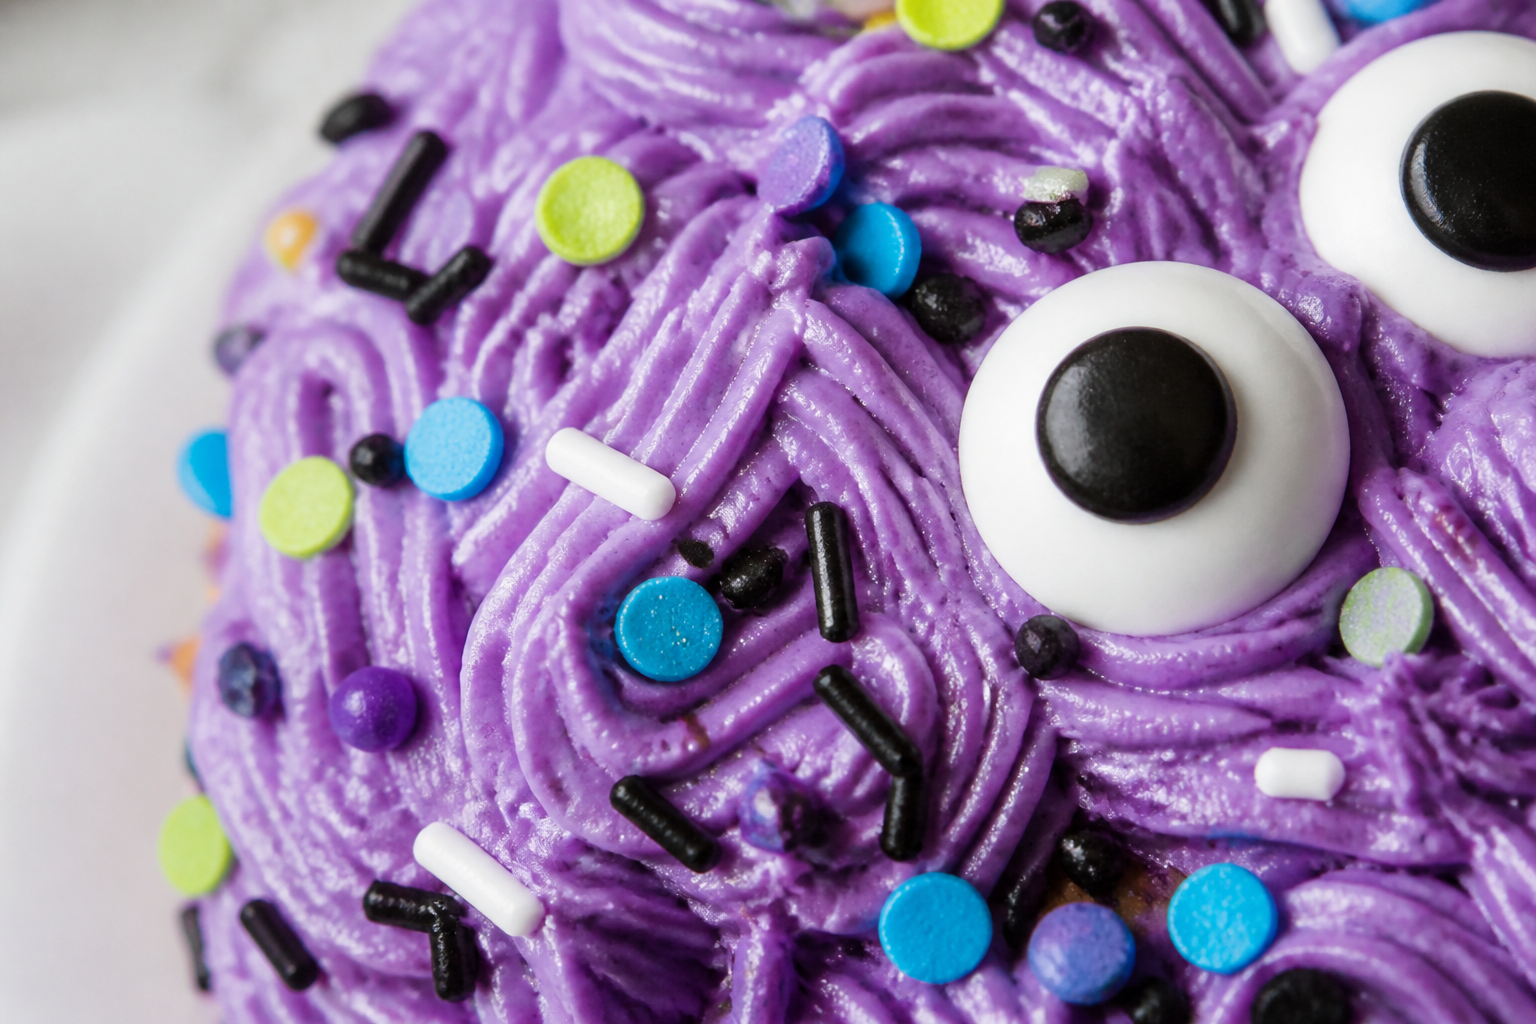
Start with 12–16 eyes for a balanced “monster stare.” Place larger eyes in the center and smaller ones around the edges so the face looks intentional.
Can I make the cake ahead?
Yes. Bake the layers up to 2 days ahead (cool, wrap, refrigerate). Frosting can be made ahead and kept refrigerated; re-whip briefly before spreading.
Why do I need a crumb coat?
A crumb coat seals in loose sprinkles and crumbs. When you chill it, you get a clean, smooth final layer instead of a “confetti speckle” outer finish.
Can I tint the cake batter too?
Totally—just know color can intensify with baking. For this look, the monster vibe mainly comes from the purple buttercream and the bright sprinkle flecks inside.
Print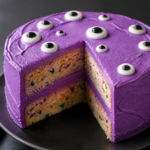
Halloween Monster Eye Cake with Purple Buttercream & Candy Eyes
- Prep Time: 20 minutes
- Cook Time: 30 minutes
- Total Time: 1 hour 30 minutes
- Yield: 2-layer 8-inch cake (about 10–12 slices)
- Category: Cakes
- Method: Baking + frosting + candy eye decoration
- Cuisine: American
- Diet: Vegetarian
Description
A practical two-layer 8-inch vanilla sprinkle cake covered in vivid purple buttercream and finished with simple candy eyes for an easy Halloween monster face.
Ingredients
- Vanilla sprinkle cake layers:
- All-purpose flour: 3 cups (360 g)
- Granulated sugar: 2 cups (400 g)
- Unsalted butter, softened: 1 cup (227 g)
- Baking powder: 2 tbsp (24 g)
- Fine salt: 1 tsp
- Large eggs: 6
- Vanilla extract: 2 tsp (10 ml)
- Whole milk (or buttermilk): 1 1/4 cups (300 ml)
- Rainbow jimmies sprinkles: 1 1/2 cups (180 g)
- Optional: 1–2 tbsp (8–16 g) extra flour for tossing sprinkles (if they bleed a lot)
- Purple vanilla buttercream:
- Unsalted butter, softened: 1 1/2 cups (340 g)
- Powdered sugar: 5 cups (600 g)
- Heavy cream or whole milk: 1/4 cup (60 ml), plus more as needed
- Vanilla extract: 1 1/2 tsp (7.5 ml)
- Purple gel food coloring: about 1–2 tsp (use to reach your desired purple)
- To decorate:
- Store-bought candy monster eyes: 12–16 pieces (amount varies by brand)
- Optional edible glitter or extra jimmies: 1–2 tbsp (optional)
Instructions
- Prep the pans: Heat oven to 350°F (175°C). Grease two 8-inch round cake pans. Line the bottoms with parchment circles; lightly grease the parchment too.
- Toss the sprinkles (optional but helpful): If your sprinkles bleed a lot, toss them with 1–2 tbsp of flour from the recipe. This helps them stay suspended.
- Mix dry ingredients: In a large bowl, whisk flour, sugar, baking powder, and salt until evenly combined.
- Beat in butter: Add softened butter. Beat on medium speed until the mixture looks like sandy crumbs and feels mostly uniform, 1–2 minutes.
- Add eggs and vanilla: Add eggs one at a time, mixing well after each addition. Mix in vanilla.
- Add milk and finish batter: With mixer on low, add milk in two additions, mixing just until smooth. Fold in sprinkles gently.
- Divide and bake: Divide batter evenly between pans (about the same height in each). Bake 28–34 minutes.
- Check doneness (visual cues): The center should spring back when lightly pressed, edges should be golden, and a toothpick near the center should come out with a few moist crumbs, not wet batter.
- Cool: Cool in pans 10 minutes, then turn out onto a rack. Cool completely (at least 1 hour) before frosting.
- Make buttercream: Beat butter on medium-high until creamy, 1–2 minutes. Add powdered sugar gradually (start low to avoid clouds). Mix on medium until thick.
- Adjust texture + color: Add heavy cream 1 tbsp at a time to reach a spreadable, smooth consistency. Mix in vanilla and purple gel coloring until the shade is vivid and even. If too thick, add a little more cream; if too loose, add powdered sugar.
- Level (if needed): If domed, use a serrated knife to trim the very top bump from each layer.
- Stack and fill: Place one layer on a cake board. Spread a generous layer of purple buttercream on top. Add second layer, flat side up.
- Crumb coat: Apply a thin coat of buttercream over the whole cake. Chill 15–20 minutes to set.
- Final coat + smooth: Add remaining buttercream and smooth the sides and top as desired (palette knife swirl or smooth finish).
- Decorate with eyes: Press candy eyes gently into the frosting on top. Place them in a “face” pattern (for example: 3 larger eyes across the top, smaller ones around). Add optional edible glitter or extra jimmies if you want extra sparkle.
- Serve: For best texture, let the cake sit at cool room temperature 15–20 minutes before slicing.
Notes
If your kitchen is warm, keep the crumb coat chilled and work efficiently; buttercream softens faster than you expect. For cleaner layers, make sure the cakes are fully cool—warm layers will melt the buttercream and create sliding.