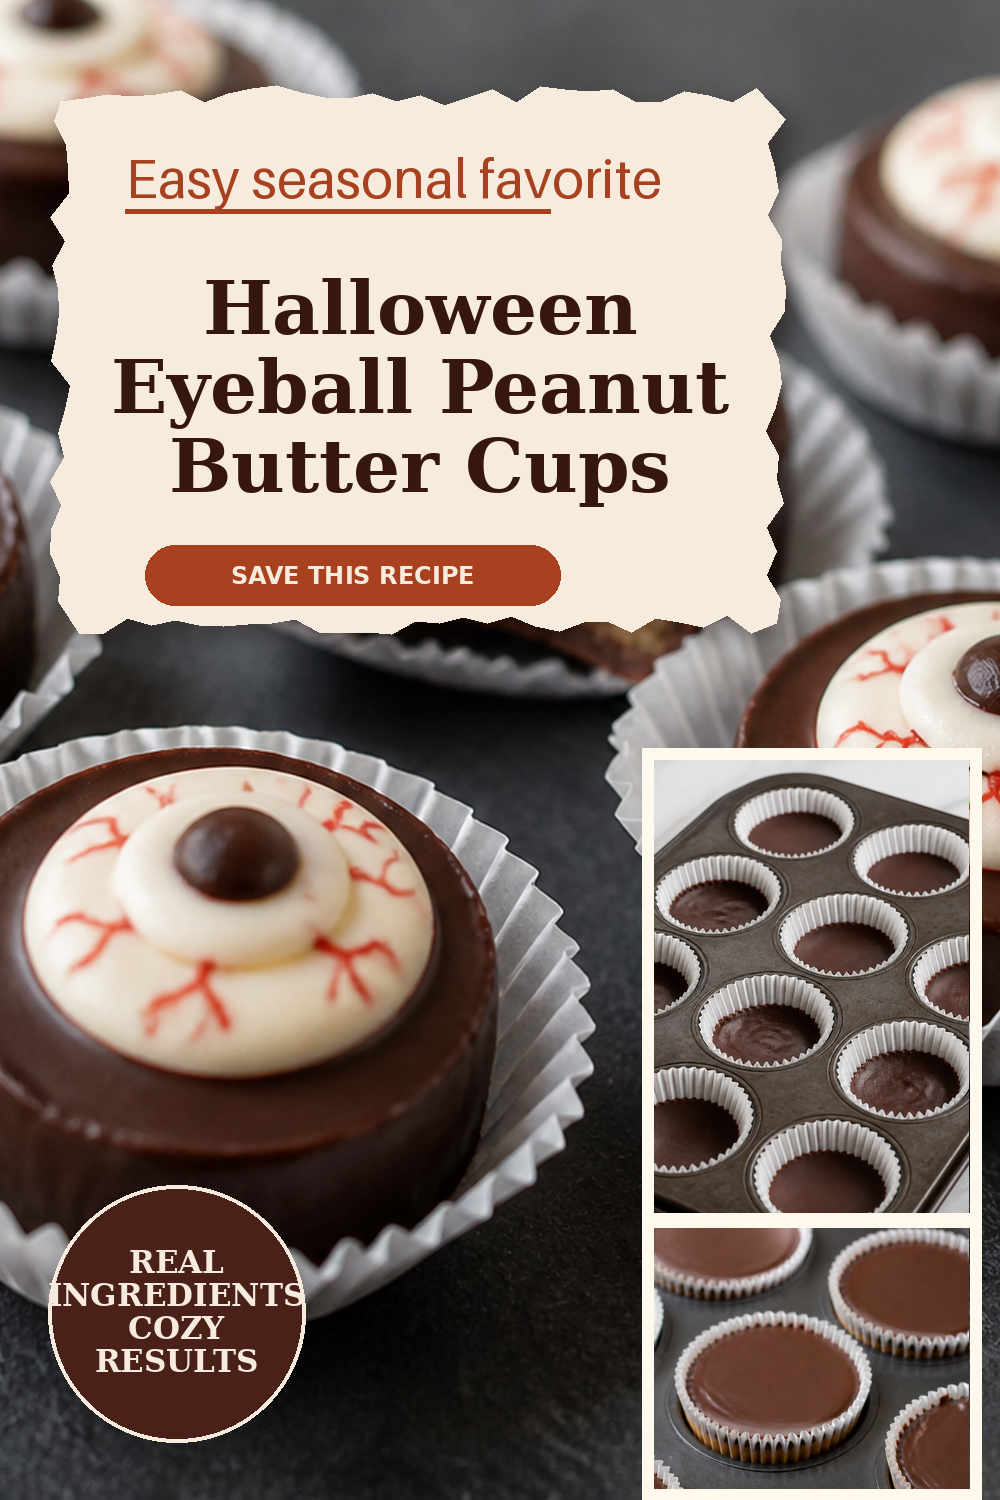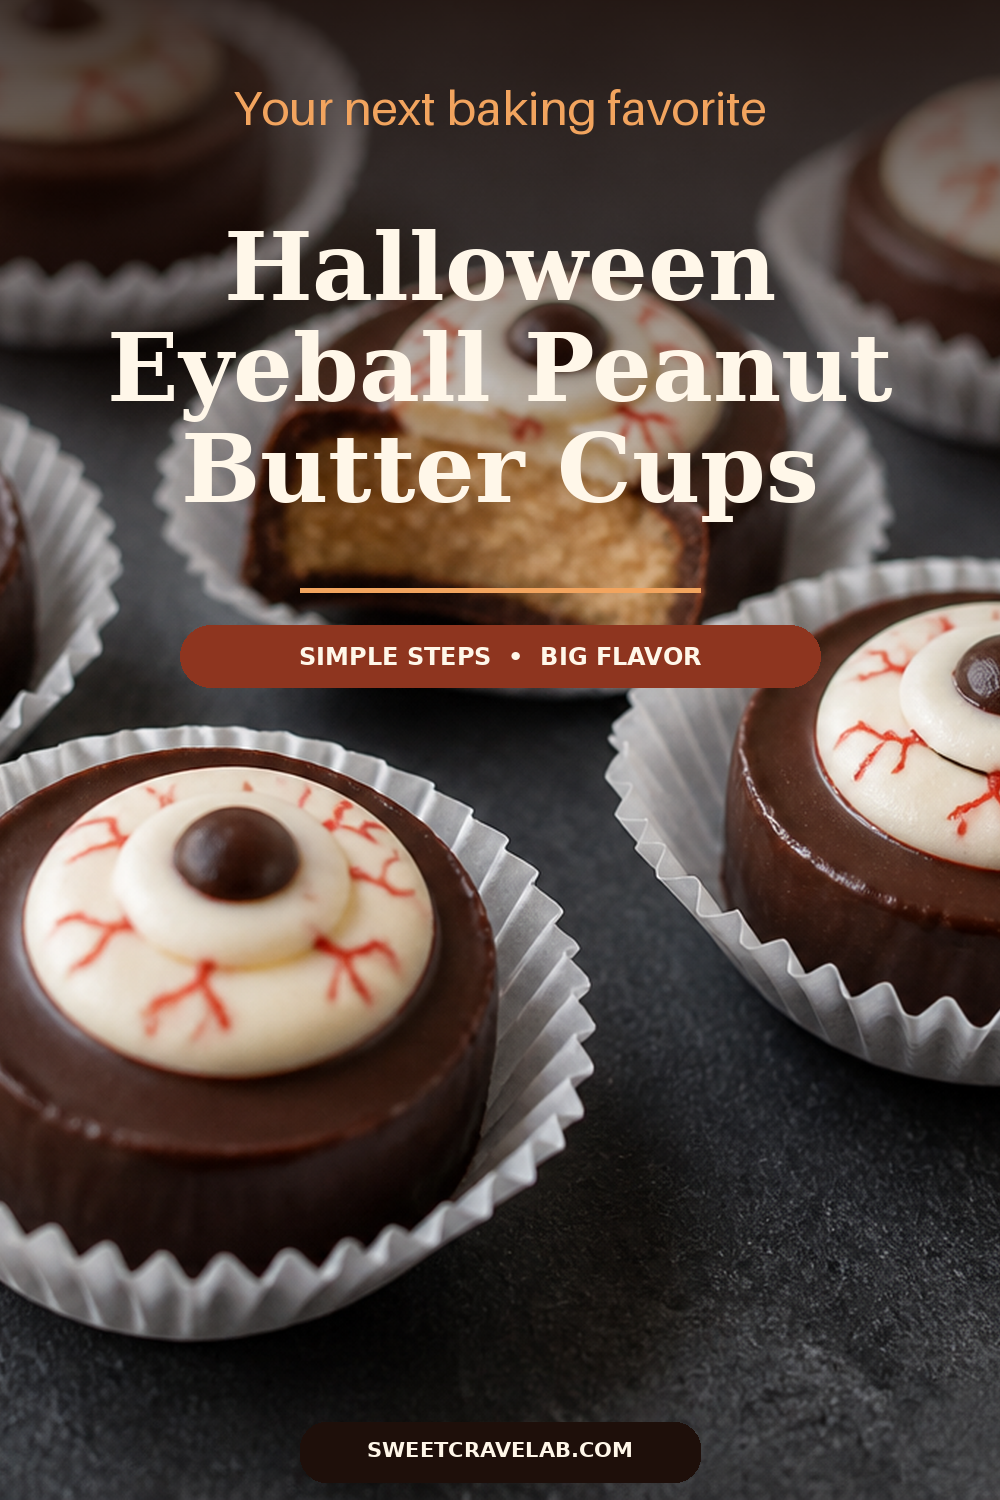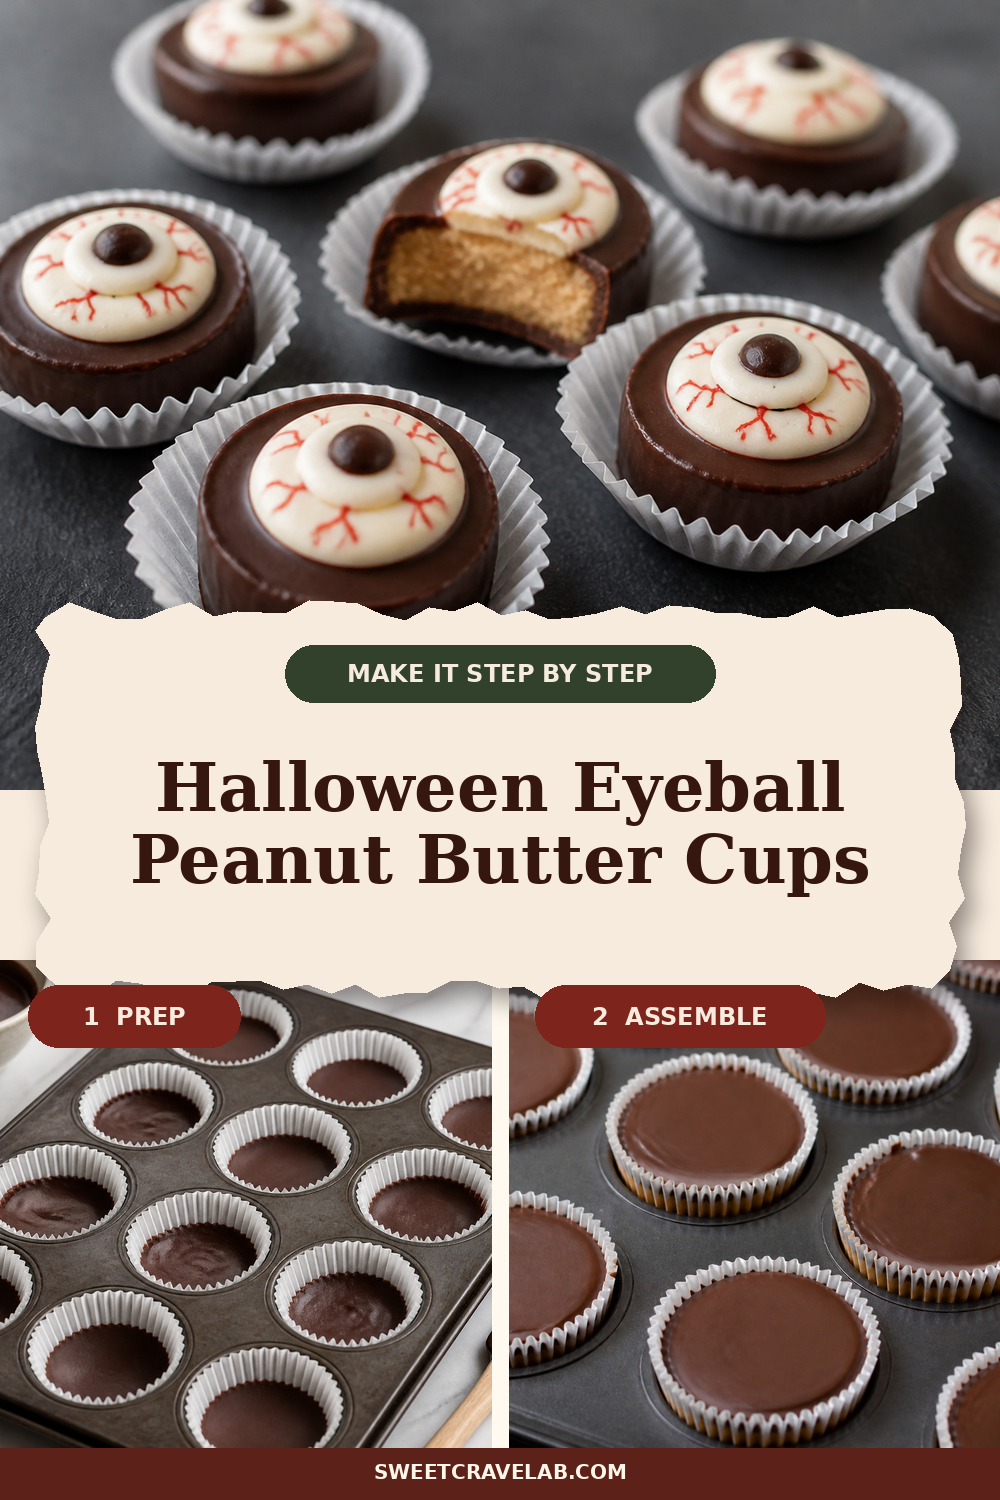
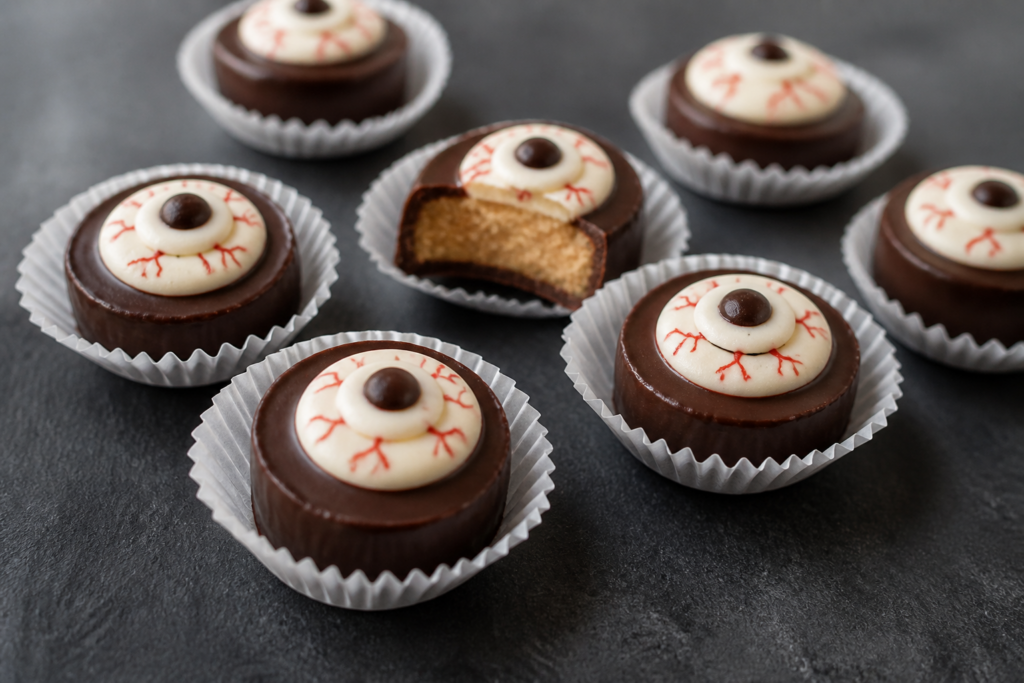
Halloween is basically an excuse to make candy that looks clever but still eats like real chocolate. These Halloween peanut butter cups are a party-ready sweet: thick dark-chocolate shells, a stable peanut-butter filling, and an edible eyeball design you can pipe with small zip-top bags.
They’re not truffles, not bark, and not cookies—think: clean candy-cup construction with a flat, glossy top that’s perfect for decorating.
What makes these peanut butter cups “candy-cup” style
I build them like classic molded cups: a chocolate base layer, a filling, then a chocolate cap. The filling stays firm because it’s sweetened and slightly enriched (but not so soft that it oozes).
Technique overview (so they release cleanly)
- Chill between layers. After the first chocolate layer, you’ll know it’s ready when it looks set and matte rather than glossy.
- Keep chocolate liquid, not hot. Melt until smooth, then work quickly. If it looks thick or grainy, warm in short bursts.
- Decorate on a mostly set surface. For the eyeball details, the cup tops should be firm enough to hold the “pupil” but not fully rock-hard.
Ingredient guidance (including easy substitutions)
Dark chocolate
Use a good-quality bar or melting wafers. Chocolate labeled “for melting” often keeps a smoother texture, but either works as long as you melt gently.
White chocolate + red-tinted veins
To make edible “veins” without special molds, tint a small portion of white chocolate with a tiny amount of gel/paste red food coloring. Pipe thin lines with a snipped zip-top bag.
Peanut butter filling
For a thick, stable center, choose creamy peanut butter (not natural oil-separating if you can help it). If your peanut butter is very runny, stir it well and add an extra 1–2 tablespoons (8–16 g) powdered sugar to thicken.
Safe melting & handling cues
- Microwave chocolate in short bursts (15–20 seconds), stirring each time.
- Keep water away from melted chocolate—steam causes seized chocolate.
- Use parchment or a silicone mat to catch drips while you pipe.
Troubleshooting (quick fixes)
- Chocolate won’t spread; it looks thick: warm again in 10–15 second bursts, stirring until smooth.
- Filling bulges through the top layer: your first layer may have been too thin or not chilled enough. Next time, chill until matte and firm.
- Eyeball details slide: the tops are too soft. Chill the tray 5–10 minutes, then pipe again.
- White chocolate looks streaky after tinting: tint in smaller amounts and stir until fully uniform.
Substitutions
- Chocolate: semi-sweet or dark chocolate chips work; avoid chocolate that’s very low-quality (it can taste flat).
- Peanut butter: use almond butter or sunflower seed butter for a different flavor (texture will vary).
- Allergies: this recipe contains peanut and dairy (chocolate). Use dairy-free chocolate only if you’re confident in its melting behavior.
Storage (so they stay glossy and clean)
- Room temperature: up to 2 days in a cool, dry spot.
- Refrigerator: up to 1 week in an airtight container. Let sit 10–15 minutes before eating for best texture.
- Freezer: up to 2 months. Freeze in a single layer, then transfer to a container. Thaw in the fridge overnight.
FAQ
Are these the same as truffles or peanut-butter balls?
No. Truffles are typically a scoop-and-roll (or formed) ganache center. These are molded candy cups with chocolate layers and piped eyeball details on a flat top.
How do I get a smooth, flat chocolate top?
After adding the final chocolate cap, gently tap the pan to level. If needed, smooth the surface with a clean spoon edge—then chill until set.
Can I make the eyeball design ahead of time?
Yes. Once fully set, store the cups. The design holds well for several days in the fridge and doesn’t need extra decoration right before serving.
Why do my chocolate layers look streaky?
Usually it’s temperature or incomplete stirring. Melt fully until smooth and always mix thoroughly between heating bursts.
Print
Homemade Halloween Eyeball Peanut Butter Cups
- Prep Time: 25 minutes
- Cook Time: 0 minutes
- Total Time: 1 hour 10 minutes
- Yield: 24 candy cups
- Category: Chocolate Recipes
- Method: No-Bake (with chilling), Candy-making (layered chocolate cups)
- Cuisine: American
- Diet: Vegetarian
Description
Dark-chocolate candy cups with a thick peanut-butter filling, finished with edible white-chocolate eyeballs and red-tinted veins piped using zip-top bags.
Ingredients
- Mini paper liners: 24 liners (about 1.5–2 in / 4–5 cm wide).
- Dark chocolate (for shells): 12 oz (340 g) chopped or melting wafers.
- Peanut butter filling:
- 6 oz (170 g) creamy peanut butter.
- 3 tbsp (42 g) unsalted butter, softened.
- 1/2–3/4 cup (60–75 g) powdered sugar.
- 1 tsp vanilla extract (5 ml).
- 1/8 tsp (0.7 g) fine salt.
- White chocolate (for eyeball): 4 oz (113 g) white chocolate, chopped.
- Red-tinted white chocolate (for veins): oil-based red candy color, a tiny amount (about 1/16–1/8 tsp / 0.3–0.6 g), or red candy melts.
- Extra dark chocolate (for pupils): 1 oz (28 g) dark chocolate, chopped.
Instructions
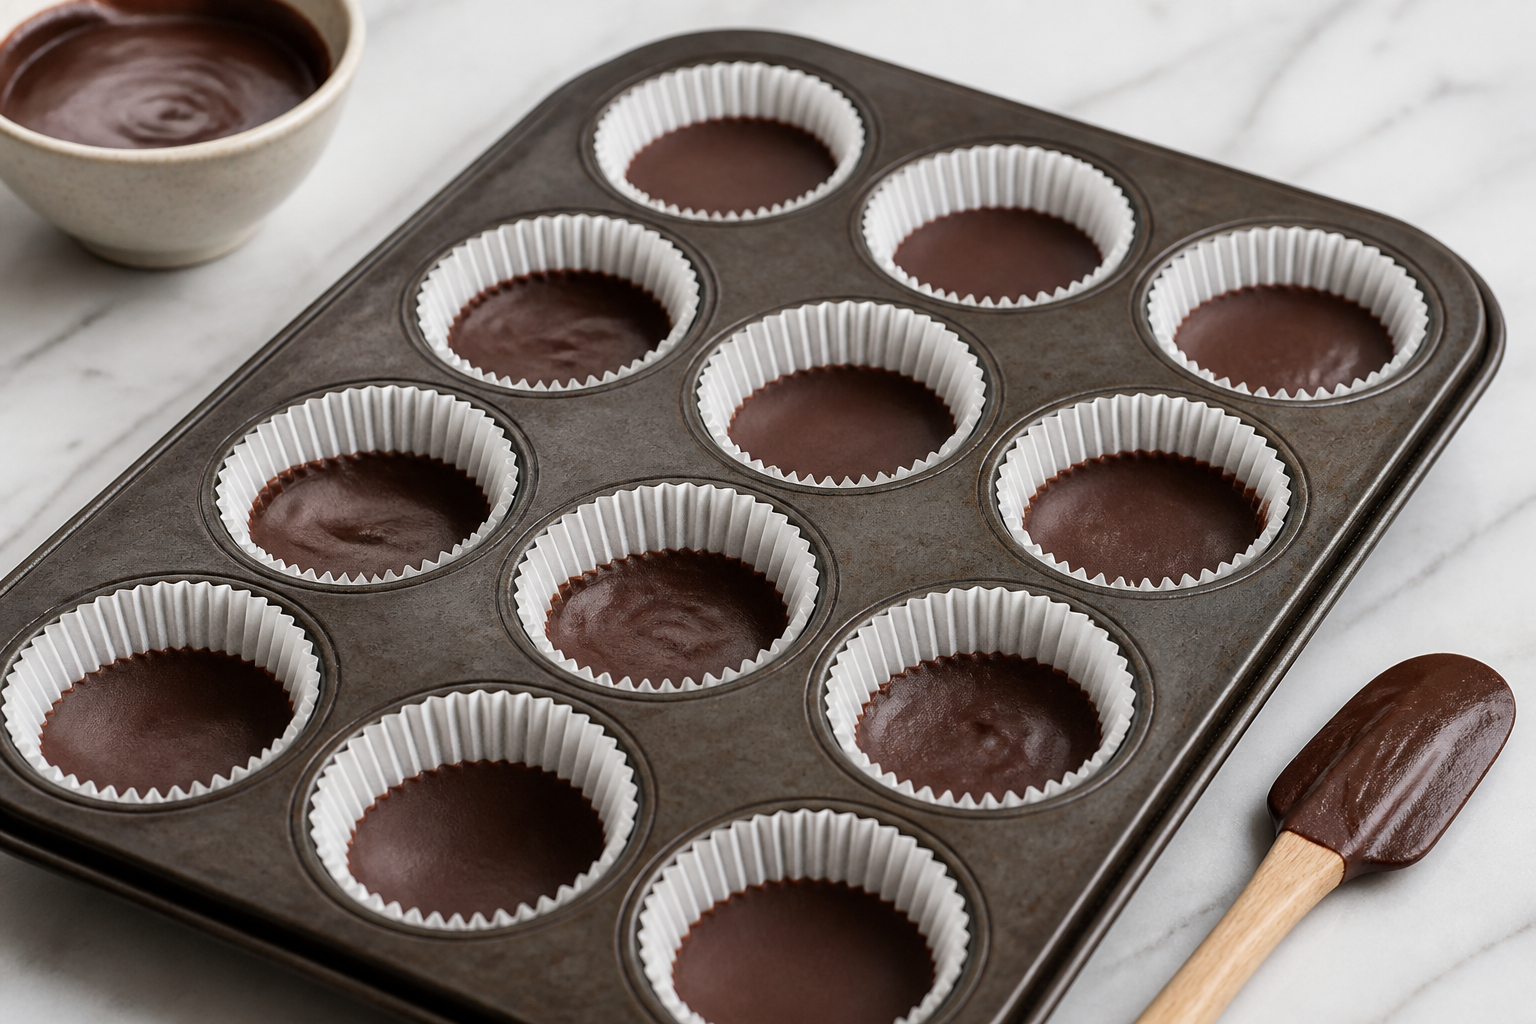
- Prep the pan + liners. Set a muffin tin on a stable surface. Place 24 mini paper liners into the cups.
- Melt the dark chocolate (shell base). Melt 340 g (12 oz) dark chocolate in a microwave-safe bowl: heat 15–20 seconds, stir, repeat until smooth. Let it cool 2 minutes so it’s fluid but not hot.
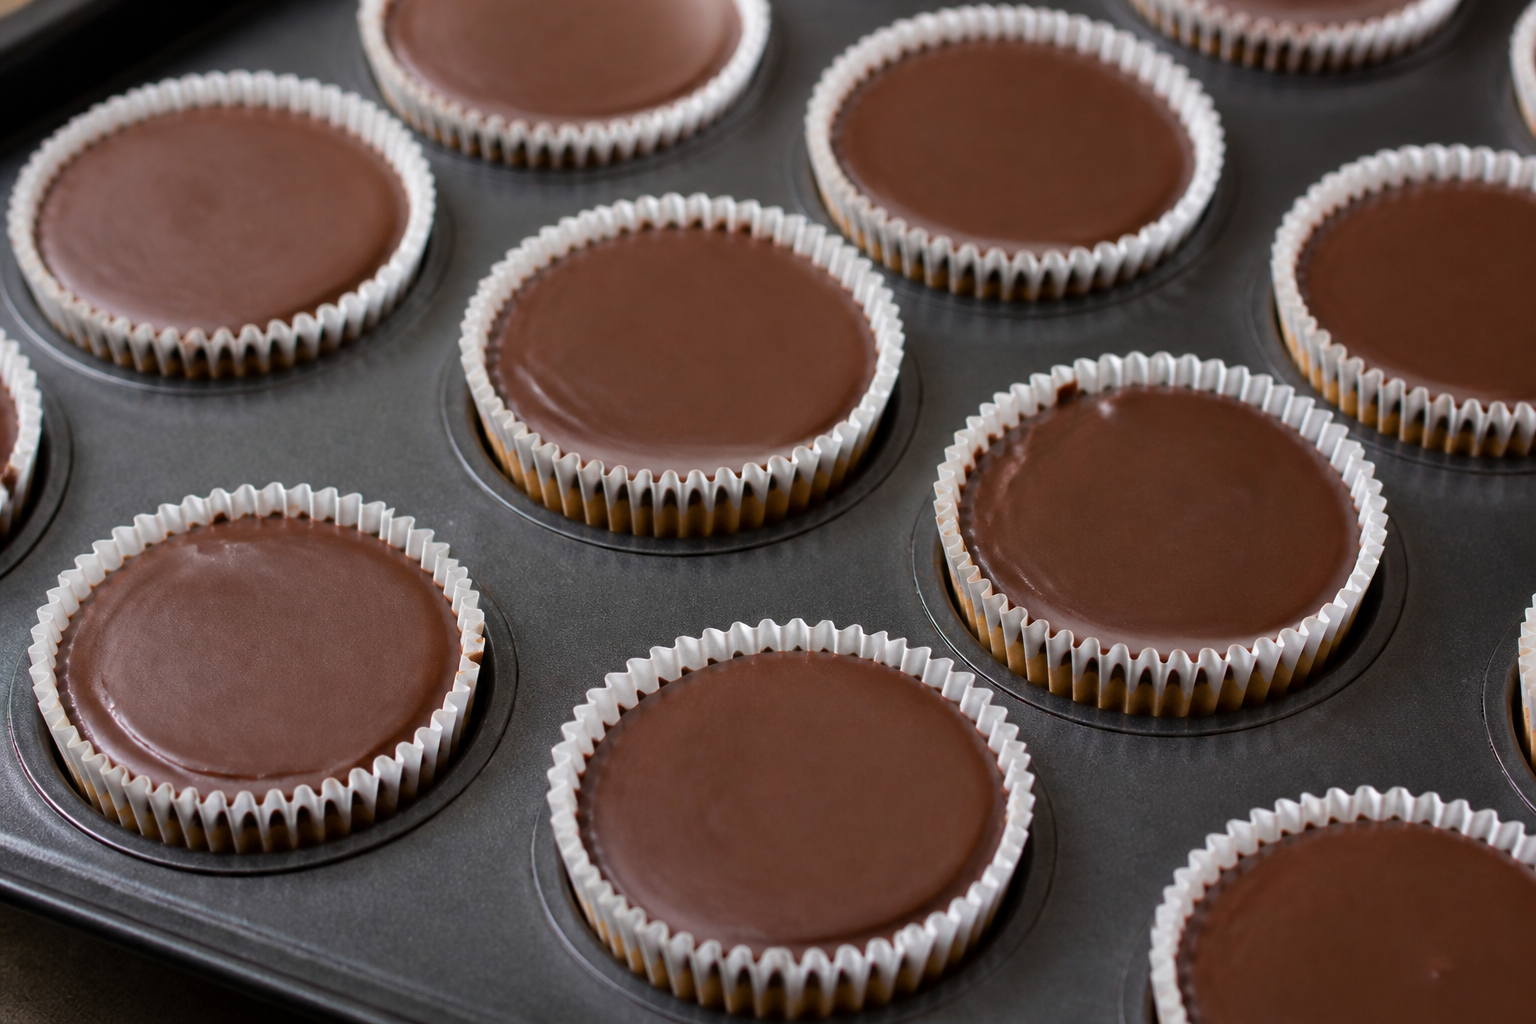
- Make the first chocolate layer. Spoon about 1 teaspoon (5 ml) melted chocolate into each liner. Tilt and swirl gently or use the back of a spoon to coat the bottom evenly. Chill 10 minutes, until the chocolate looks mostly matte and set (no wet shine).
- Mix the peanut butter filling. In a bowl, mix peanut butter, softened butter, powdered sugar, vanilla, and salt until thick and uniform. It should hold a soft shape when you scoop. If it’s too loose, mix in 1–2 tablespoons (8–16 g) more powdered sugar.
- Form the filling centers. Scoop about 1 tablespoon (15 g) filling per cup. Roll quickly between your fingers (optional) to compact, then press one portion into each chocolate-lined cup. Press lightly so it sits flat.
- Add the chocolate caps. Spoon remaining melted dark chocolate over the filling, covering completely. Tap the pan gently to level the tops.
- Chill to set. Refrigerate 20–25 minutes, until firm to the touch.
- Make the eyeball components. Melt the white chocolate (113 g / 4 oz) in a microwave-safe bowl in short bursts, stirring until smooth. Tint a small portion with oil-based red candy color or red candy melts (start with a tiny amount; you can’t easily “undo” strong red).
- Pipe the white eyeball circles. Transfer the white chocolate to a small zip-top bag. Snip a tiny corner. Pipe a small circle (about 1/2–3/4 in / 1–2 cm diameter) onto each cup. If they look jagged, swirl the bag gently while piping.
- Add the pupils. Melt the extra dark chocolate (28 g / 1 oz). Transfer to a second zip-top bag and snip a very tiny tip. Pipe a tiny dot in the center of each ivory circle.
- Pipe thin red-tinted veins. Transfer the red-tinted white chocolate to a third zip-top bag. Snip for a hairline opening. Pipe 2–4 thin vein lines across part of each eyeball—keep them restrained so they look like delicate blood vessels.
- Set the decorations. Chill 10 minutes to fully firm the piped details.
- Serve or store. Remove from the tray. Eat chilled or let sit at room temperature 10–15 minutes for best chocolate snap.
Notes
These are chocolate cups, not truffles: the structure comes from layered, chilled chocolate. For crisp, clean edges, keep chocolate smooth (melt until fully stirred) and chill between layers. If your filling seems soft, it’s usually under-sweetened—add powdered sugar 1–2 tablespoons at a time.