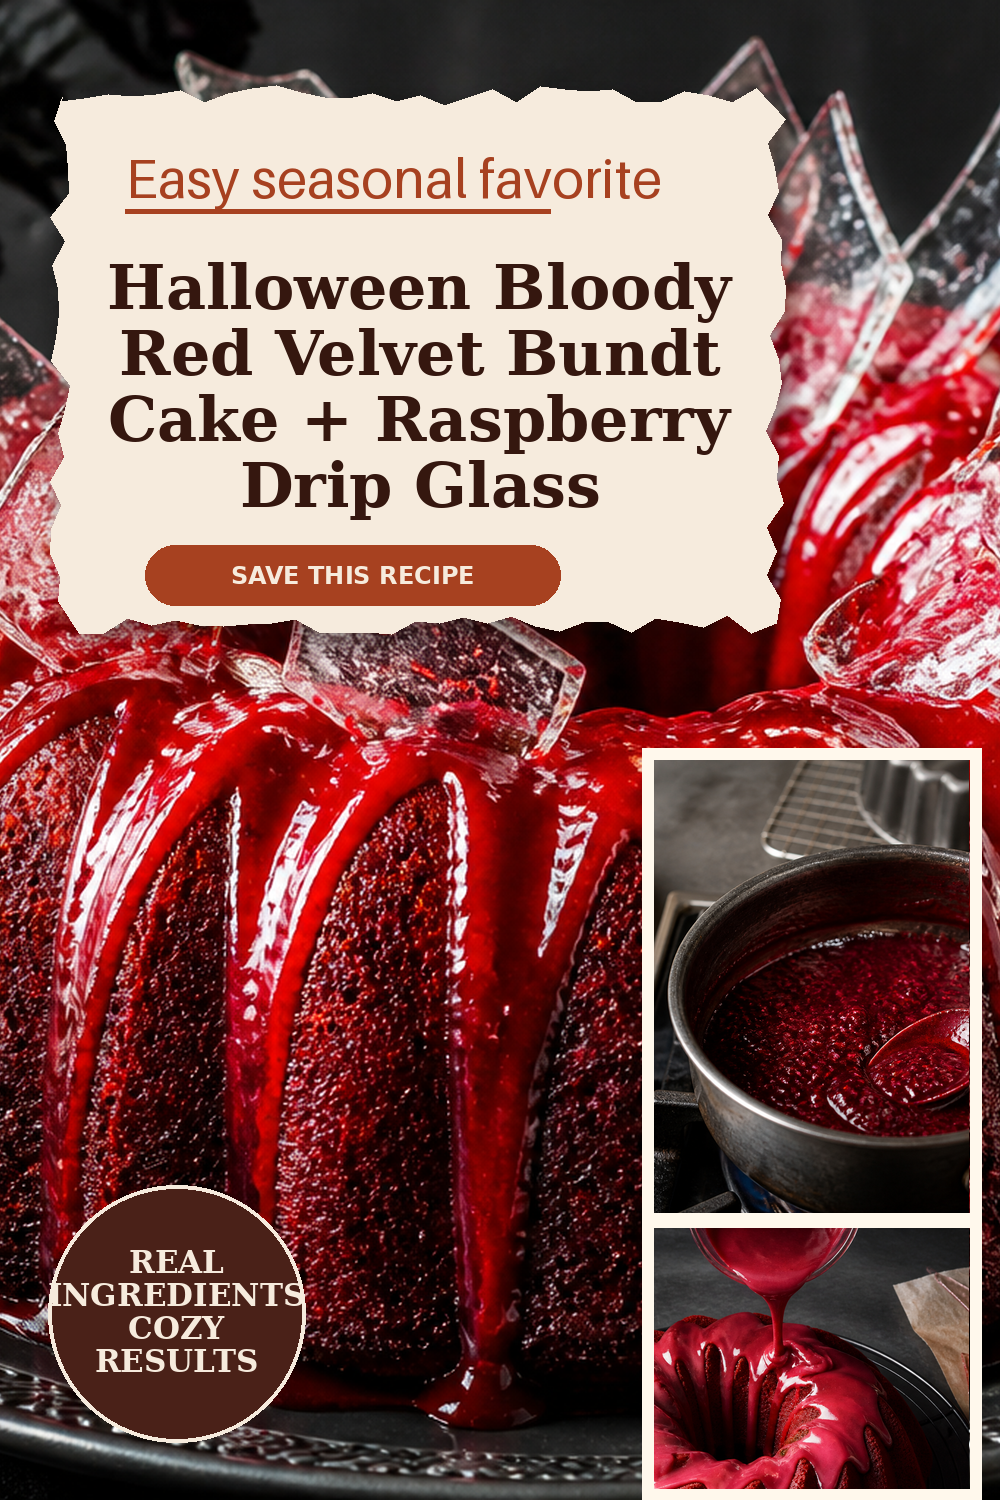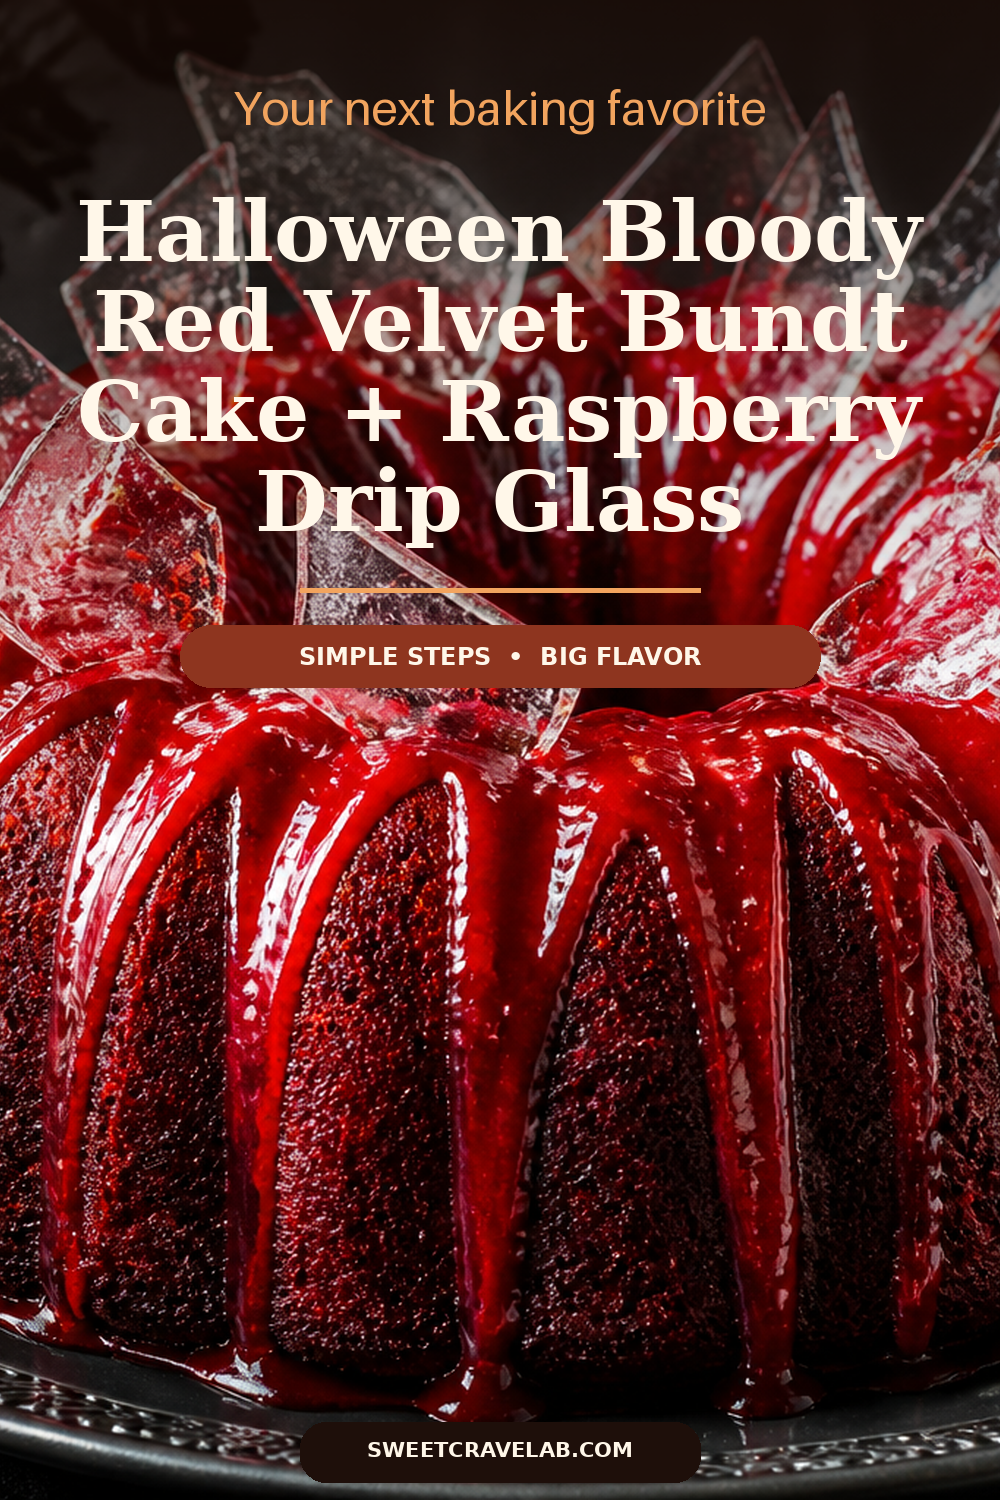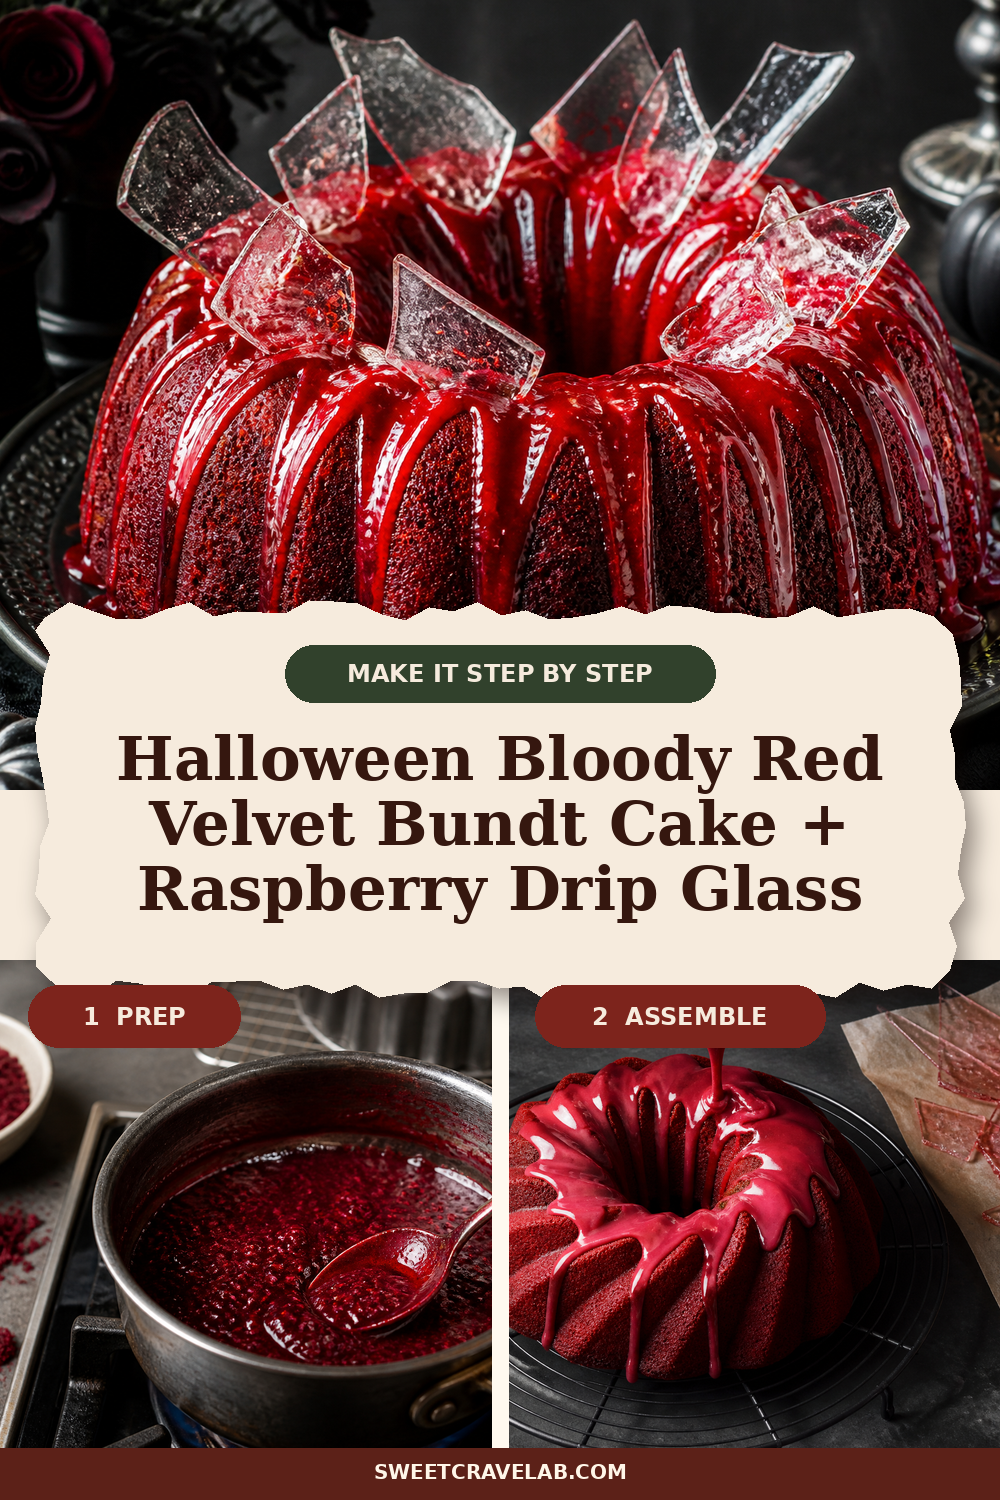
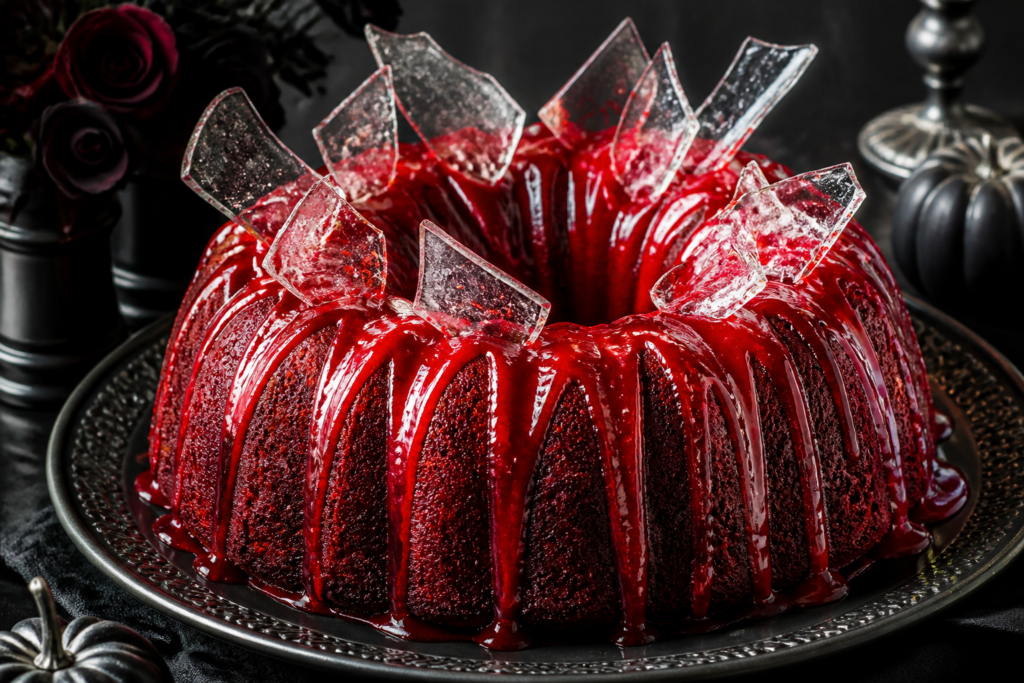
I love a Bundt cake because it bakes into instant drama—ridged, sliceable, and made for a slow drip. For Halloween, I’m taking classic red velvet up a notch with a thick raspberry drip that pools just enough to look like “bloody” glass, then finishing with crisp edible sugar-glass shards perched on top.
This one is intentionally not gore: the shards sit like cracked glass, and the optional tiny raspberry smears appear only at the shard bases (so it reads spooky and stylish, not messy). The key is timing—make sure the drip is thickened before you place the shards, so they don’t melt or sink.
What you’ll make (and why it works)
This recipe combines three textures:
- Red velvet Bundt cake with a tender crumb and cocoa depth.
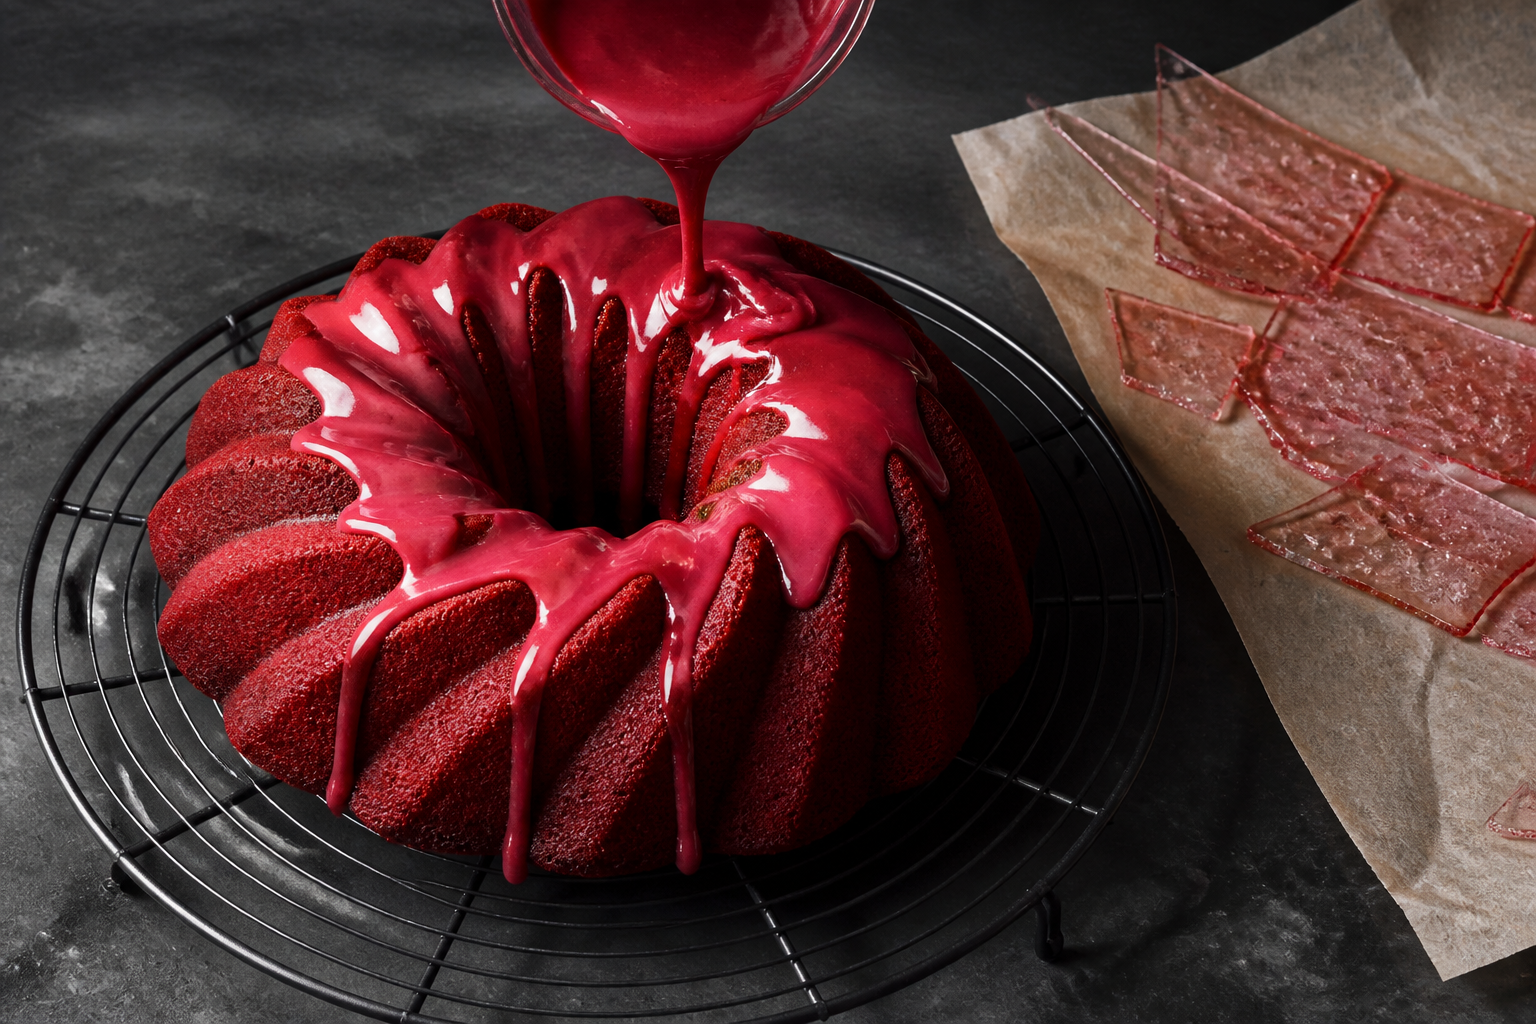
- Raspberry drip thickened with jam and confectioners’ sugar so it clings and slowly runs down the ridges.
- Edible glass shards made from a thin, fully-set sugar sheet—crisp enough to break into “cracked glass,” but stable when placed only on top after the drip thickens.
Method overview (quick roadmap)
- Bake the red velvet Bundt and cool until the cake releases cleanly.
- Simmer and thicken a raspberry glaze into a pourable-but-clinging drip.
- Pour a thin sheet of sugar glass, cool fully, and break into shards.
- Drizzle the raspberry “blood,” let it thicken, then insert shards on top and add tiny smear dots if you want.
Red velvet Bundt: doneness cues
- Visual: the center should look set (no wet-looking batter) and the cake edges should slightly pull away from the pan.
- Toothpick: when you test in the thickest area, it should come out with a few moist crumbs—not liquid batter.
- Timing: resist opening the oven early; Bundt cakes can sink if they’re shocked.
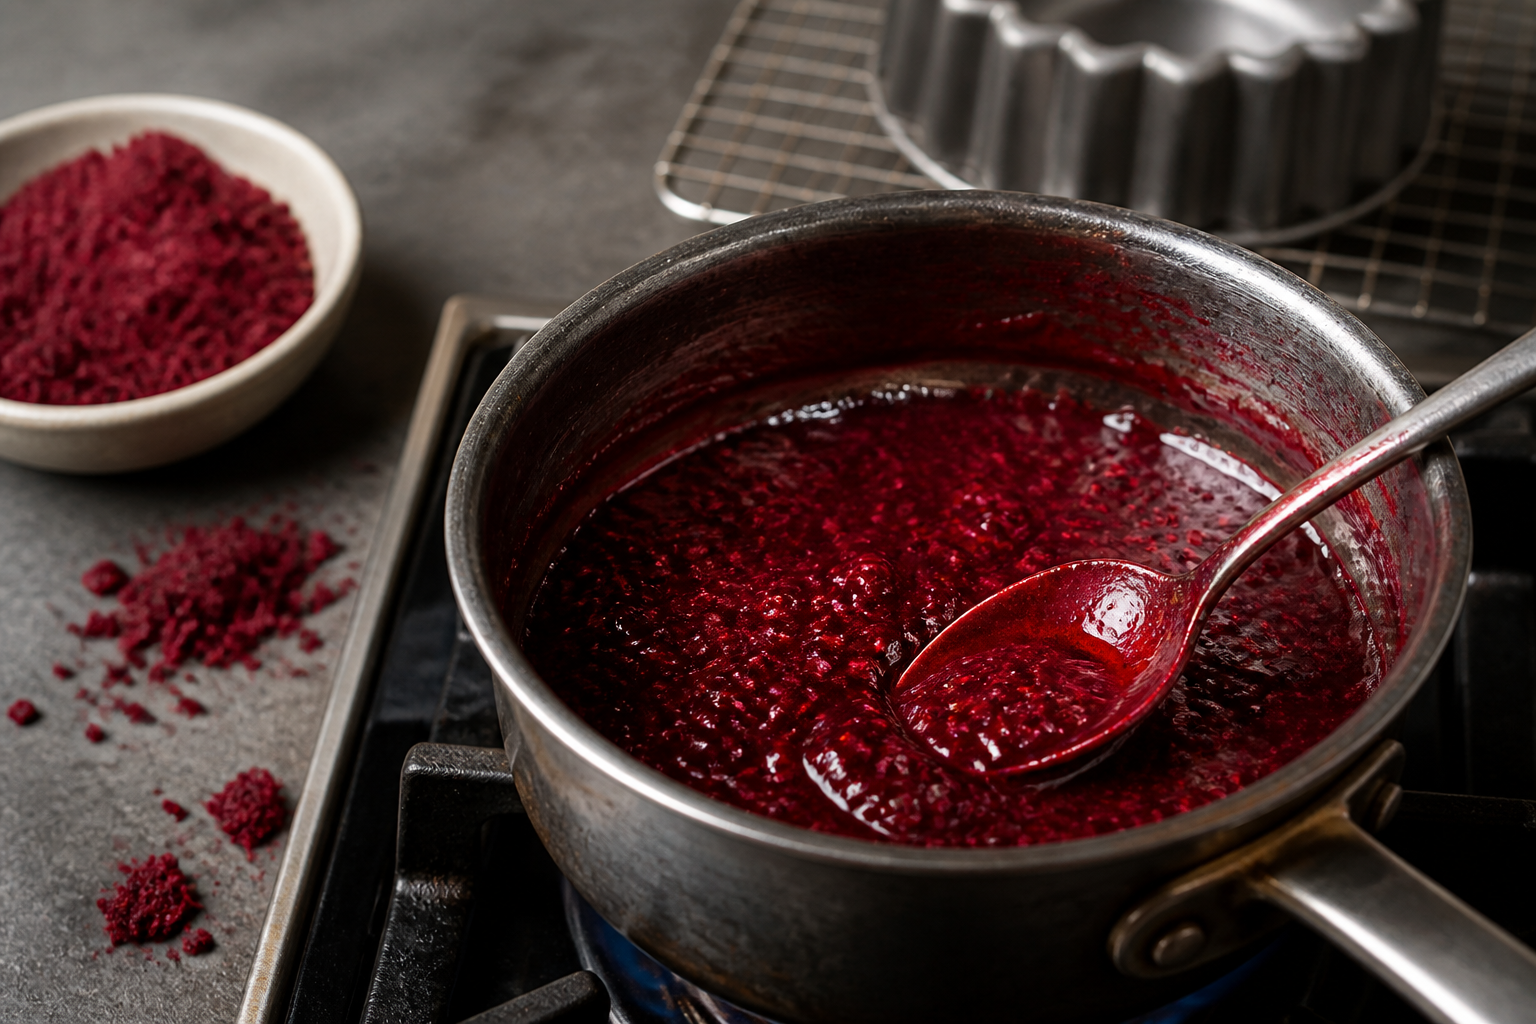
Raspberry drip: the consistency you’re aiming for
- Start pourable: you want it to ribbon off a spoon.
- Then thicken: after a few minutes of cooling (and a brief stir), it should fall in slow folds and cling to the ridges.
- Visual cue: the drip should look glossy but not watery—if it spreads instantly, it’s still too thin.
Edible glass shards: stability and placement
- Heat matters: sugar glass is only crisp if cooked to a hard-crack stage.
- Cool matters: it needs complete room-temperature set before breaking.
- Assembly rule: place shards only on top after the raspberry drip has thickened. This is the difference between “cracked glass” and shards that soften.
Troubleshooting (fast fixes)
- Drip is too thin and disappears into the cake: chill the glaze 5–10 minutes, then drizzle again. If you have extra drip, simmer it 30–60 seconds more to concentrate.
- Drip is too thick to spread: stir in 1–2 teaspoons (5–10 ml) water or raspberry juice until it loosens to ribboning consistency.
- Shards are sticky or bend: the sugar glass likely didn’t reach hard-crack temperature. Re-make for crisp shards; don’t rely on “fixing” soft sugar glass.
- Shards melted when placed: the drip was still too warm/watery. Next time, wait longer after dripping until it looks glossier-thicker, then insert shards right away.
- Uneven drip: drizzle in two passes: first lightly over the top, then a second pass only where you want deeper “blood” pools.
Substitutions that keep the look
- Raspberry: swap raspberry jam with strawberry jam for a different “blood” vibe, but keep the same thickness goal.
- Buttermilk: use plain yogurt thinned with an equal amount of milk, or a homemade buttermilk (milk + a splash of vinegar) for similar tang.
- Cake flour swap: if you only have all-purpose flour, use it 1:1 (texture will be slightly less velvety but still great).
- Food coloring: use gel red coloring for a more vivid red without adding extra liquid.
Storage (so the shards stay crisp)
- Best timing: assemble and serve the same day for the crispiest edible glass.
- Room temperature: store loosely covered at cool room temp for up to 1 day (shards soften in humid conditions).
- Refrigeration: refrigerate leftovers up to 2 days, but expect the shards to lose some crunch. For best slicing, let the cake sit at room temp 20–30 minutes before serving.
FAQ
Can I make the cake ahead? Yes. Bake the Bundt up to 2 days ahead, cool completely, wrap well, and store at room temperature. Make the drip and shards closer to serving for best texture.
Are the shards safe? These are made from a standard edible sugar-glass hard candy method using household ingredients. Let them fully cool and keep shards dry; avoid placing them where they contact steam or condensation.
What if I don’t want the smear dots? Skip them entirely. The shards alone (cracked “glass” on top) are enough to read Halloween.
Do I need a specific Bundt pan? Any 10–12 cup Bundt pan works. A ridged pan helps the drip catch. Be sure to grease and flour thoroughly.
Pin-worthy finishing note
If you want the most dramatic “bloody glass” look in photos, drizzle the raspberry drip while the cake is still fully set on the cooling rack, then move the cake to a serving plate only after the drip has thickened. That keeps the ridges sharp and the shards looking crisp.
Print
Halloween Bloody Red Velvet Bundt Cake with Raspberry Drip + Edible Glass “Shards”
- Prep Time: 25 minutes
- Cook Time: 50 minutes
- Total Time: 1 hour 45 minutes
- Yield: 10–12 servings
- Category: Cakes
- Method: Bake a red velvet Bundt, make a thick raspberry drip glaze, create edible sugar-glass shards, then assemble by drizzling and placing shards after the drip thickens.
- Cuisine: American
- Diet: Vegetarian
Description
A ridged red velvet Bundt cake finished with a thick raspberry drip and crisp edible sugar-glass shards for a Halloween “bloody glass” look.
Ingredients
- Red velvet Bundt cake
- 2 1/2 cups all-purpose flour (300 g)
- 3 tbsp unsweetened cocoa powder (21 g)
- 1 1/2 tsp baking soda (6 g)
- 1 1/2 tsp fine salt (9 g)
- 1 1/2 cups granulated sugar (300 g)
- 1/2 cup neutral oil (120 ml)
- 1/2 cup unsalted butter, softened (113 g)
- 2 large eggs, room temperature (about 100 g each, without shells)
- 1 cup buttermilk, room temperature (240 ml)
- 2 tbsp red food coloring (gel preferred) (30 ml)
- 1 tbsp vanilla extract (15 ml)
- 1 tbsp distilled white vinegar (15 ml)
- For greasing
- Butter or baking spray (as needed)
- 1–2 tbsp all-purpose flour (8–16 g) (for pan dusting)
- Raspberry “blood” drip glaze
- 1/2 cup raspberry jam, seedless if possible (160 g)
- 1/4 cup raspberry preserves or puree (60 ml) (or more jam if needed)
- 1 tbsp light corn syrup (15 ml)
- 1/3 cup confectioners’ sugar (40 g)
- 1 tbsp water (15 ml), as needed to loosen
- 1/4 tsp fine salt (1.5 g)
- Edible glass “shards” (sugar glass)
- 1 cup granulated sugar (200 g)
- 1/2 cup light corn syrup (120 ml)
- 1/4 cup water (60 ml)
- 1–2 tsp clear vanilla extract (optional) (5–10 ml) (keeps flavor neutral)
- Optional: 1–2 drops red food coloring for a faint tint (about 1–2 ml total)
- Optional tiny raspberry smear dots
- 2–3 tbsp reserved raspberry jam (30–45 g) thinned with 1 tsp water (5 ml)
Instructions
- Prep the pan: Heat oven to 350°F (175°C). Grease a 10–12 cup Bundt pan very well, then dust with flour. Tap out excess.
- Mix dry ingredients: In a medium bowl, whisk flour, cocoa powder, baking soda, and salt until evenly combined.
- Mix wet ingredients: In a large bowl, whisk sugar, oil, and softened butter until glossy and smooth. Add eggs one at a time, whisking after each. Whisk in buttermilk, red food coloring, vanilla, and vinegar.
- Combine: Add dry ingredients to wet in 2 additions, mixing just until no flour streaks remain. Scrape the bowl; don’t overmix.
- Bake: Pour batter into the prepared Bundt pan. Bake 45–55 minutes, until the top springs back lightly and a toothpick inserted in the thickest area comes out with a few moist crumbs (not wet batter).
- Cool and unmold: Cool in the pan 15–20 minutes. Loosen edges with a thin spatula if needed, then invert onto a rack. Cool completely before glazing.
- Make the raspberry drip: In a small saucepan over medium heat, combine jam, raspberry preserves/puree, corn syrup, confectioners’ sugar, and salt. Stir until smooth and glossy, about 2–4 minutes (keep it bubbling gently).
- Set consistency: Remove from heat. Let it cool 5 minutes, stirring once or twice. It should ribbon slowly from a spoon. If it’s too thick, stir in water 1 teaspoon (5 ml) at a time.
- Make edible glass shards: Line a small baking sheet with parchment. Set aside.
In a clean saucepan, combine sugar, corn syrup, and water. Cook over medium heat, stirring only until sugar dissolves. Then stop stirring and continue cooking until it reaches hard-crack stage: 300°F (150°C).
Quickly (carefully—hot sugar burns) pour into a very thin layer on parchment. Optional: add 1–2 drops of red food coloring and use a toothpick to create faint wisps. Let cool completely at room temperature, then break into irregular shards.
- Assemble: drizzle, then place shards: Put the cooled Bundt on a wire rack over a sheet pan. Spoon the raspberry glaze over the top so it runs down the ridges.
Wait 3–6 minutes for the drip to thicken slightly (it should look glossy but less “runny”). Then gently press the edible glass shards onto the top ridges—keep them on top so they don’t melt or sink.
- Optional “bloody glass” smear dots: If using, thin jam with water. Dab tiny smears at the base of a few shards only. Let set 5 minutes.
- Serve: Transfer to a serving plate. For maximum crisp shards, serve the same day.
Notes
- Temperature tool: Use a candy thermometer for the sugar glass. Visual-only sugar cooking often leads to sticky or soft shards.
- Pan ridges help: A ridged Bundt pan gives the drip a place to cling, creating the waterfall effect.
- Don’t rush shard placement: Insert shards only after the drip thickens slightly so they stay crisp and upright.
- Humidity: Sugar glass softens faster in humid kitchens. Assemble close to serving.