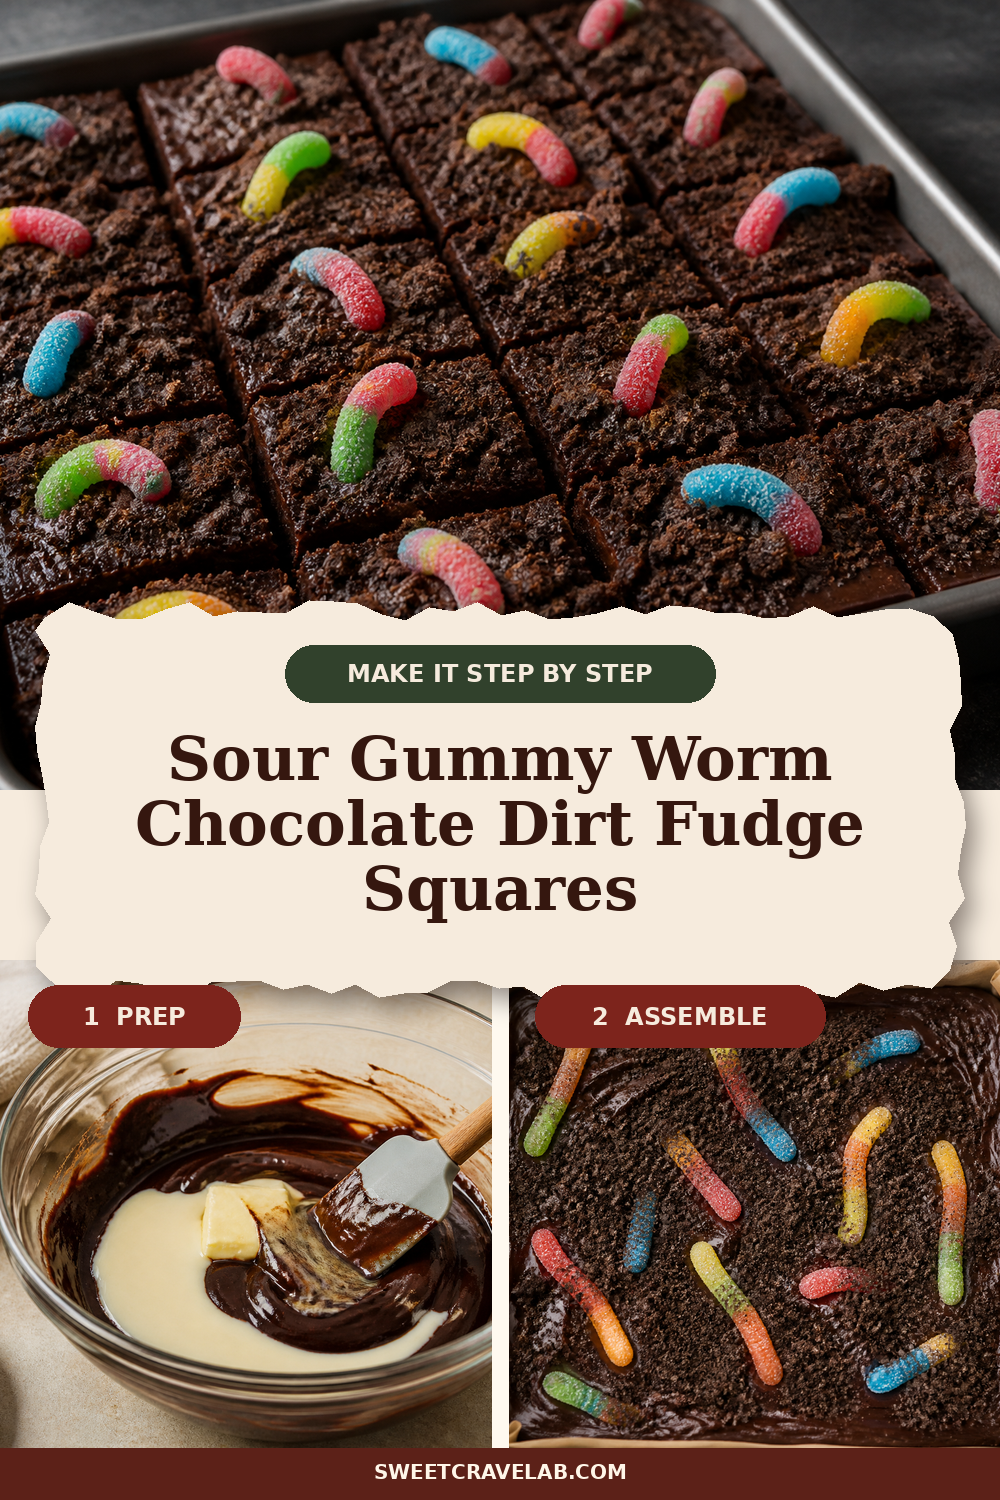
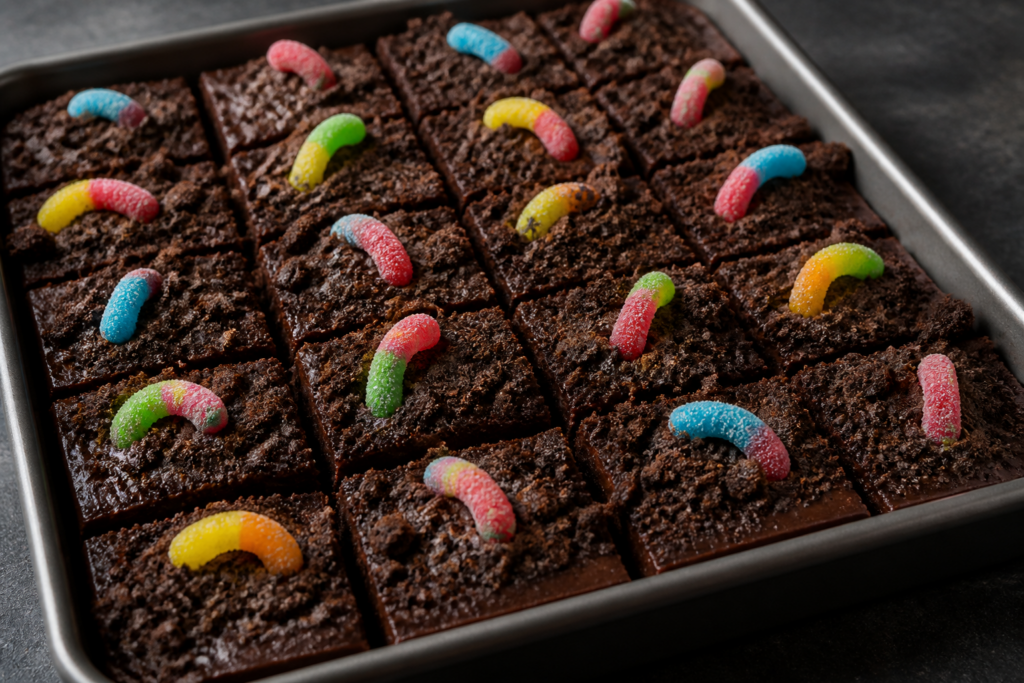
Every Halloween needs a dessert that looks like it took effort, even when it didn’t. These sour gummy worms chocolate dirt fudge squares are my favorite kind of party magic: deep, set-dark fudge in an 8×8 pan, cocoa cookie soil sprinkled on top, and neon sour worm tops poking out like “worms in dirt.”
No piping, no fancy molds—just melt, stir, pour, decorate, and chill. And the best part? They slice clean enough to stack on a tray, which is exactly what you want when guests are hovering with plates.
Why this works (and what to look for)
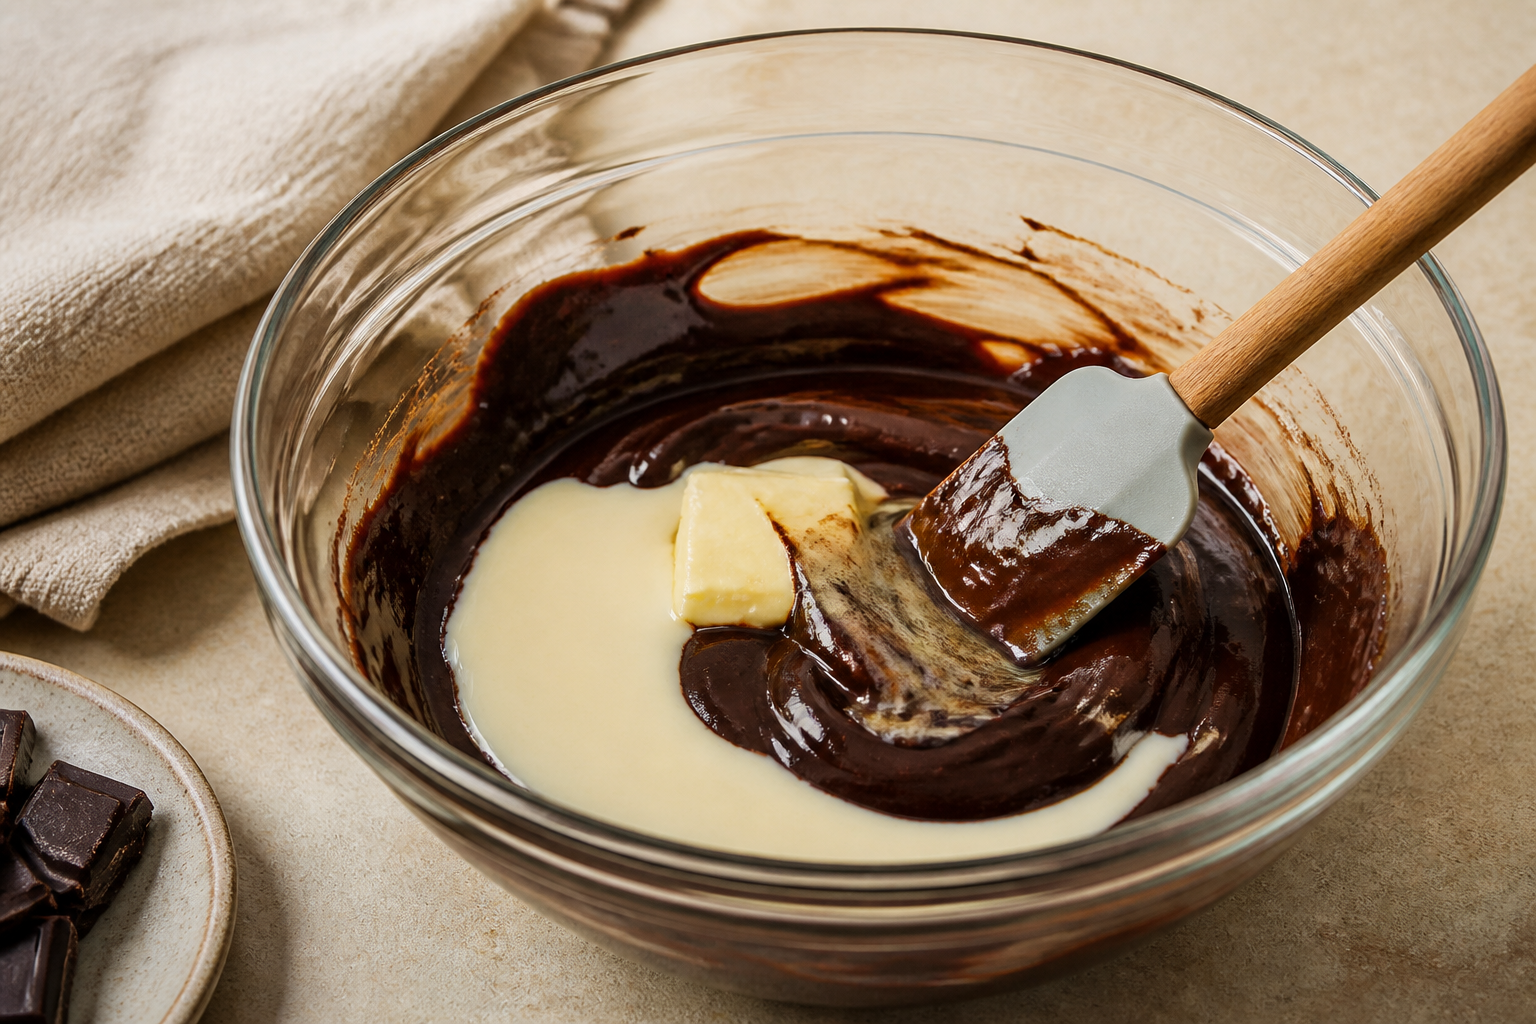
This fudge sets thanks to a classic combination: melted chocolate + sweetened condensed milk. When heated together, they form a smooth, glossy base. After pouring, chilling firms everything into sliceable squares. For the right texture, you want the fudge to look thick and glossy as you pour—then turn firm after a solid chill.
- Fudge consistency: smooth and pourable, not grainy.
- Doneness cue for slicing: after chilling, the surface should look matte and the center should feel fully set (no wobble).
Quick method overview
- Make the dark chocolate fudge base.
- Mix cocoa cookie soil.
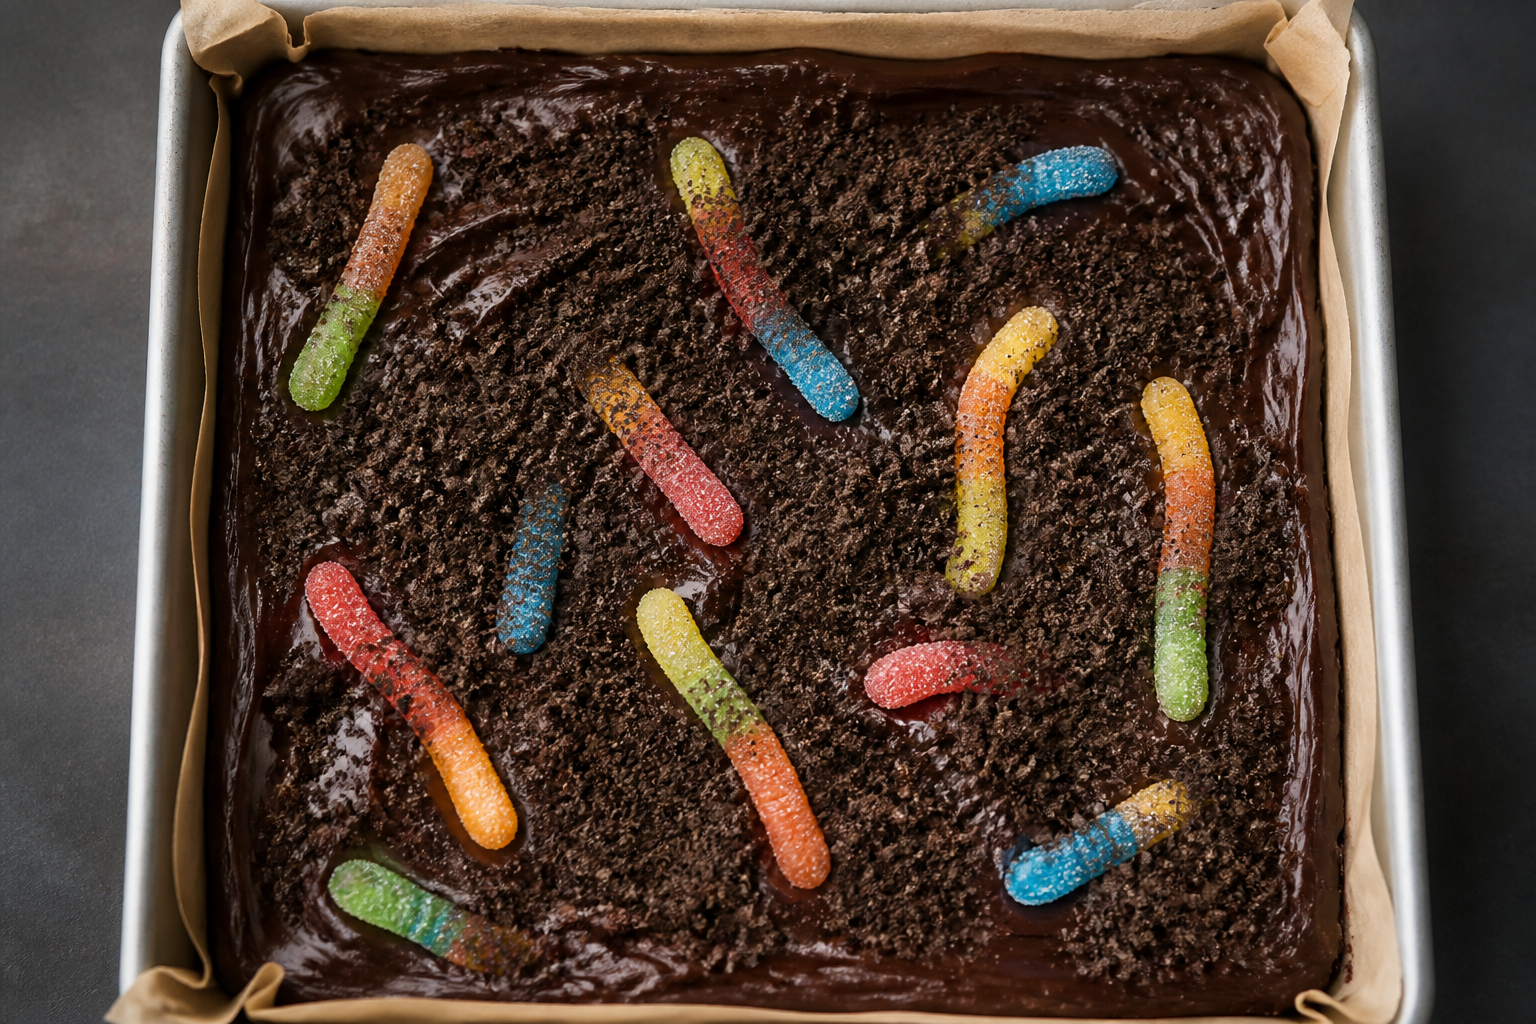
- Pour fudge, sprinkle soil, and press gummy worms into the top.
- Chill until firm, then slice into 8×8 squares.
Ingredient guidance (so the “dirt” looks right)
- Cocoa cookie soil: use chocolate sandwich cookies (or chocolate wafers) for the best crumb color. Crush them fairly fine so it looks like soil, not cookie chunks.
- Dark chocolate: go with semi-sweet or bittersweet chocolate for a deeper, moodier Halloween look.
- Sour gummy worms: press them in while the fudge is still freshly poured (or slightly cool) so they stick upright without collapsing.
Troubleshooting
- Fudge is too soft after chilling: your chill time may be short. Chill longer (up to overnight) and slice after it’s fully firm.
- Fudge looks streaky or grainy: the chocolate likely seized from overheating or water. Use gentle heat and stir until fully smooth.
- Gummy worms look messy or the color spreads: press them gently into the top surface. Avoid pushing too deeply—just enough to anchor.
- Edges crack when cutting: use a warm, sharp knife and wipe between cuts.
Substitutions
- No dark chocolate? Use semi-sweet chocolate; the squares will be slightly sweeter and lighter in color.
- Gluten-free option: use gluten-free chocolate sandwich cookies for the cocoa cookie soil.
- No sweetened condensed milk? I don’t recommend substituting here—condensed milk is what gives this fudge its reliable set and smooth slice.
Storage
- Refrigerator: store in an airtight container up to 5 days.
- Freezer: freeze in a sealed container up to 2 months. Thaw in the fridge overnight before serving.
FAQ
Can I make these ahead for a party?
Yes—make them up to a day ahead. Chill overnight for the cleanest slices.
Do I need to temper the chocolate?
No. We’re melting and mixing for fudge texture, not creating a glossy tempered shell.
What pan size works?
Use an 8×8 inch pan (20×20 cm). If you use a different size, the thickness and set behavior will change.
Why do my gummy worms sink?
They likely need a firmer surface. Chill the fudge 10–15 minutes before decorating if your kitchen is warm, then press the worms in.
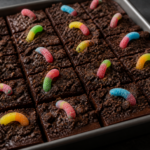
Sour Gummy Worm Chocolate Dirt Fudge Squares
- Prep Time: 15 minutes
- Cook Time: 10 minutes
- Total Time: 3 hours 25 minutes
- Yield: 64 squares (1 8x8 pan)
- Category: Chocolate Recipes
- Method: No-bake fudge with chilling
- Cuisine: American
- Diet: Vegetarian
Description
Rich, sliceable dark chocolate fudge squares topped with cocoa cookie “soil” and upright sour gummy worm tops for a clear “worms in dirt” Halloween look.
Ingredients
- Unsalted butter: 6 tbsp (85 g)
- Dark chocolate chips or chopped dark chocolate: 12 oz (340 g)
- Sweetened condensed milk: 1 can (14 oz/396 g)
- Unsweetened cocoa powder: 1/4 cup (22 g)
- Fine salt: 1/4 tsp (1.5 g)
- Vanilla extract: 1 tsp (5 ml)
- Chocolate sandwich cookies, crushed (for dirt): 2 cups (about 120 g)
- Extra unsweetened cocoa powder (for deeper dirt color): 2 tbsp (14 g)
- Sour gummy worms: about 1 1/2 cups (170 g), plus a few extra if you want extra worm tops
- Optional: flaky salt, for a dramatic “soil” sparkle (a pinch)
Instructions
- Line an 8×8 inch (20×20 cm) pan with parchment paper, leaving overhang on two sides. Lightly grease the parchment so the fudge releases easily.
- In a medium microwave-safe bowl (or heatproof bowl over a simmering water bath), melt the butter and dark chocolate together in short bursts (or melt gently), stirring until smooth.
- Whisk in the sweetened condensed milk until fully combined and glossy.
- Whisk in the cocoa powder and fine salt. Stir until the mixture is thick, smooth, and no cocoa streaks remain. Remove from heat and stir in the vanilla.
- Let the fudge cool for 5–10 minutes, just until it’s still pourable but slightly thickened (it should fall off the spoon in a slow ribbon).
- Pour the fudge into the lined pan and spread into an even layer.
- In a small bowl, mix the crushed chocolate sandwich cookies with the extra cocoa powder. Sprinkle the “soil” evenly over the fudge.
- Decorate immediately: press sour gummy worms into the top so the vivid worm colors stick up above the cocoa soil. Don’t push too deep—just enough to anchor.
- Chill uncovered until fully firm, at least 2 hours (for clean slices, chill 3–4 hours or overnight).
- Use the parchment overhang to lift the block onto a cutting board. For neat squares, warm a sharp knife under hot water, wipe dry, then cut into 8×8 squares (64 total). Wipe the knife between cuts if needed.
Notes
Visual cues: The finished fudge should look matte on top with no “wet” shine, and the center should not wobble when gently nudged. If your worms fall over, your fudge is likely too warm—chill 10–15 minutes before decorating next time (or just chill longer before pressing worms).