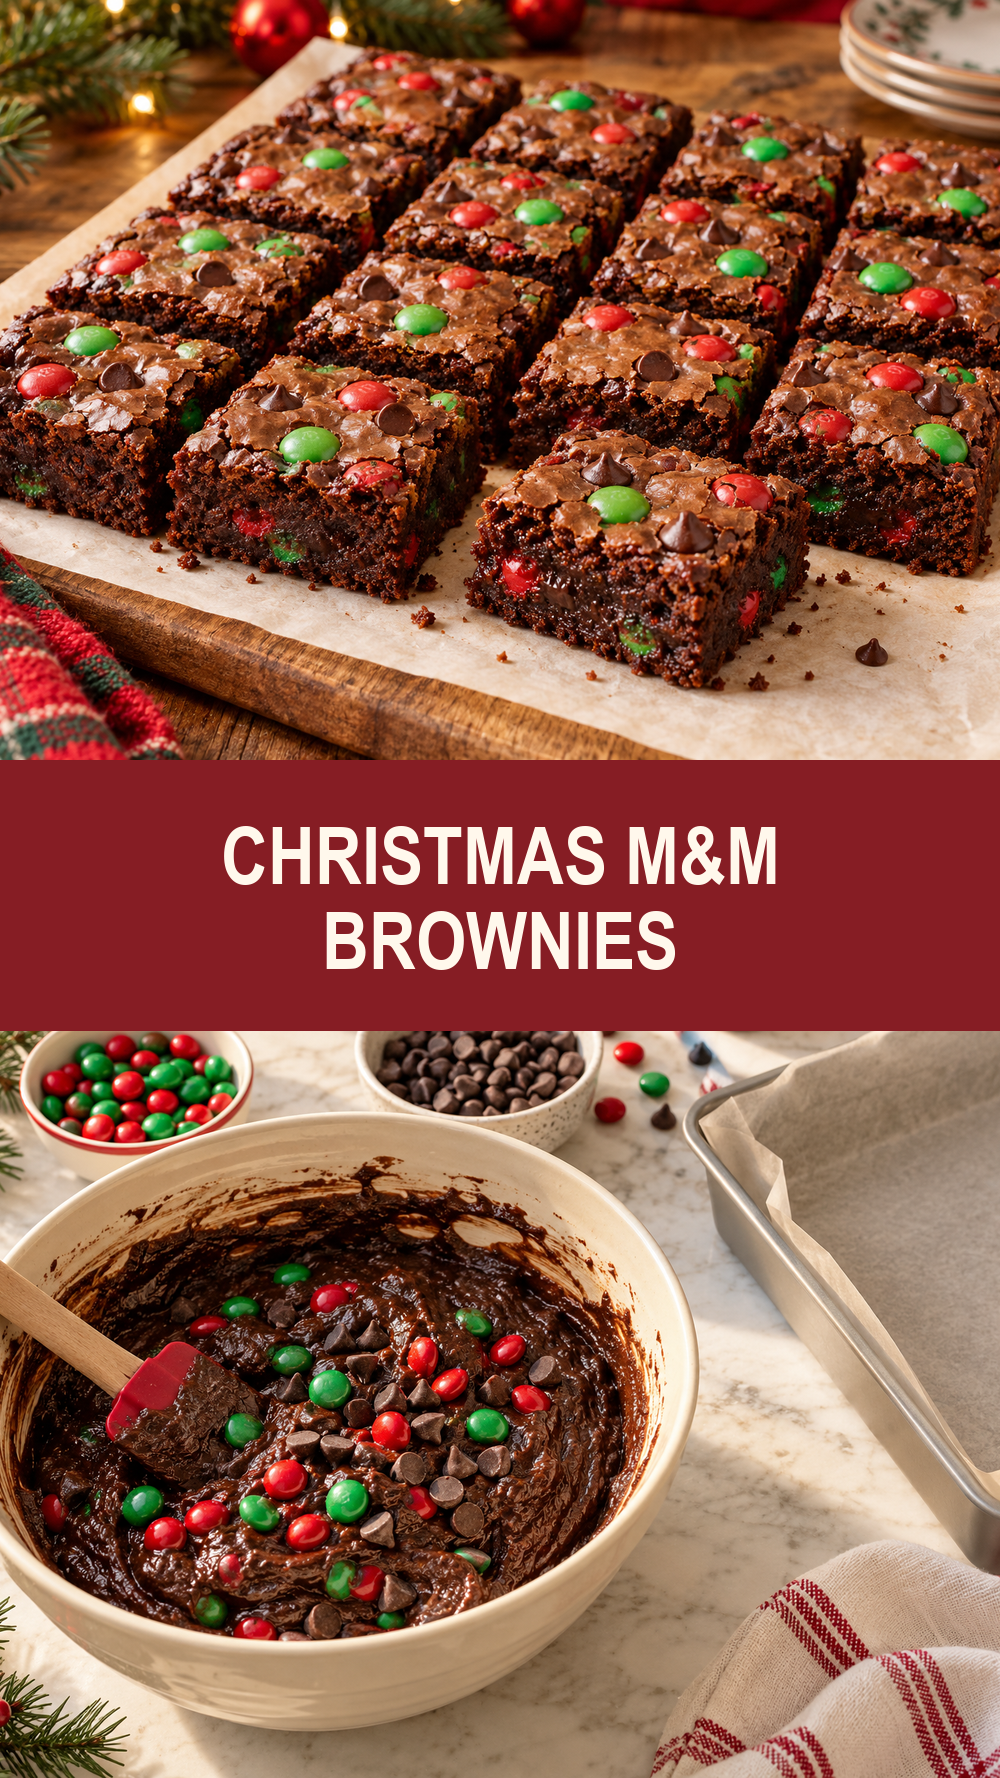
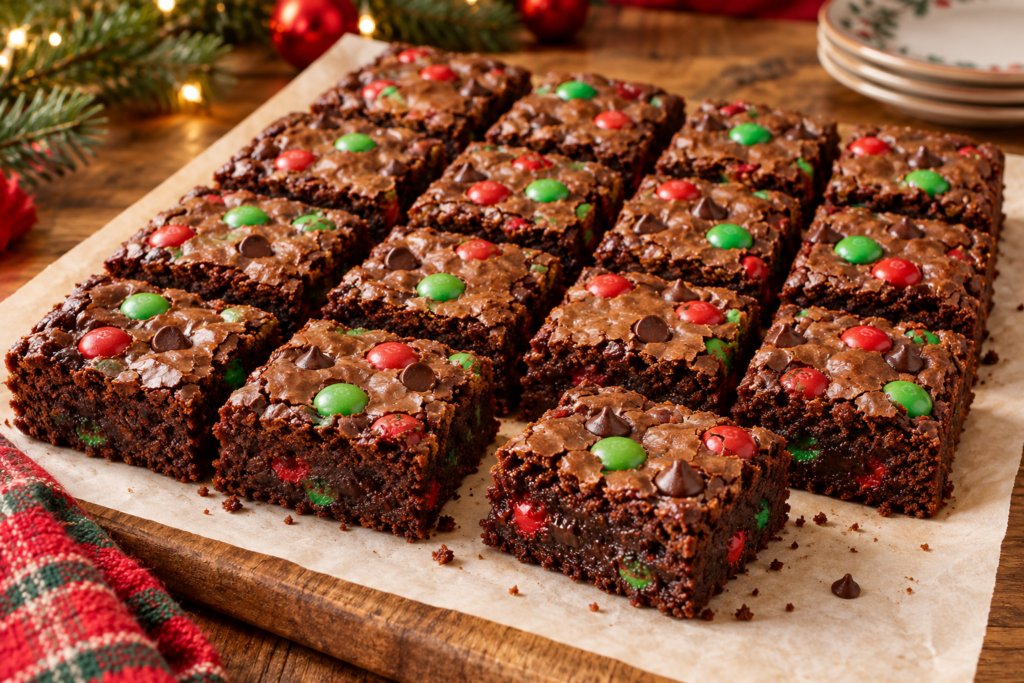
These Christmas M&M brownies bring a focused Christmas flavor to the dessert table without demanding complicated decoration. A dark cocoa base keeps the bars chocolate-forward, while red-and-green candy-coated chocolates add the familiar holiday color families expect. The recipe uses one 9×13-inch pan and needs no frosting or piping, making it practical for school parties, cookie boxes, and casual Christmas gatherings.
I built this guide around the decisions that matter most: choosing the right ingredients, recognizing the correct texture, planning ahead, and keeping the final dessert attractive enough for gifting or a holiday gathering.
Why These Christmas M&M Brownies Work
Melted butter and a combination of granulated and brown sugar create a chewy edge and moist center. Four eggs provide enough structure for neat squares, and Dutch-process cocoa builds a rounded chocolate flavor. Folding most of the candies into the batter and reserving the rest for the surface gives every piece color without making the top crowded.
The visual identity is just as useful as the flavor. Christmas recipes perform best when a reader can understand the finished dessert immediately, so this version uses familiar seasonal color, a clear serving format, and a finish that can be reproduced in an ordinary home kitchen.
Ingredient Guidance for Christmas M&M Brownies
Use Dutch-process cocoa for the deepest color, but do not replace it with hot cocoa mix. Weigh the flour because even a small excess can turn fudgy brownies cakey. Regular red-and-green candy-coated chocolates hold their shape better than mini pieces in the batter. Semisweet chocolate chips are optional but reinforce the chocolate flavor without overwhelming the candy shell crunch.
For the most consistent result, measure larger ingredients by weight. The King Arthur ingredient weight chart is a useful reference when a package or measuring cup differs from the metric values in the recipe card. Set out and measure everything before beginning so temperature-sensitive stages are not left waiting. Well-prepared Christmas M&M brownies begin with this simple mise en place.
How to Make Christmas M&M Brownies
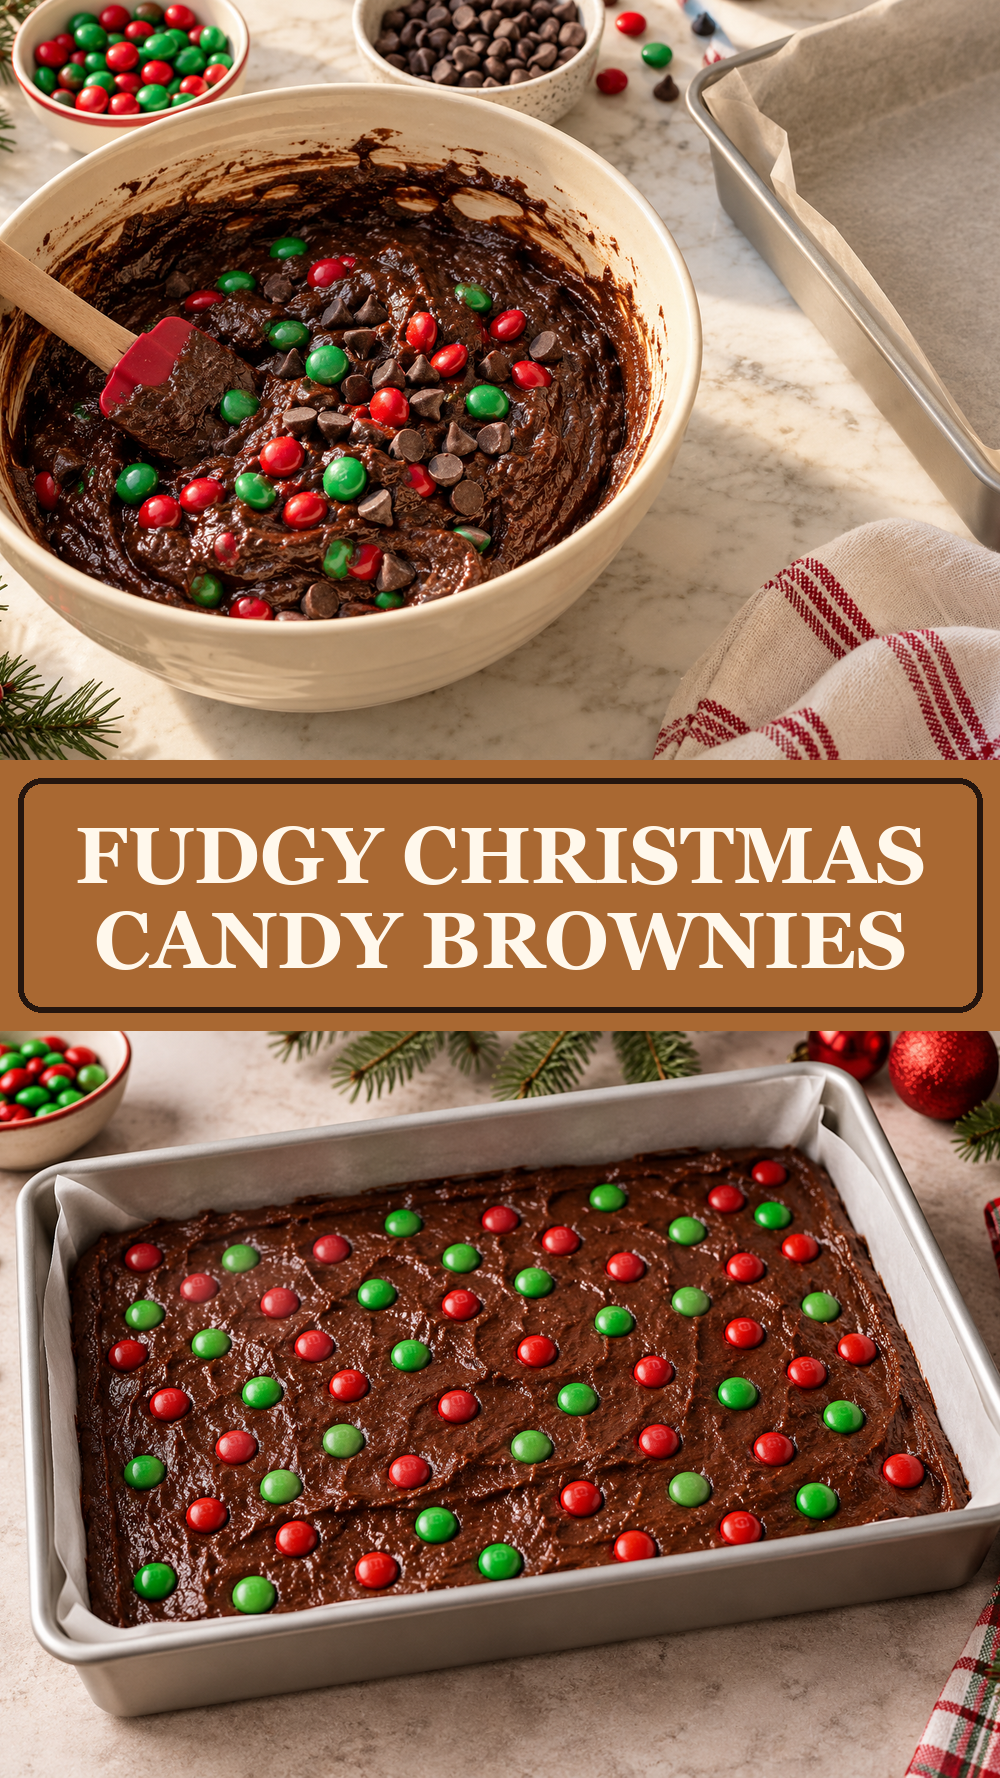
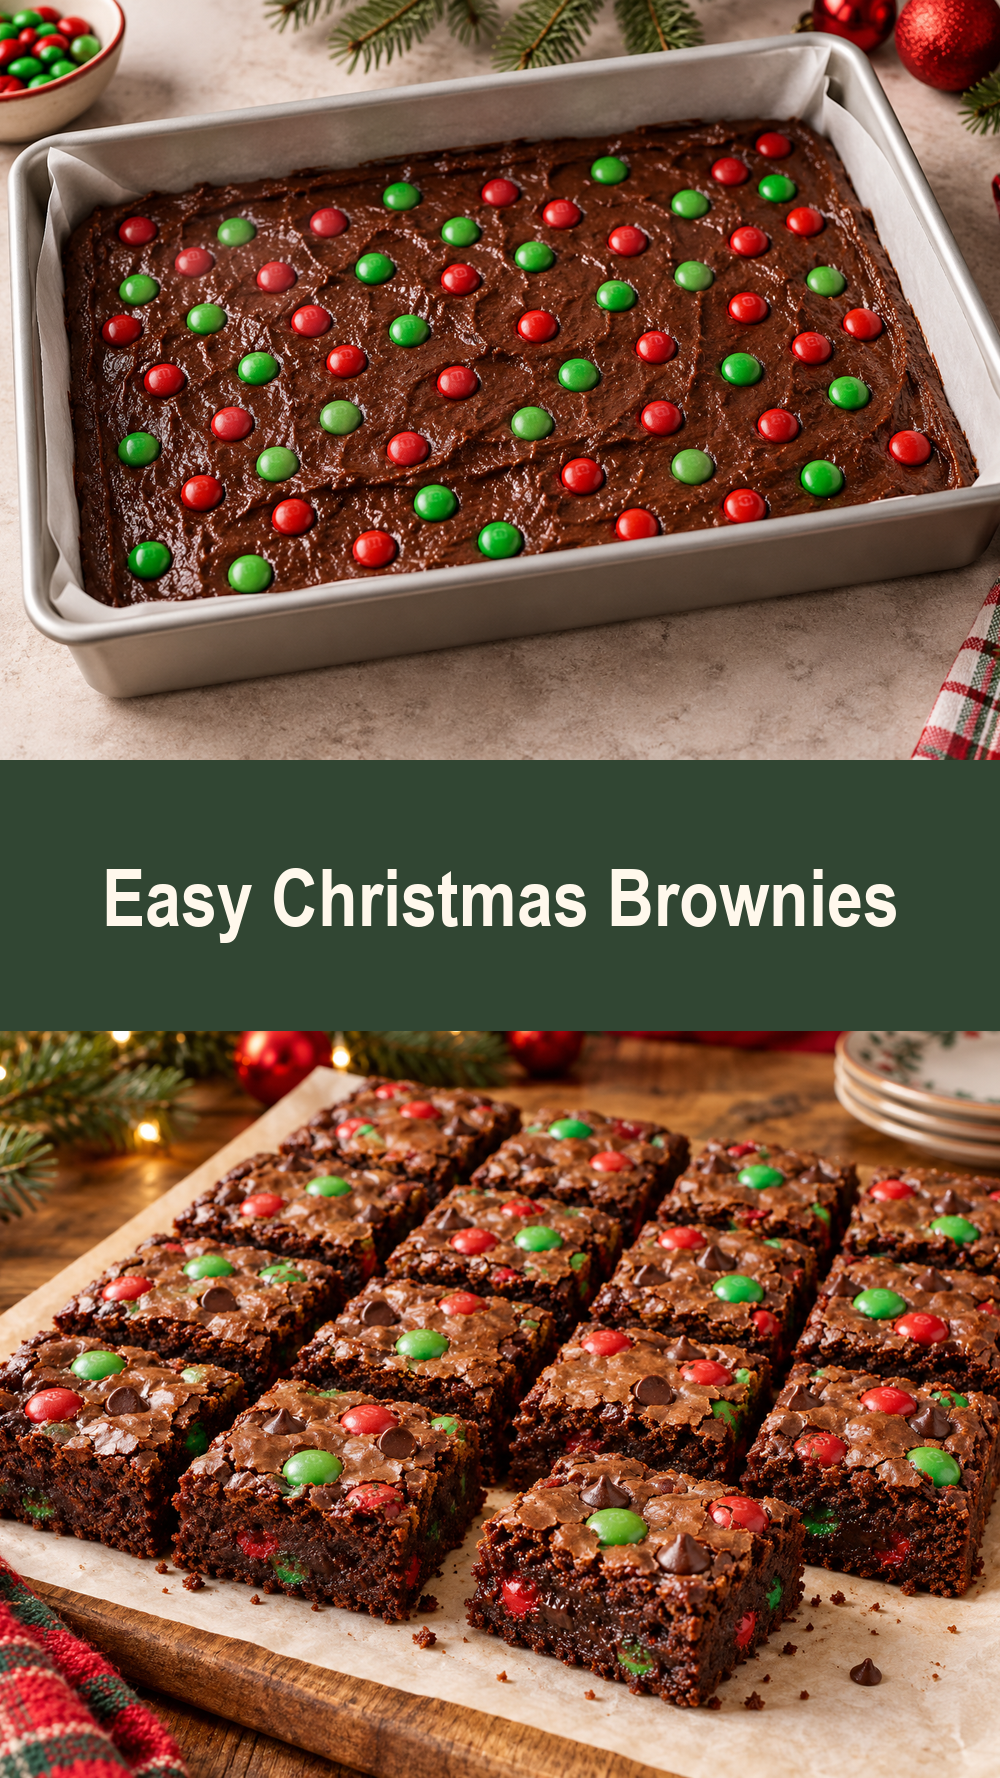
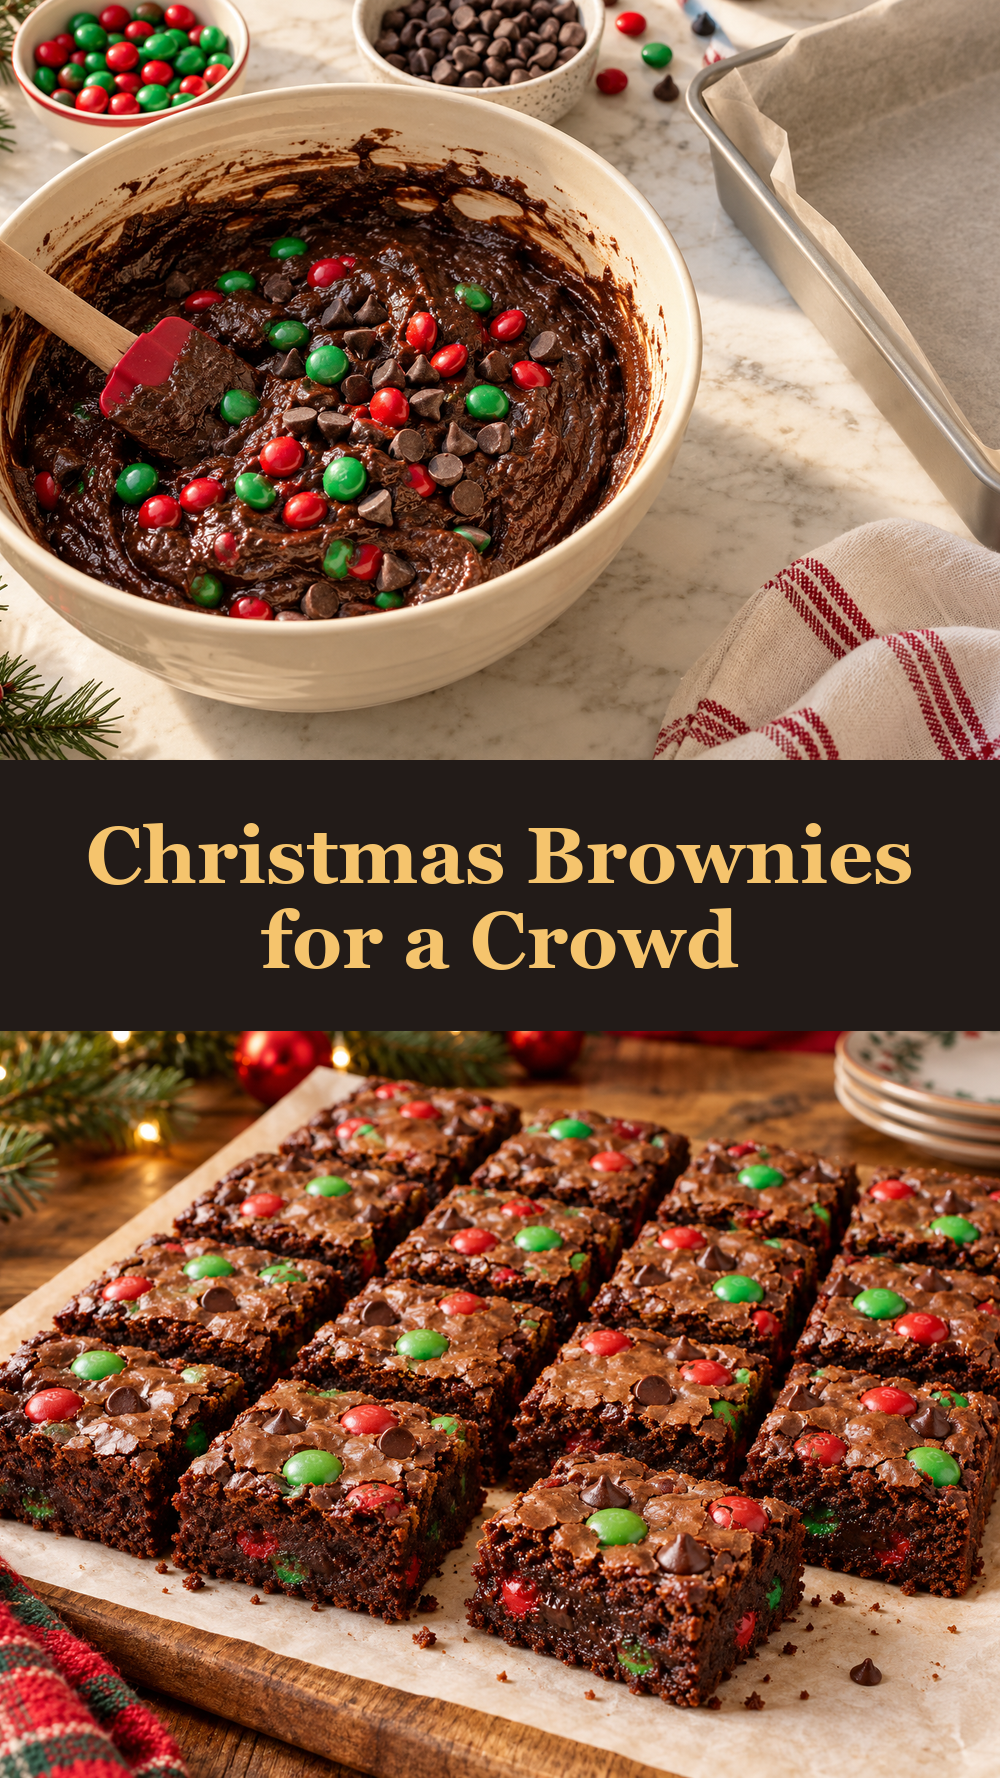
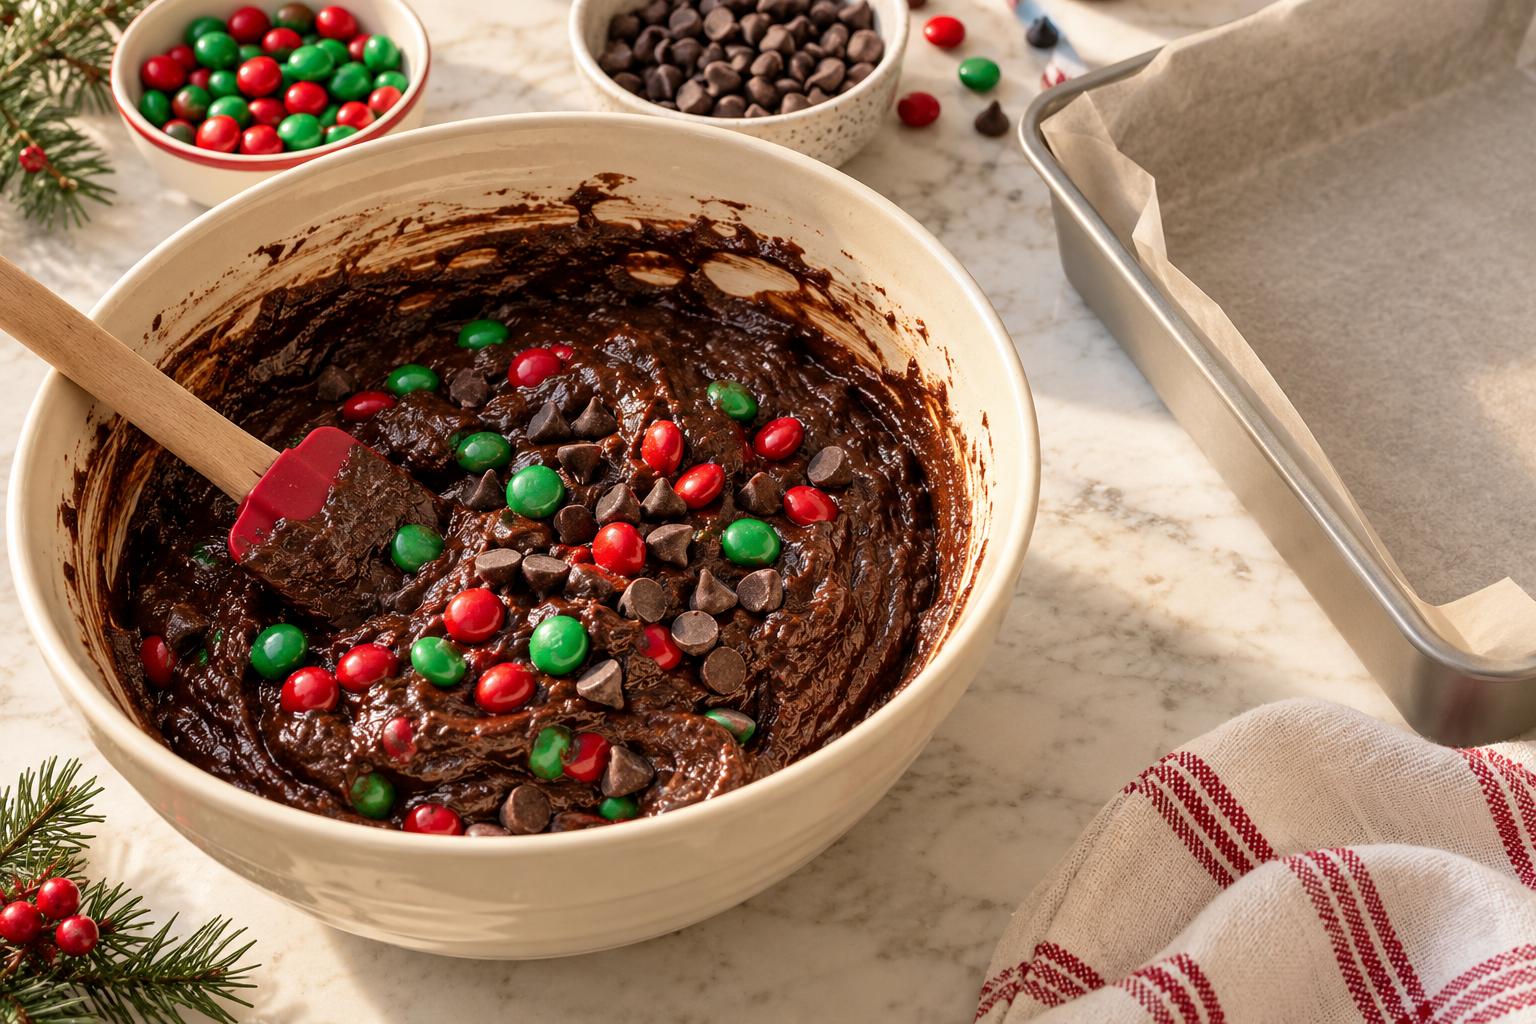
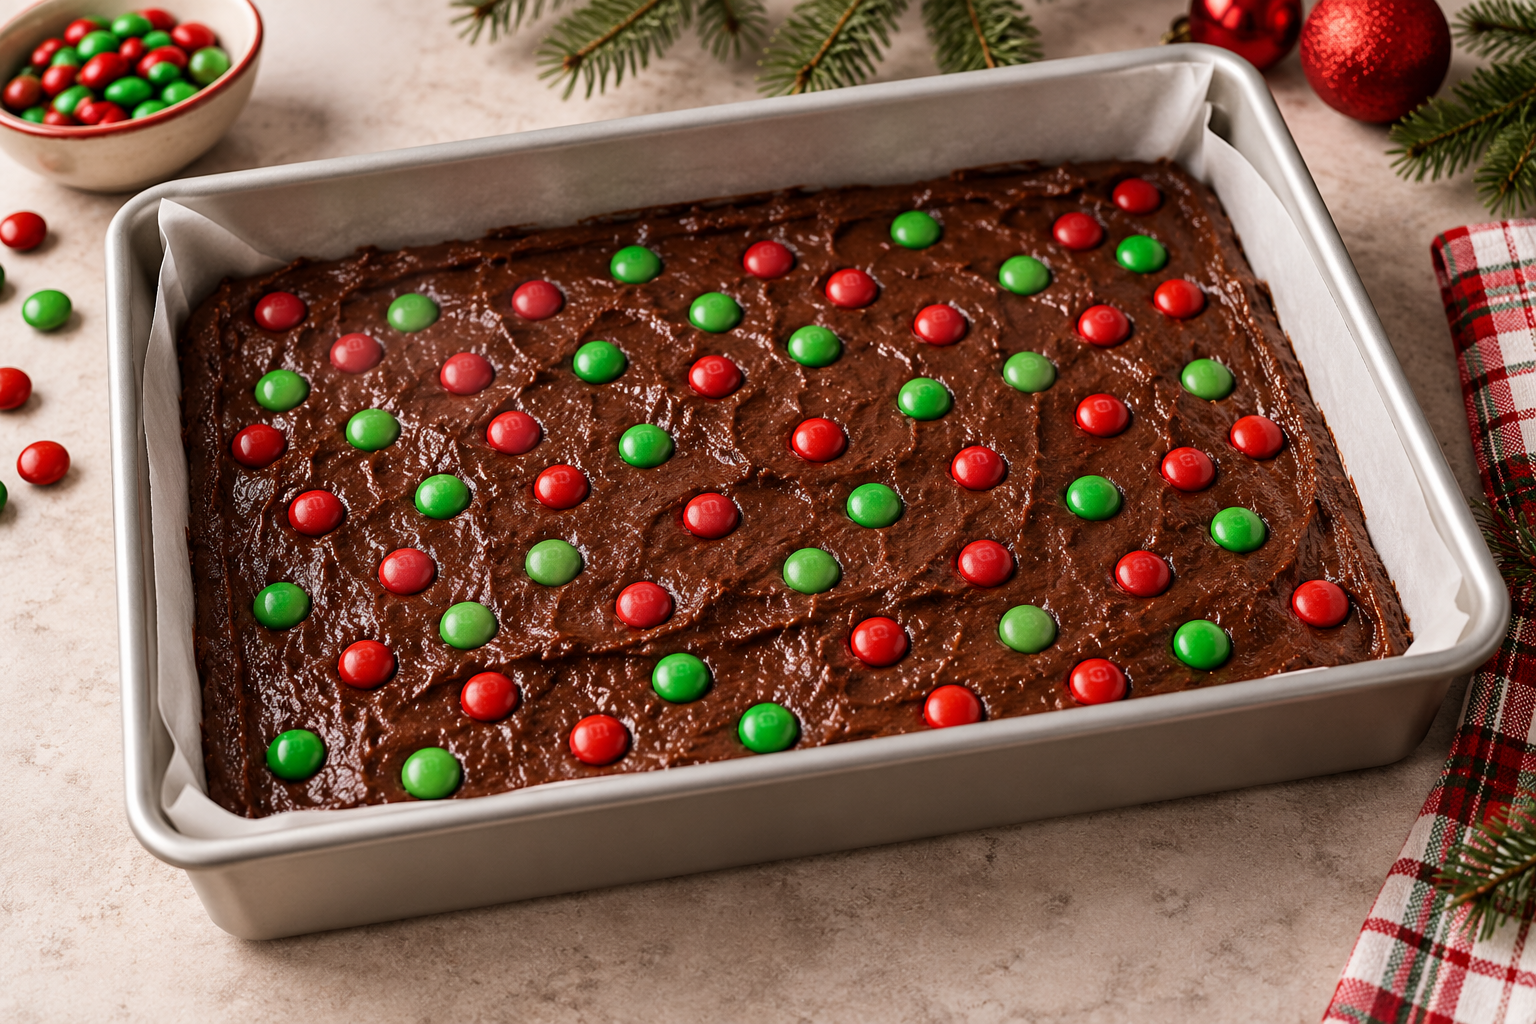
Line a light metal 9×13-inch pan with parchment. Whisk warm melted butter with both sugars, add eggs and vanilla, then fold in cocoa, flour, salt, candies, and chocolate chips only until no dry flour remains. Spread the thick batter evenly, press the reserved candies over the surface, and bake until a tester shows moist crumbs rather than wet batter.
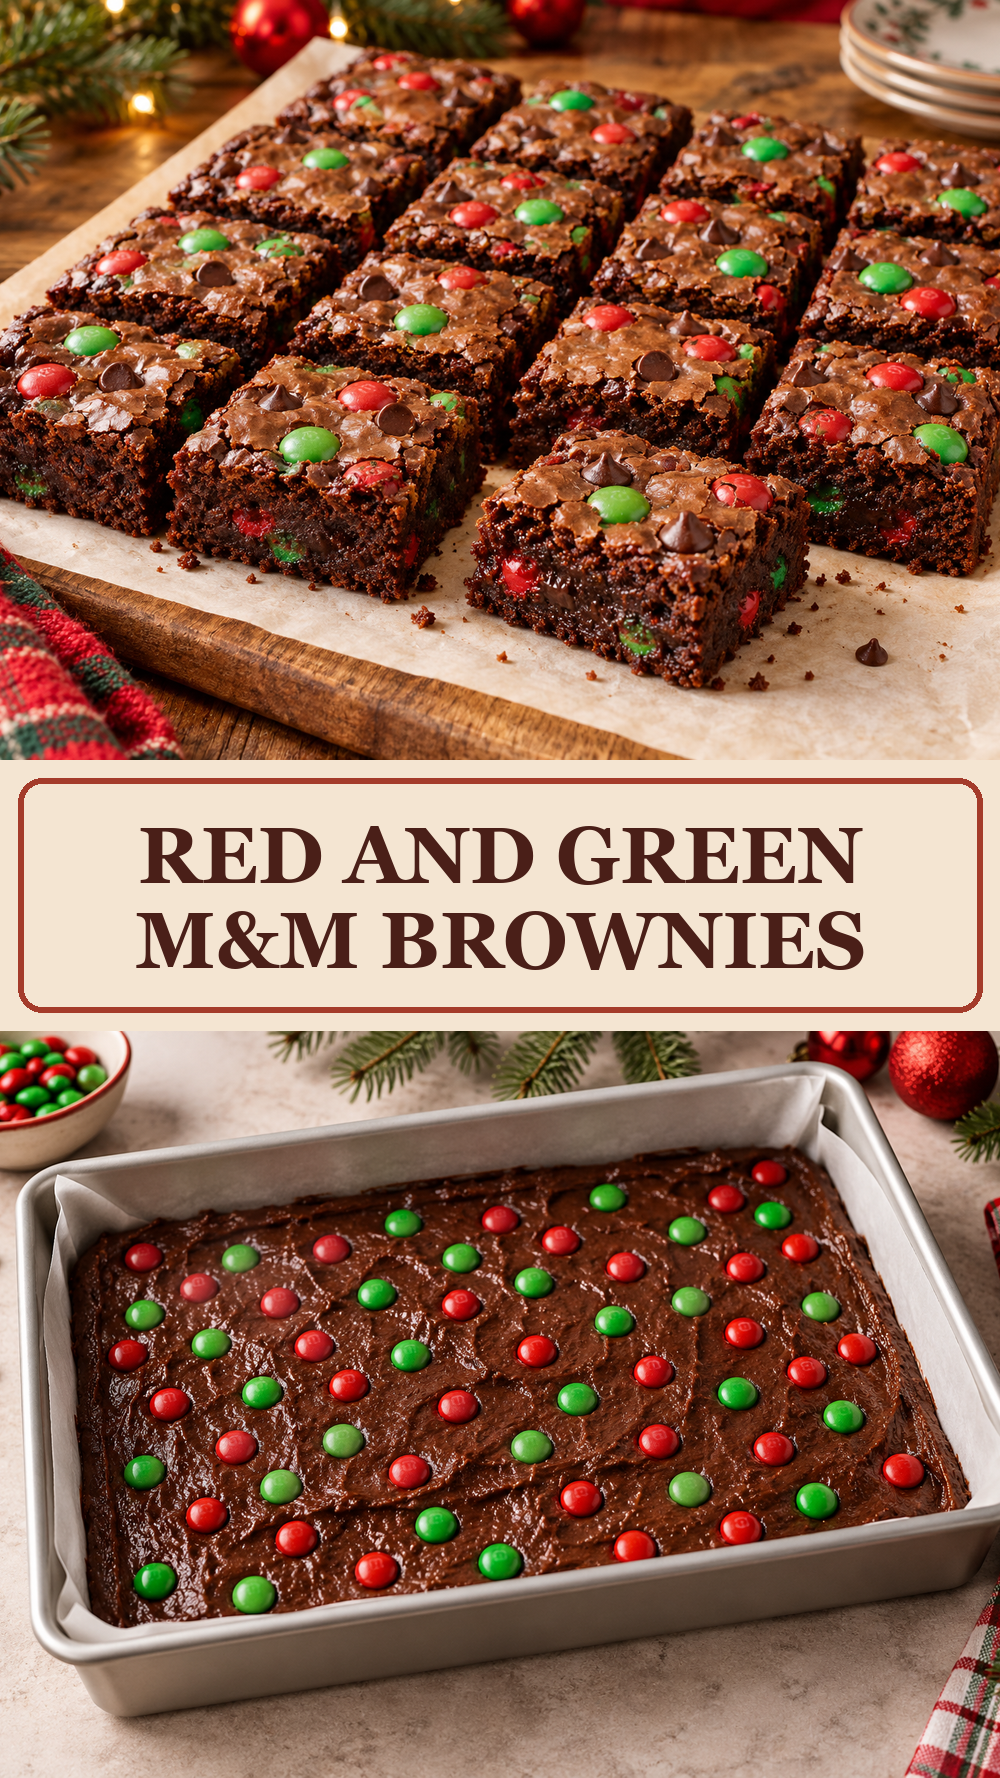
The mixed batter should look glossy and fall from the spatula in a thick ribbon. Properly baked brownies have set edges, a thin crackly surface, and a center that no longer ripples when the pan is nudged. Let the slab cool completely before lifting it out; the crumb firms as it cools and should bend slightly rather than crumble under the knife.
For reliable Christmas M&M brownies, work deliberately rather than quickly. Read the complete recipe card before starting, prepare the specified pan or vessels, and keep the three photographs in this article as visual checkpoints. The first shows preparation, the second shows the later assembly stage, and the featured image shows the intended finish.
Christmas M&M Brownies Texture, Flavor, and Christmas Presentation
A dark cocoa base keeps the bars chocolate-forward, while red-and-green candy-coated chocolates add the familiar holiday color families expect. The recipe uses one 9×13-inch pan and needs no frosting or piping, making it practical for school parties, cookie boxes, and casual Christmas gatherings. This balance helps the Christmas M&M brownies fit naturally beside more traditional holiday cookies and candies without disappearing on a crowded table.
Cut the slab into 24 modest squares for a mixed dessert table or 16 larger bars for an individual treat. Arrange them in alternating directions on ivory parchment so the red-and-green tops remain visible. For gifting, use a shallow tin with parchment between layers and avoid stacking while the chocolate chips are still soft.
Troubleshooting Christmas M&M Brownies
- Dry brownies usually contain too much flour or stayed in the oven until the tester was clean; weigh flour and stop at moist crumbs.
- Candies that sink were mixed into very warm or overly loose batter; let melted butter cool briefly and keep the batter thick.
- Ragged squares come from cutting a warm slab; cool completely, chill for 20 minutes, and wipe a warm dry knife between cuts.
If something looks different from the visual cues, pause before moving to the next stage. Temperature, ingredient measurement, and timing cause most dessert problems. Correcting the consistency early is easier than trying to disguise it with additional topping.
Useful Substitutions
Natural cocoa can replace Dutch-process cocoa, although the bars will be lighter and slightly sharper. Dark or milk chocolate chips can be used, or omitted for a simpler brownie. Any red-and-green candy-coated chocolate works. For a nut-free school batch, verify every package label and use a facility-appropriate candy brand.
Change one element at a time and keep the principal structure intact. Multiple substitutions can alter moisture, sweetness, and setting behavior at once, which makes the result difficult to predict. The published version of these Christmas M&M brownies is written for the ingredients in the recipe card.
Make-Ahead Plan for Christmas M&M Brownies
Bake the slab one day ahead, cool it fully, and keep it uncut and airtight at room temperature. Cut just before arranging the platter so the edges remain moist. The batter should not be held overnight, but measured dry ingredients and the lined pan can be prepared in advance.
Store the cooled brownies airtight at room temperature for four days or refrigerate for one week. Bring chilled pieces toward room temperature before serving. Freeze individual undecorated squares for two months, wrapped tightly, and thaw them while still covered to protect the moist crumb.
Label frozen components with the recipe name and date. For a Christmas event, work backward from serving time and reserve the final decorative step for the point that gives the freshest appearance. This keeps the Christmas M&M brownies polished without creating unnecessary work on the day of the gathering.
Serving and Gifting Christmas M&M Brownies
Cut the slab into 24 modest squares for a mixed dessert table or 16 larger bars for an individual treat. Arrange them in alternating directions on ivory parchment so the red-and-green tops remain visible. For gifting, use a shallow tin with parchment between layers and avoid stacking while the chocolate chips are still soft.
Find more Christmas brownie recipes and free dessert ebook. When packaging homemade food, use clean food-safe containers, protect delicate surfaces with parchment, and include a simple note about refrigeration or allergens when relevant.
Christmas M&M Brownies FAQ
Can I use mini candy-coated chocolates?
Yes. They distribute more evenly, but reserve a few regular-size pieces for a stronger Christmas color signal on top.
How do I know when the center is done?
Insert a tester near the center. It should carry thick moist crumbs, while liquid batter means the pan needs more time.
Can I double the recipe?
Use two separate 9×13-inch pans so the centers bake evenly instead of pouring a double batch into one deeper pan.
A Christmas Dessert Worth Saving
The strongest holiday recipes combine recognizable flavor with a method that fits a busy calendar. These Christmas M&M brownies can be prepared in stages, look festive without excessive decoration, and offer enough practical detail for a confident first attempt. Save the recipe now, gather the ingredients early, and use the photographs as checkpoints when you make your Christmas batch.
Print
Christmas M&M Brownies
- Prep Time: 20 minutes
- Cook Time: 27 minutes
- Total Time: 2 hours
- Yield: 16 large brownies
- Category: Dessert
- Method: Baking
- Cuisine: American
- Diet: Vegetarian
Description
Fudgy one-pan chocolate brownies with red-and-green candy-coated chocolates.
Ingredients
- 1 cup unsalted butter, melted and slightly cooled (226 g)
- 1 1/4 cups granulated sugar (250 g)
- 3/4 cup packed light brown sugar (150 g)
- 4 large eggs, room temperature
- 2 tsp vanilla extract (10 ml)
- 1 cup Dutch-process cocoa powder (85 g)
- 1 cup all-purpose flour (120 g)
- 1 tsp fine salt (5 g)
- 1 cup red-and-green candy-coated chocolates, divided (200 g)
- 3/4 cup semisweet chocolate chips (128 g)
Instructions
- Heat the oven to 350°F (177°C). Line a light metal 9×13-inch pan with parchment.
- Whisk the melted butter with both sugars until glossy. Add the eggs one at a time, then whisk in vanilla.
- Sift in cocoa, flour, and salt. Fold only until a few dry streaks remain.
- Fold in 3/4 cup candy-coated chocolates and the chocolate chips. Spread the thick batter evenly in the pan.
- Press the remaining candy pieces over the surface without crowding them.
- Bake for 24-29 minutes, until the edges are set and a center tester carries moist crumbs.
- Cool completely in the pan. Lift out, chill 20 minutes if desired, and cut with a warm dry knife.
Notes
Do not wait for a clean tester. Cool the slab fully before cutting and reserve some candies for the surface.