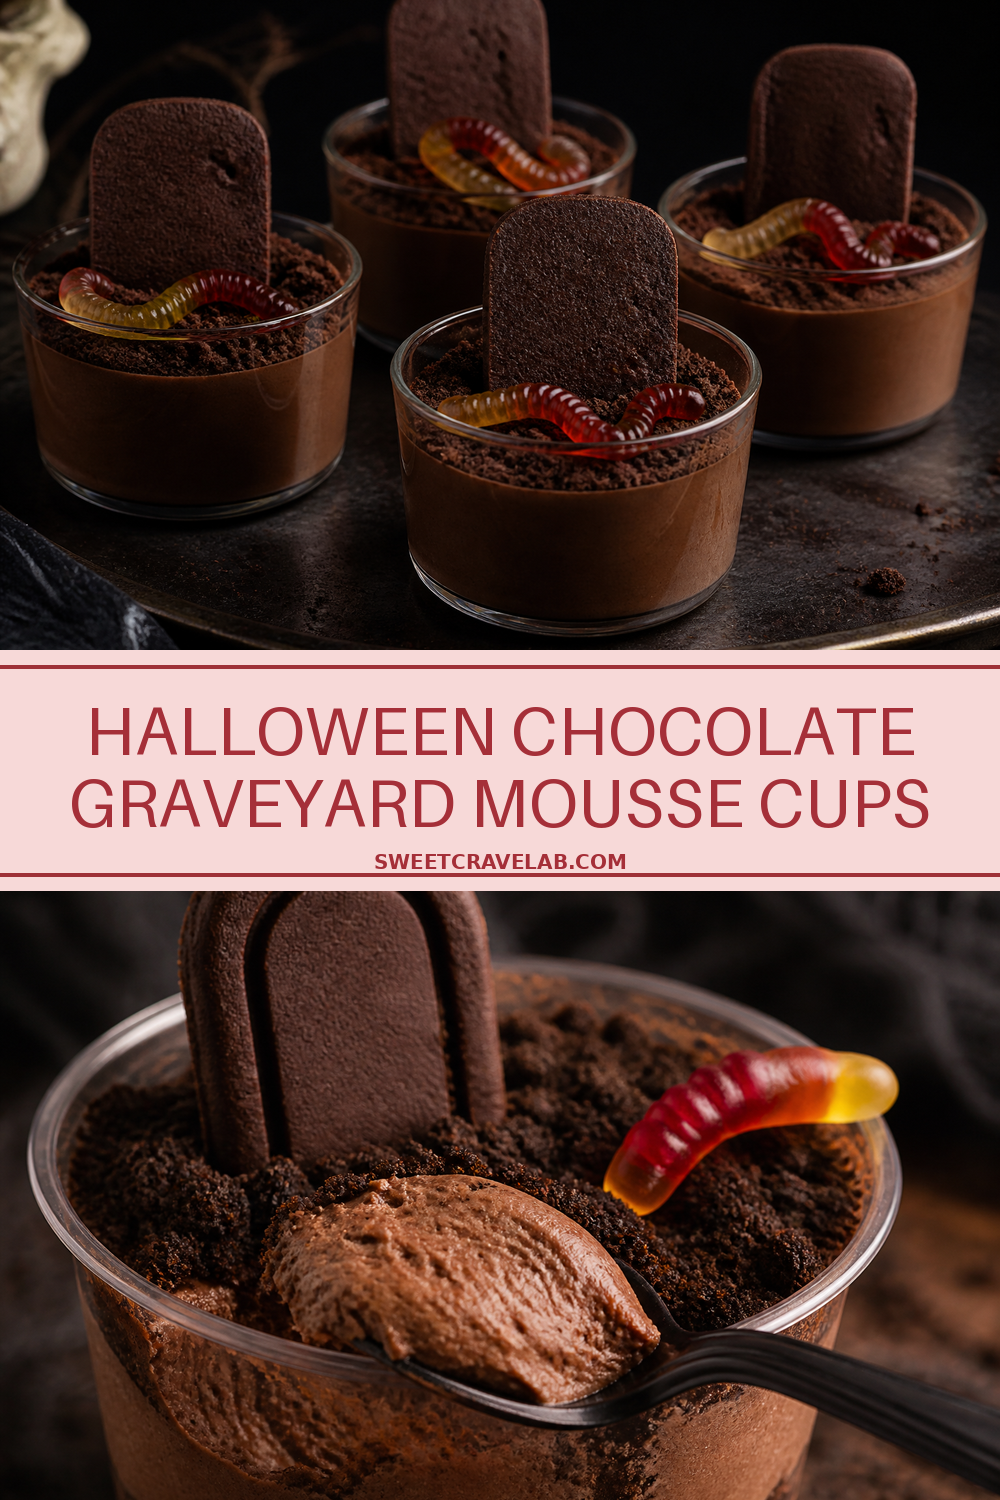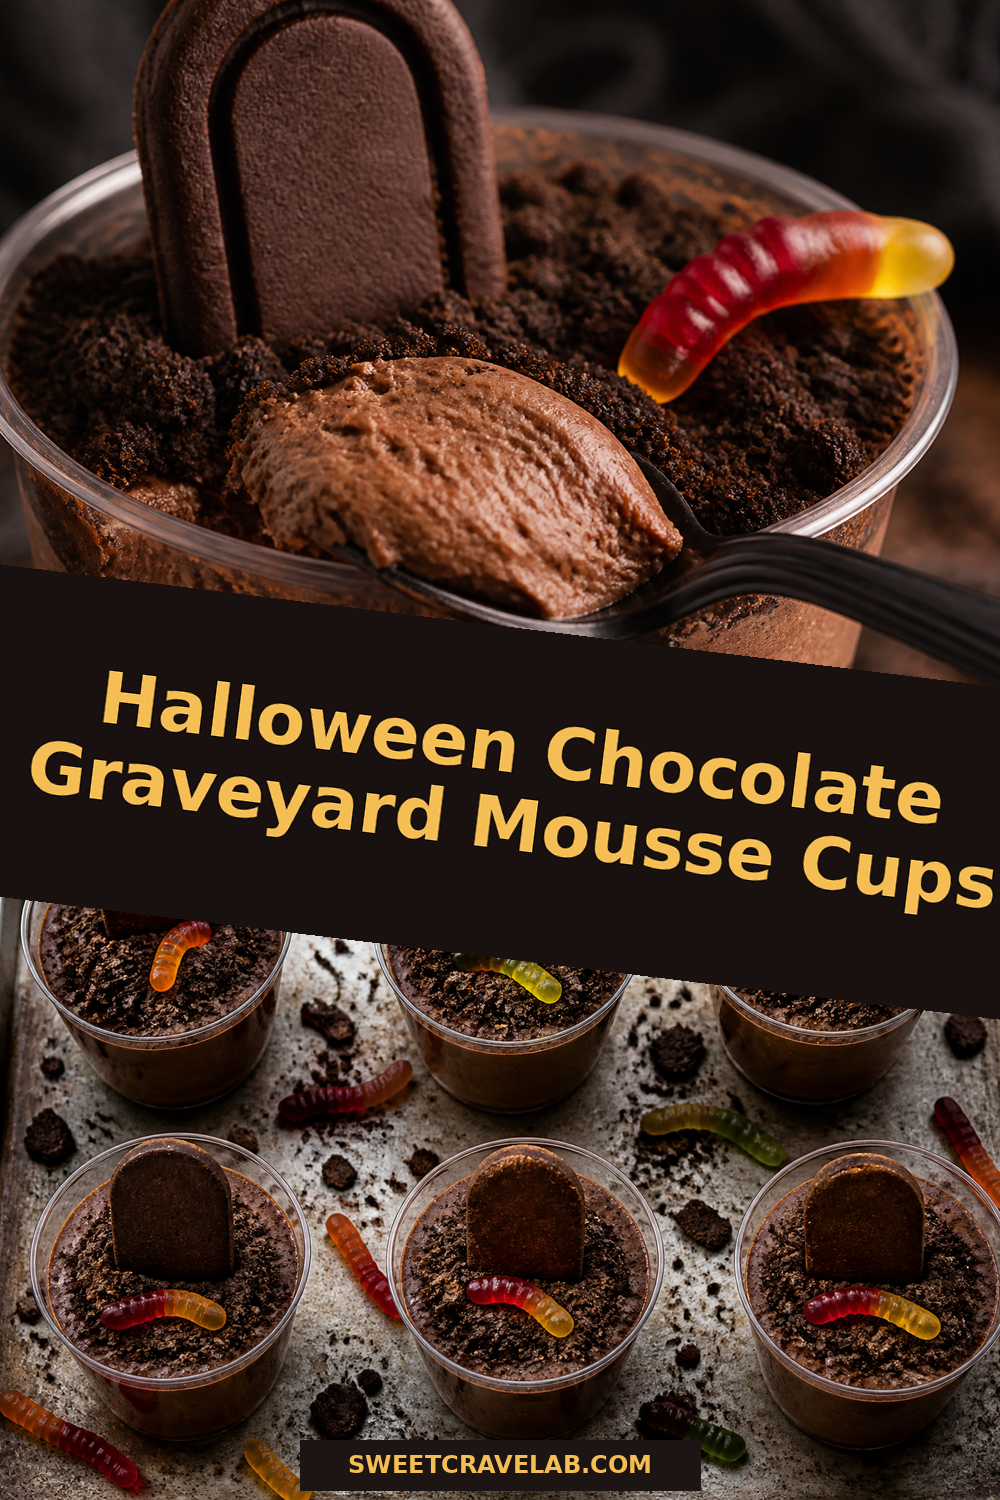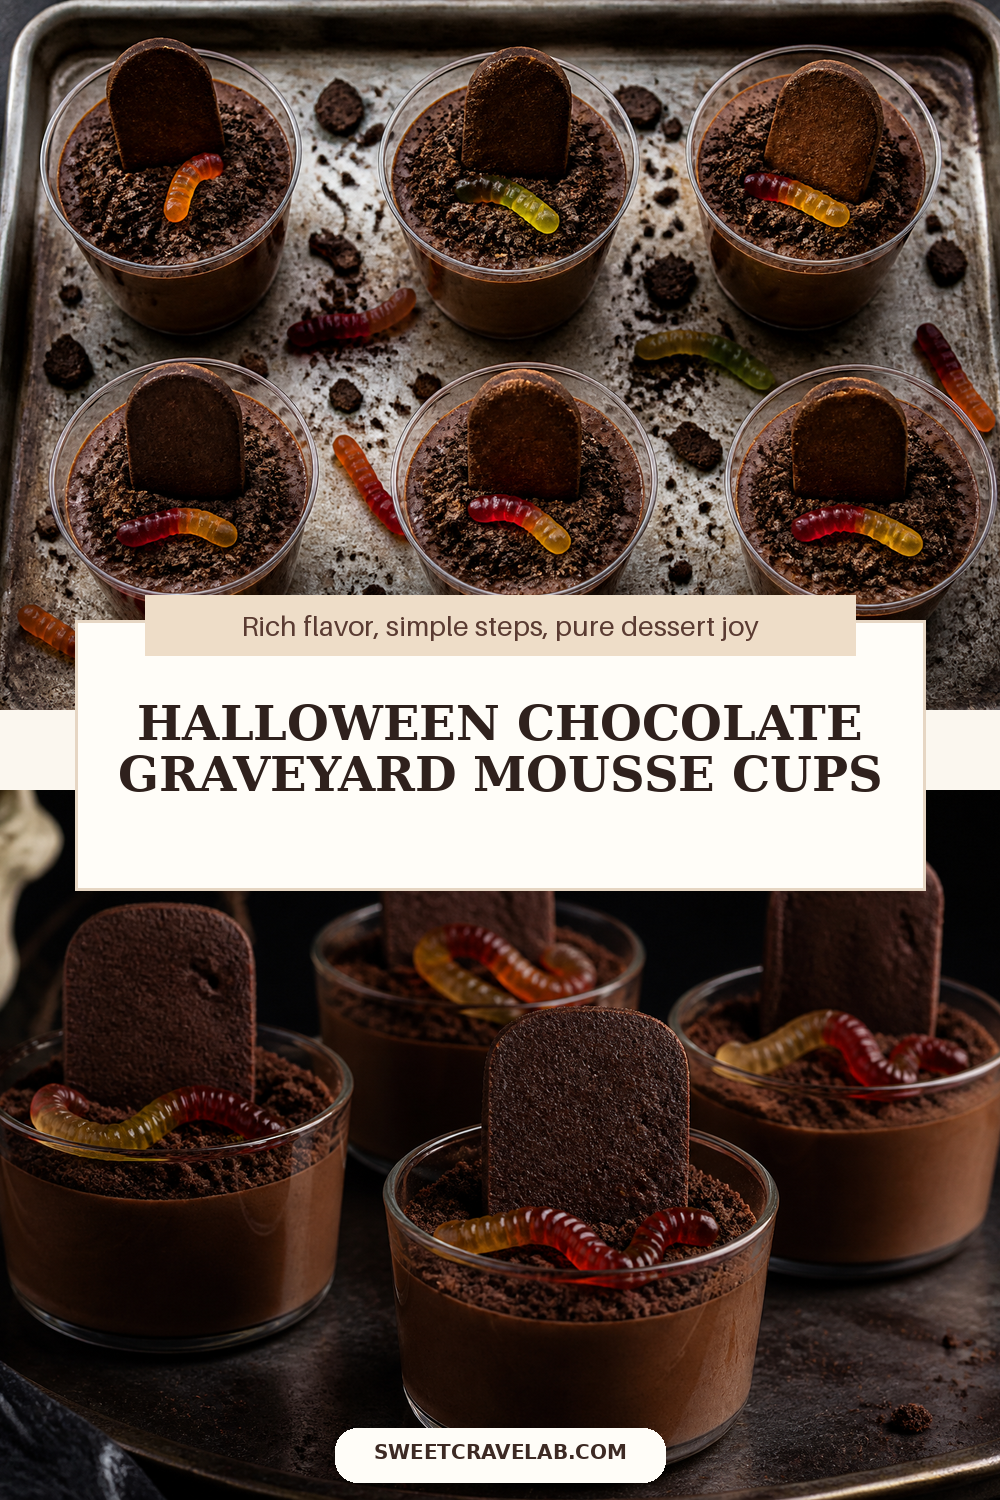
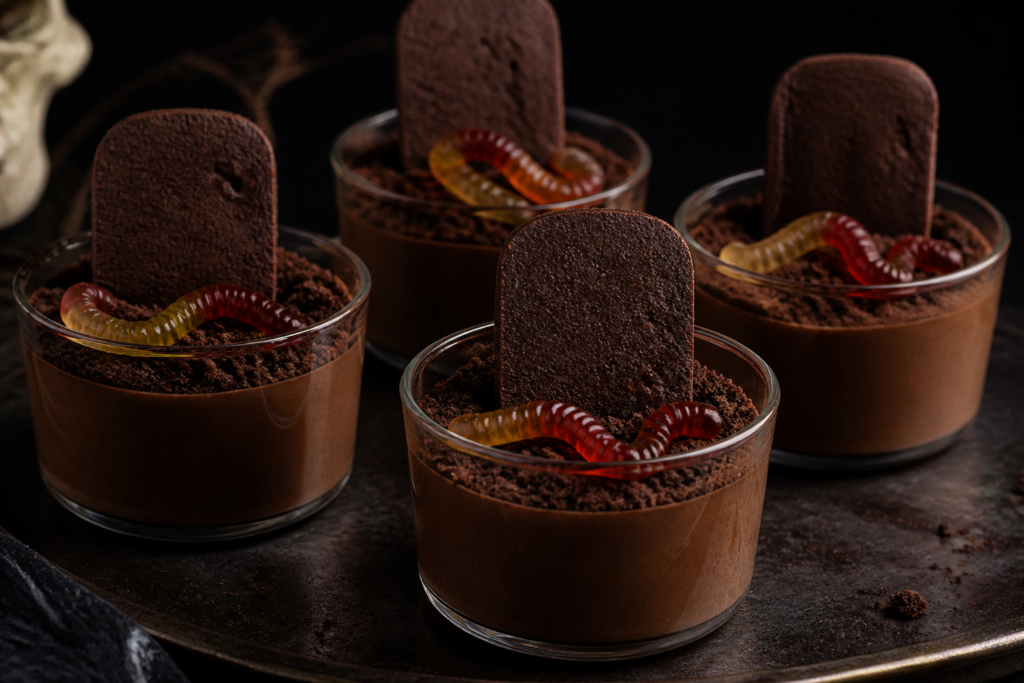
I love Halloween desserts that look like a mini scene but still taste like real chocolate pudding. These Halloween chocolate graveyard mousse cups are creamy, spoonable, and bold—then dressed up with quick tombstones, cookie crumb “soil,” and gummy worms.
Everything chills for that perfect mousse texture, and the best part is that the decorating is intentionally simple: no piping artistry required. Just set the tombstones, scatter the crumbs, and tuck in the worms.
What makes these mousse cups “mousse,” not chocolate pudding
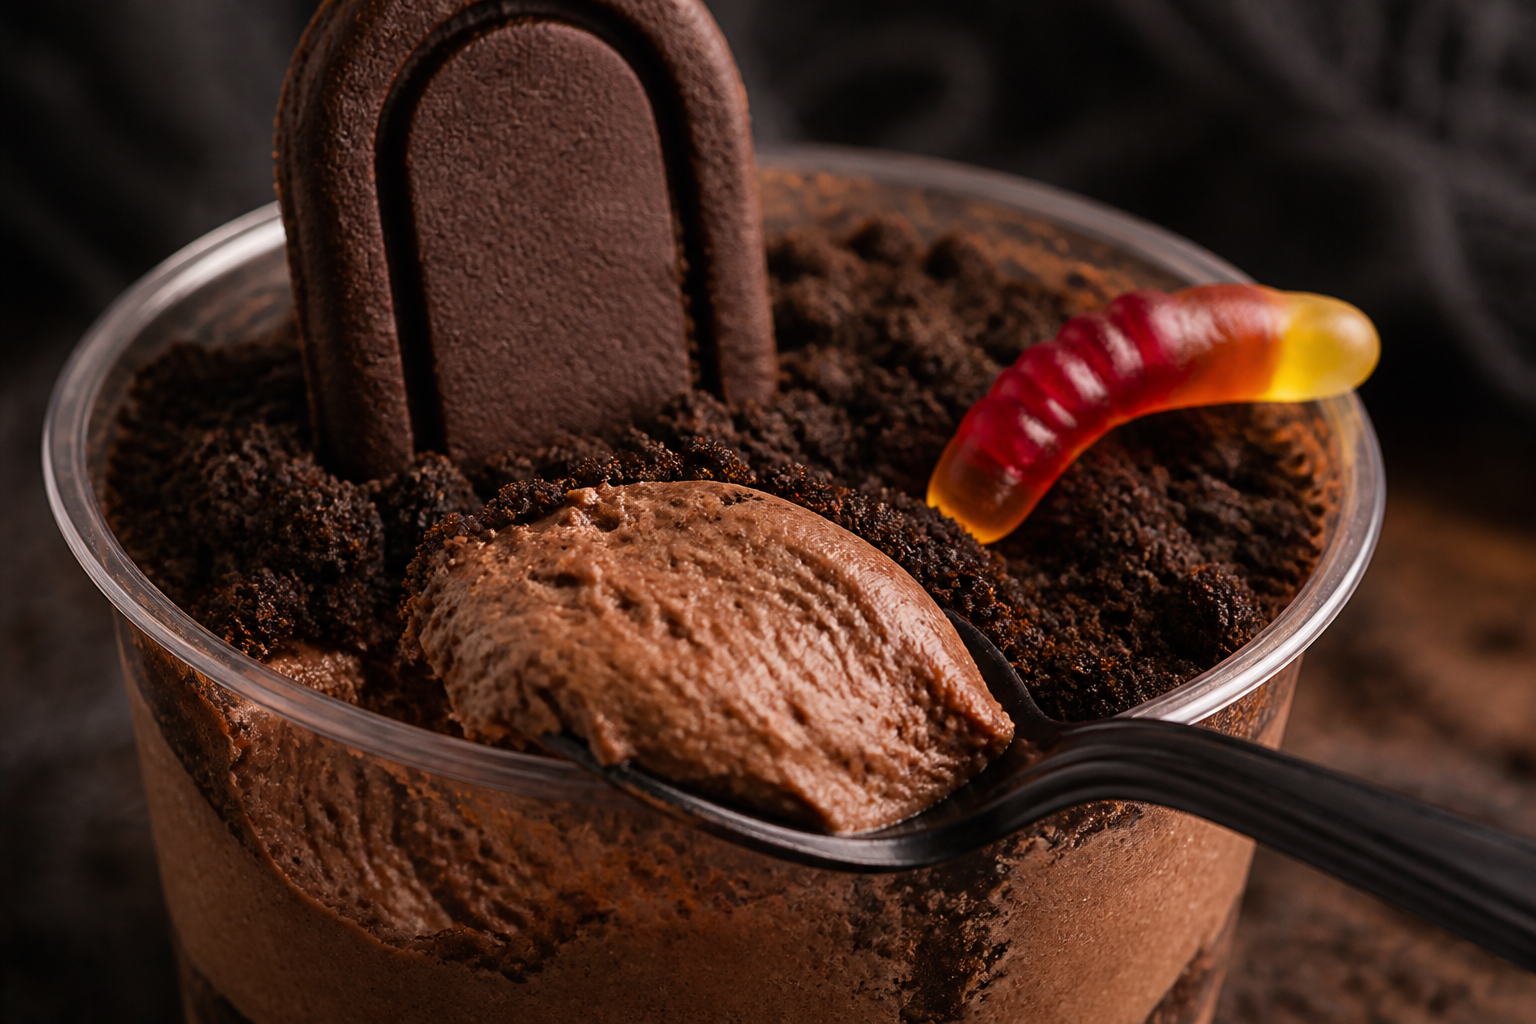
This base uses a classic chocolate mousse approach: melted chocolate folded into whipped dairy for lightness. The visual cue is the texture—after chilling, the mousse should hold a soft peak when you scoop it, not look dense or gelatinous.
Graveyard toppings that are easy (and look amazing)
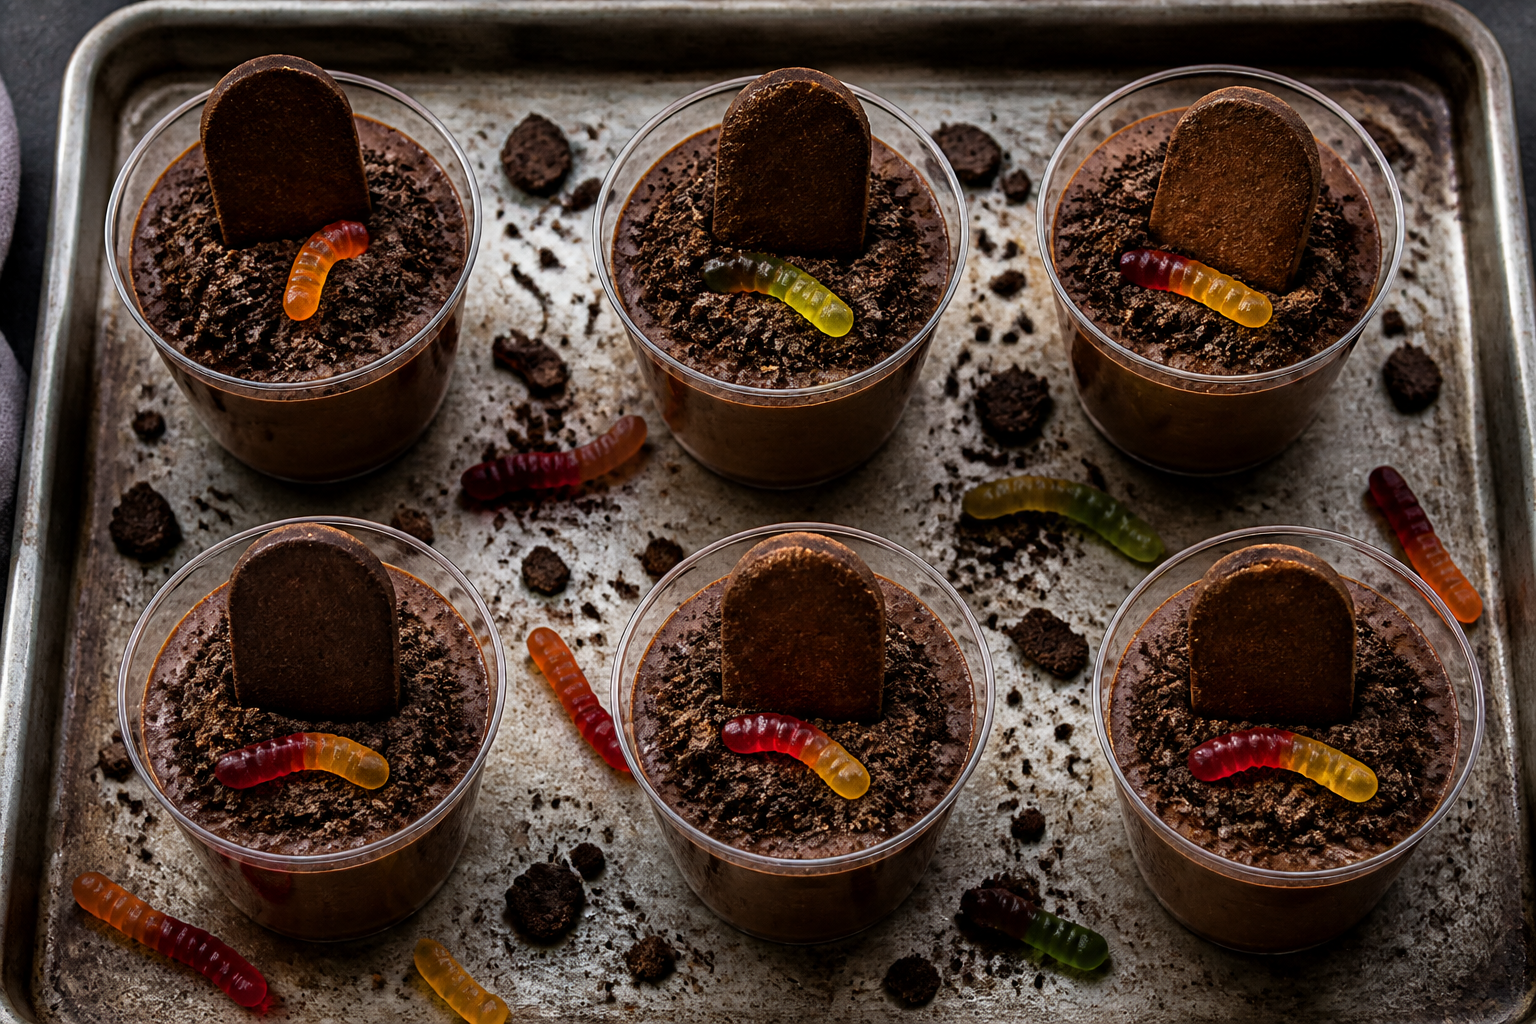
- Tombstones: flat chocolate wafer rectangles or sturdy rectangular cookies. They sit on top like a real little grave marker.
- Grave soil: crushed cookies around the tombstones to frame the chocolate.
- Gummy worms: add movement and fun at the last minute so they stay bright and fresh-looking.
Method overview (quick flow)
- Make the chocolate base: melt chocolate, then fold in airy whipped cream (Baran-style texture).
- Portion into cups and chill until set.
- Top with tombstones and cookie crumbs.
- Finish with gummy worms right before serving.
Troubleshooting (so your mousse sets beautifully)
- Mousse looks streaky after folding: you may have stirred too aggressively. Fold just until no white streaks remain.
- Mousse seems too soft after chilling: chilling time may be short or your kitchen may be warm. Give it a full rest, and look for a spoonable but firm surface.
- Chocolate topping tombstones won’t stay upright: choose firmer rectangular wafers/cookies, or let the tombstone sit in the crumb “soil” so the crumbs act like stabilizing dirt.
- Crumbs turn into paste: it usually happens when crumbs get pressed into wet mousse. Sprinkle gently; let the mousse do the holding.
Substitutions & swaps
- Chocolate: use semi-sweet chocolate for a balanced flavor. If your chocolate is very sweet, reduce added sugar slightly (no more than 1–2 tablespoons).
- Cookies for soil: Oreo-style chocolate sandwich cookies work best, but chocolate wafer cookies also look great.
- Thicker mousse preference: chill longer rather than adding extra gelatin (this recipe is intentionally no-bake).
Storage
- Before serving: cover cups and refrigerate up to 3 days.
- Toppings: add tombstones and cookie crumbs up to 24 hours ahead. Add gummy worms right before serving.
- For best texture: keep cups cold until you plate—mousse softens if left at room temperature.
FAQ
Can I make these without gummy worms?
Yes. Use chocolate curls, candy eyeballs, or even a little extra cookie crumb “soil.” The mousse and tombstone look still carry the Halloween vibe.
Do I need to use glass cups?
No—any individual cup works. Glass just makes the layers look extra editorial, which is perfect for party desserts.
What’s the doneness cue for the mousse?
When chilled, it should be spoonable but hold shape around the edges. If it’s very loose, it needs more time in the fridge.
Can I freeze them?
Freezing can soften mousse texture. If you want to plan ahead, refrigerate is the best option.
Print
Halloween Chocolate Graveyard Mousse Cups
- Prep Time: 30 minutes
- Cook Time: 0 minutes
- Total Time: 3 hours 30 minutes
- Yield: 8 mousse cups
- Category: Chocolate Recipes
- Method: No-bake chocolate mousse with chilled setting; cup assembly with simple Halloween toppings
- Cuisine: American
- Diet: Vegetarian
Description
No-bake chocolate mousse cups with a tombstone top, cookie “grave soil,” and gummy worms—simple, spoonable, and perfect for a Halloween dessert table.
Ingredients
- 8 oz (227 g) semi-sweet chocolate, finely chopped
- 1 tbsp (12 g) unsalted butter
- 1 1/2 cups (360 ml) heavy cream, divided
- 3 tbsp (36 g) granulated sugar
- 1 tsp vanilla extract
- 1/8 tsp fine salt
- 12 Oreo chocolate sandwich cookies, divided (about 170 g), plus more as needed for extra crumb soil
- 8 rectangular chocolate wafers or rectangular cookies (about 4 oz (113 g) total), for tombstones
- 1/2 cup (65 g) chocolate wafer crumbs or crushed cookies, for extra “soil” (optional)
- 1 small package gummy worms (about 3.5 oz (99 g)), for topping
- 1–2 tbsp (15–30 g) melted chocolate (optional, to help tombstones stay in place)
- Optional: white piping icing (or melted white chocolate) for writing “RIP” lines on tombstones
Instructions
- Chill equipment (optional but helpful): Place a large bowl and whisk (or beaters) in the refrigerator for 10–15 minutes.
- Make the chocolate base: In a heatproof bowl set over a pot of barely simmering water (or microwave in short bursts), melt the chopped chocolate with the butter, stirring until smooth. Remove from heat and let cool until it’s just warm to the touch (not hot).
- Whip the cream: In the chilled bowl, combine 1 cup (240 ml) heavy cream, sugar, vanilla, and salt. Whip until you have medium-stiff peaks (the cream should hold shape but still look creamy).
- Fold for mousse texture: Spoon about 1/3 of the whipped cream into the cooled chocolate and stir to lighten. Then pour the chocolate mixture back into the remaining whipped cream and fold gently with a spatula until the color is uniform and no streaks remain.
- Portion: Divide mousse among 8 individual cups (about 1/2 cup (120 ml) each). Smooth the tops.
- Chill to set: Refrigerate at least 3 hours, or until the mousse is firm enough to scoop cleanly.
- Prepare cookie soil: Crush 10 Oreo cookies into fine crumbs. Leave 2 Oreos (or use extra crumbs) a little coarser so the soil looks more realistic.
- Assemble tombstones: Set the rectangular wafers/rectangular cookies on a plate. If using icing, pipe “RIP” lines (optional). If your tombstones feel wobbly, dab the bottom lightly with a tiny bit of melted chocolate to help them grip.
- Top each cup: Sprinkle cookie crumbs around the edge like grave soil. Carefully press each tombstone into the crumbs so it stands upright.
- Finish with gummy worms: Place gummy worms on top (or tuck a couple into the crumb soil). Add these right before serving for the best look.
Notes
You’re aiming for a mousse that’s spoonable with a clean set—think soft frosting texture, not firm cake. If your mousse is too soft, it needs more chilling time.