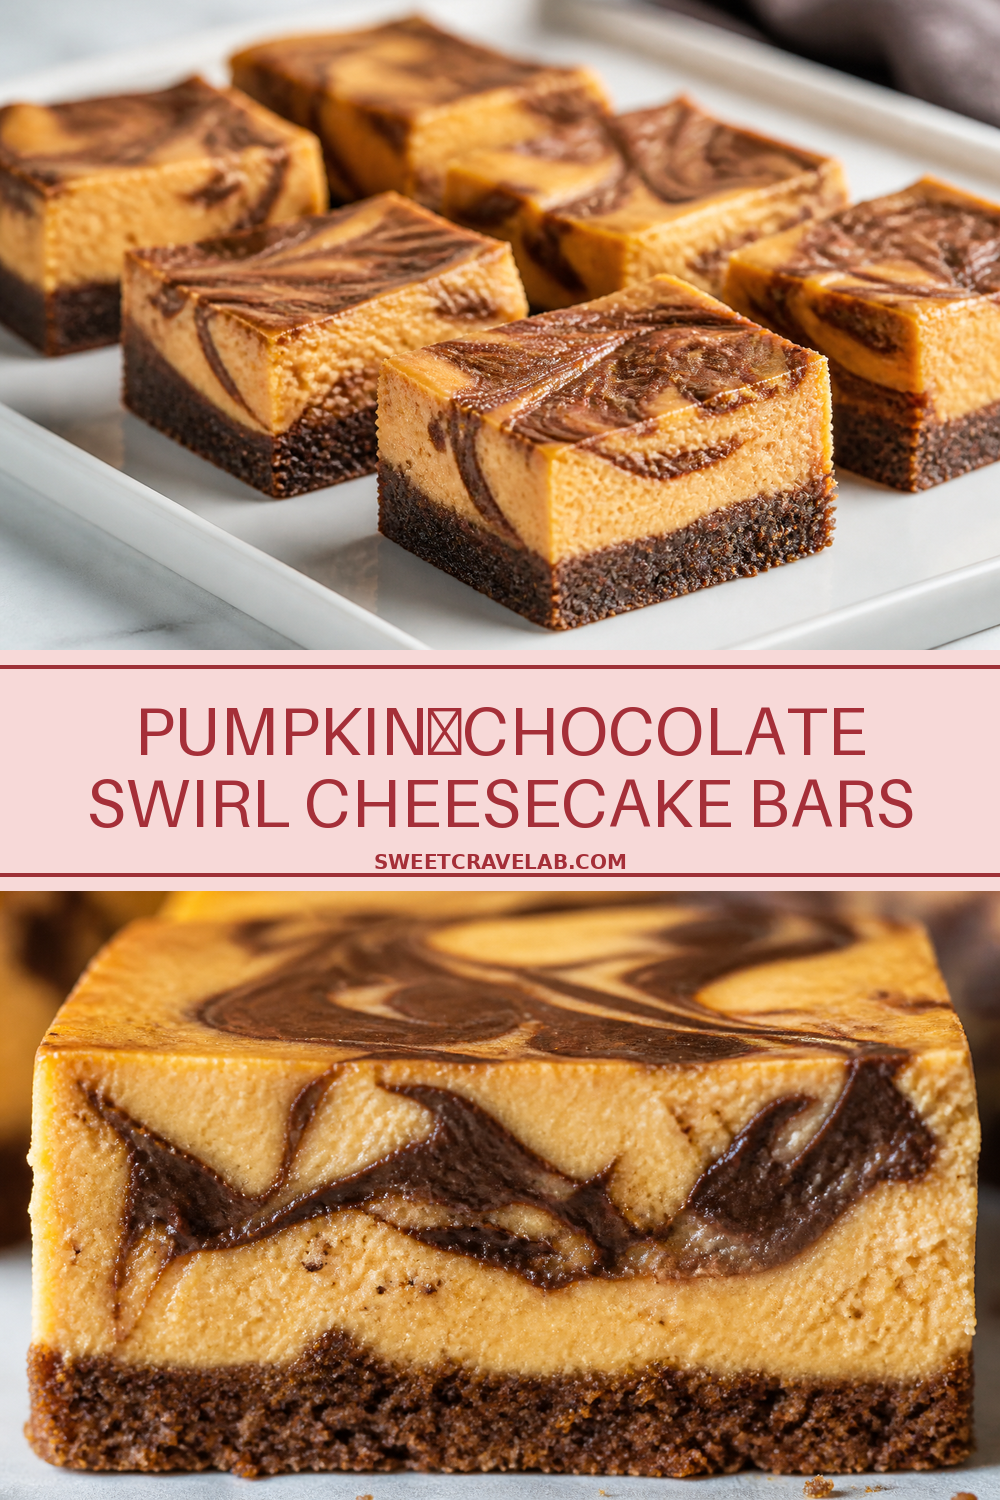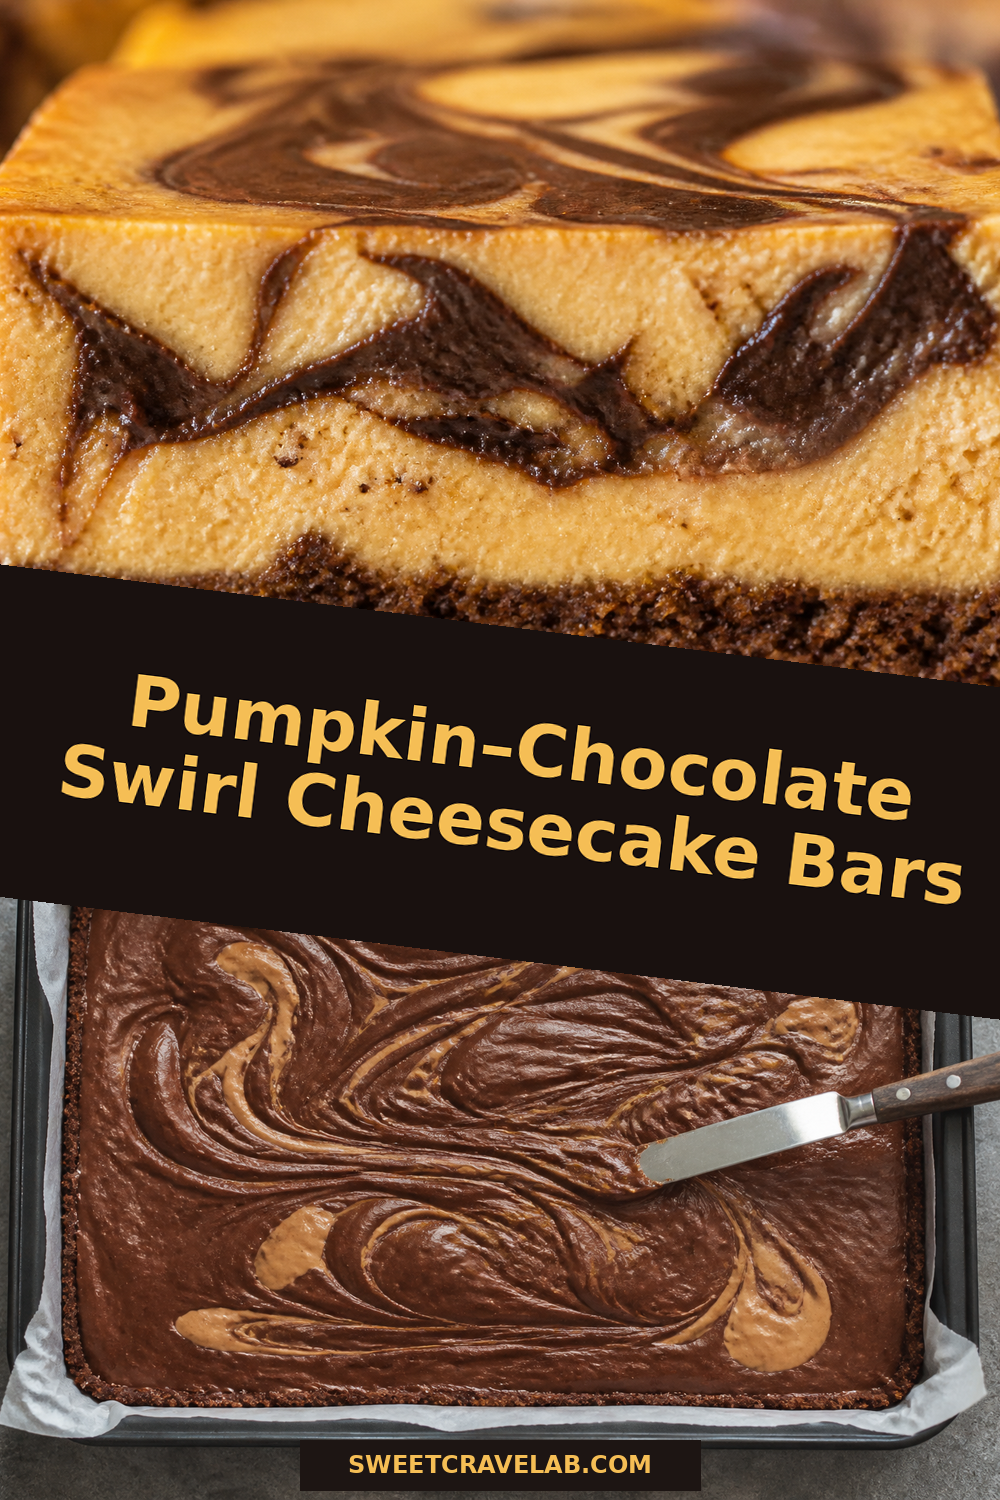
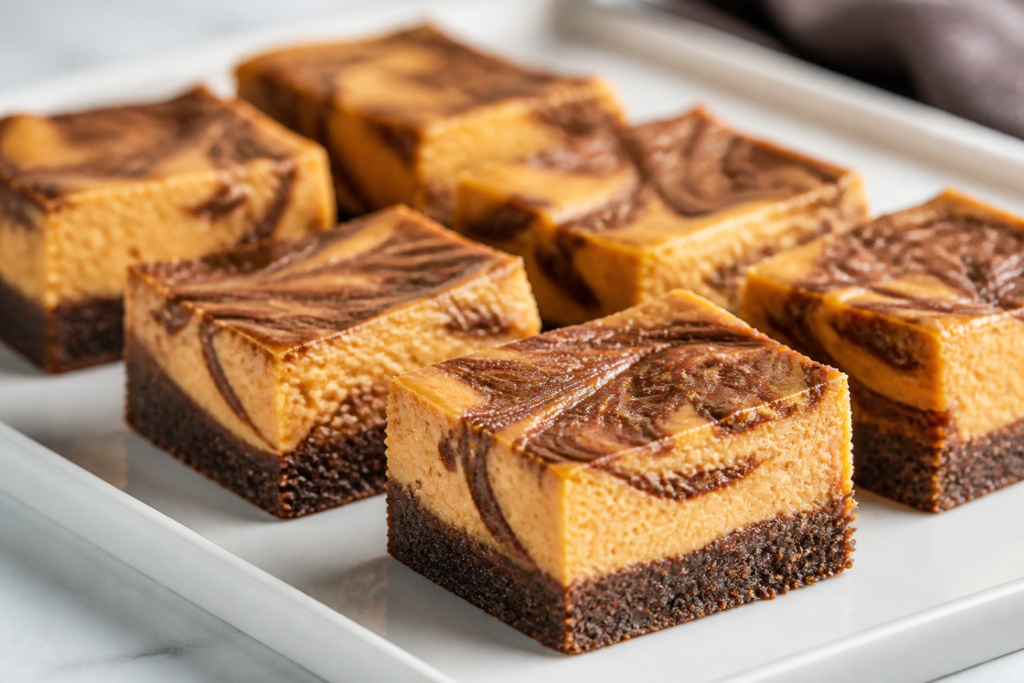
These pumpkin–chocolate swirl cheesecake bars are my go-to fall bake when I want something that feels special but stays practical. The crust is built from chocolate cookies, and the filling gets a warm pumpkin spice vibe with a silky cheesecake texture. Then comes the best part: chocolate-swirl ribbons that look like you “didn’t mean to make it fancy”—but you totally did.
I’ll show you the technique that helps prevent cracks (and what the batter should look like as it bakes). If you’re planning a Thanksgiving dessert, these also hold up well for make-ahead serving.
What makes these pumpkin chocolate swirl cheesecake bars so good
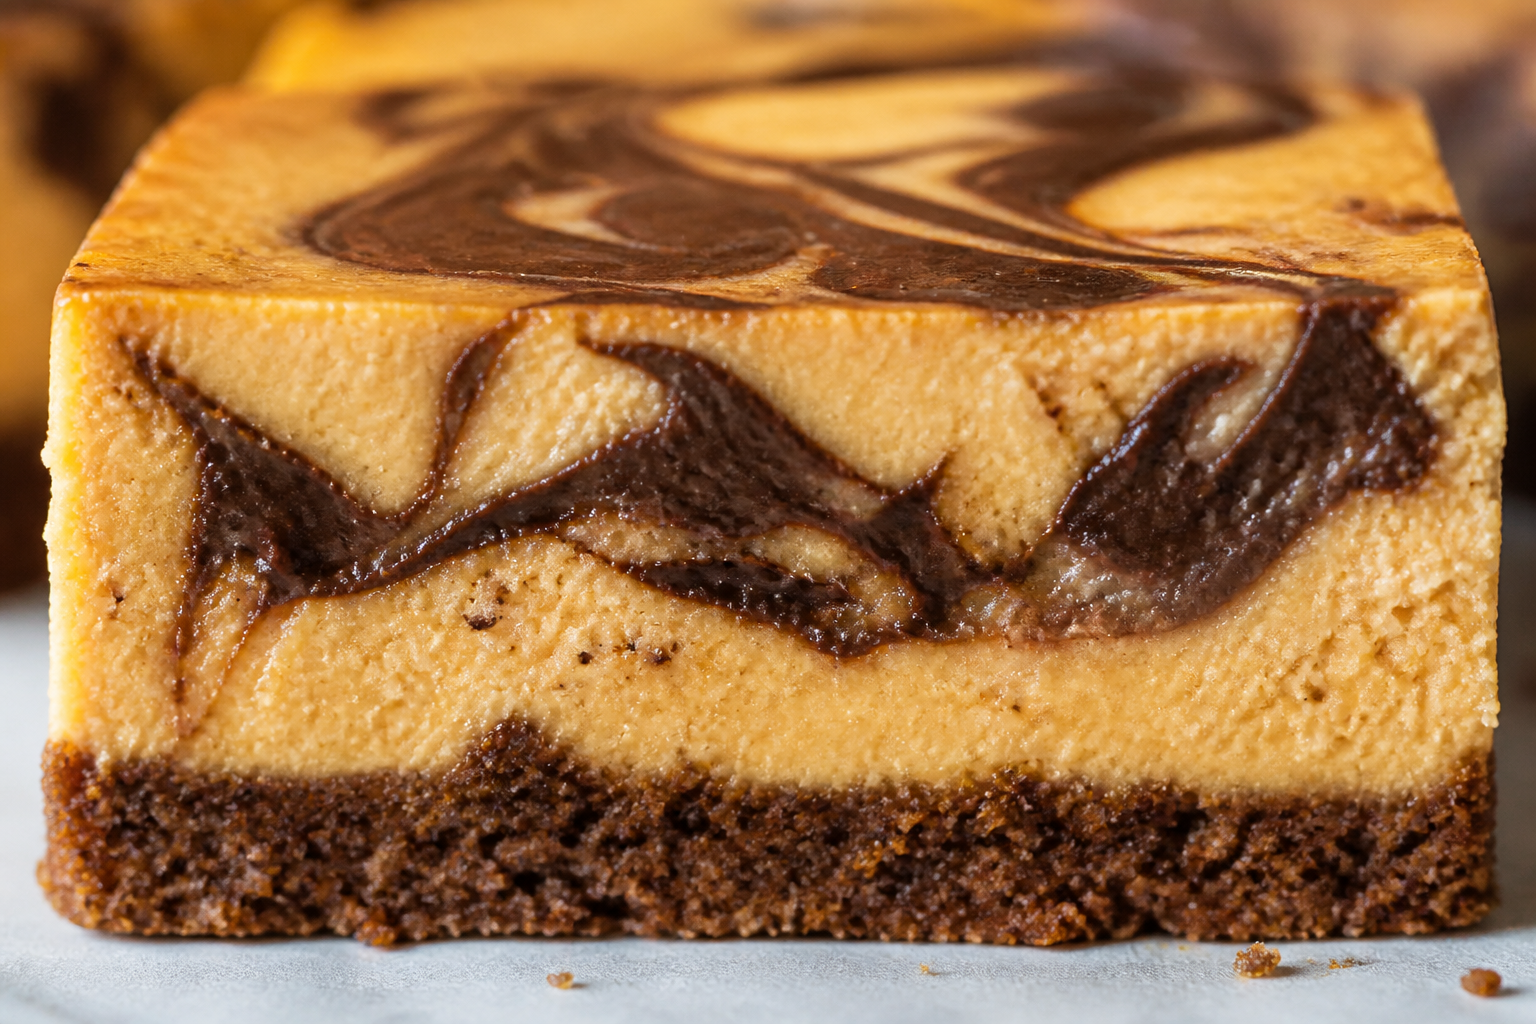
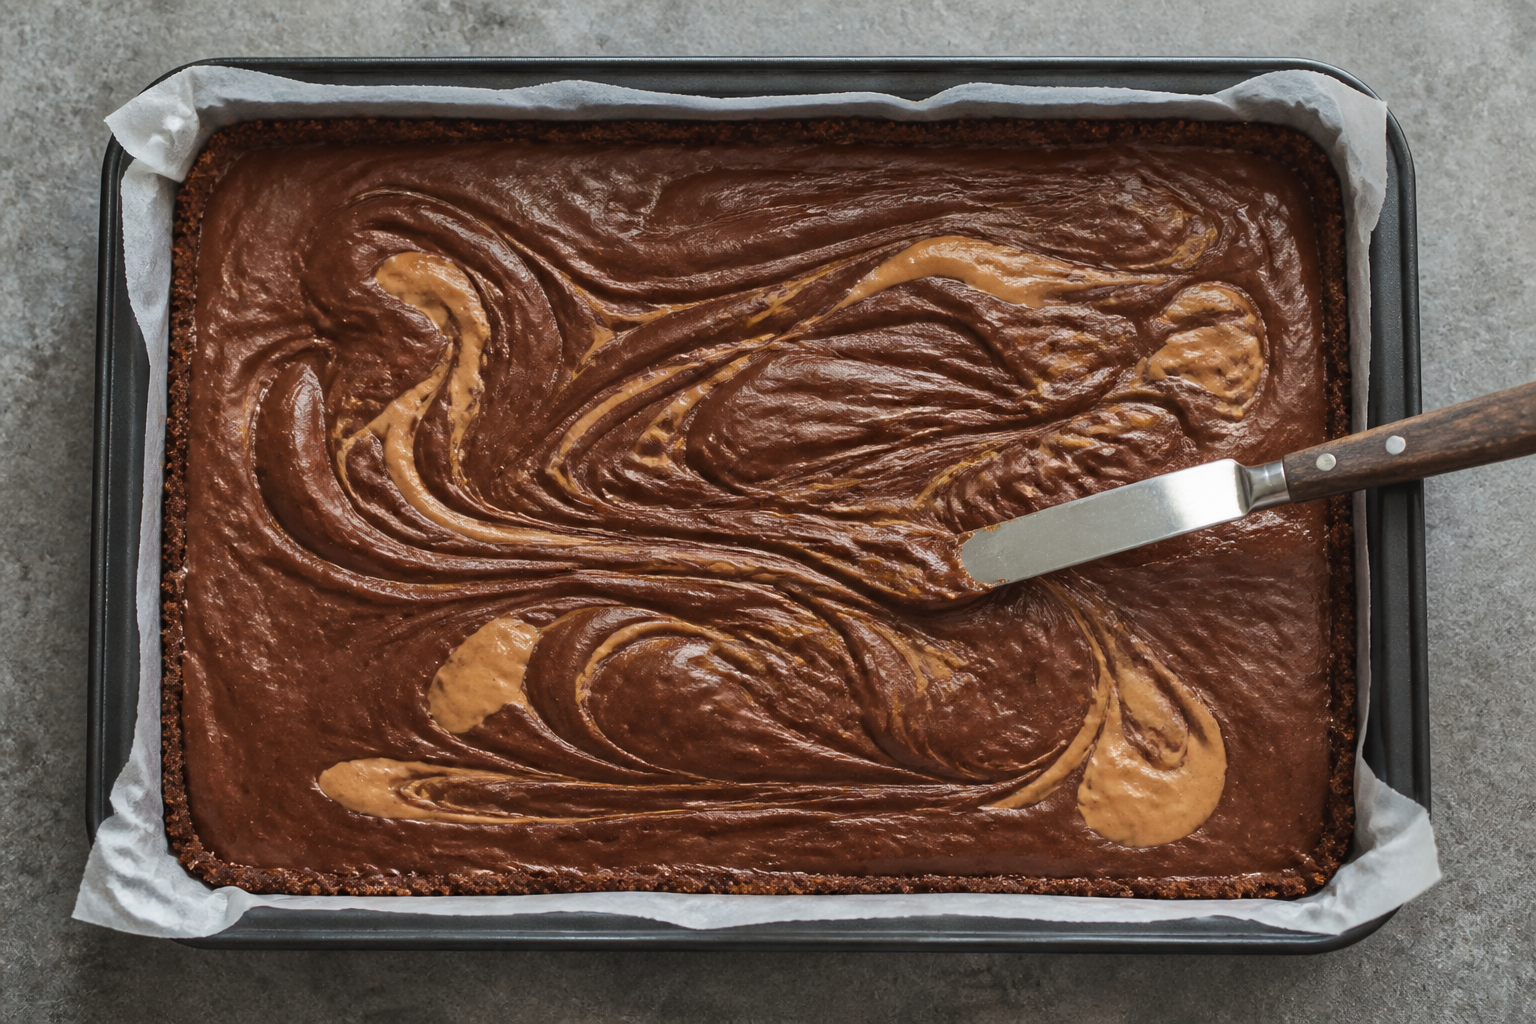
- Swirl for visual drama: By dropping spoonfuls of cocoa batter and gently dragging with a knife, you get defined marbling without overmixing.
- Chocolate-cookie crust: It bakes until fragrant and slightly set—no soggy middle.
- Crack-resistant method: The filling is baked until the edges look set but the center still has a gentle jiggle. Carryover heat finishes the rest.
Quick method overview (so you know the flow)
- Pulse chocolate cookies into crumbs and mix with melted butter.
- Press into a pan and bake briefly to set the crust.
- Whisk pumpkin cheesecake filling (mix just until smooth).
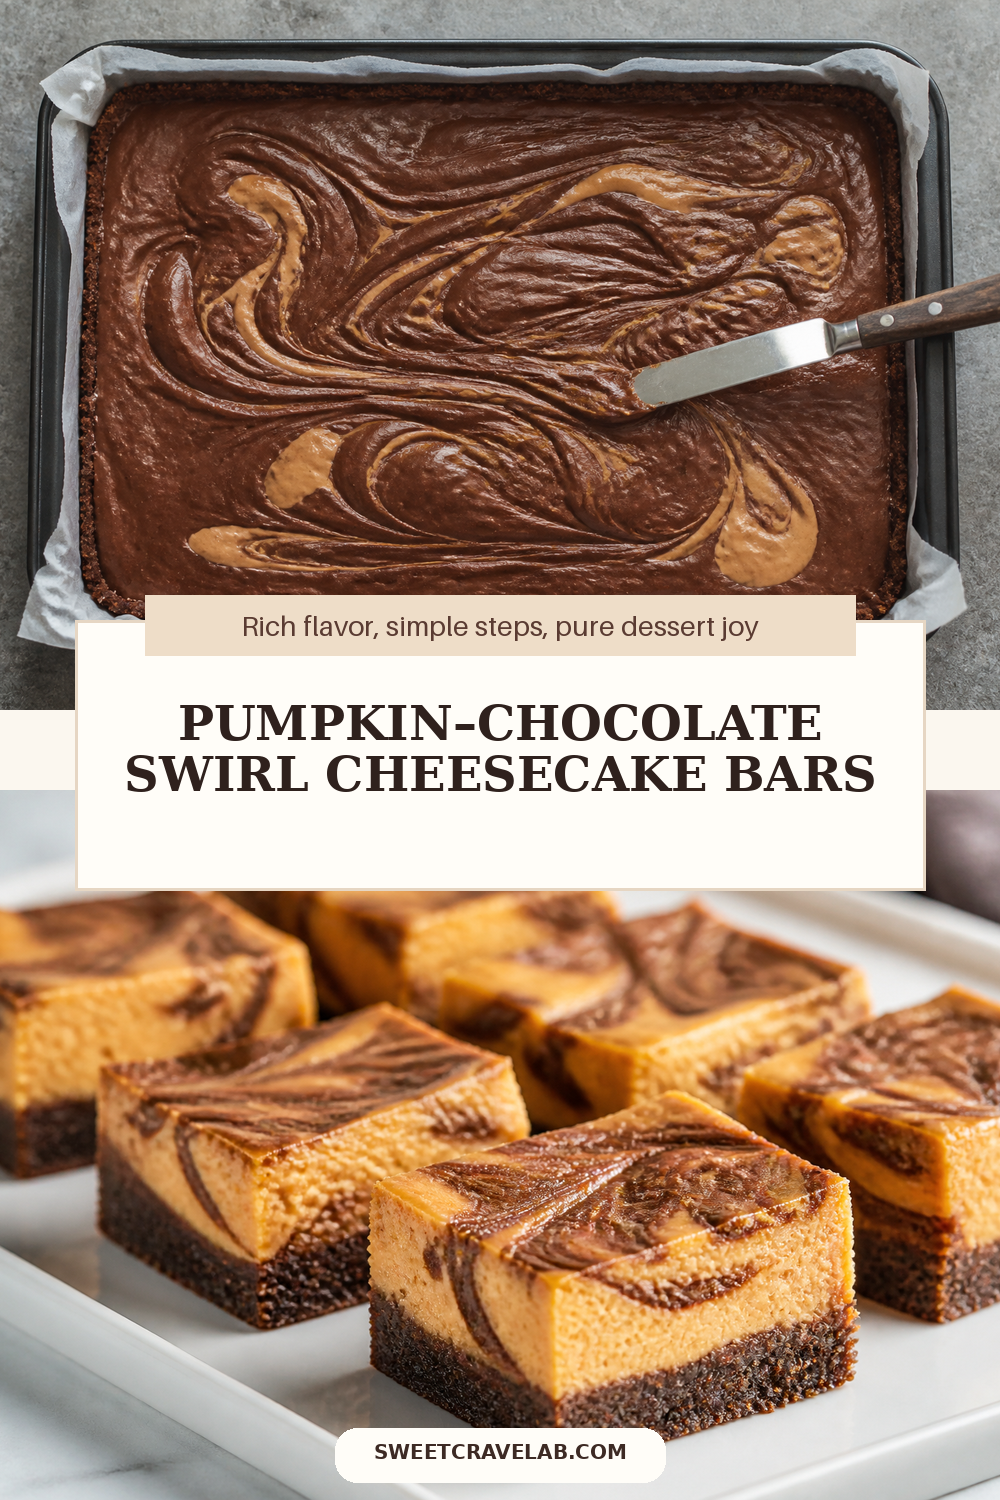
- Stir cocoa into a portion of the batter and swirl it on top.
- Bake at a steady, moderate temperature; cool slowly and chill.
Ingredient guidance (and what to look for)
Crust
- Chocolate cookies: Use chocolate sandwich cookies or chocolate wafer cookies for that classic “cookie crust” flavor.
- Pressing: Press firmly so the crust holds when you slice bars.
Cheesecake filling
- Room-temperature cream cheese: This is non-negotiable for a smooth filling. If it’s cool, you’ll fight lumps and overmixing.
- Don’t whip: Mix at low speed and stop as soon as it’s smooth. Too much air can puff and then collapse, increasing crack risk.
- Pumpkin purée: Use plain pumpkin purée (not pumpkin pie filling).
How to make pumpkin cheesecake bars without cracks
- Mix gently: Smooth batter comes from good temperature, not aggressive mixing.
- Bake until the visual cues are right:
- Edges: should look set and slightly puffed.
- Center: should jiggle like gelatin when you nudge the pan (not sloshy).
- Cool gradually: Let the bars cool in the turned-off oven with the door cracked. Sudden temperature changes are crack bait.
- Chill before slicing: Chilling firms the filling and makes clean bar edges.
Swirl technique (so the marbling stays pretty)
- Spoon the chocolate batter in small drops over the pumpkin filling.
- Drag a knife through it just a few times in gentle, sweeping lines.
- Stop early: You’re aiming for ribbons, not full incorporation.
Substitutions and variations
- Gluten-free: Use gluten-free chocolate cookies and a gluten-free flour blend only if your cookies aren’t already gluten-free (don’t add extra flour unless the recipe notes it).
- Spice level: Increase or decrease pumpkin pie spice to taste, or add a pinch of ground ginger for extra warmth.
- Chocolate flavor boost: Use Dutch-process cocoa for deeper chocolate notes.
- Dairy-free option: I don’t recommend swapping cream cheese here unless you’ve had success with a specific substitute; cheesecake texture varies a lot.
Make-ahead, storage, and freezing
- Make ahead: Chill at least 4 hours (overnight is best). Bars slice cleanest after a full chill.
- Storage: Cover and refrigerate up to 4 days.
- Freezing: Freeze bars (well-wrapped) up to 1 month. Thaw overnight in the fridge before serving.
FAQ
Can I use a water bath to reduce cracks?
Yes, but it’s optional. If you’re especially crack-averse, you can wrap the pan in foil and place it in a larger roasting pan with hot water. The key visual cue is still the same: set edges with a softly jiggly center.
Why did my swirl disappear?
Overmixing or swirling too deeply can blend the chocolate in. Use a few gentle knife drags and stop as soon as you see ribbons.
Why is my crust sticking to the pan?
Line the pan with parchment and leave overhang for easy lifting. Also, chill the bars before slicing so the crust firms up.
What’s the best pan size?
A 9×13-inch pan works nicely for “bars” that slice easily. If you use a smaller pan, you’ll likely need a longer bake time.
Print
Pumpkin–Chocolate Swirl Cheesecake Bars
- Prep Time: 20 minutes
- Cook Time: 45 minutes
- Total Time: 1 hour 15 minutes + chilling
- Yield: 18–24 bars
- Category: Chocolate Recipes
- Method: Baked cheesecake bars with cookie crust and chocolate-cocoa swirl
- Cuisine: American
- Diet: Vegetarian
Description
Baked pumpkin cheesecake bars with a chocolate-cookie crust and a dark chocolate swirl ribbon—ideal for fall gatherings and make-ahead Thanksgiving serving.
Ingredients
- Chocolate-cookie crust: 2 cups (200 g) chocolate sandwich cookies, crumbs (about 26–28 cookies)
- Chocolate-cookie crust: 6 tbsp (85 g) unsalted butter, melted
- Spiced pumpkin cheesecake filling: 24 oz (680 g) full-fat cream cheese, room temperature
- Spiced pumpkin cheesecake filling: 1 cup (200 g) granulated sugar
- Spiced pumpkin cheesecake filling: 3 tbsp (24 g) all-purpose flour
- Spiced pumpkin cheesecake filling: 1 cup (240 g) plain pumpkin purée
- Spiced pumpkin cheesecake filling: 2 large eggs, room temperature
- Spiced pumpkin cheesecake filling: 1 tsp vanilla extract
- Spiced pumpkin cheesecake filling: 1 tbsp (8 g) pumpkin pie spice
- Spiced pumpkin cheesecake filling: 1/4 tsp fine salt
- Chocolate swirl: 1/2 cup (50 g) cocoa powder (Dutch-process preferred)
- Chocolate swirl: 1/2 cup (120 g) granulated sugar
- Chocolate swirl: 1/4 cup (60 ml) milk
- Chocolate swirl: 2 tbsp (28 g) unsalted butter, melted
- Equipment (optional but helpful): Parchment paper
- Equipment (optional but helpful): 9×13-inch (23×33 cm) baking pan
Instructions
- Prep the pan and heat the oven: Preheat to 325°F (165°C). Line a 9×13-inch (23×33 cm) pan with parchment paper, leaving overhang on the long sides.
- Make the crust: In a bowl, combine cookie crumbs and melted butter until evenly moistened like damp sand. Press firmly into the lined pan. Bake for 10 minutes, then set aside.
- Mix the cheesecake base: In a large bowl, beat cream cheese and granulated sugar on low to medium-low speed until smooth, scraping the bowl as needed, about 1–2 minutes.
- Add dry and flavorings: Mix in flour, pumpkin purée, pumpkin pie spice, vanilla, and salt until smooth and glossy.
- Add eggs gently: Add eggs one at a time, mixing on low just until incorporated. Stop as soon as no streaks remain.
- Prepare the chocolate swirl: Whisk cocoa powder, sugar, milk, and melted butter until thick and spoonable. If it’s too thick, add 1–2 tsp more milk; if too thin, add 1 tbsp cocoa.
- Assemble: Pour the pumpkin cheesecake filling over the warm crust and smooth the top with a spatula.
- Add the swirl: Drop spoonfuls of the chocolate mixture over the top (try to keep the drops fairly distinct). Using a knife, gently drag through the surface in a few swipes to create ribbons.
- Bake: Bake 35–45 minutes, until the edges are set and the center jiggles like gelatin when the pan is gently nudged. (Avoid overbaking—carryover heat will finish it.)
- Cool slowly: Turn off the oven. Crack the door and let the bars sit inside for 30 minutes. Then remove and cool to room temperature.
- Chill: Cover and refrigerate at least 4 hours, preferably overnight, before lifting and slicing.
- Slice and serve: Lift out using parchment overhang, slice into bars, and serve chilled.
- Optional extra-clean slices: Wipe the knife with a warm damp towel between cuts.
Notes
Crack troubleshooting cues:
– If the center is sloshy, bake 3–5 minutes more.
– If the surface looks very puffed and dry, it’s likely overbaked—start checking earlier next time.
Chocolate swirl success:
– Keep the chocolate mixture thick enough to hold drops. Thin swirl mixtures can bleed and fully blend.
Make-ahead:
– Refrigerate overnight for best texture and cleanest slicing.
Pan size note:
– This recipe is calibrated for a 9×13-inch pan. For smaller pans, bake time will increase.