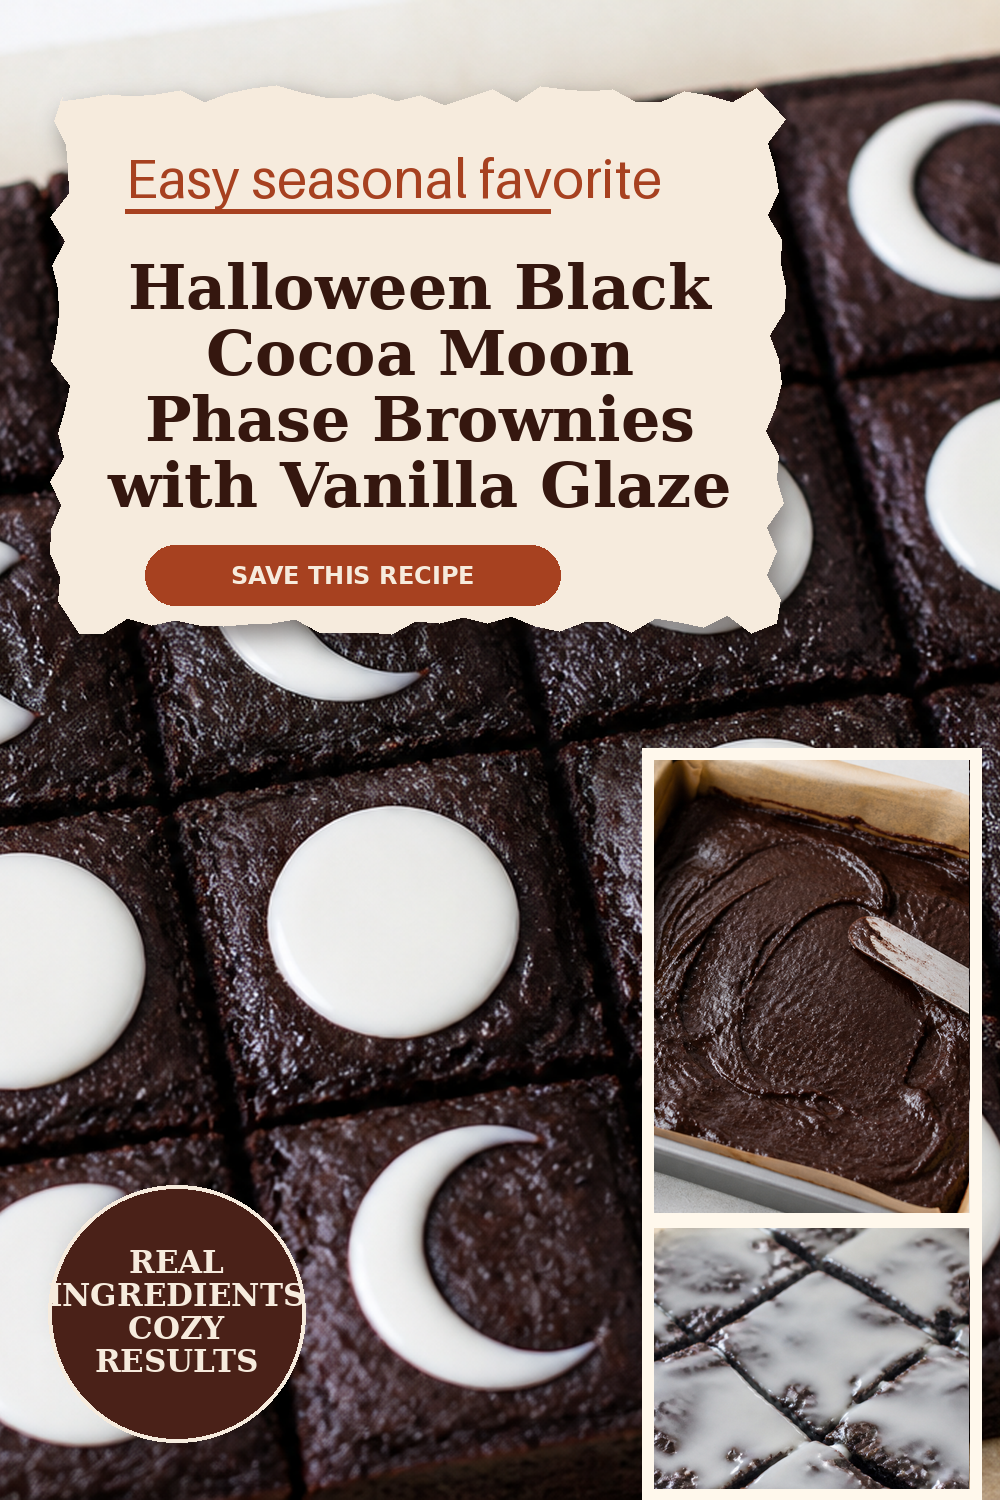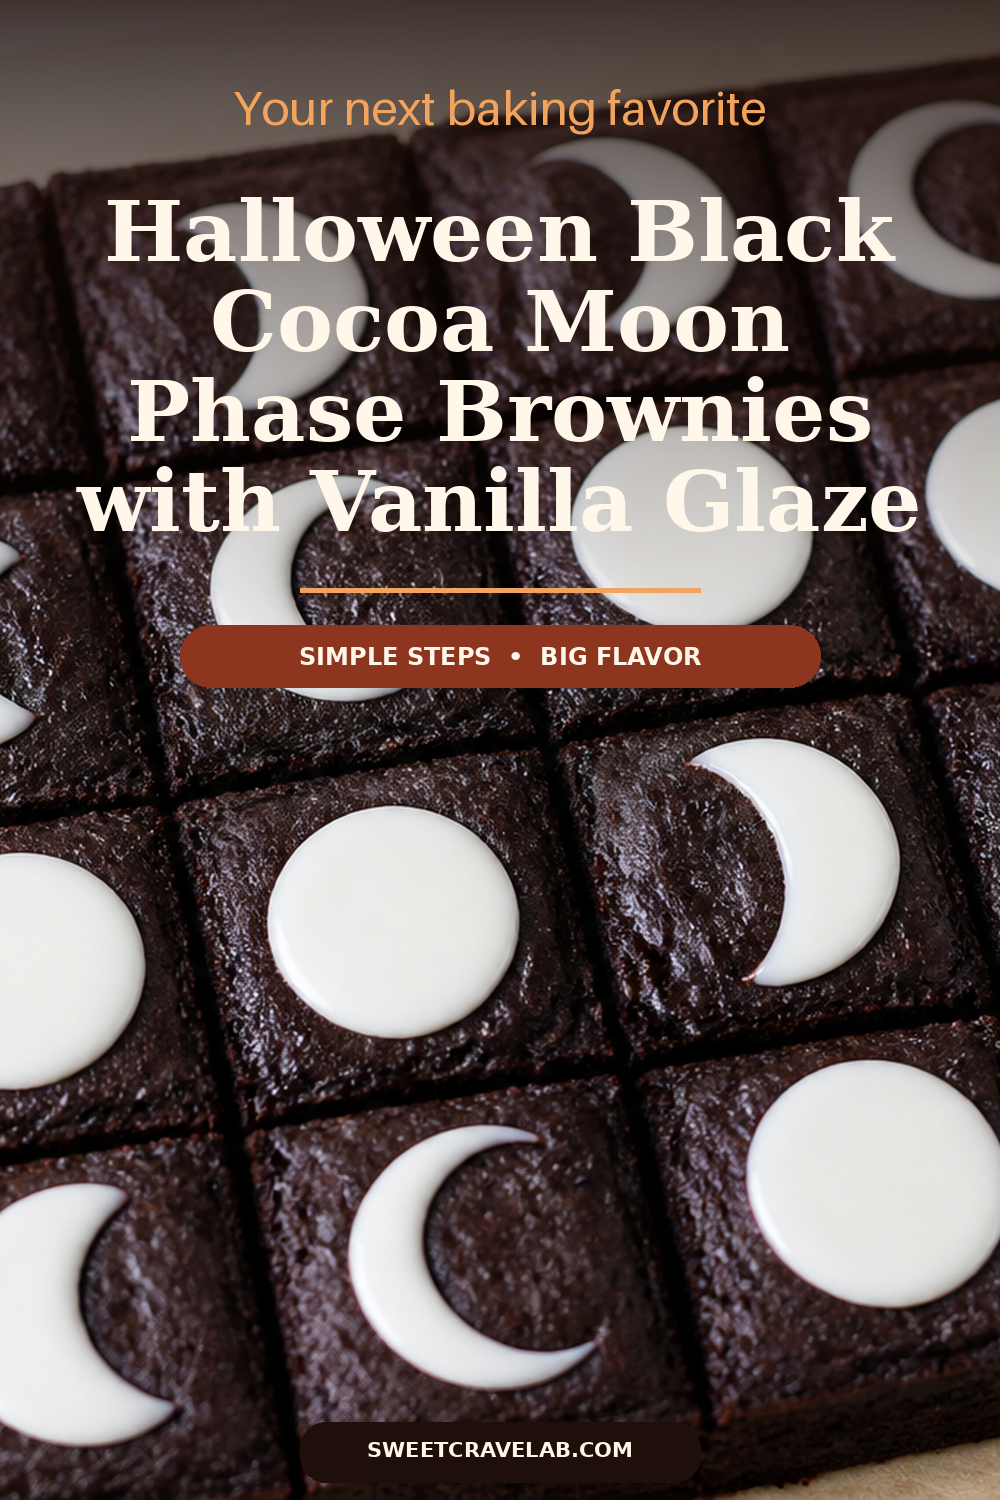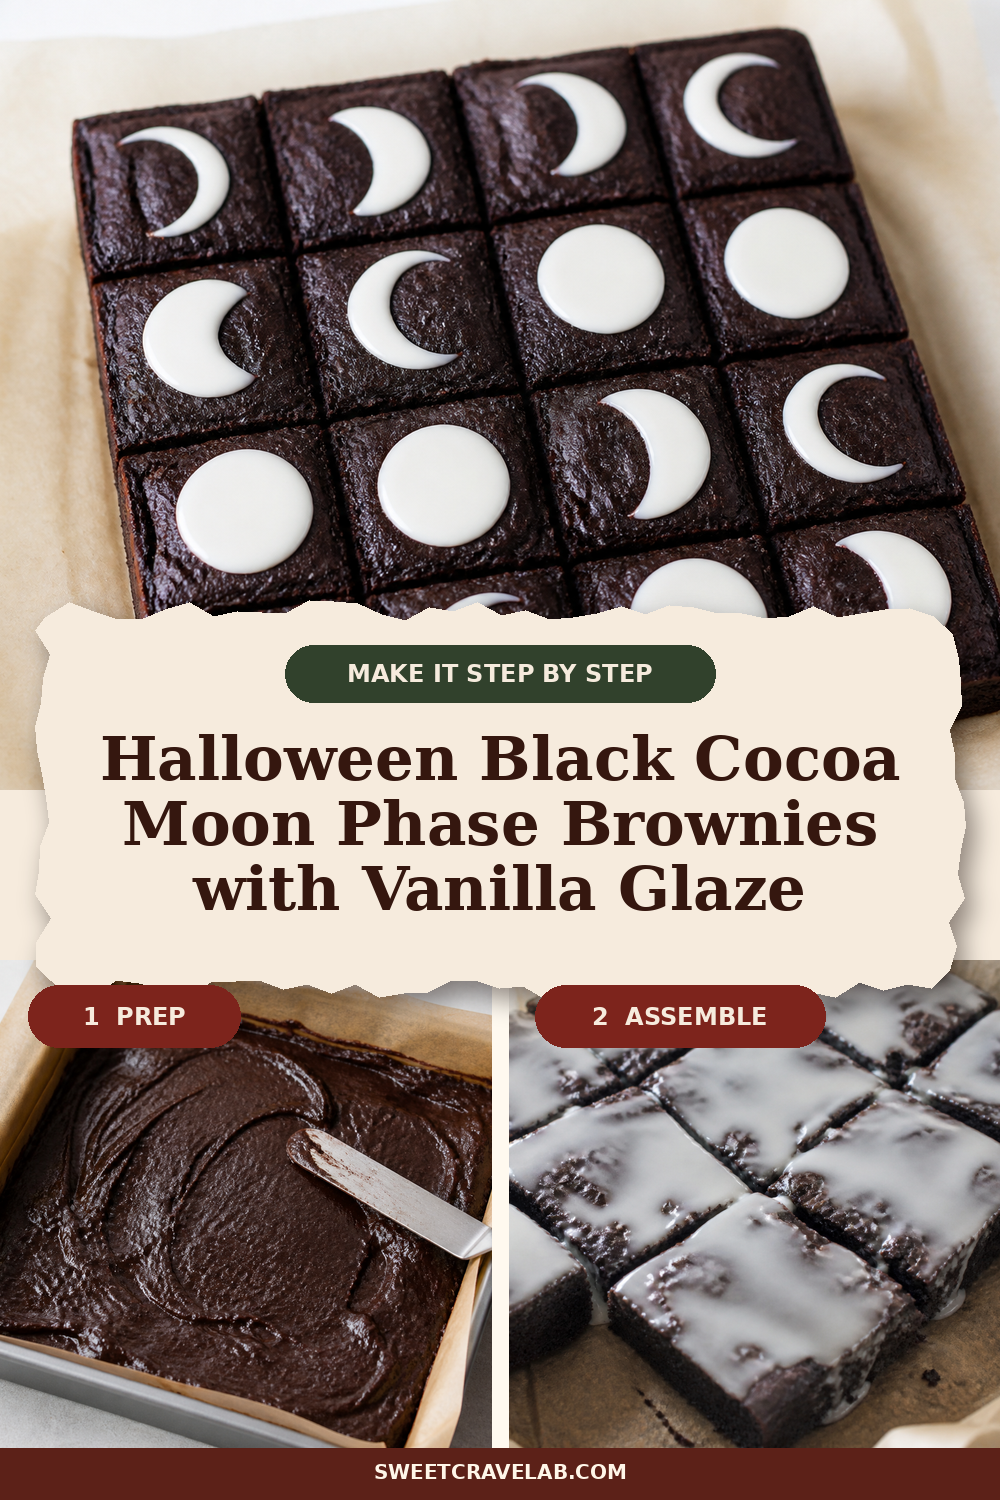
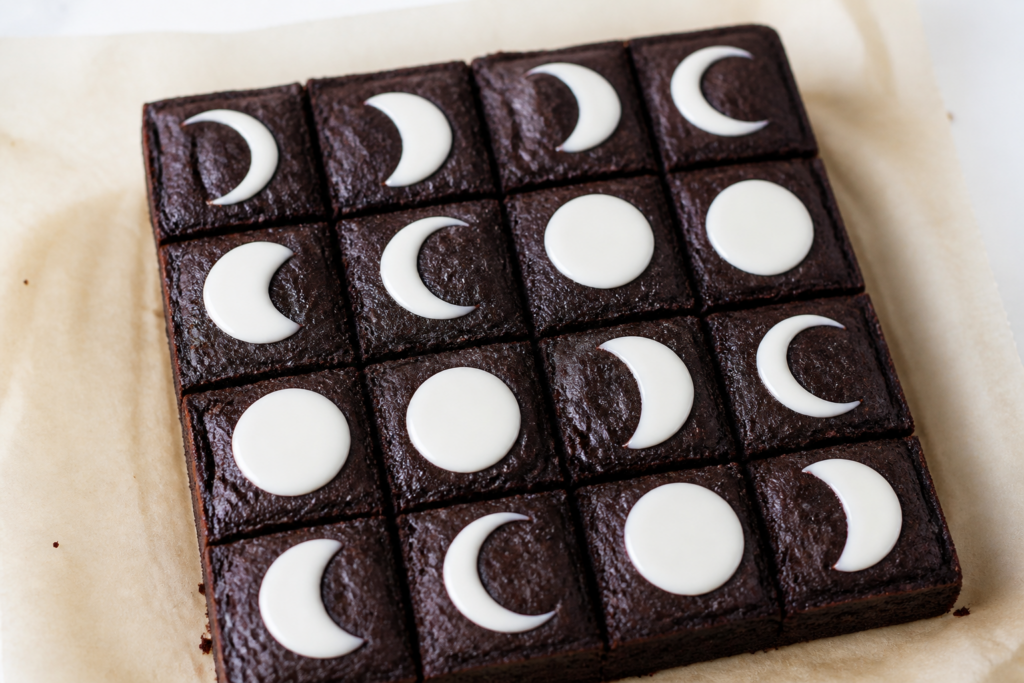
These Halloween black cocoa moon phase brownies with vanilla glaze are my kind of spooky: elegant, not costume-y. The base is deep and fudgy with a crisp, lightly crackly top, and the finish is a repeating sequence of white vanilla “moon phases” that reads clearly at a party table.
What I love most is how approachable the decoration is. You don’t need fancy piping—just a small round tip for quick crescents and a toothpick to lightly clean up the curve.
Why black cocoa gives the best “Halloween” color
Black cocoa (instead of plain cocoa) brings a darker, more velvety brown that looks nearly inky against the white glaze. It also pairs beautifully with vanilla—so each moon mark pops instead of blending into the brownie.
Doneness cue: bake until the top looks set and slightly crackled, but the center should still be soft. When you gently tap the pan, the edges feel firm while the middle has a little give.
Method overview (quick mental checklist)
I follow a simple sequence: melt and mix the chocolatey base, whisk in sugar and eggs, then fold in dry ingredients. After baking, the brownies must cool fully before glazing—so the glaze stays crisp-edged on top instead of melting into the crumbs.
Moon-phase glazing, made easy
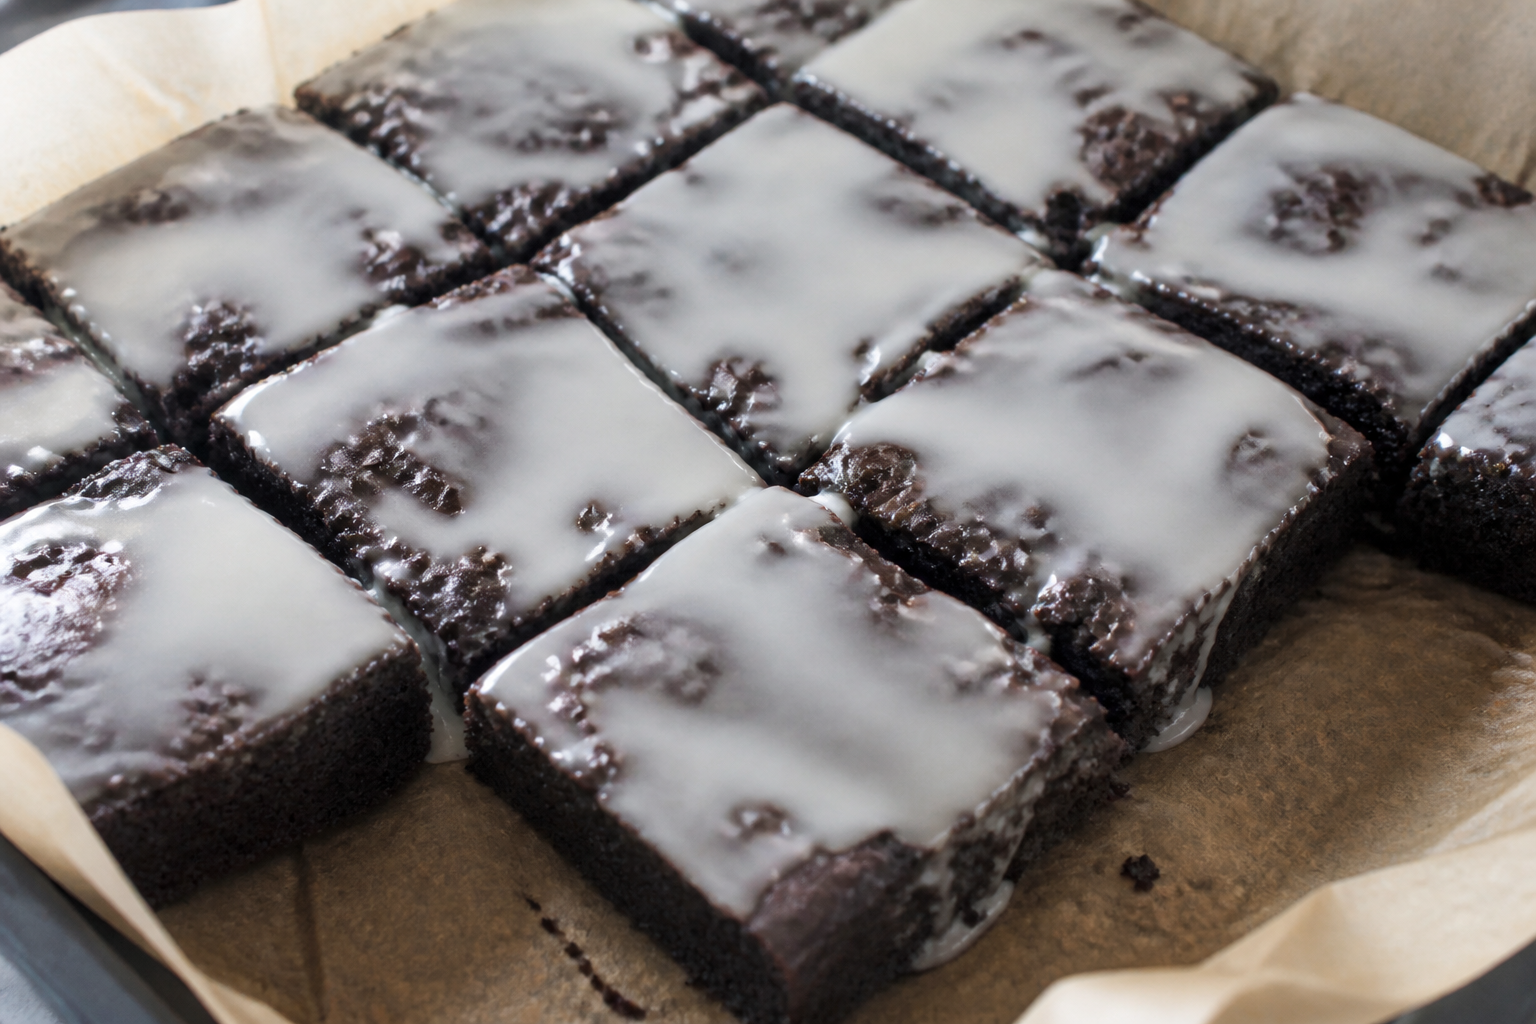
Decorate only with the vanilla glaze (no food coloring). Use the glaze to create a repeating grid story: new moon (mostly dark), then progressing crescents and quarters, ending at full moon, then repeating the waxing/waning steps across the pan.
Visual cues for the glaze:
- It should be pipeable but fluid: if it mounds, thin it a touch with warm water; if it runs too far, chill it briefly.
- When you drag with a toothpick, the edge should stay defined (not streak and vanish).
Troubleshooting
My brownies are underbaked
The surface may look crackly but the center will feel very loose and smear when you slice. Bake 3–5 minutes longer next time and verify the center jiggle is minimal but still soft.
My brownies are too dry
If the top is very firm and the center feels cakey, you likely overbaked. Reduce bake time slightly and trust the “set edges + soft center” visual cue.
Glaze beads up or doesn’t level
Make sure the brownies cooled completely. Warm brownies will cause the glaze to sink. Also check the glaze thickness—thin with a teaspoon of warm water at a time.
My crescent edges look messy
That’s exactly what the toothpick is for. Pipe a slightly heavy crescent, then do one gentle drag to clean the arc. Work quickly so the glaze doesn’t start to crust.
Storage and make-ahead
Store in an airtight container at room temperature for up to 3 days. For longer storage, refrigerate up to 5 days, then bring to room temp before serving for the best fudgy texture.
Make-ahead tip: bake the brownies 1 day ahead and glaze on the day you want to serve.
FAQ
Do I need special piping tips?
No. A small round tip (or even a fine disposable piping tip) is enough for these crescent “blobs.” The toothpick does the finishing.
Can I do fewer moon phases?
Yes. Keep a repeating grid pattern so it still reads clearly. Start with an easy sequence (for example: new moon → quarter → full moon) and repeat.
Can I skip the glaze?
You can, but the vanilla glaze is what creates the high-contrast moon shapes. If you want less sweetness, use a thinner glaze layer.
Time + equipment you’ll want
You’ll need an 8×8-inch pan, parchment, a mixing bowl, a whisk, and a small offset spatula (for spreading glaze). For decoration: a piping bag with a small round tip and a toothpick.
Print
Halloween Black Cocoa Moon Phase Brownies with Vanilla Glaze
- Prep Time: 20 minutes
- Cook Time: 22-28 minutes
- Total Time: 1 hour 45 minutes
- Yield: 16 brownies (4x4 squares)
- Category: Brownies
- Method: Baking + glazing + simple piping
- Cuisine: American
- Diet: Vegetarian
Description
Fudgy 8×8 black cocoa brownies with a thin vanilla glaze and a repeating grid of white moon phases for an elegant Halloween dessert.
Ingredients
- Unsalted butter: 4 oz (113 g), plus more for greasing the pan.
- Black cocoa powder: 1/2 cup (42 g).
- All-purpose flour: 1/2 cup (60 g).
- Granulated sugar: 1 cup (200 g).
- Light brown sugar: 1/2 cup packed (105 g).
- Fine salt: 1/2 tsp (2 g).
- Baking powder: 1/4 tsp (1 g).
- Eggs: 2 large.
- Vanilla extract: 2 tsp (10 ml).
- Chocolate chips (optional for extra fudginess): 1/2 cup (85 g).
- Vanilla glaze:
- Powdered sugar: 1 cup (120 g).
- Vanilla extract: 1 tsp (5 ml).
- Milk (or water): 2 to 3 tbsp (30 to 45 ml), as needed for pipeable thin glaze.
- Fine salt: a tiny pinch (optional, balances sweetness).
Instructions
- Preheat oven to 325°F (165°C). Line an 8×8-inch pan with parchment so it overhangs on two opposite sides. Grease the parchment lightly.
- Melt the butter: In a microwave-safe bowl (or a small saucepan), melt the butter. Whisk in black cocoa powder until smooth.
- Build the brownie batter: Whisk in granulated sugar and brown sugar until the mixture looks glossy and thick. Whisk in eggs one at a time, then mix in vanilla.
- Fold in dry ingredients: Sprinkle flour, salt, and baking powder over the batter. Fold just until no dry streaks remain. If using chocolate chips, fold them in now.
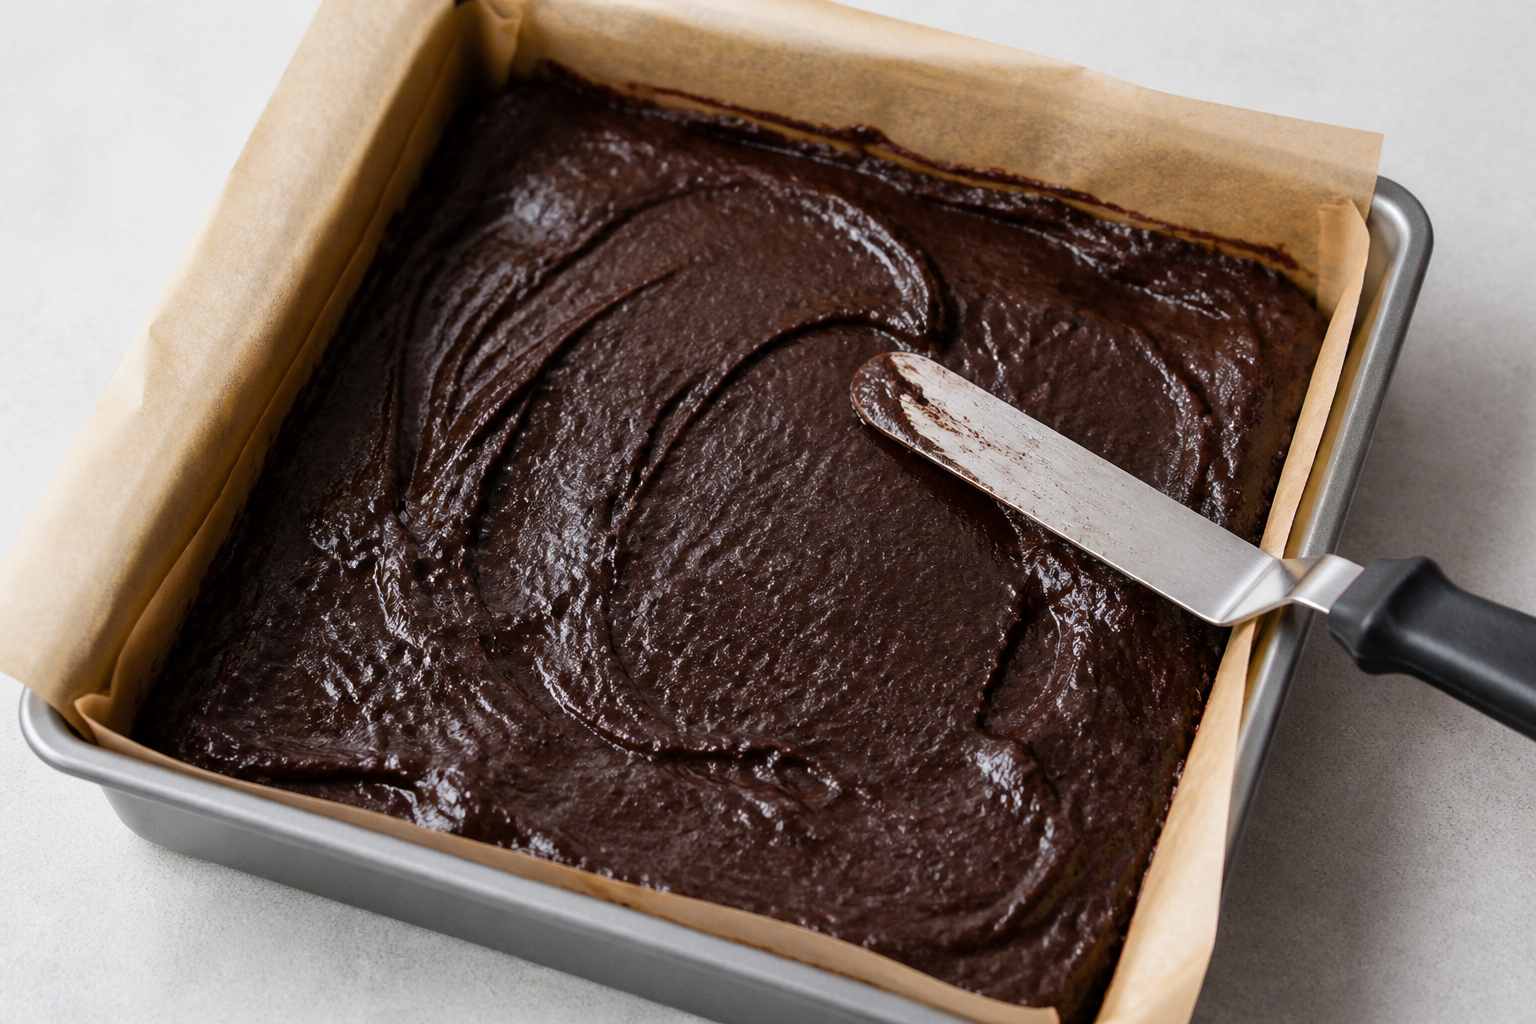
- Spread and bake: Scrape batter into the prepared pan and spread into an even layer. Bake 22 to 28 minutes, until the edges look set and the top is crackly with a slightly soft center.
- Cool completely: Cool in the pan for 30 minutes, then lift out using parchment and cool to room temperature (about 1 hour). Do not glaze warm brownies.
- Cut into a grid: For clean slicing, use a sharp knife and cut into 16 squares (4 rows by 4 columns). Keep the squares in the pan or on a lined tray.
- Make the vanilla glaze: Whisk powdered sugar with vanilla and 2 tbsp (30 ml) milk until smooth. It should be pipeable but thin enough to self-level slightly. If it seems too thick, add milk 1 tsp at a time (5 ml) until it flows.
- Glaze the top surfaces: Spoon a thin amount over each square and gently spread or let it level. The goal is a smooth white base layer so crescents stand out.
- Pipe the moon phases: Fit a piping bag with a small round tip. Pipe a repeating pattern across the squares using only white glaze—start with new moon as a tiny dot or minimal edge, then crescents/quarters, and full moon as a mostly complete circle. Use the toothpick to lightly drag and clean the curved crescent edge.
- Set the glaze: Let the brownies stand until the white glaze looks set (about 20 to 30 minutes). Slice cleanly if needed and serve.
Notes
Doneness is about texture, not just timing: the top should be visibly crackled and the edges set, while the center should feel soft when you gently press the surface with a knuckle (it should spring back slightly). Cooling fully is essential for clean, crisp moon lines—warm brownies melt the glaze.