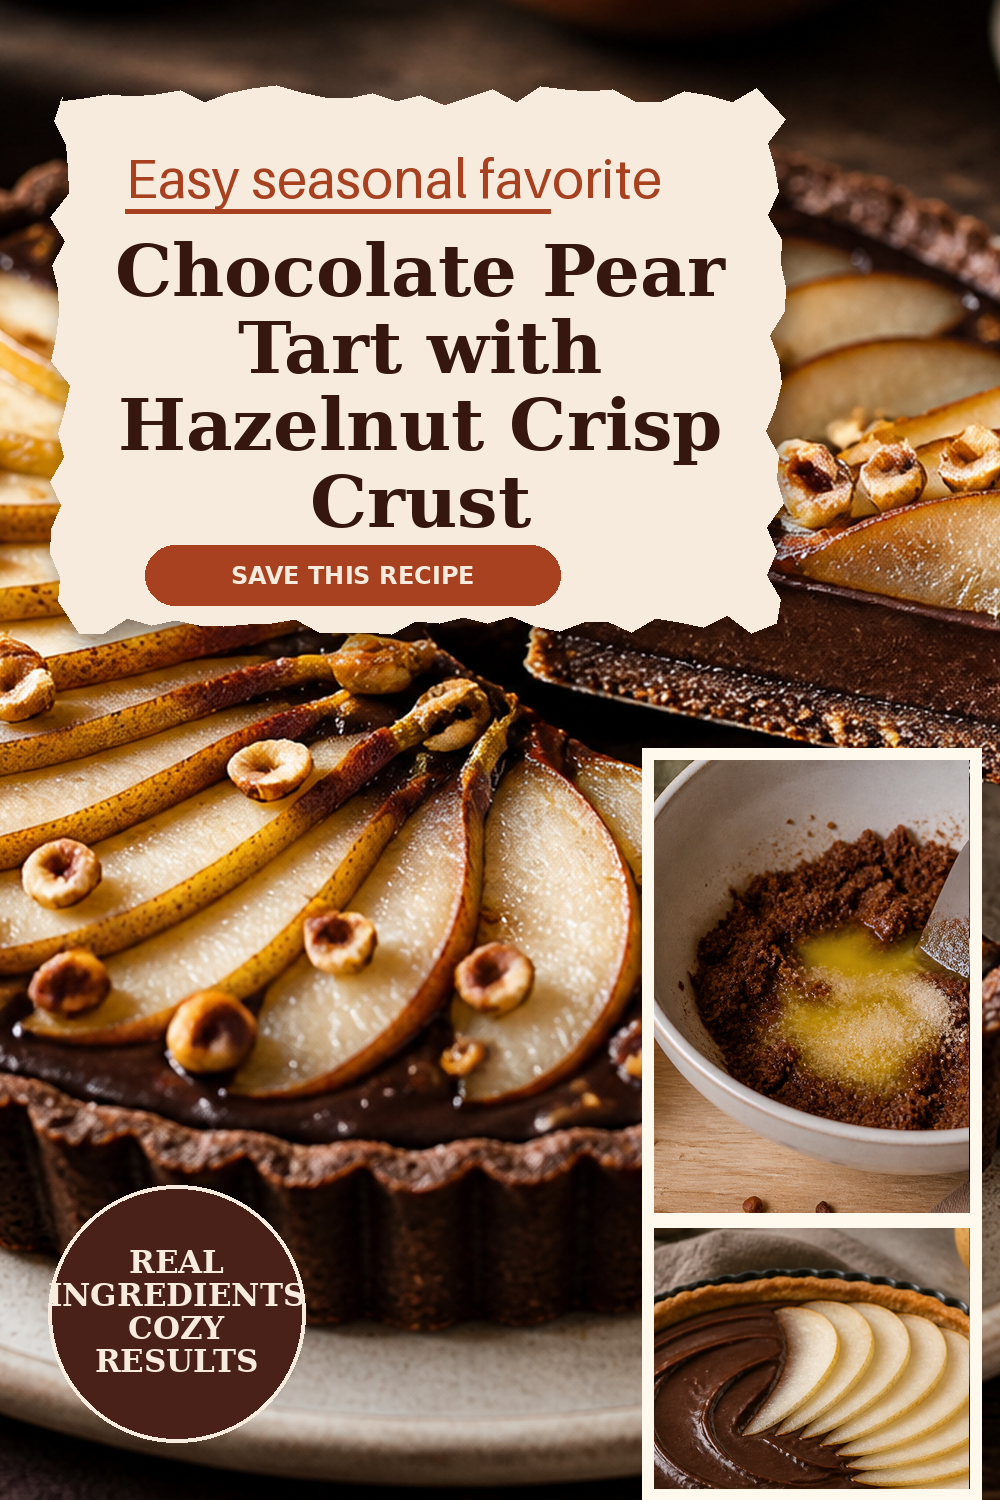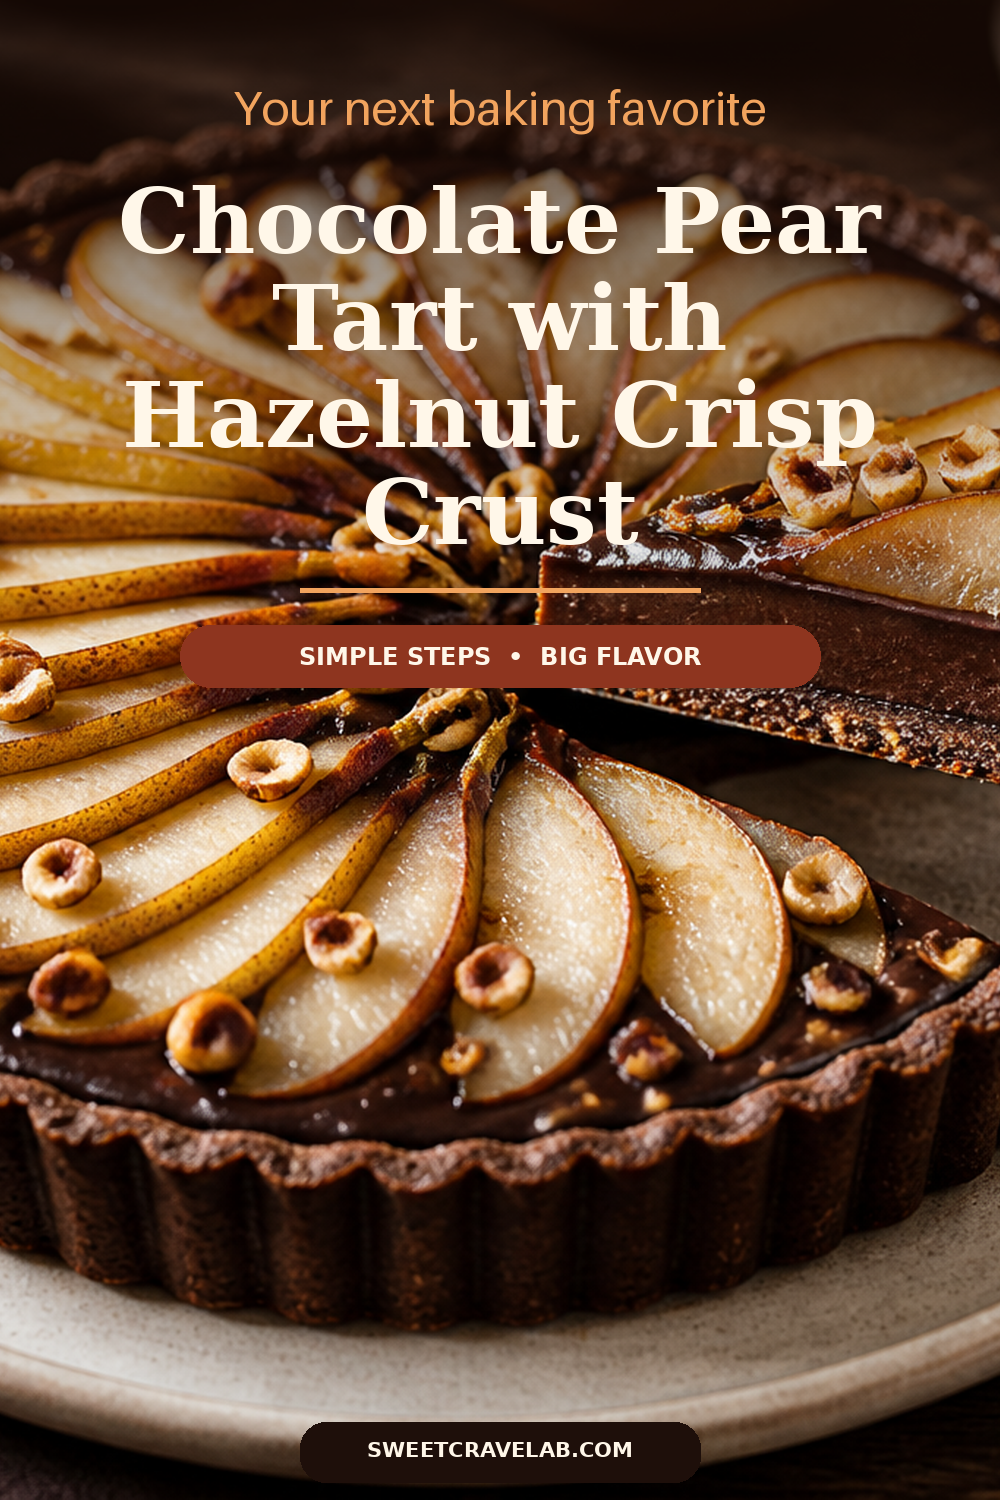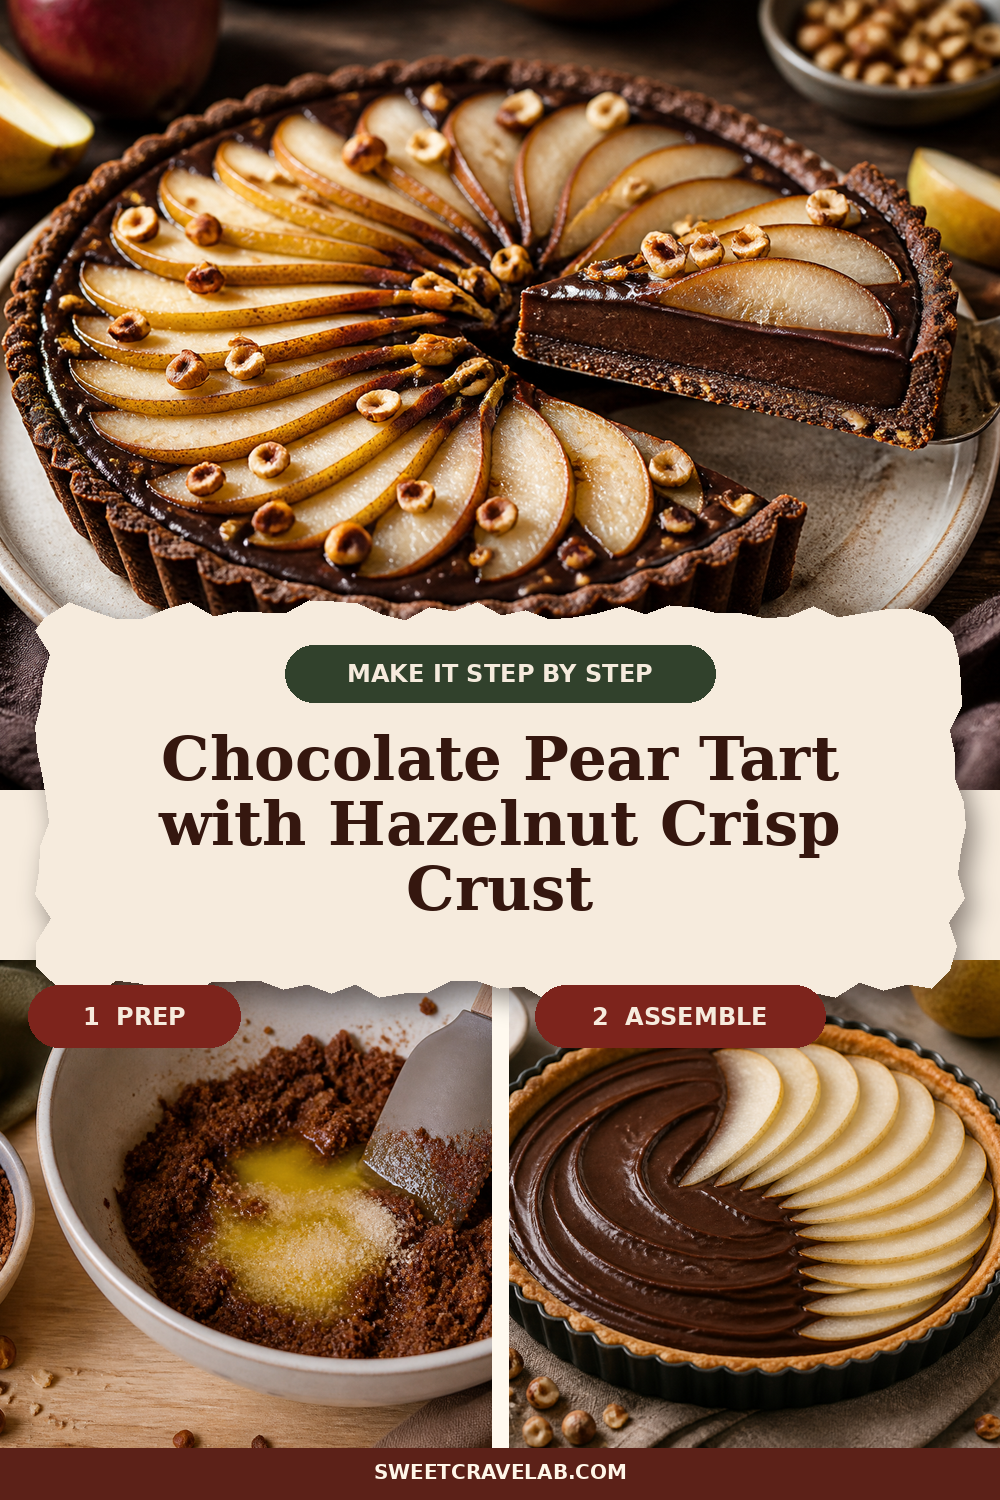
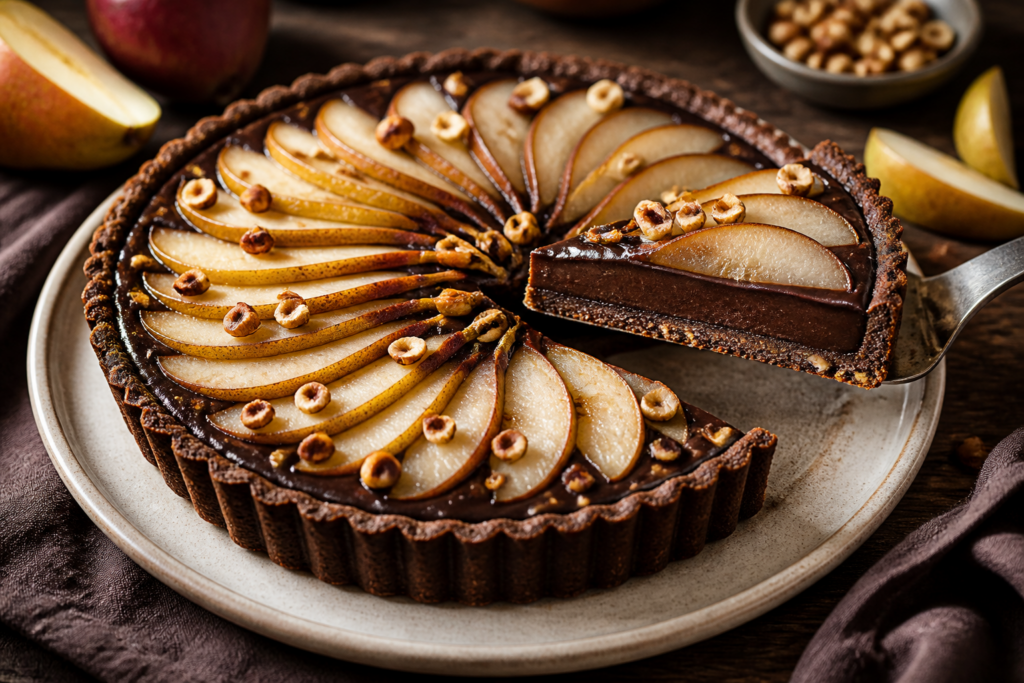
First week of autumn always makes me crave something elegant but doable. This chocolate pear tart is exactly that: a crisp hazelnut cookie crust, a baked dark chocolate filling with a glossy set, and thin ripe-but-firm pear slices fanned on top for a layered, pretty slice.
The key to a tart that won’t go soggy is simple: blind-bake the crust until it’s fragrant and set, pat the pears very dry, and let the tart cool fully before slicing.
Why this method works (and what to look for)
- Blind-baked crust: We bake the crust partway first so it turns crisp and forms a protective base. Doneness cue: the edges look dry and feel set when you gently touch the pan area (not the hot spots).
- Baked chocolate filling: The filling is cooked just long enough to set with a soft jiggle. Doneness cue: the center looks slightly glossy and jiggles like thick pudding—not liquid.
- Dry pears, restrained slicing: Pear moisture is the main risk for a soggy bottom. Doneness cue: the pears should look tender but still hold their shape when you nudge them gently after baking.
Fall ingredient guidance (so the tart tastes balanced)
- Pears: Use ripe-but-firm pears (Bosc or Anjou work beautifully). If they feel at all mushy, they’ll slump during baking.
- Chocolate: Go for dark chocolate you’d actually enjoy eating—bars or chips both work.
- Hazelnuts: The crust tastes like toasted hazelnuts because we pulse them fine and bake the crust until fragrant.
Quick method overview
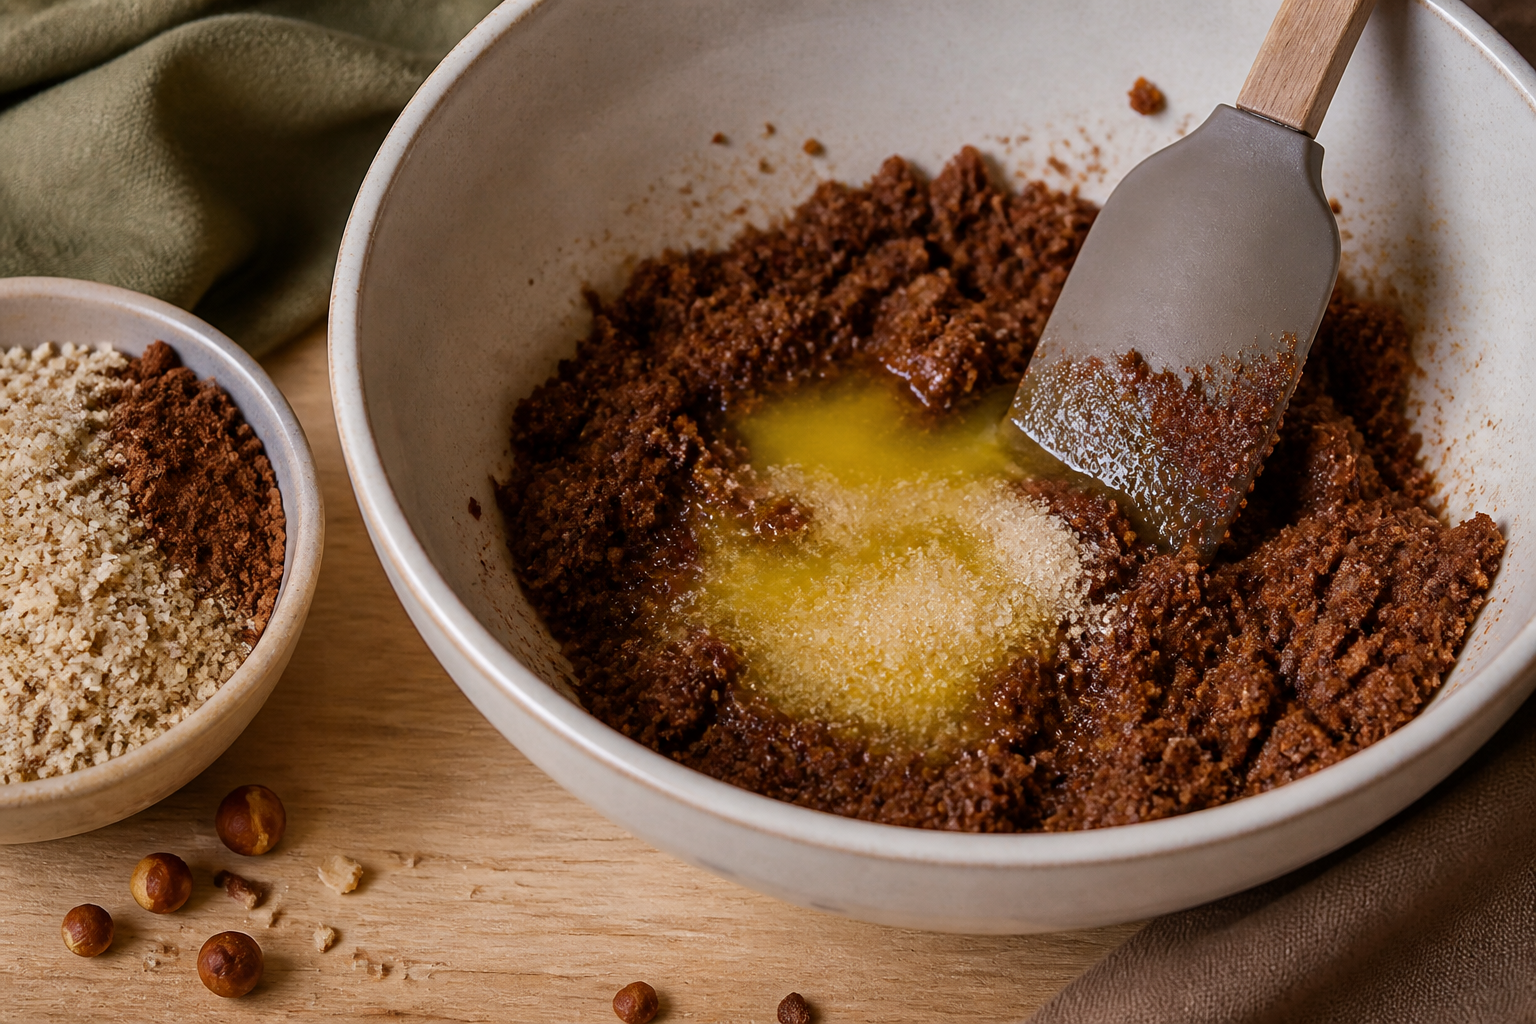
- Pulse hazelnuts into a fine meal, mix with cookie-crust ingredients, press into a 9-inch tart pan, then bake to set.
- Make the dark chocolate filling and pour it into the warm crust.
- Fan thin pear slices on top, then bake until the center jiggles like pudding.
- Cool completely, then slice cleanly.
Troubleshooting
- Crust softened or wet: Usually pears were too wet or the crust wasn’t baked long enough. Next time, pat pears very dry and blind-bake until the crust is clearly set at the edges.
- Filling overbaked (dry, cracked, or grainy): Chocolate can seize or dry out if it bakes too long. Bake until the center jiggles slightly; the tart will firm up as it cools.
- Pears slumped: Your pears may have been overripe or slices too thick. Aim for thin, even slices and choose pears that yield slightly to pressure but don’t feel soft.
- Hard to slice: Let it cool fully (and chill if needed). Warm chocolate can smear.
Substitutions that still work
- Hazelnuts: Swap in finely ground almonds (flavor changes, texture stays crisp).
- Chocolate: Use semisweet if that’s what you have; the filling will be sweeter and less bitter.
- Egg-free: Not recommended here—the filling structure relies on the egg to set.
Storage
- Fridge: Cover and store up to 3–4 days.
- Best texture: For clean slices, bring to cool room temperature (about 30–45 minutes) before serving.
- Freezing: You can freeze slices, but pears may soften on thawing. If you do, wrap well and thaw in the fridge.
FAQ
- Can I make it ahead? Yes—it’s actually better after a few hours. Bake, cool completely, then chill until ready to slice.
- What if my pear slices brown? Light lemon juice helps. If they brown slightly, it’s mostly cosmetic—flavor stays great.
- Do I need a springform? No. A standard 9-inch tart pan with a removable bottom works best for easy release.
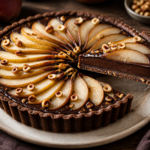
Dark Chocolate Pear Hazelnut Tart (9-inch)
- Prep Time: 25 minutes
- Cook Time: 40 minutes
- Total Time: 3 hours 5 minutes
- Yield: 1 (9-inch) tart, about 8 slices
- Category: Chocolate Recipes
- Method: Baked
- Cuisine: American
- Diet: Vegetarian
Description
A crisp hazelnut cookie crust, baked dark chocolate filling, and fanned ripe-but-firm pear slices—cool and slice for clean, elegant servings.
Ingredients
- For the hazelnut cookie crust:
- 1/2 cup hazelnuts, finely ground (60 g)
- 1/2 cup all-purpose flour (60 g)
- 3 tbsp Dutch-process cocoa powder (21 g)
- 1/4 cup powdered sugar (30 g)
- 1/4 tsp fine salt (1.5 g)
- 6 tbsp unsalted butter, melted and cooled slightly (85 g)
- 1 tsp vanilla extract (5 ml)
- For the baked dark chocolate filling:
- 4 oz dark chocolate, chopped or chips (113 g)
- 1/2 cup heavy cream (120 ml)
- 3 tbsp unsalted butter (42 g)
- 2 tbsp granulated sugar (25 g)
- 1 large egg (about 50 g without shell)
- 1 tsp vanilla extract (5 ml)
- 1 pinch fine salt (less than 1 g)
- For the pear topping:
- 2 medium ripe-but-firm pears (about 14 oz total) (400 g)
- 1 tbsp fresh lemon juice (15 ml)
- 1 tbsp granulated sugar (12.5 g)
- 1 tbsp cornstarch (8 g)
- 1 tsp ground cinnamon (2.5 g), optional
- Optional finishing (choose one):
- 1/4 cup toasted hazelnuts, roughly chopped (28 g)
- or 1–2 tbsp powdered sugar (8–16 g)
Instructions
- Prep the pan and heat the oven. Set an oven rack to the middle position. Preheat to 350°F (175°C). Coat a 9-inch tart pan with removable bottom lightly with butter or nonstick spray.
- Make the crust. In a bowl, mix ground hazelnuts, flour, cocoa powder, powdered sugar, and salt. Stir in melted butter and vanilla until the mixture looks like dark, damp crumbs that can be pressed.
- Press the crust. Press the crust mixture firmly into the bottom and up the sides of the tart pan (use your fingers or a flat measuring cup). For a crisp base, press evenly and compact.
- Blind-bake the crust. Bake 12–15 minutes, until fragrant and the edges look set (they should look less shiny). Remove and cool 5 minutes.
- Prepare the pears. Peel pears if desired. Slice into very thin, even slices (about 1/16–1/8 inch / 1.5–3 mm). Toss slices with lemon juice, granulated sugar, cornstarch, and cinnamon (if using). Let sit 5 minutes, then drain any liquid (you don’t want extra juice on the crust). Pat lightly if needed.
- Make the chocolate filling. In a heatproof bowl set over barely simmering water (or microwave in short bursts), melt chocolate with heavy cream and butter, stirring until smooth. Whisk in granulated sugar, salt, egg, and vanilla until glossy and smooth.
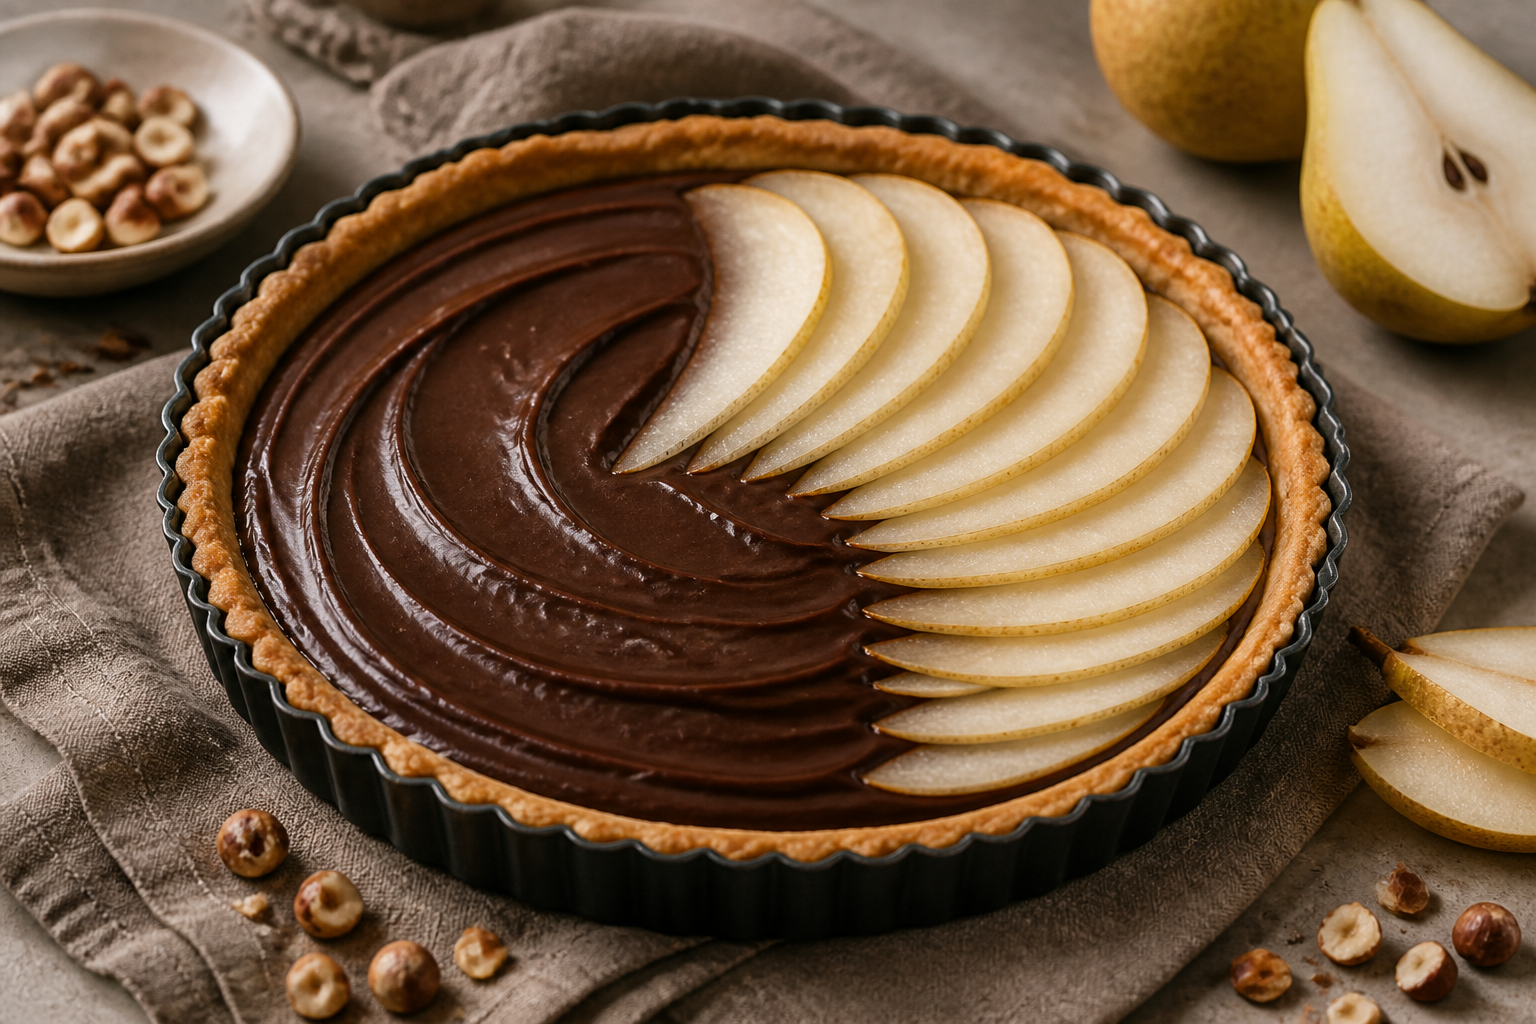
- Assemble. Pour chocolate filling into the warm crust and spread gently. Fan pear slices tightly on top in overlapping rows.
- Bake. Bake 25–30 minutes, until the center looks set and only slightly jiggly like thick pudding. Doneness cue: the filling should not look liquid in the middle; it may puff slightly around the pears.
- Cool fully (this matters). Cool at room temperature for at least 1–2 hours. Then refrigerate 2–4 hours for the cleanest slicing.
- Unmold and serve. Run a thin knife around the edge if needed. Unmold carefully. Optional: sprinkle with toasted hazelnuts or a light dusting of powdered sugar.
Notes
To avoid a soggy crust: blind-bake the crust until the edges look set, and don’t skip the pear draining/patting step.
To avoid overripe pear slump: choose pears that give slightly but aren’t soft. Thin slices help them stay tender without collapsing.
If the top browns early: loosely tent with foil for the last 10 minutes of baking.