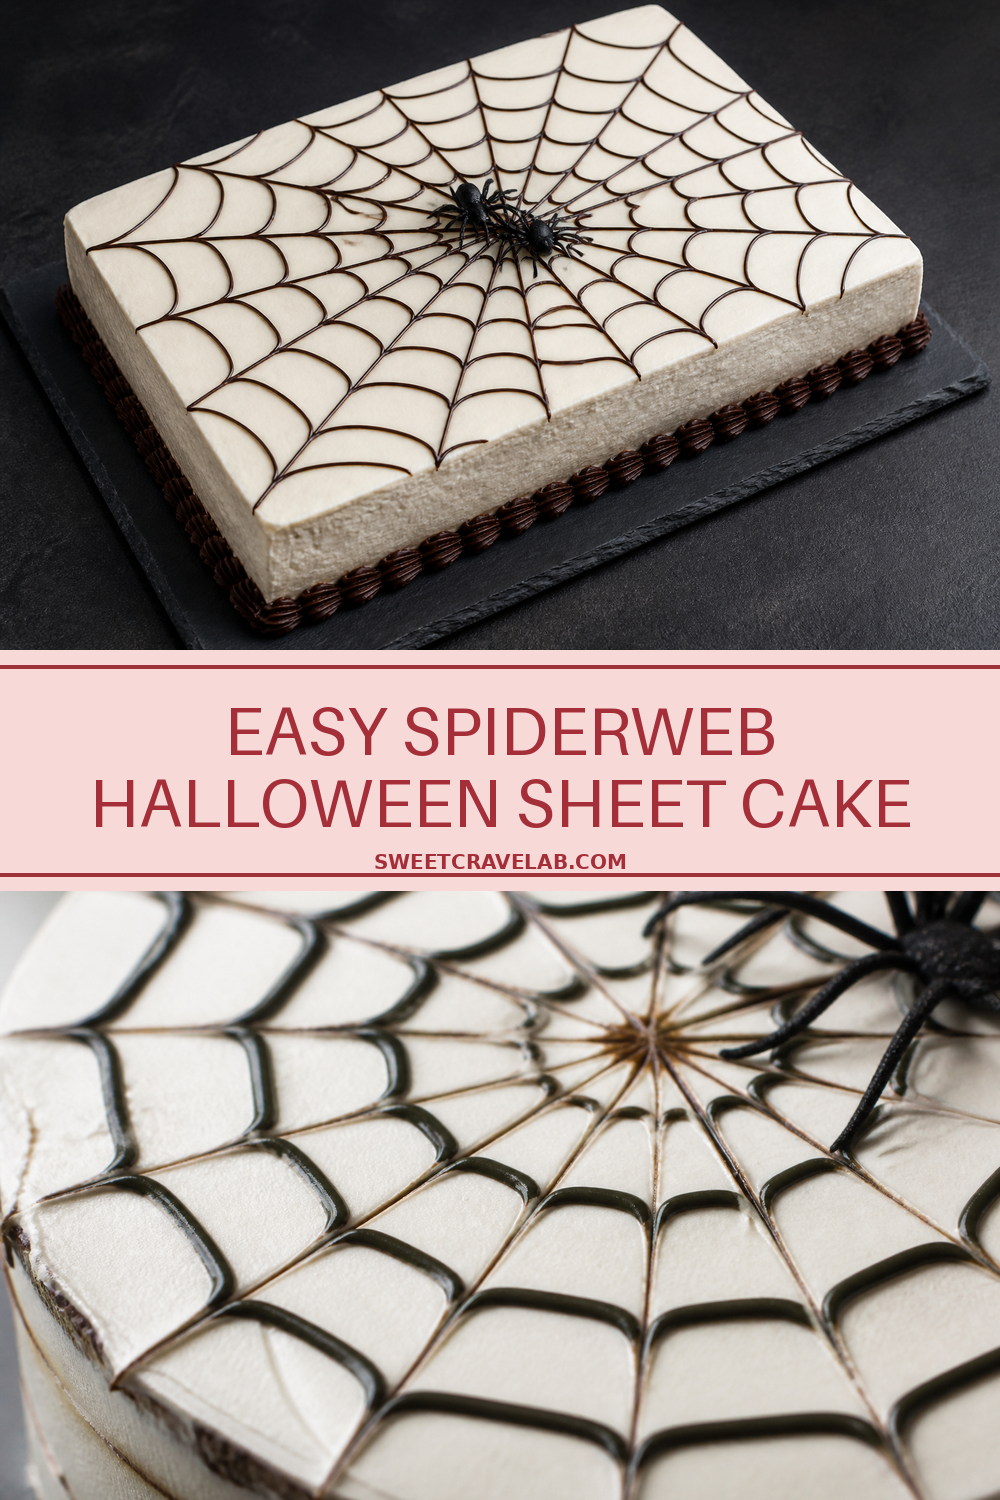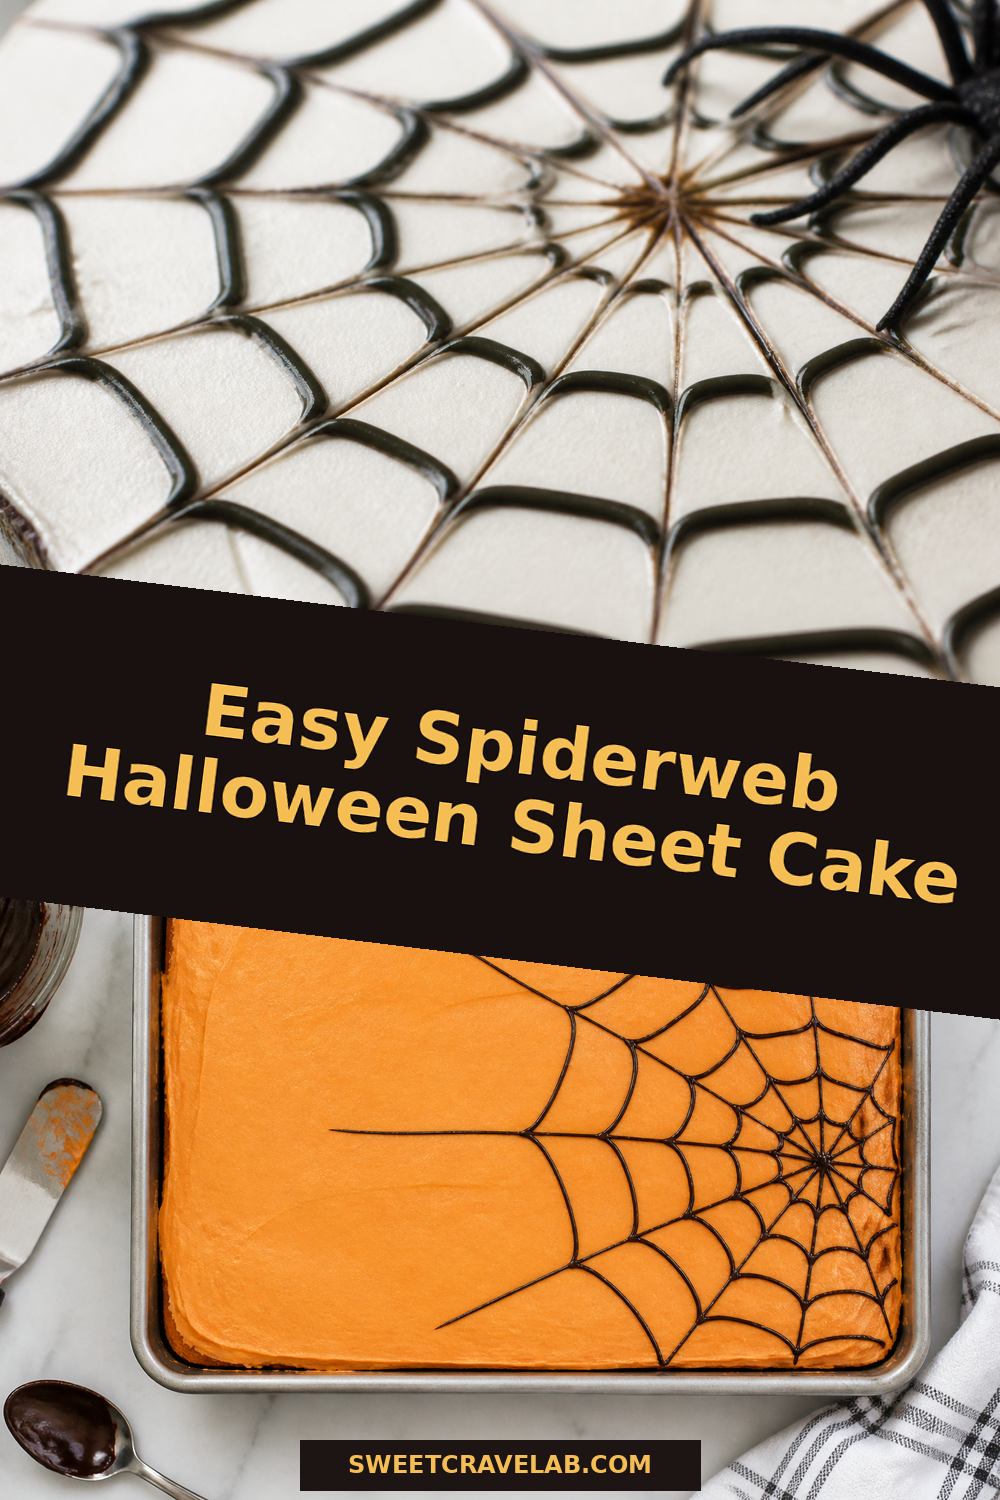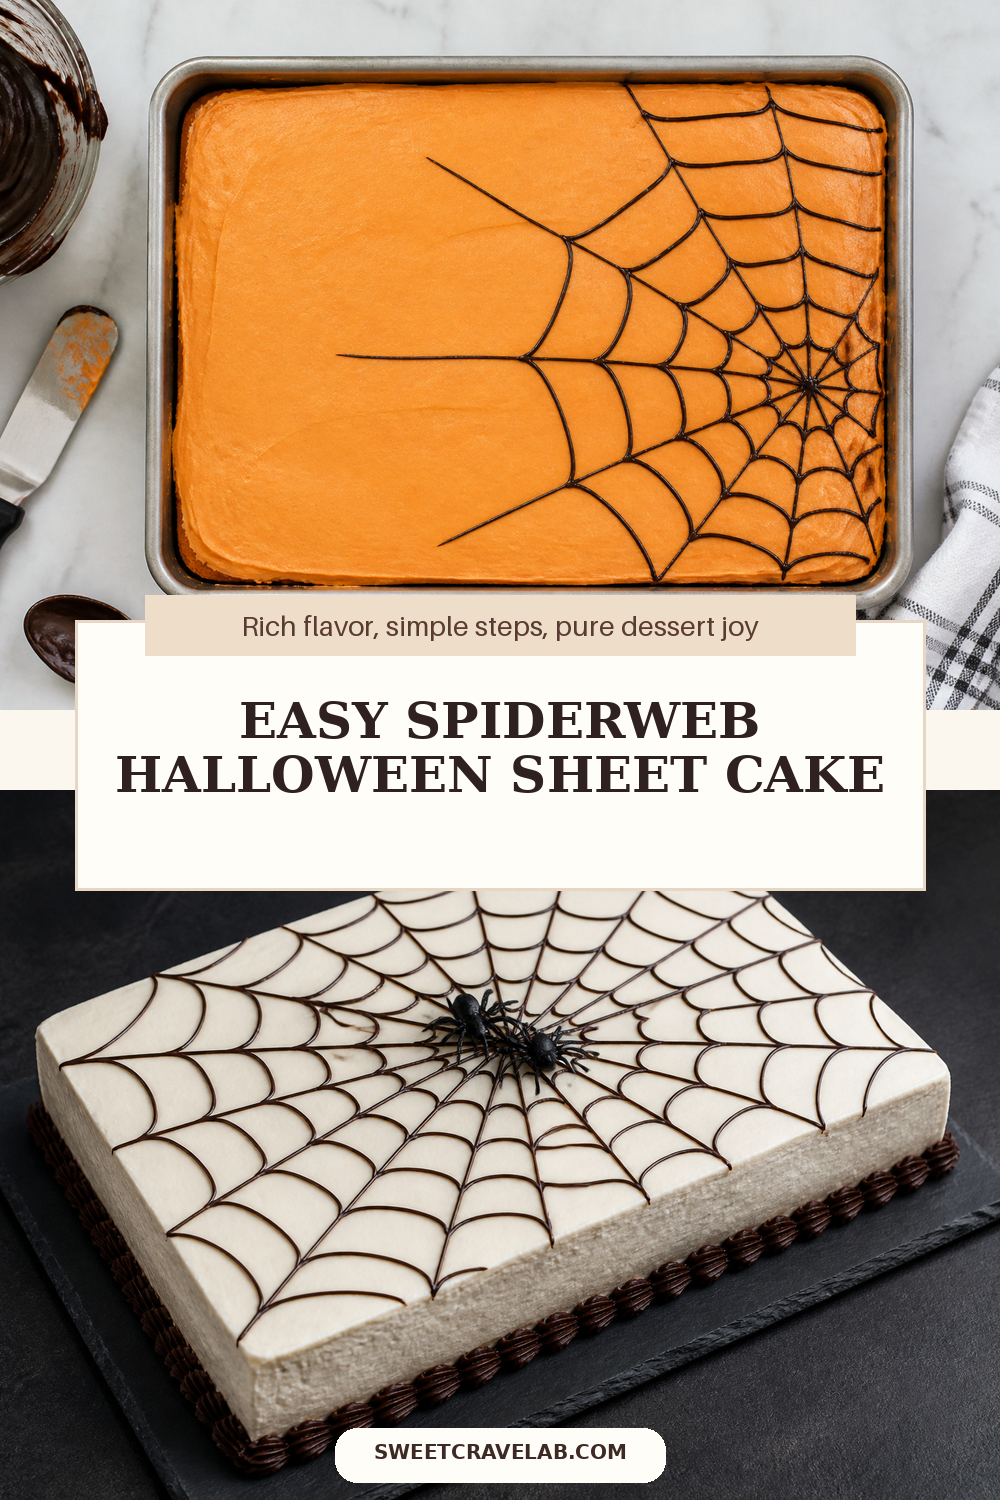
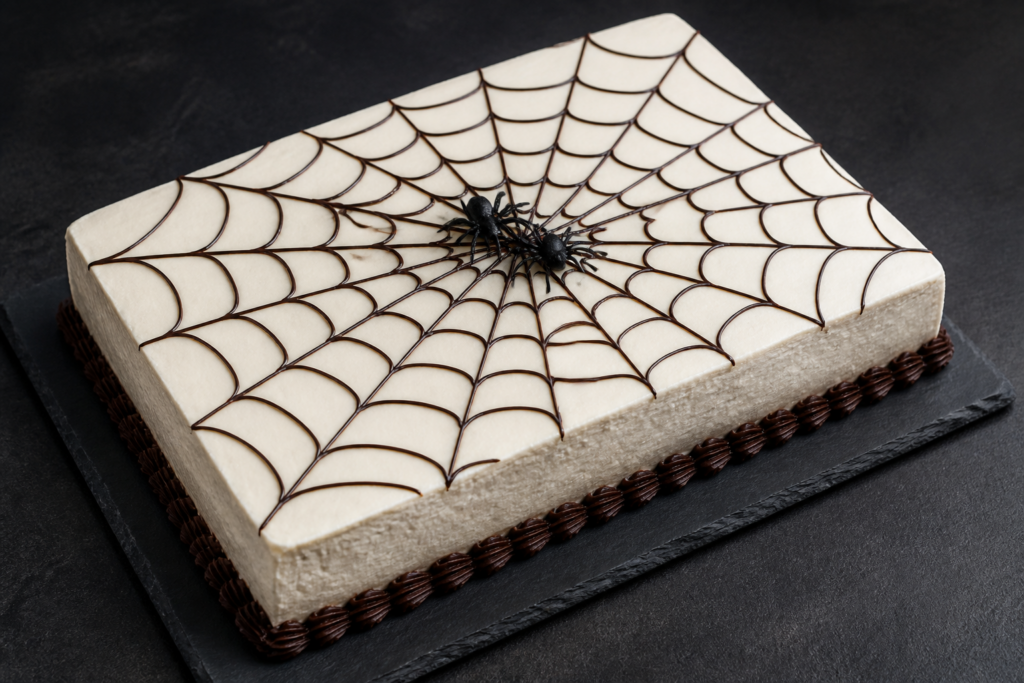
Halloween cake doesn’t have to be fussy. This easy spiderweb Halloween sheet cake is all about big visual impact with a low-skill decorating method: a simple black cocoa sheet cake base, pale buttercream, then a web drawn right on top.
I like this approach because it’s forgiving. You’ll see the pattern as you go, and the contrast (black cake + near-white frosting) makes the web look crisp even if your lines aren’t perfect.
Why it works: the cake is baked with black cocoa for a deep, chocolatey black-brown tone, and the buttercream stays mostly white so the thin spiderweb lines read clearly from across the room.
What you’ll make
A quarter-sheet style cake (9×13 in / 23×33 cm), frosted with mostly white buttercream, finished with a concentric-to-radial spiderweb pattern and 1–2 candy spiders.
Method overview (quick and clear)
- Bake the black cocoa sheet cake and cool completely.
- Make a stable, spreadable mostly-white buttercream.
- Frost, then chill briefly so the surface is easier to “draw” on.
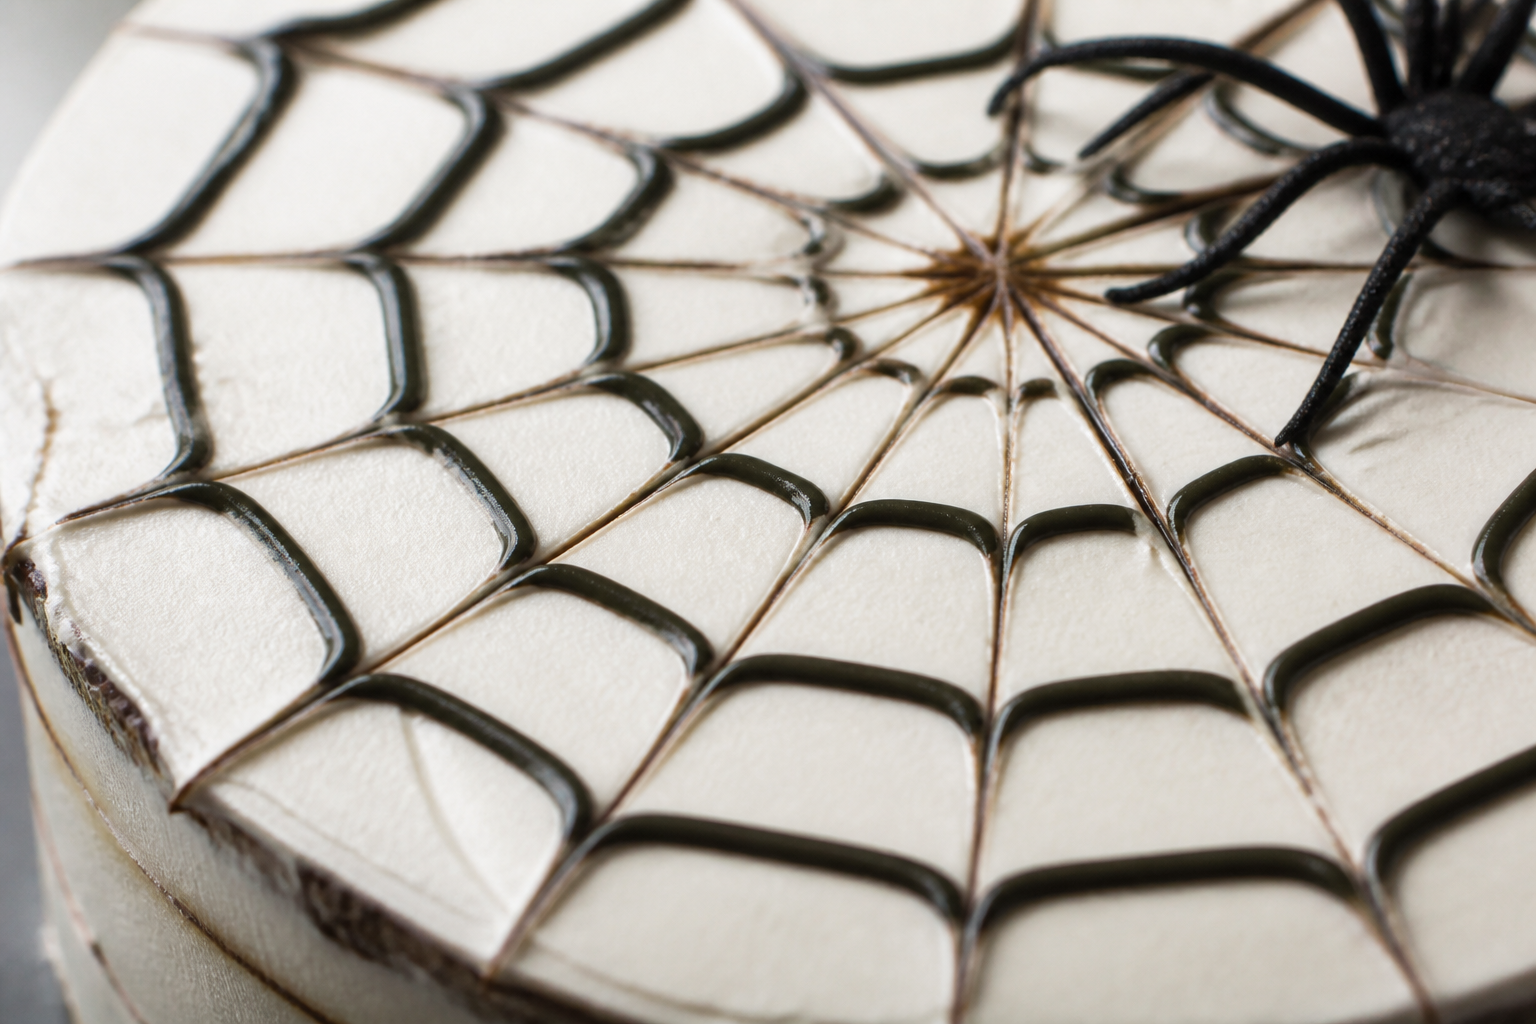
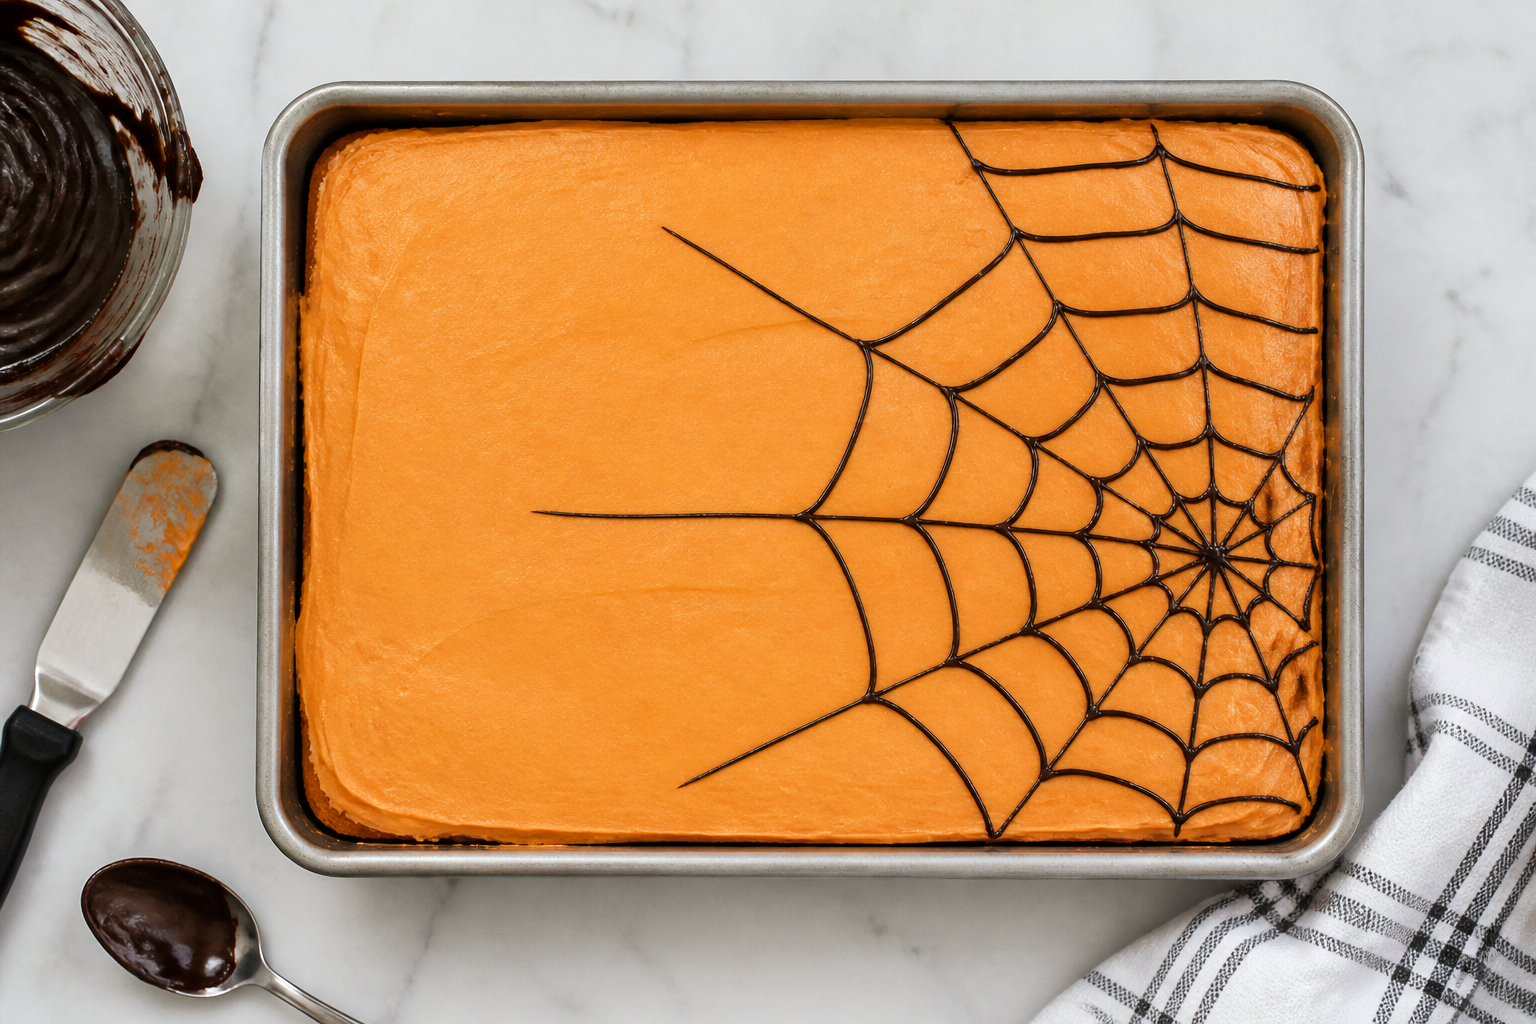
- Draw the web lines using a spoon/fork/offset spatula—concentric circles first, then drag thin lines from center outward.
- Add candy spiders at the center (or corner) for instant Halloween recognition.
Spiderweb decorating tutorial (the low-skill part)
There’s no airbrushing or fondant needed. Here’s the visual cue-focused way to do it:
- Chill for control: after frosting, refrigerate 10–20 minutes. The buttercream should feel firm but not frozen. If it’s too soft, lines will smudge.
- Start with a smooth “map”: use a thin offset spatula layer so the top is even. You’re aiming for a flat surface where lines will sit on top.
- Concentric circles: dip a spoon in warm water, wipe, then lightly trace rings from the outside toward the center.
- Radial web lines: using the same tool, pull thin lines outward from the center. Rotate the tray slightly as you work so lines are evenly spaced.
- Doneness cue for decoration: you want the frosting to show grooves/lines that stay visible 5–10 minutes after you draw them. If they disappear quickly, chill a bit longer before continuing.
Doneness cues for the cake (so the base doesn’t overbake)
- Toothpick test: insert into the center—look for a few moist crumbs, not wet batter.
- Edge visual cue: cake edges should pull slightly from the pan sides and look set/dry.
- Spring back: the top should spring back when gently pressed.
Buttercream tips for a crisp white web
- Consistency: if the buttercream feels stiff, add milk 1 tablespoon (15 ml) at a time.
- Color control: keep it “mostly white.” A small pinch of black cocoa or extra salt can deepen contrast, but go light—this recipe is built for pale web lines.
- Even coverage: your first frosting layer doesn’t need to be perfect—just cover. Your second pass creates the clean web-ready top.
Troubleshooting
Web lines smudge or disappear
- Chill the cake longer (10 minutes at a time). The frosting should be firm enough to hold shallow grooves.
- Use less pressure when drawing. The goal is texture, not gouging.
Buttercream looks grainy
- Mix again on low until smooth; powdered sugar sometimes needs a little extra time to hydrate.
- Add milk 1 tablespoon (15 ml) at a time if needed.
Cake is dry
- Next time, start checking at the lower end of the bake window. Black cocoa can read “done” early—trust the toothpick and spring-back cues.
Substitutions & variations
- Black cocoa: if you can’t find black cocoa, use natural cocoa powder, but the color will be less dramatic.
- Coffee: replace hot coffee with hot water or hot milk for a milder flavor.
- Spiders: use chocolate-dipped pretzel “spiders” or gummy spiders if you prefer—place them after the web is drawn.
Storage
- Room temp: 1–2 days if your kitchen is cool.
- Refrigerator: up to 4 days, covered.
- Freezer: freeze the baked cake layers (wrapped) up to 2 months; frost after thawing for best texture.
FAQ
Can I make it ahead?
Yes. Bake the cake 1 day ahead and refrigerate tightly wrapped. Frost on the day you’ll serve, or chill-frost and decorate within 24 hours for the best crisp web lines.
What pan size should I use?
This is designed for a 9×13 in (23×33 cm) baking pan. If you use a different size, bake time will change.
Do I need special tools?
No. A small spoon, fork, or offset spatula works for the web texture. A piping bag is optional if you want darker lines—but it’s not required.
Ready to bake?
Grab your 9×13 in (23×33 cm) pan, mix up the black cocoa cake, and let the web pattern do the heavy lifting.
Print
Halloween “Spiderweb Sheet Cake” (Black Cocoa + White Buttercream Web)
- Prep Time: 25 minutes
- Cook Time: 35 minutes
- Total Time: 1 hour 55 minutes
- Yield: 1 sheet cake (9x13 in / 23x33 cm), about 12–16 slices
- Category: Cakes
- Method: Bake and frost with buttercream; decorate with spiderweb draw-and-drag technique
- Cuisine: American
- Diet: Vegetarian
Description
A quarter-sheet black cocoa sheet cake frosted in mostly white buttercream, decorated with an easy spiderweb draw-and-drag technique and finished with 1–2 candy spiders.
Ingredients
- All-purpose flour: 1 1/2 cups (190 g)
- Black cocoa powder: 1/2 cup (50 g)
- Baking powder: 2 tsp (8 g)
- Baking soda: 1/2 tsp (2 g)
- Fine salt: 1/2 tsp (2.5 g)
- Granulated sugar: 1 cup (200 g)
- Unsalted butter, softened: 1/2 cup (113 g)
- Large eggs: 3
- Vanilla extract: 2 tsp (10 ml)
- Buttermilk: 3/4 cup (180 ml)
- Hot coffee (or hot water): 1 cup (240 ml)
- Neutral oil (for extra moisture): 2 tbsp (30 ml)
- Red gel color (optional, for a slightly warmer “black” look): 1 to 2 drops
- Mostly-white buttercream: Unsalted butter, softened: 1 cup (227 g)
- Powdered sugar: 4 cups (480 g)
- Fine salt: 1/4 tsp (1.5 g)
- Vanilla extract: 2 tsp (10 ml)
- Milk or heavy cream: 3 to 6 tbsp (45 to 90 ml)
- Optional: black cocoa powder for darker web lines: 1 to 2 tsp (2 to 4 g)
- Candy spiders: 1 to 2
Instructions
- Prep: Heat oven to 350°F (175°C). Grease a 9×13 in (23×33 cm) baking pan and line the bottom with parchment. Lightly grease the parchment.
- Mix dry: In a large bowl, whisk flour, black cocoa, baking powder, baking soda, and salt until no lumps remain.
- Mix wet: In a separate bowl (or stand mixer), beat butter and sugar until fluffy, about 2 minutes. Beat in eggs one at a time, then mix in vanilla, buttermilk, and oil. If using, add red gel drops and mix until evenly streaked (don’t overmix).
- Combine: Add dry ingredients to wet in 2 additions, mixing just until smooth. With mixer on low, slowly pour in hot coffee (or hot water). Batter will look thin—this is normal.
- Bake: Pour batter into prepared pan. Bake 30 to 38 minutes, until the center springs back and a toothpick inserted near the center comes out with a few moist crumbs (not wet batter).
- Cool completely: Cool in pan 10 minutes, then lift out using parchment and cool fully on a rack, about 1 hour. Do not frost warm cake—your web will smear.
- Make mostly-white buttercream: Beat butter until smooth. Add powdered sugar and salt in 2 to 3 additions, mixing on low at first. Add vanilla. Slowly stream in milk/cream until you reach a smooth, spreadable consistency (it should hold shape and spread with a gentle smear).
- Optional darker web lines: If you want slightly darker grooves, set aside 2 to 4 tbsp of buttercream and stir in 1 to 2 tsp black cocoa. Keep the rest mostly white.
- Frost: Spread buttercream over the cooled cake. Aim for an even, smooth top. If you see ridges, gently smooth with an offset spatula.
- Chill briefly: Refrigerate 10 to 20 minutes so the frosting firms up for clean drawing.
- Draw the spiderweb: Working from the center out, lightly trace concentric circles on the top using the back of a spoon (or a fork). Then, starting at the center, pull thin radial lines outward. Rotate the cake so the lines are evenly spaced. If lines look too faint, press only slightly more—don’t dig.
- Place spider topper: Add 1 to 2 candy spiders at the center (or one corner) right after finishing the web.
- Serve: For the crispest look, serve within the hour. If the room is warm, chill 10 minutes right before serving.
Notes
If your web grooves blur, the buttercream is too soft—chill longer and draw again with lighter pressure. For the strongest contrast, keep most of the buttercream very pale and use darker cocoa only for optional deepened grooves.