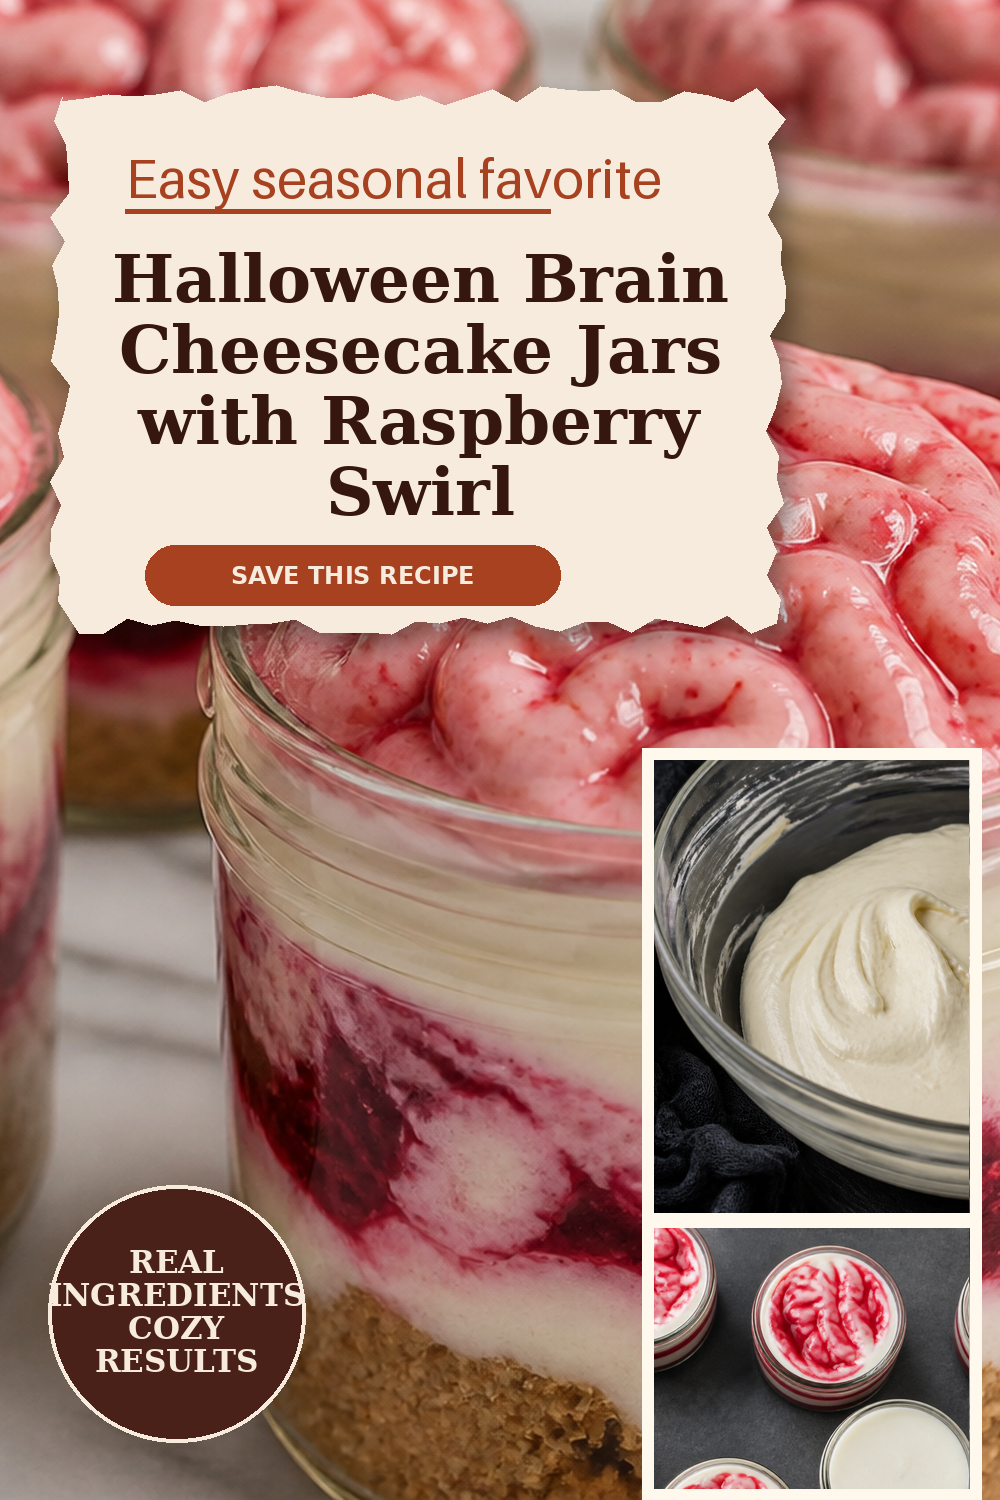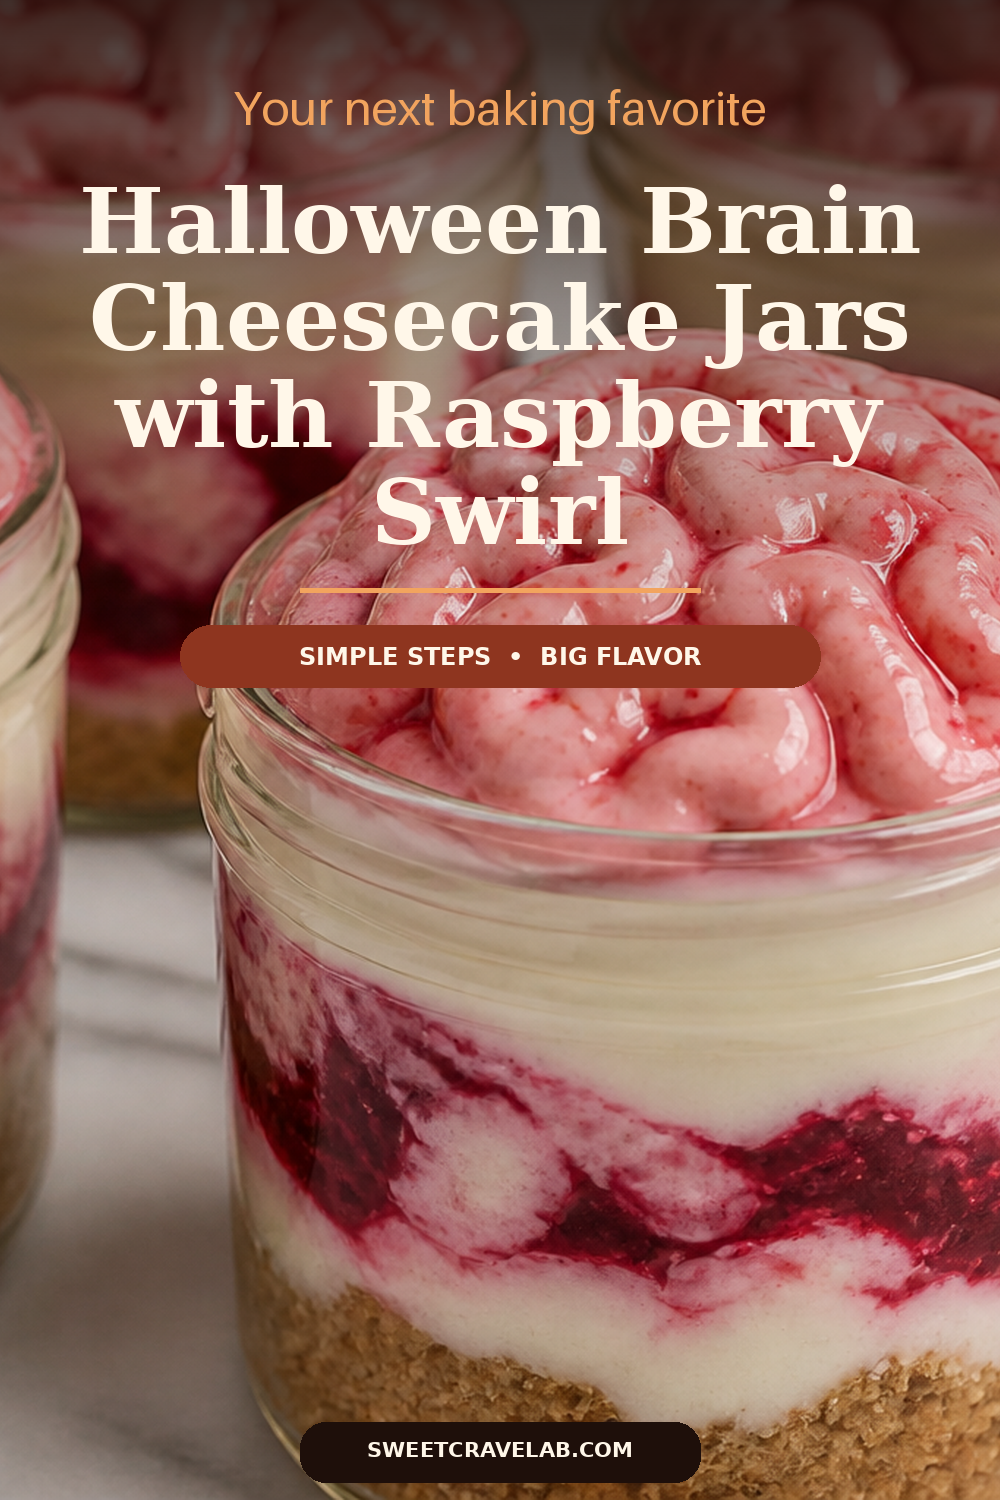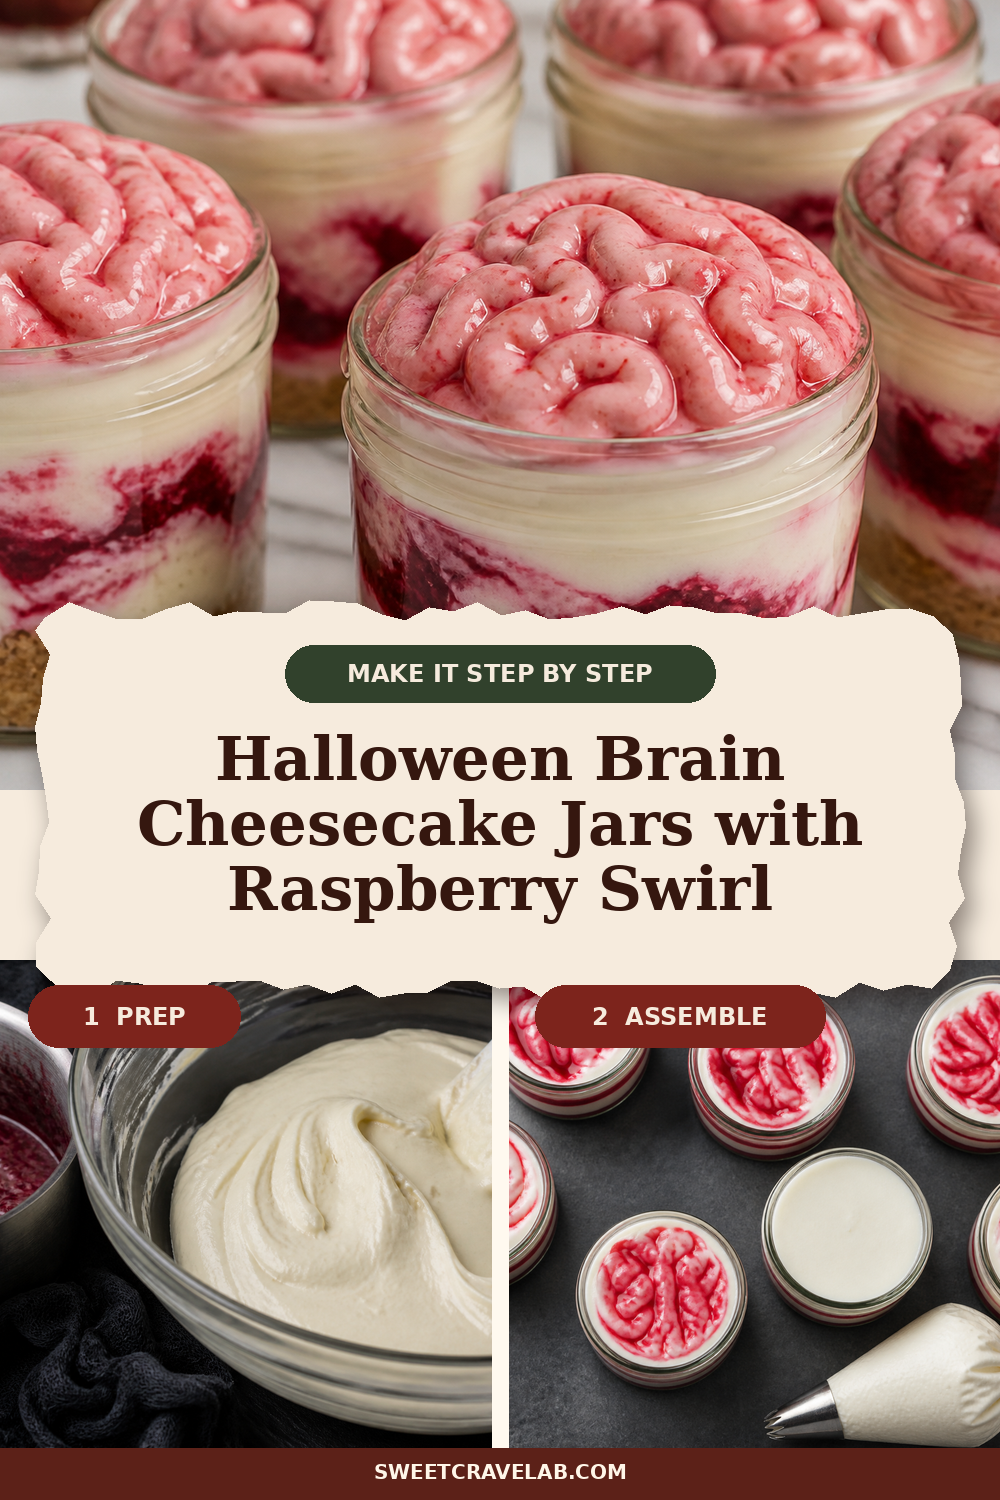
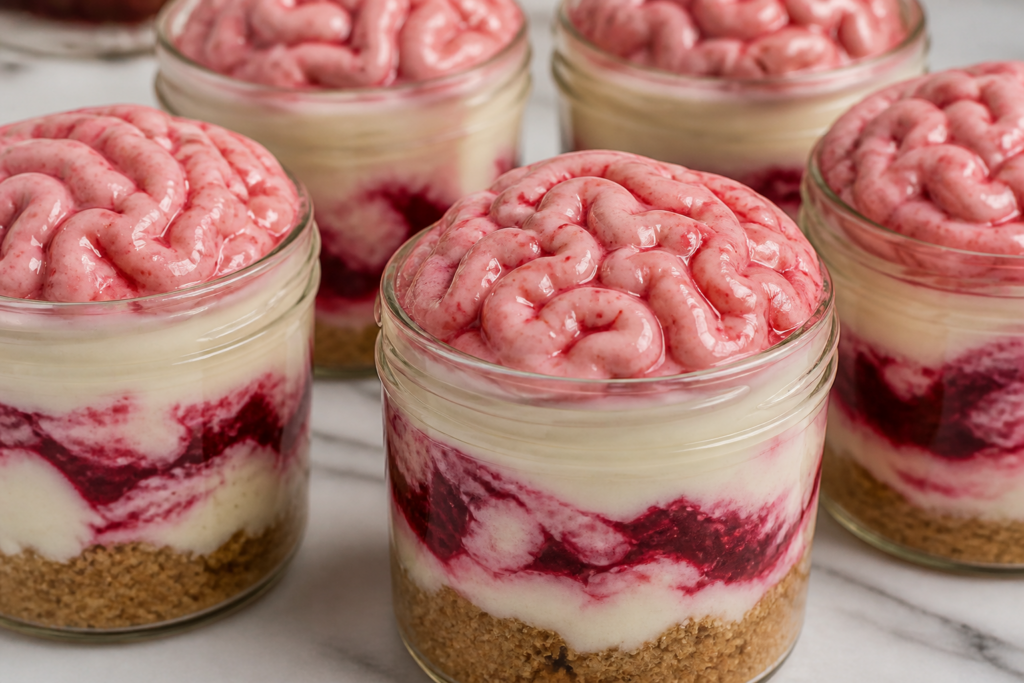
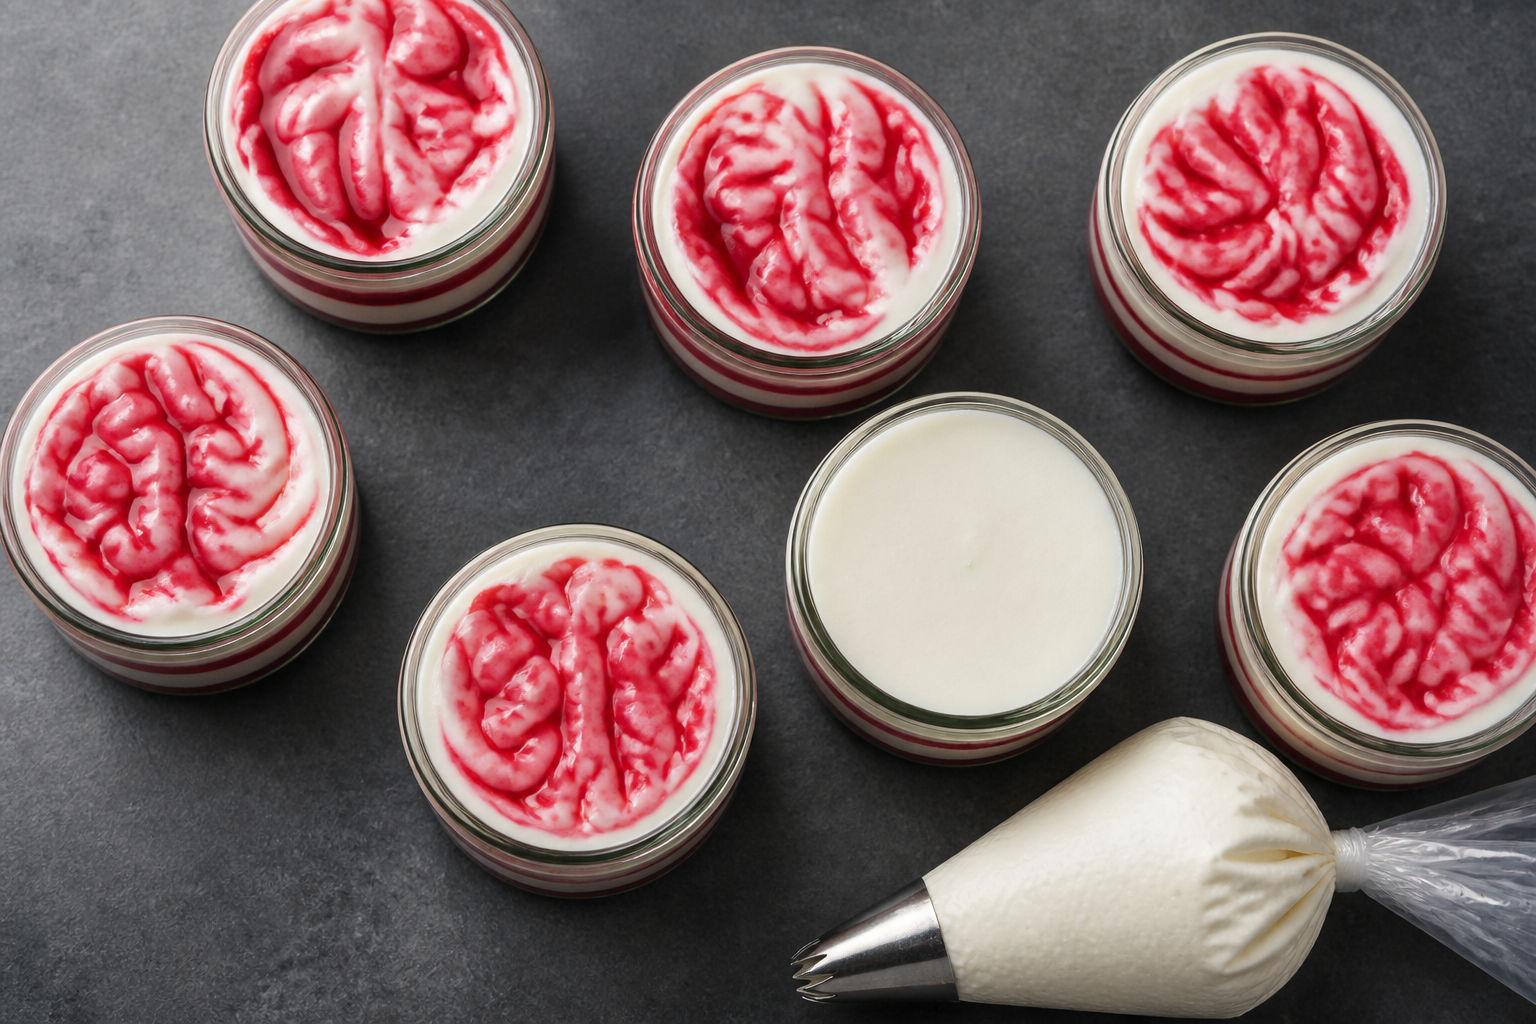
I love Halloween desserts that look undeniably fun even before you take a bite. These Halloween brain cheesecake jars do that—thanks to a graham “brain” base, a vivid raspberry swirl, and a piped brain-pattern top that sets in the fridge.
And the best part? You don’t need any specialty molds—just small straight-sided jars, a disposable piping bag, and a thick cheesecake filling you can make ahead.
Optional jar tip: Aim for straight-sided jars (mason jars, 4–8 oz jars, or small dessert cups). Straight sides help the layers read clearly in photos and on your Pinterest save.
Why this no-bake cheesecake sets (and looks sliceable)
This cheesecake uses gelatin to firm the filling while still keeping the texture creamy. That gives you clean, scoopable “jar cheesecake” layers once chilled.
- Visual cue: After chilling, the filling should jiggle only slightly in the center—like a set pudding, not liquid.
- Second cue: When you pipe the brain pattern, the topping should hold ridges and waves without collapsing.
Layer-by-layer: what to expect
Each jar gets:
- Graham “brain” base: A press-in crust that keeps the cheesecake portion stable.
- Cheesecake filling: Make-ahead friendly, spoonable, and thickened for clean layers.
- Raspberry swirl: A thick, spoonable jammy ribbon (not just drizzle) so it shows at thumbnail size.
- Piped brain pattern: Wavy lobes and shallow lines—no brain mold required.
Method overview (high level)
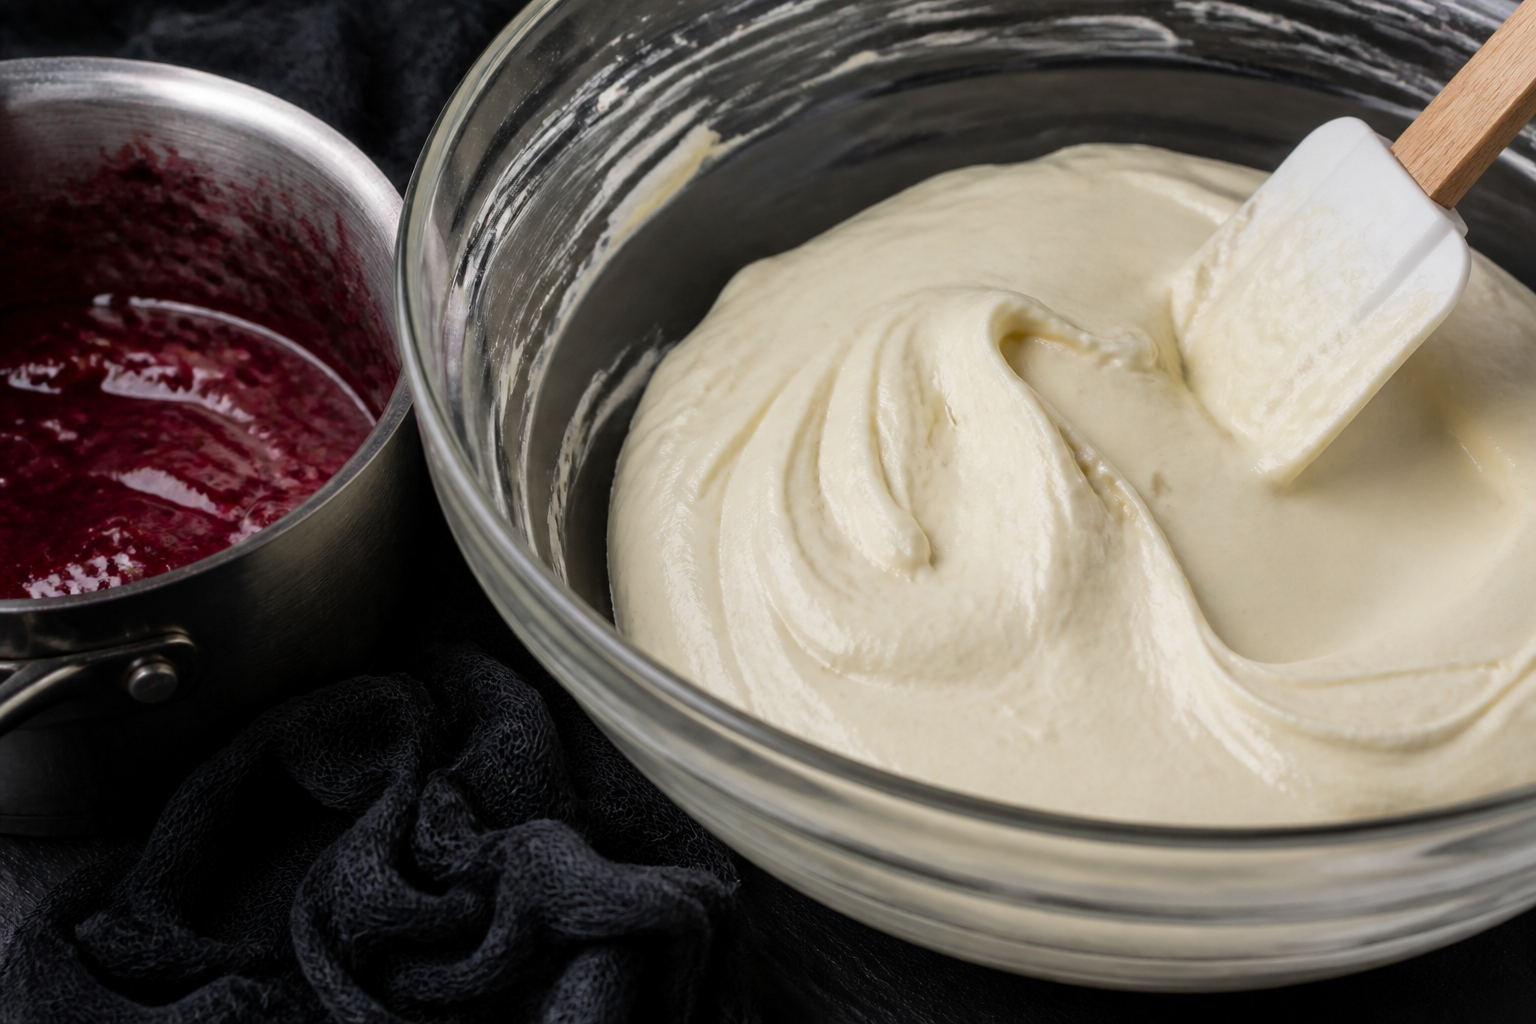
Here’s the flow so you can plan: you’ll make the raspberry swirl first, then mix and set the cheesecake filling, layer everything into jars, and chill. Finally, you’ll pipe the brain pattern once the topping portion is thick enough to hold ridges.
Troubleshooting (so your jars look Halloween-ready)
If the cheesecake filling feels too soft before piping
- Chill longer in 20–30 minute intervals until it’s thick and pipeable.
- Stop trying to pipe when the surface stops looking glossy-wet.
If the raspberry swirl sinks into the cheesecake
- Your swirl likely wasn’t thick enough. Aim for a jammy, spoonable consistency.
- Let the swirl cool slightly before layering so it thickens further.
If the brain pattern blobs instead of holding wavy lines
- That usually means the topping portion is too warm or not thickened enough—chill and try again.
- Use a thicker piping motion: pipe larger “lobe” mounds with shallow lines rather than thin threading.
Substitutions that still work
- Raspberry swap: Use strawberry jam + raspberry puree style, or use any berry jam for a similar swirl effect.
- Crust: Graham crackers work best, but vanilla wafer crumbs are a tasty alternative if that’s what you have.
- Dairy: This recipe relies on classic cream cheese texture; use a full-fat cream cheese for the most stable results.
Storage & make-ahead timing
- Assemble (except piping) up to 24 hours ahead. Cover and refrigerate.
- Pipe the brain pattern the same day or the night before. Keep chilled until serving.
- Best texture: Serve within 24–48 hours for the creamiest spoon feel.
FAQ
Can I freeze these cheesecake jars?
I don’t recommend freezing for best texture. The gelatin set can soften and the raspberry swirl can weep after thawing.
Do I need a piping tip?
You can use a simple round tip. The brain look comes from the piped shape: wavy lobes plus shallow lines—not from a specialty mold.
How do I keep the layers clean in the jar?
Let the raspberry swirl cool slightly, spoon it gently, and avoid over-stirring. For the topping, chill until ridges hold, then pipe with steady pressure.
Print
Halloween Brain Cheesecake Jars with Raspberry Swirl (No-Bake)
- Prep Time: 25 minutes
- Cook Time: 10 minutes
- Total Time: 6 hours 35 minutes
- Yield: 6 jars (6 oz / 180 ml each)
- Category: No-Bake Desserts
- Method: No-bake (gelatin set)
- Cuisine: American
- Diet: Vegetarian
Description
No-bake cheesecake jars with a graham “brain” base, a vivid raspberry swirl, and a piped wavy brain-pattern topping—made in straight-sided jars with no specialty molds.
Ingredients
- Graham cracker crumbs: 1 cup (90 g)
- Granulated sugar: 2 tbsp (25 g)
- Unsalted butter, melted: 5 tbsp (71 g)
- Full-fat cream cheese, softened: 16 oz (453 g)
- Sour cream: 1/2 cup (120 g)
- Heavy cream, cold: 1 cup (240 ml)
- Vanilla extract: 1 tsp (5 ml)
- Lemon juice: 1 tbsp (15 ml)
- Unflavored gelatin: 1 tbsp (9 g)
- Cold water (for blooming gelatin): 2 tbsp (30 ml)
- Fine salt: 1/8 tsp
- Raspberry swirl jam mixture — Frozen raspberries: 1 cup (140 g)
- Raspberry swirl jam mixture — Granulated sugar: 2 tbsp (25 g)
- Raspberry swirl jam mixture — Cornstarch: 1 tsp (3 g)
- Raspberry swirl jam mixture — Water: 2 tbsp (30 ml)
- Topping piping (optional but recommended): reserve 1/2 to 2/3 cup of the plain cheesecake filling for piping (1/2 to 2/3 cup is approximately 120 to 160 g)
- Equipment: 6 straight-sided 6-oz (180 ml) jars
- Equipment: small saucepan, mixing bowls, whisk and spatula
- Equipment: disposable piping bag and a plain round tip (optional)
Instructions
- Make the raspberry swirl: In a small saucepan, combine frozen raspberries (1 cup / 140 g), sugar (2 tbsp / 25 g), and water (2 tbsp / 30 ml). Cook over medium heat, stirring, until raspberries break down and the mixture becomes thick and glossy, 6–8 minutes.
- Thicken: Whisk cornstarch (1 tsp / 3 g) with a splash of the cooking liquid (about 1 tbsp / 15 ml), then pour it back into the saucepan. Cook 30–60 seconds more until very jammy. Remove from heat and cool completely (or until spoon-thick).
- Bloom the gelatin: Sprinkle gelatin over cold water (2 tbsp / 30 ml) in a small bowl. Let stand 5 minutes to absorb.
- Melt gelatin: Warm the bloomed gelatin in short microwave bursts (10–15 seconds) or over a very low flame until fully liquefied. Stir well. Let cool slightly so it’s not hot.
- Blend cheesecake base: In a large bowl, beat cream cheese until smooth (about 1–2 minutes). Mix in sour cream, vanilla, lemon juice, and salt until silky.
- Add gelatin: Pour in melted gelatin while mixing on low, just until incorporated and smooth.
- Whip cream: In a separate bowl, whip cold heavy cream to soft peaks. Fold whipped cream into the cheesecake mixture gently until no streaks remain.
- Portion for piping: Reserve 1/2 to 2/3 cup of the plain cheesecake filling for the brain-pattern topping. Cover and refrigerate.
- Build the jars: Spoon graham crumbs (1 cup / 90 g) evenly among 6 jars, then press firmly with the back of a spoon.
- Make and press the crust: In a bowl, stir graham crumbs, sugar (2 tbsp / 25 g), and melted butter until evenly moistened. Divide among jars and press into a flat base.
- Add cheesecake filling: Spoon cheesecake filling into jars over the crust, leaving a little space at the top (about 1 inch / 2–3 cm).
- Add raspberry swirl: Spoon raspberry jam mixture by small dollops on top of each cheesecake layer. Use a toothpick or skewer to drag gentle ribbons through the surface (stop as soon as you see swirls).
- Chill to set: Cover and refrigerate at least 6 hours, preferably overnight.
- Pipe brain pattern: Once the reserved plain cheesecake topping is thick enough to hold ridges (it should look matte, not glossy), transfer it to a disposable piping bag. Snip a small opening or fit a round tip.
- Create wavy lobes: Pipe irregular wavy “brain” mounds across the top, then drag shallow lines through and around them with gentle, brief movements.
- Final chill: Refrigerate 1–2 hours to firm the piped pattern. Serve cold.
Notes
– Visual doneness cues: The jar filling should jiggle only slightly at the center after chilling, and the piped brain ridges should hold shape.
– If your raspberry swirl is too runny, cool it longer before layering; if it’s too thick, warm it 10–20 seconds just to loosen.
– This recipe is designed for straight-sided jars so the swirl reads clearly.