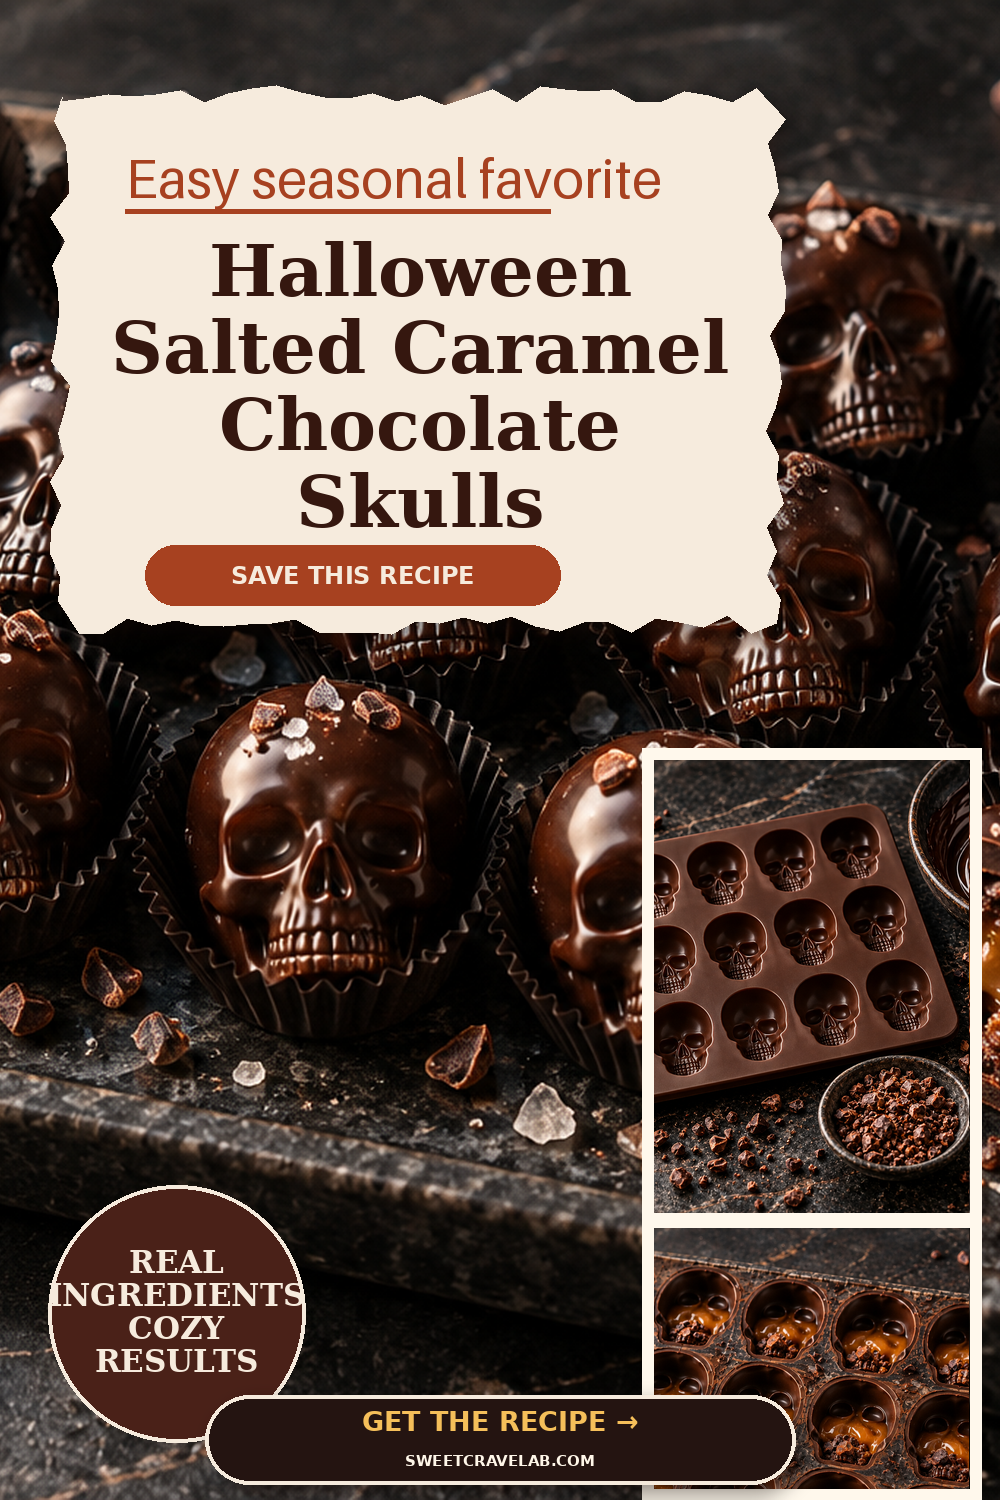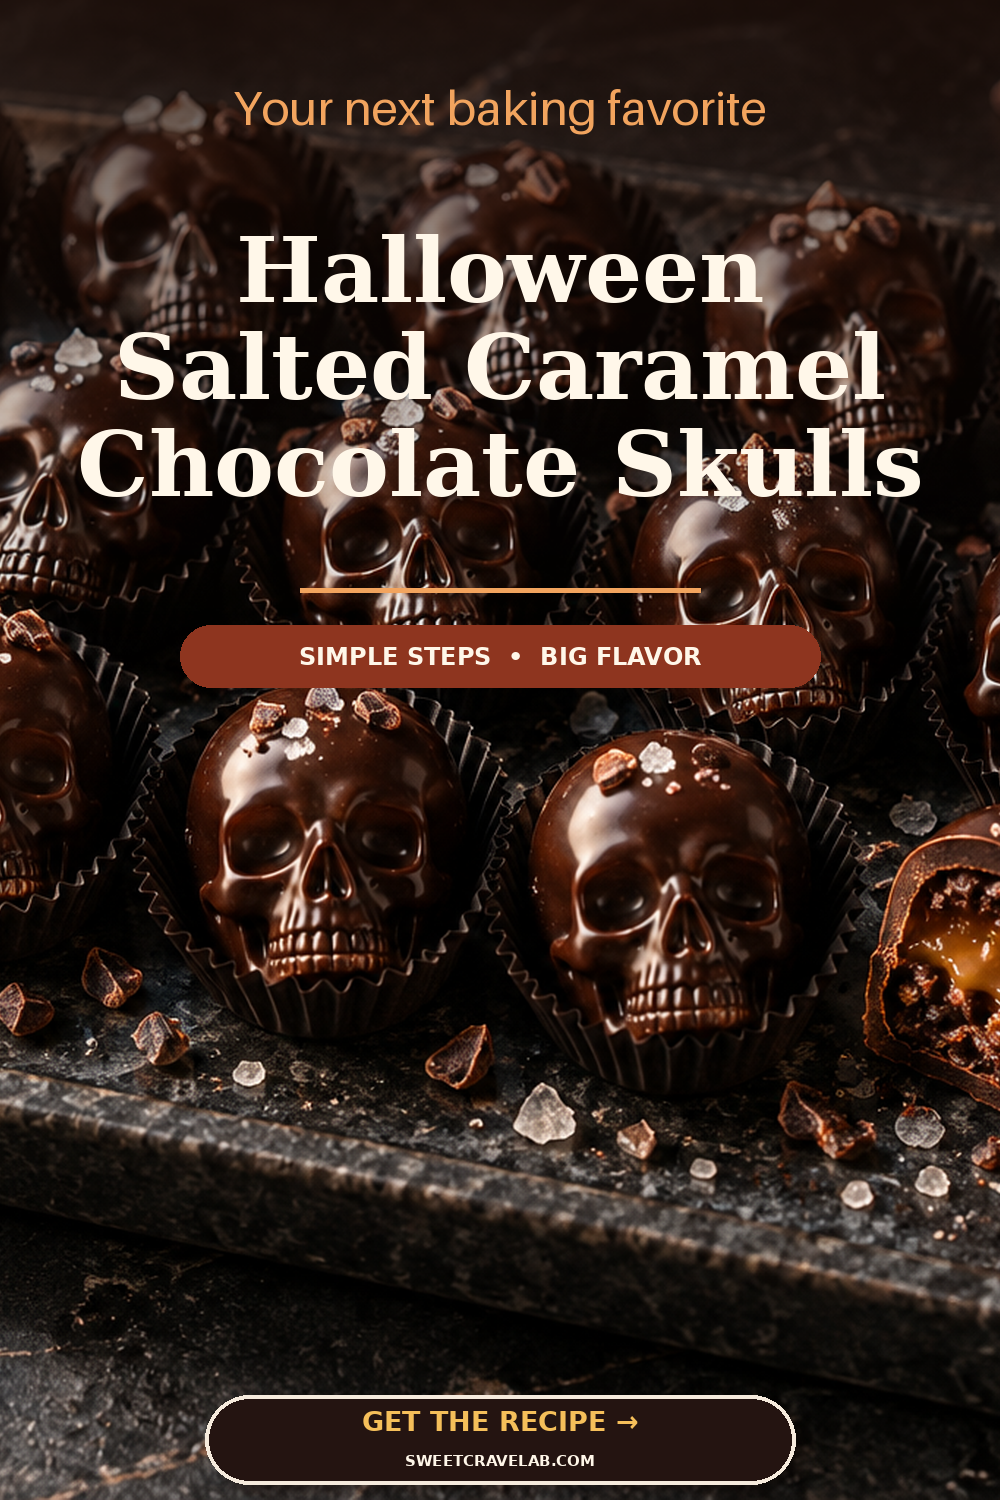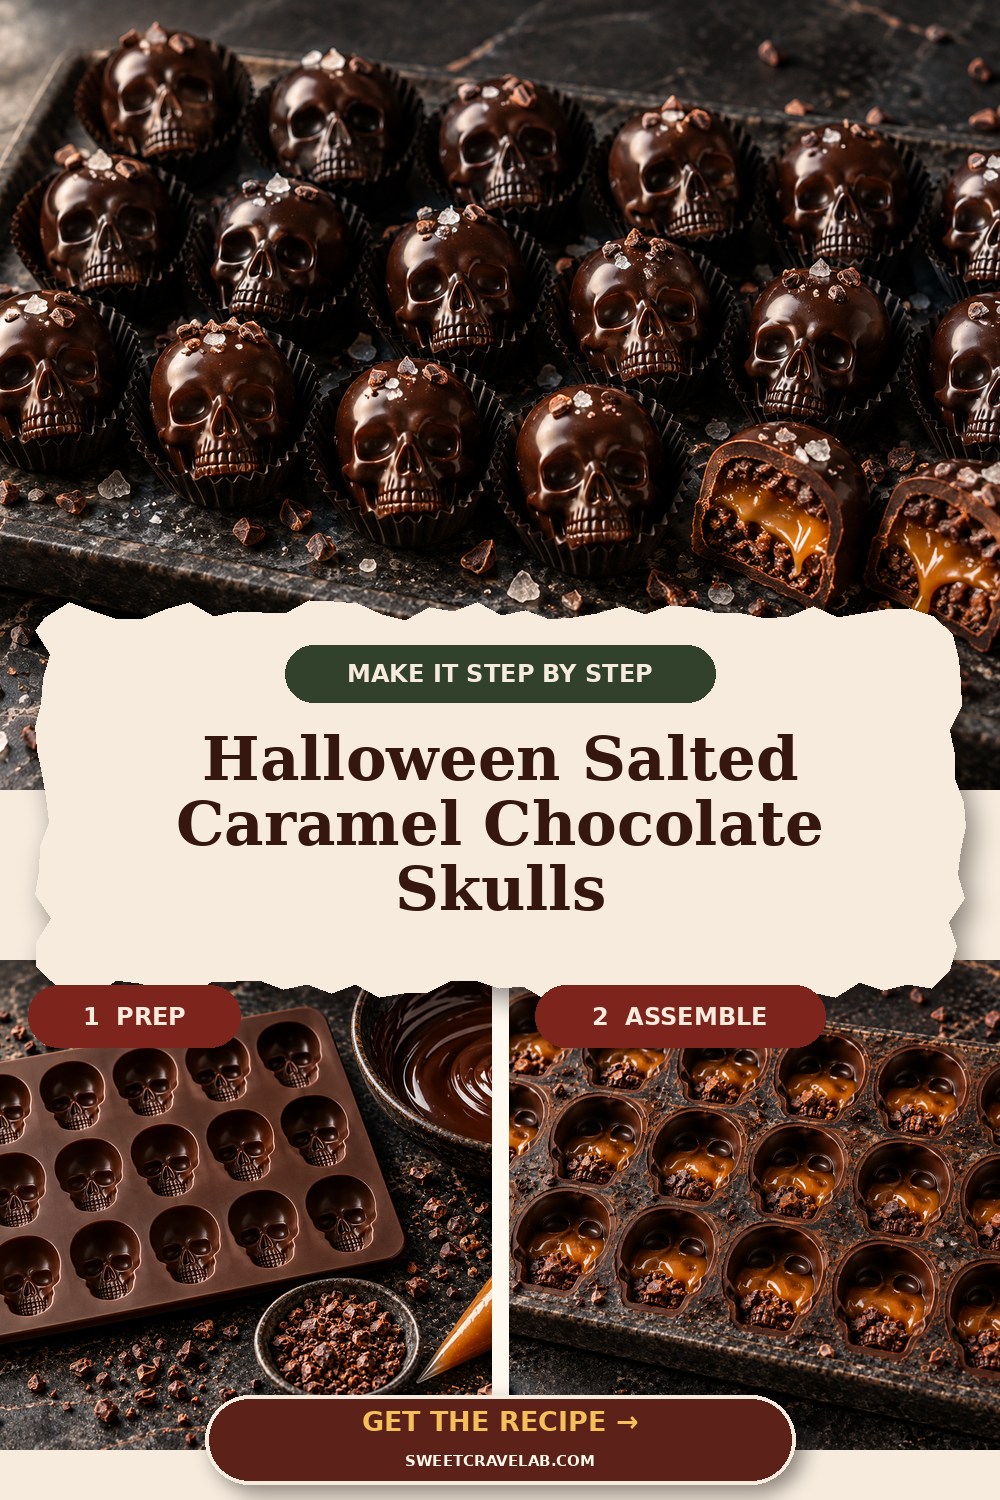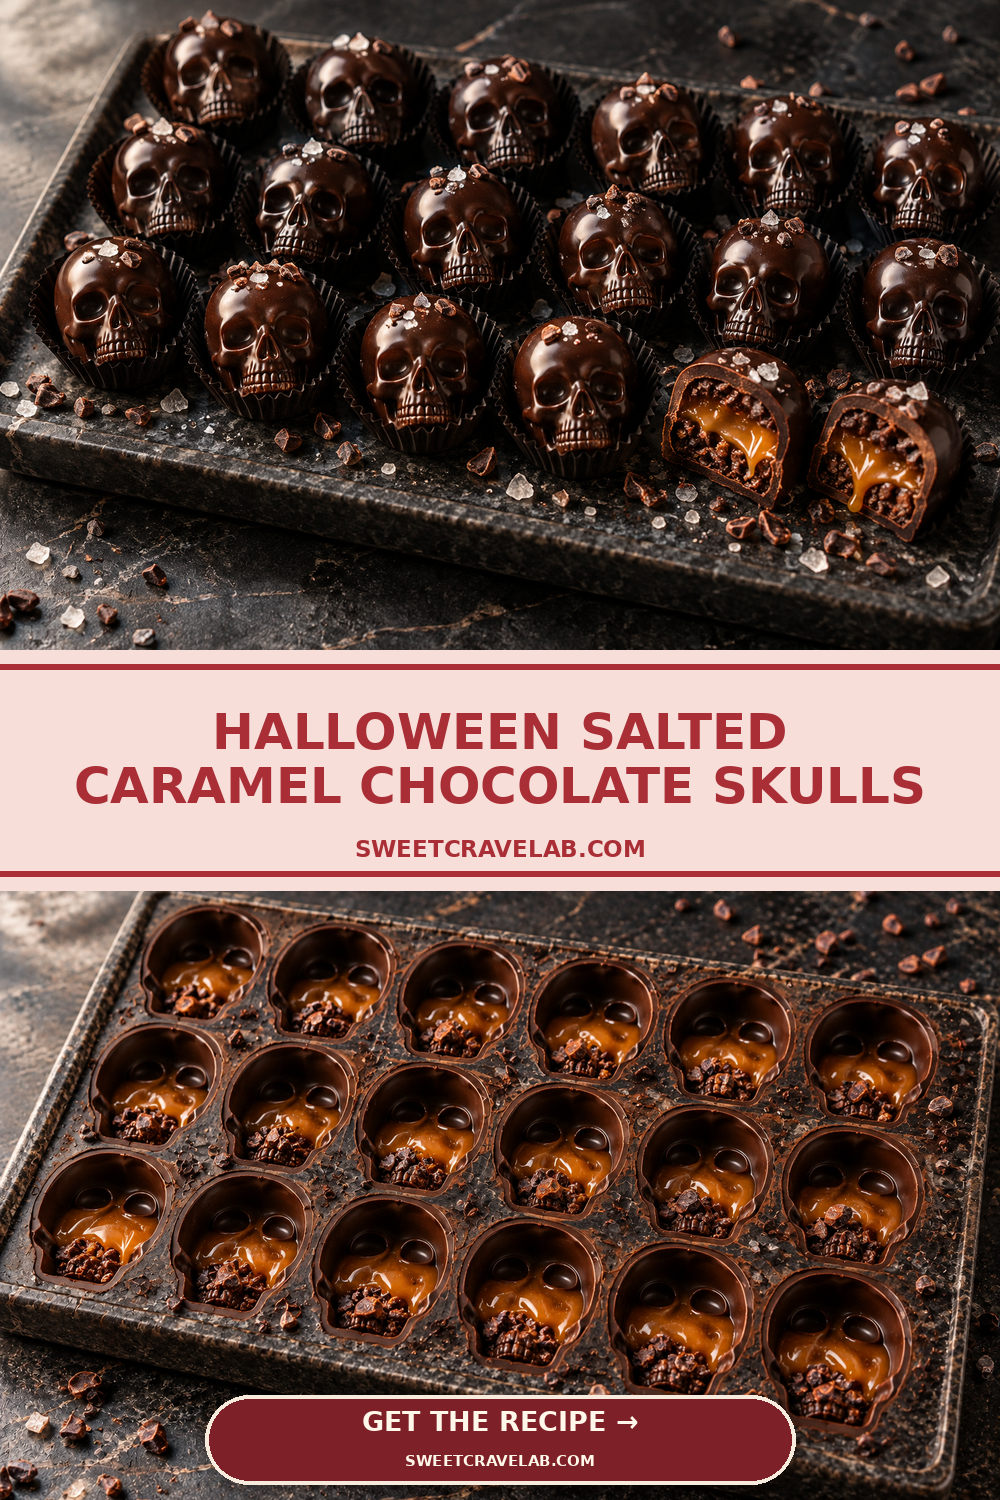
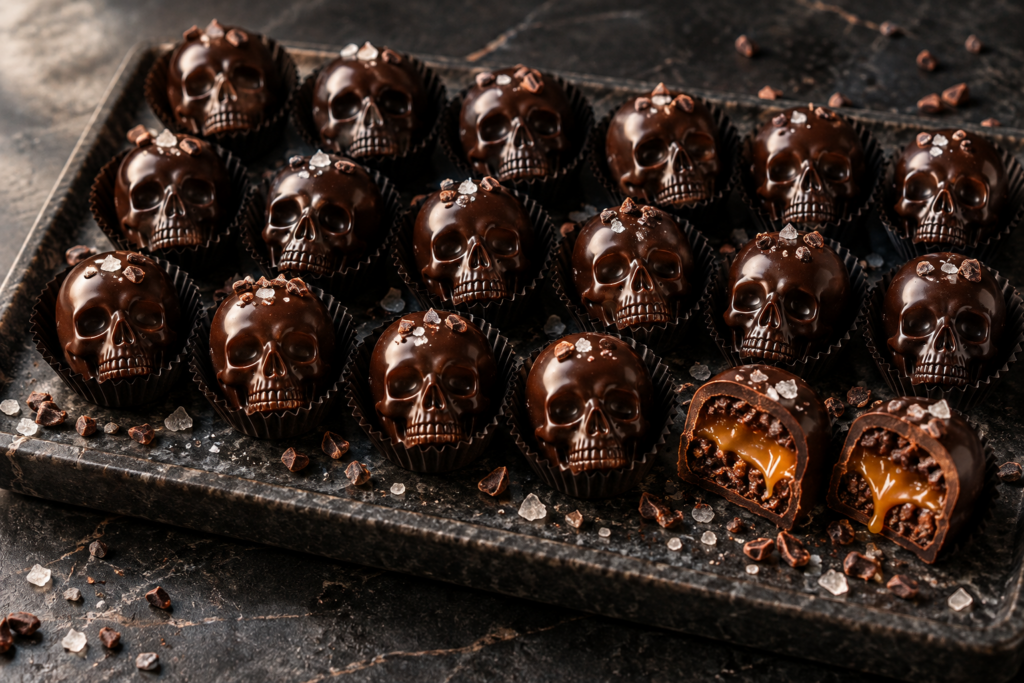
Halloween salted caramel chocolate skulls hide a soft amber caramel center and cocoa-nib crunch inside a thin dark-chocolate shell. Their recognizable shape matches the season immediately, while the limited palette and glossy finish keep them elegant enough for an adult dessert table or boxed gift.
The recipe uses a flexible silicone skull mold rather than professional polycarbonate equipment. Tempering guidance is included for shine and snap, but a careful melt-and-chill method is also explained for home kitchens that prioritize simplicity.
In this guide
Why Halloween salted caramel chocolate skulls work
Dark chocolate controls the sweetness of caramel and provides a firm exterior. Cocoa-nib praline introduces a crisp roasted note, while flaky salt sharpens the filling. Each skull stays small enough to deliver all three textures in two or three bites.
The filling is a soft caramel rather than a liquid sauce. Cooking to the correct temperature gives it enough body to remain inside the shell at room temperature without becoming hard or chewy.
Halloween salted caramel chocolate skulls are especially useful for planning because the components can be prepared in stages. The praline keeps for days, caramel can be chilled overnight, and molded chocolates are stable once sealed.
Ingredient notes for glossy molded chocolates
Select the right dark chocolate
Choose bars or couverture between 60% and 70% cocoa. Chips often contain stabilizers that make a thin shell harder to form. Chop the chocolate finely so it melts at an even rate.
Use room-temperature cream
Cold cream can make hot sugar seize or splatter. Warm it before adding it slowly to the caramel. A deep saucepan provides room for the mixture to bubble safely.
Add cocoa-nib crunch sparingly
Cocoa nibs are intense. Mixing them with a thin caramelized-sugar praline creates a crisp accent without making the center gritty. Crush the praline into rice-size pieces.
Choose a flexible silicone mold
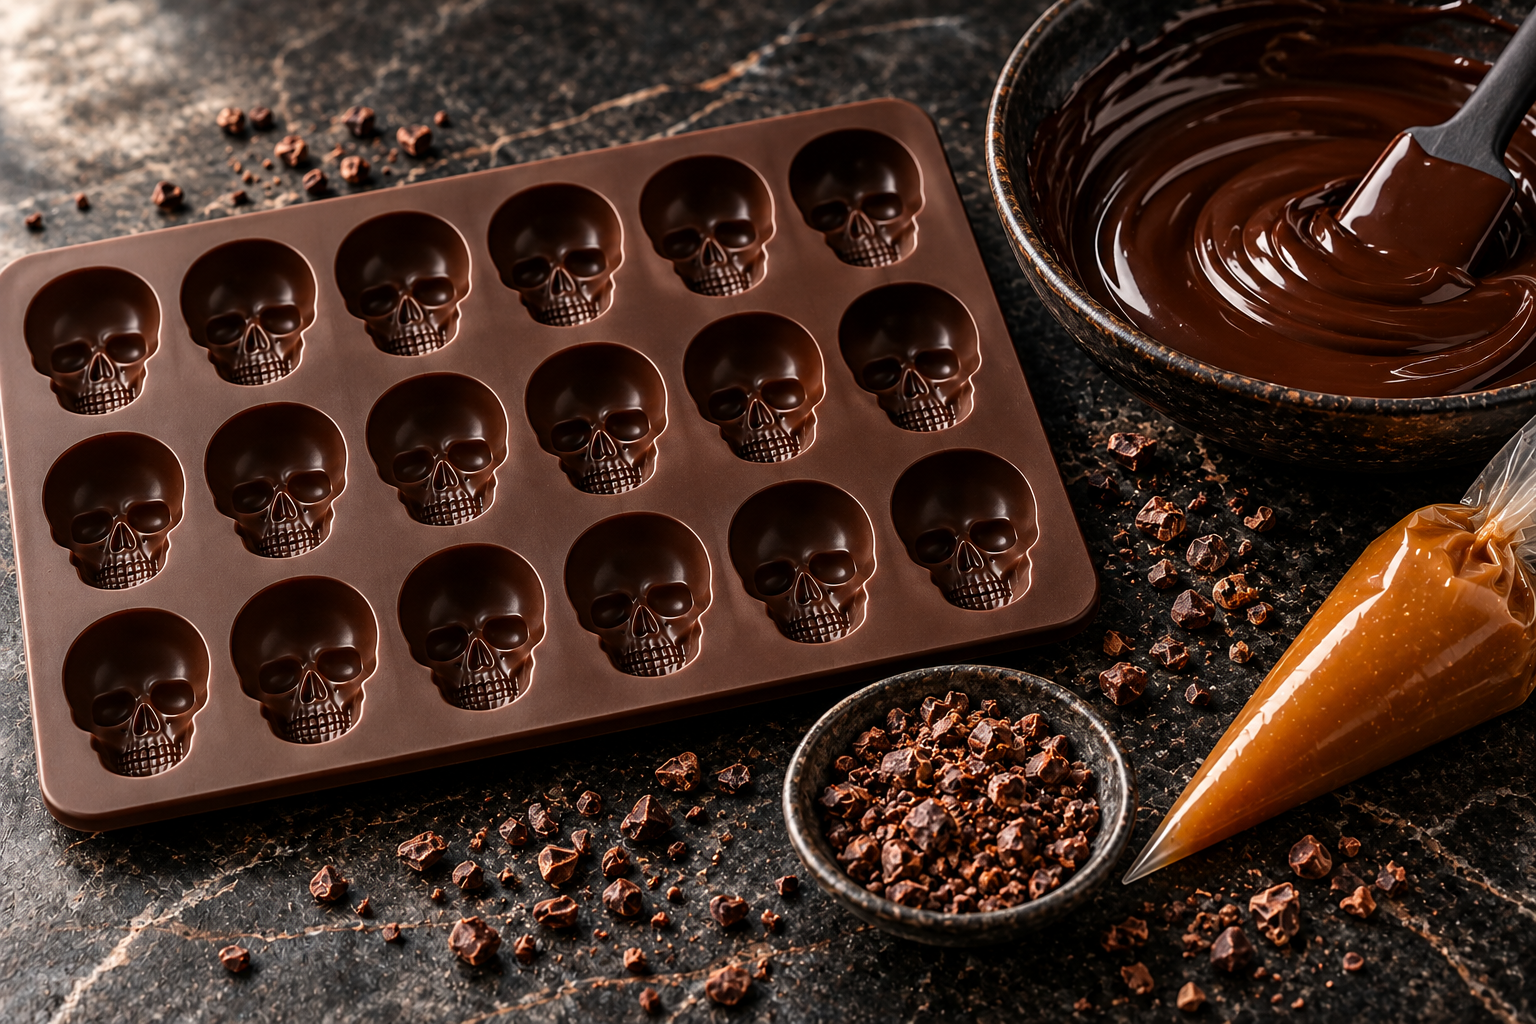
An eighteen-cavity mold with one- to two-inch skulls releases cleanly. Wash and dry it completely, because even a drop of water can thicken melted chocolate.
How to form Halloween salted caramel chocolate skulls
For tempered shells, melt two-thirds of the chocolate gently, remove it from heat, and stir in the reserved chopped chocolate until the temperature falls into the working range. Keep the bowl warm enough that the chocolate remains fluid.
Fill every cavity, tap the mold to release bubbles, then invert it over parchment so excess chocolate drains out. Scrape the surface clean and let the thin shells begin to set. Repeat once if any translucent spots remain.
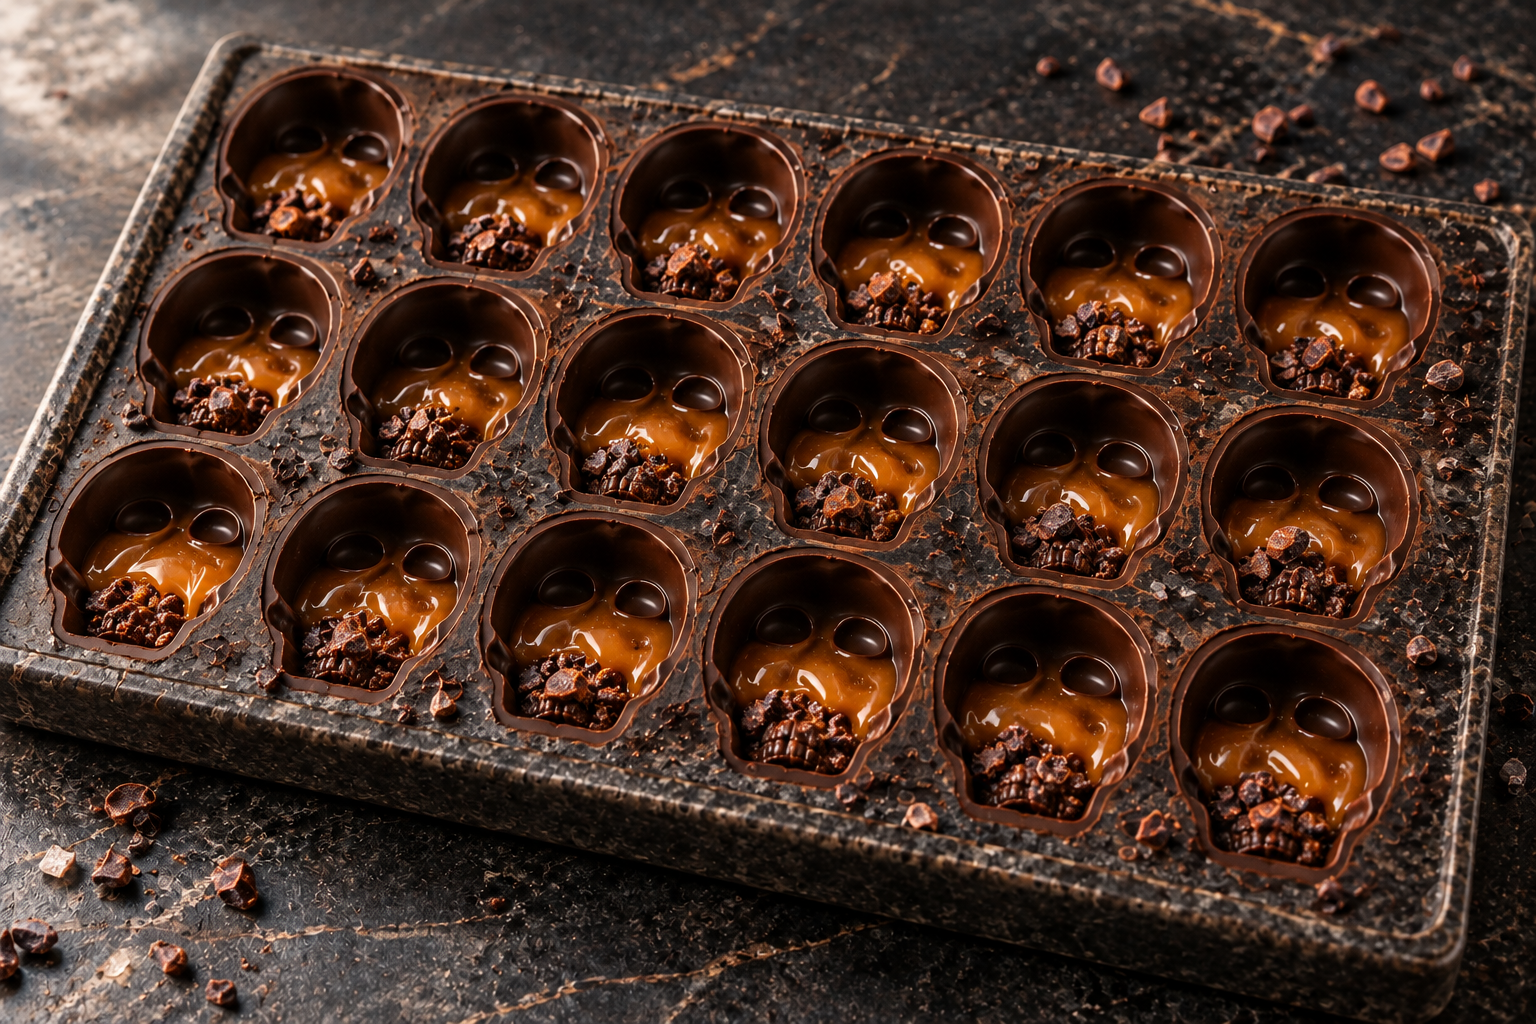
Pipe cool caramel below the rim and add a pinch of praline. Leave enough space for the final chocolate layer. Seal the backs, scrape clean, and chill only until firm. Overchilling can create condensation when Halloween salted caramel chocolate skulls return to room temperature.
Caramel temperature and texture cues
Cook sugar and water without stirring until the color resembles dark honey. Add warm cream gradually, then cook the finished caramel to 238°F (114°C). At that point it sets softly but does not run.
Cool caramel to room temperature before filling. It should hold a ribbon for several seconds. If it is still hot, it will soften the shells; if refrigerated hard, it may be difficult to pipe evenly.
Troubleshooting molded chocolate
Why are the shells streaky?
Chocolate may have moved outside its temper range or cooled unevenly. Work slowly, stir often, and avoid placing a hot mold directly in the refrigerator.
Why did the skulls crack?
Shells that are too thin can split around the filled center. Apply a second coat to pale areas and leave a sturdy rim for the sealing layer.
Why is caramel leaking?
The filling may be too warm, too high in the cavity, or covered by an incomplete seal. Keep the rim clean and leave at least one-eighth inch of space.
Why will the chocolates not release?
The shells may not be fully set. Chill the mold briefly and flex it gently. Properly tempered chocolate also contracts slightly as it cools.
Make-ahead, storage, and gifting
Store Halloween salted caramel chocolate skulls in a cool dry place for up to ten days. Arrange them in a single layer with parchment and protect them from strong odors, sunlight, and sudden temperature changes.
For gifts, place each skull in a small paper candy cup and use a shallow food-safe box. Include a note that the centers contain dairy and that cocoa nibs provide a firm crunch.
Batch planning and clean mold work
Set the silicone mold on a rigid sheet pan before filling it. The support keeps cavities level and lets you move the entire batch without flexing warm chocolate. Work from one end of the mold to the other, then tap the pan against the counter several times so trapped air rises from the detailed eyes and teeth.
Keep a small bowl for excess chocolate drained from the shells. Return that chocolate to the working bowl only while it remains fluid and free of caramel crumbs. If it thickens, warm it for a few seconds rather than forcing a heavy layer into the cavities. Thin, even walls make Halloween salted caramel chocolate skulls pleasant to bite and easier to release.
Before sealing, wipe any caramel from the top surface with a clean dry cloth. A clear rim allows the final chocolate coat to bond with the shell. Let the sealed mold stand level until the backs lose their wet shine, then chill it briefly instead of leaving it in the refrigerator for hours.
Serving and Halloween pairings
Serve the chocolates at cool room temperature so the caramel is soft and the shell still snaps. Three pieces per guest are generous on a mixed dessert table. A few cocoa nibs and flakes of salt on the platter communicate the flavors without extra decoration.
Pair the skulls with Halloween gummy chocolate bark for contrasting chewy candy, or explore the Chocolate Recipes archive for more handmade treats.
Hot caramel can cause severe burns. Work on a clear surface, use a deep pan, and consult the FDA home food-safety recommendations for clean handling and storage.
Frequently asked questions
Do I have to temper the chocolate?
No. Melted chocolate can be chilled in the mold, though Halloween salted caramel chocolate skulls may be softer and less glossy. Keep the finished pieces refrigerated in that case.
Can I omit cocoa nibs?
Yes. Use toasted finely chopped pecans or leave the center of Halloween salted caramel chocolate skulls smooth. Check allergy needs before substituting nuts.
Can I use milk chocolate?
Yes, but reduce the caramel portion slightly because Halloween salted caramel chocolate skulls will be sweeter. Milk chocolate also requires a lower temper range.
Can Halloween salted caramel chocolate skulls be frozen?
Freezing is not recommended because condensation can mark the shells and make the praline lose its crispness.
Print
Halloween Salted Caramel Chocolate Skulls
- Prep Time: 1 hour 10 minutes
- Cook Time: 25 minutes
- Total Time: 3 hours 5 minutes
- Yield: 18 chocolates
- Category: Dessert
- Method: Candy Making
- Cuisine: American
- Diet: Vegetarian
Description
Glossy dark-chocolate skull shells filled with soft salted caramel and cocoa-nib praline crunch.
Ingredients
- 1/2 cup (100 g) granulated sugar, for praline
- 1/3 cup (40 g) roasted cocoa nibs
- 1 cup (200 g) granulated sugar, for caramel
- 1/4 cup (60 ml) water
- 1/2 cup (120 ml) heavy cream, warmed
- 4 tbsp (57 g) unsalted butter, cubed
- 1 tsp (5 ml) vanilla extract
- 1/2 tsp (3 g) fine sea salt
- 18 oz (510 g) dark chocolate between 60% and 70%, finely chopped
- 1 tsp (4 g) flaky salt, optional finish
Instructions
- Caramelize 1/2 cup (100 g) sugar to amber, stir in cocoa nibs, and spread on a silicone mat. Cool and crush finely.
- Cook 1 cup (200 g) sugar with water to dark honey color. Slowly whisk in warm cream.
- Cook the caramel to 238°F (114°C). Remove from heat and mix in butter, vanilla, and fine salt. Cool completely.
- Temper 12 oz (340 g) dark chocolate, using the remaining 6 oz (170 g) as seed chocolate.
- Fill an eighteen-cavity silicone skull mold with chocolate, tap out bubbles, invert to drain, and scrape clean. Let begin to set.
- Add a second thin chocolate coat where needed and set again.
- Pipe cool caramel into each shell below the rim and add a pinch of praline.
- Cover with tempered chocolate, scrape the backs level, and chill briefly until firm.
- Release gently and finish with a few flakes of salt.
Notes
Keep water away from the chocolate and cool caramel fully before filling so the shells remain glossy and sealed.