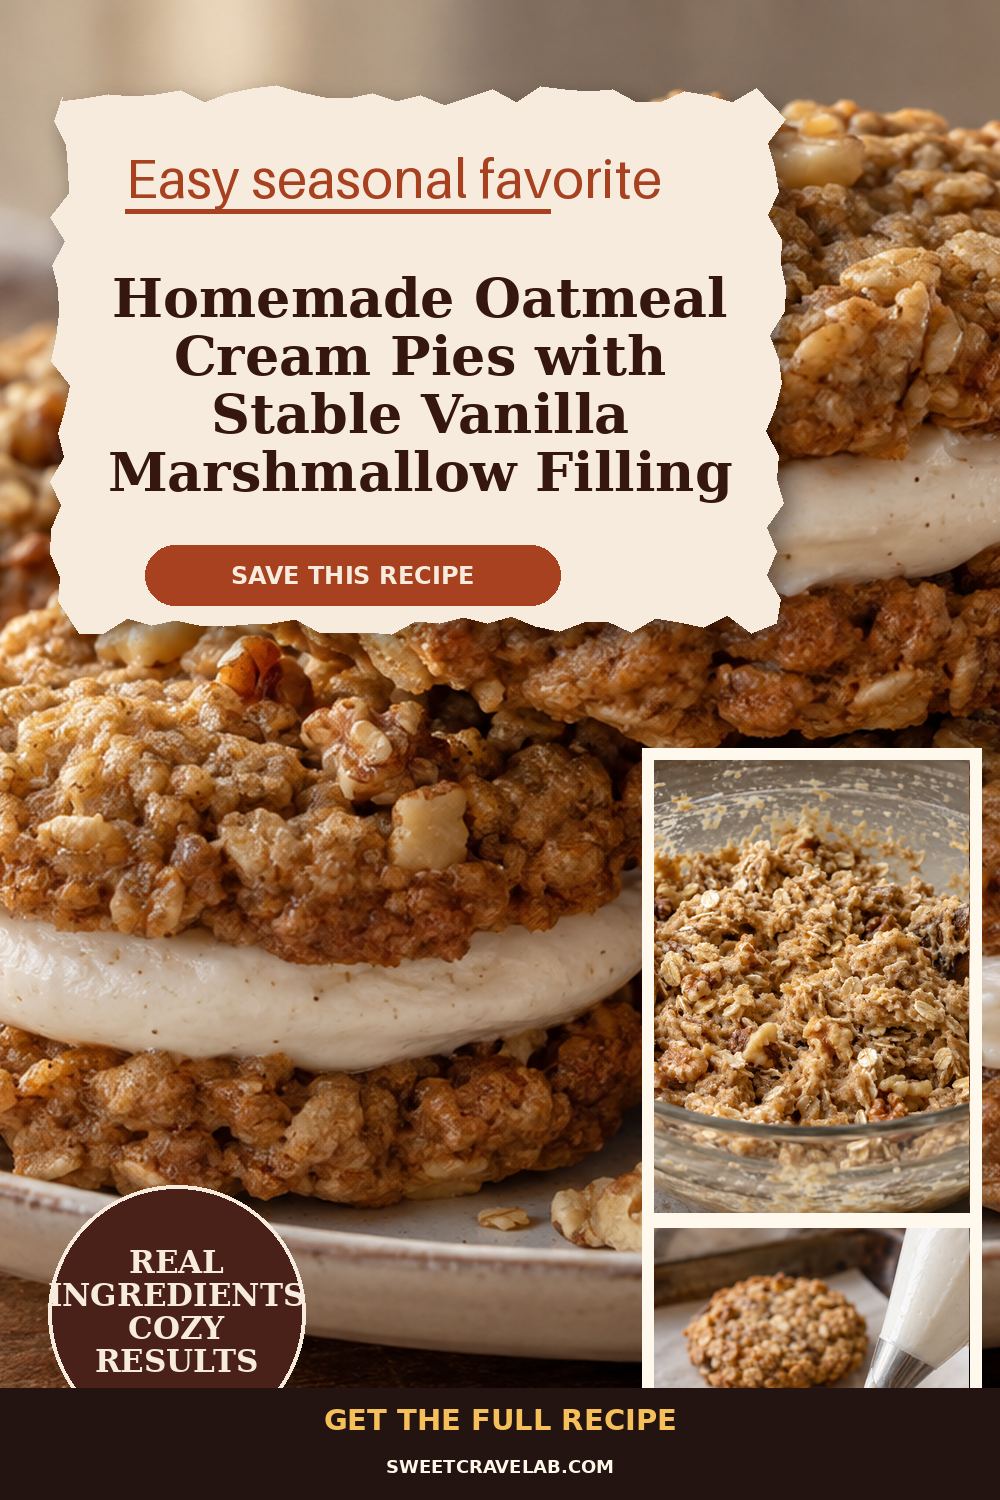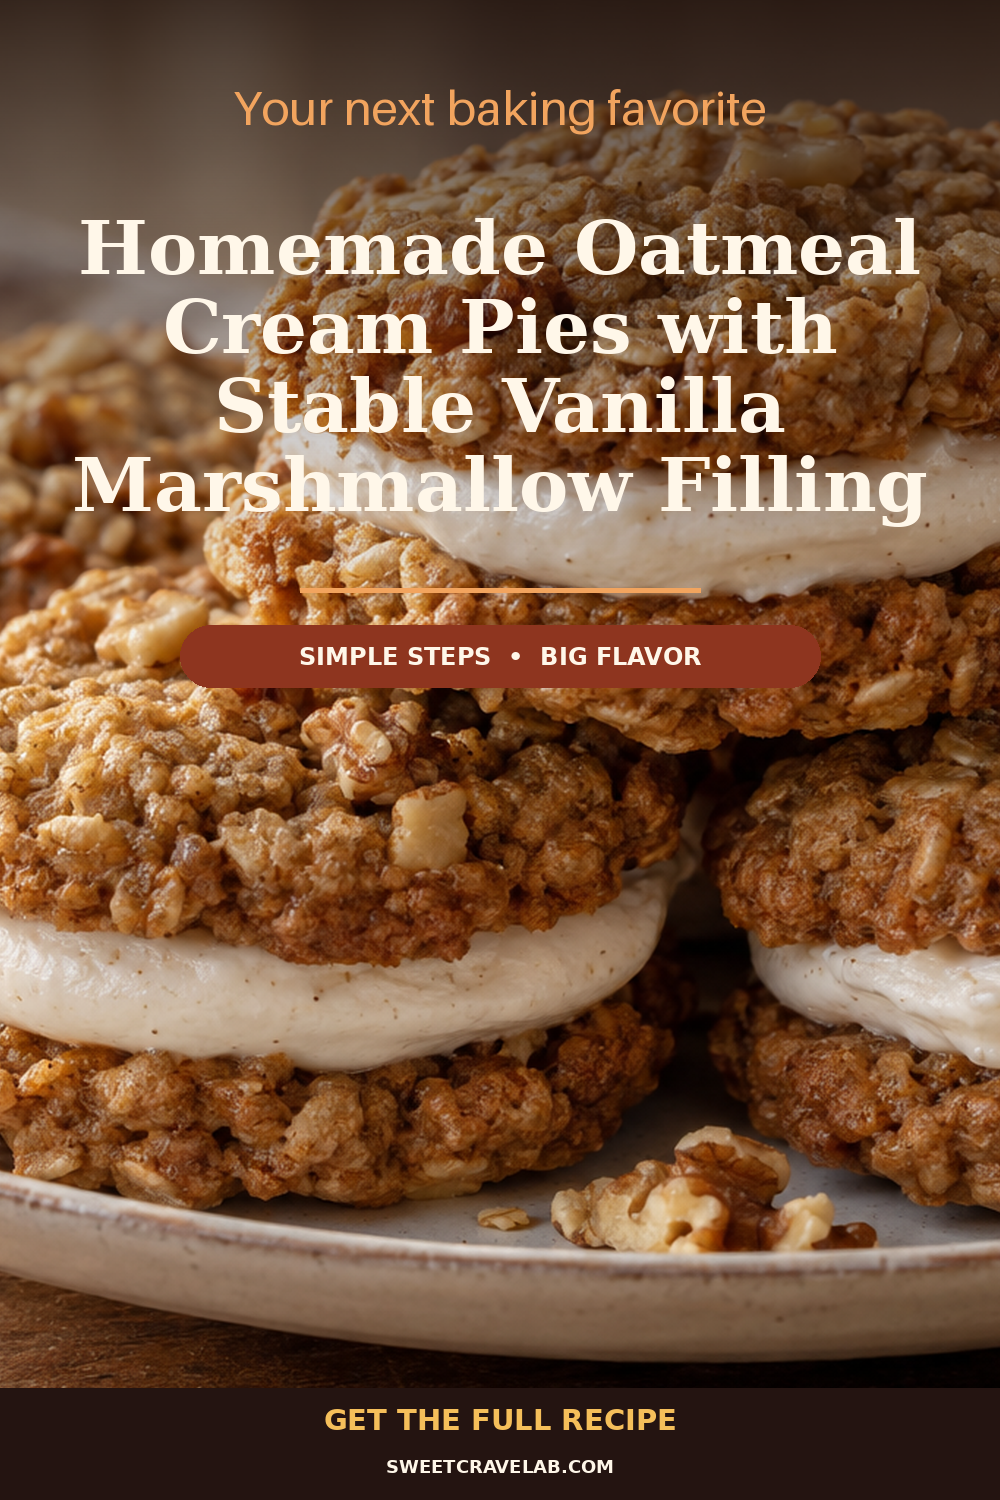
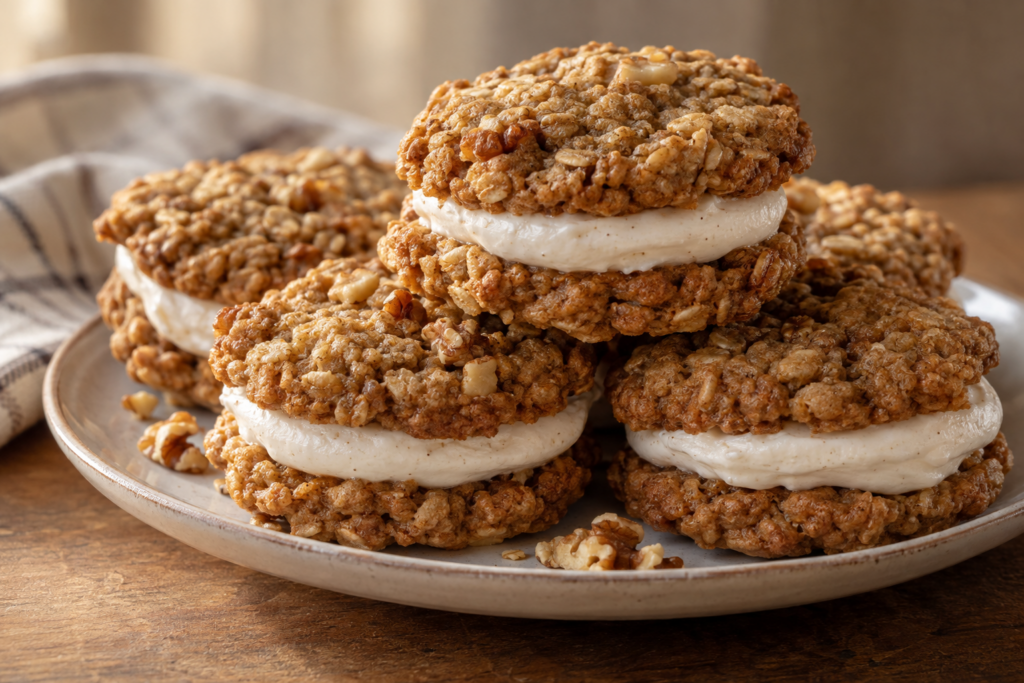
I love a classic oatmeal cookie, but I also love when that cookie turns into a real “cream pie” moment—something you can stack for lunches and bring to a friend without the filling collapsing.
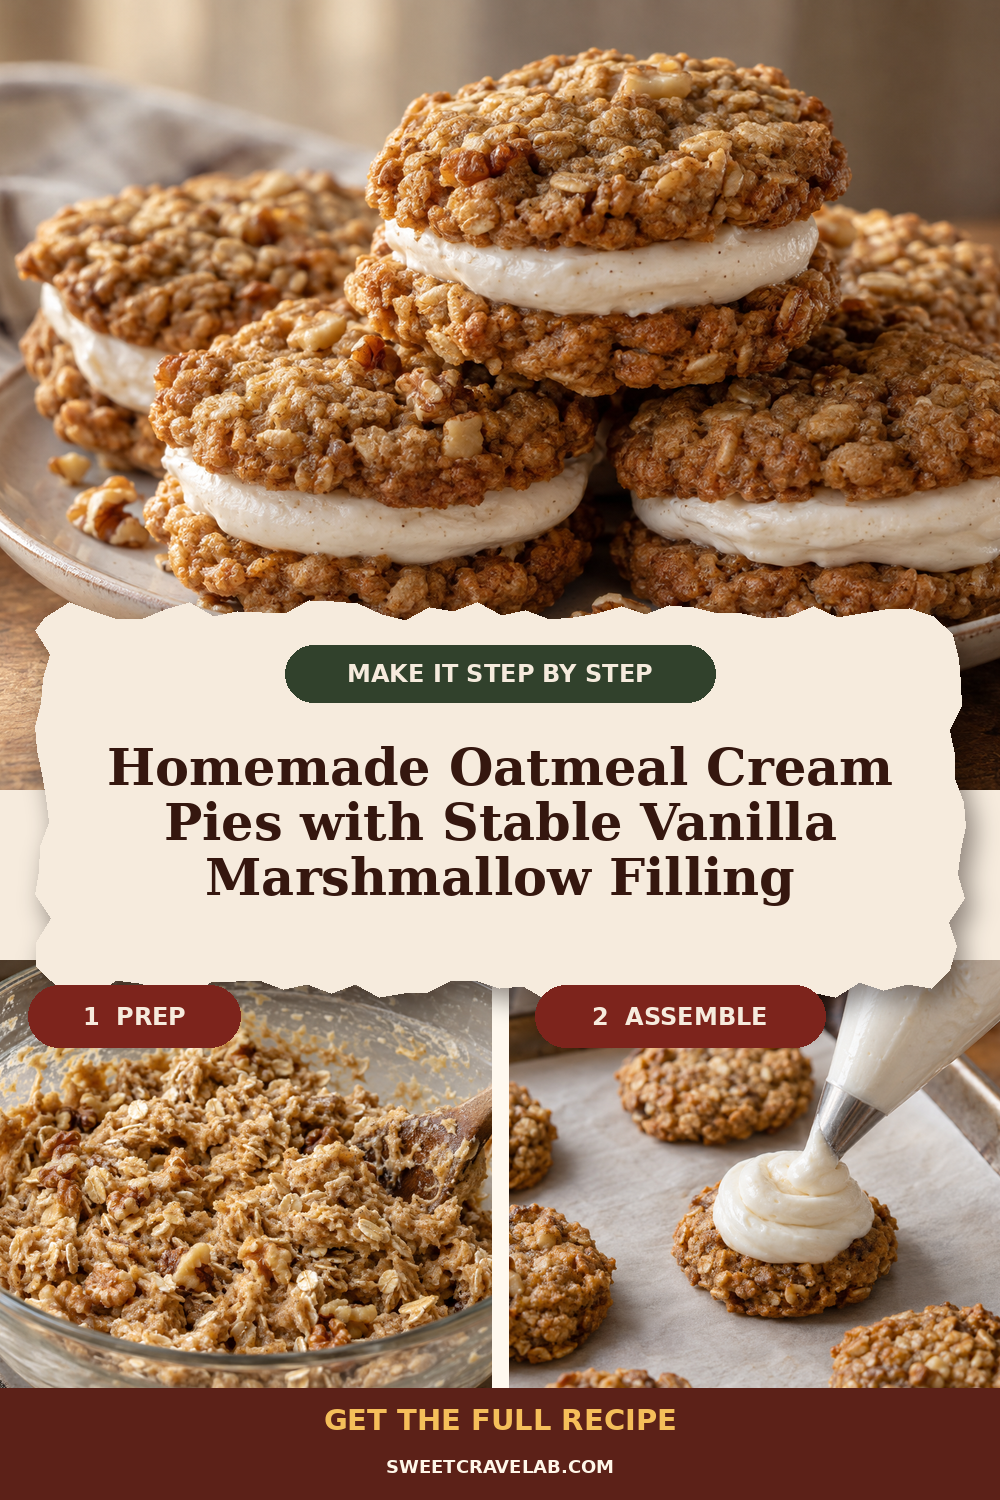
These homemade oatmeal cream pies with vanilla marshmallow filling are built in two parts: soft, chewy oatmeal cookies and a vanilla filling that’s whipped for fluff and then stabilized so it holds its shape. Optional toasted walnuts add a cozy crunch, but the flavor stays clean and classic.
What makes these cream pies “bakery-style”
Instead of thin oatmeal cookies, the dough bakes into soft rounds that stay tender. Then the filling is made to be fluffy and stable—so when you sandwich the cookies and pack them, the cream doesn’t ooze out or sink.
Cookie doneness cues (so they stay soft)
- Edges set, centers still puffy: Around the 10–12 minute mark, the cookies should look matte with slightly firm edges while the middle still looks tender.
- Do not overbake: If the centers look dry or browned all the way through, they’ll lose that chewy cream-pie texture after cooling.
- Rest before moving: Let the cookies cool on the sheet for a few minutes so they firm up without drying out.
Why the vanilla marshmallow-style filling stays stable
Most “marshmallow-like” fillings can weep because they’re whipped but not stabilized. Here, the filling is made with a cooked sugar syrup (the same idea behind stable meringues), then whipped to a glossy, thick finish. Visual cues: it becomes very thick, holds soft peaks, and looks satiny—not runny. Once you sandwich, it holds its shape for stacking.
Method overview (quick and practical)
- Mix and chill the oatmeal cookie dough for thicker, bakery-style rounds.
- Bake until edges are set and the centers still look slightly soft.
- Whip the stable vanilla filling until thick and glossy.
- Sandwich, then chill briefly to “set” before packing or serving.
Troubleshooting
- Filling looks runny or won’t thicken: It usually means the sugar syrup wasn’t cooked far enough. Next time, boil to the correct temperature before pouring and whipping.
- Filling looks grainy: The syrup may have cooled too much before whipping, or it wasn’t fully dissolved. Keep the syrup hot until it’s time to add, and whip promptly.
- Cookies spread too much: Chill the dough longer and make sure your butter is properly softened (not melted).
- Cookies are too dry: Bake less time and watch for set edges with tender centers.
Substitutions
- Walnuts: Swap for toasted pecans or leave them out.
- Vanilla: Use vanilla bean paste instead of extract (same amount), if you like.
- All-purpose flour: No direct swap for best results; this dough relies on structure for soft chew.
Storage
- Room temperature: Up to 2 days in an airtight container (best texture within the first day).
- Refrigerator: Up to 5 days, sealed. Let come to cool room temperature for about 10–15 minutes before eating.
- Freezer (assembled pies): Up to 2 months. Wrap stacks well. Thaw overnight in the fridge, then refresh at room temperature.
FAQ
- Can I make the filling ahead? Yes—make it and refrigerate it covered. Re-whip briefly until spreadable before sandwiching.
- Do I have to chill the cookie dough? For the bakery-style thickness, yes. Chill at least long enough to firm the fat.
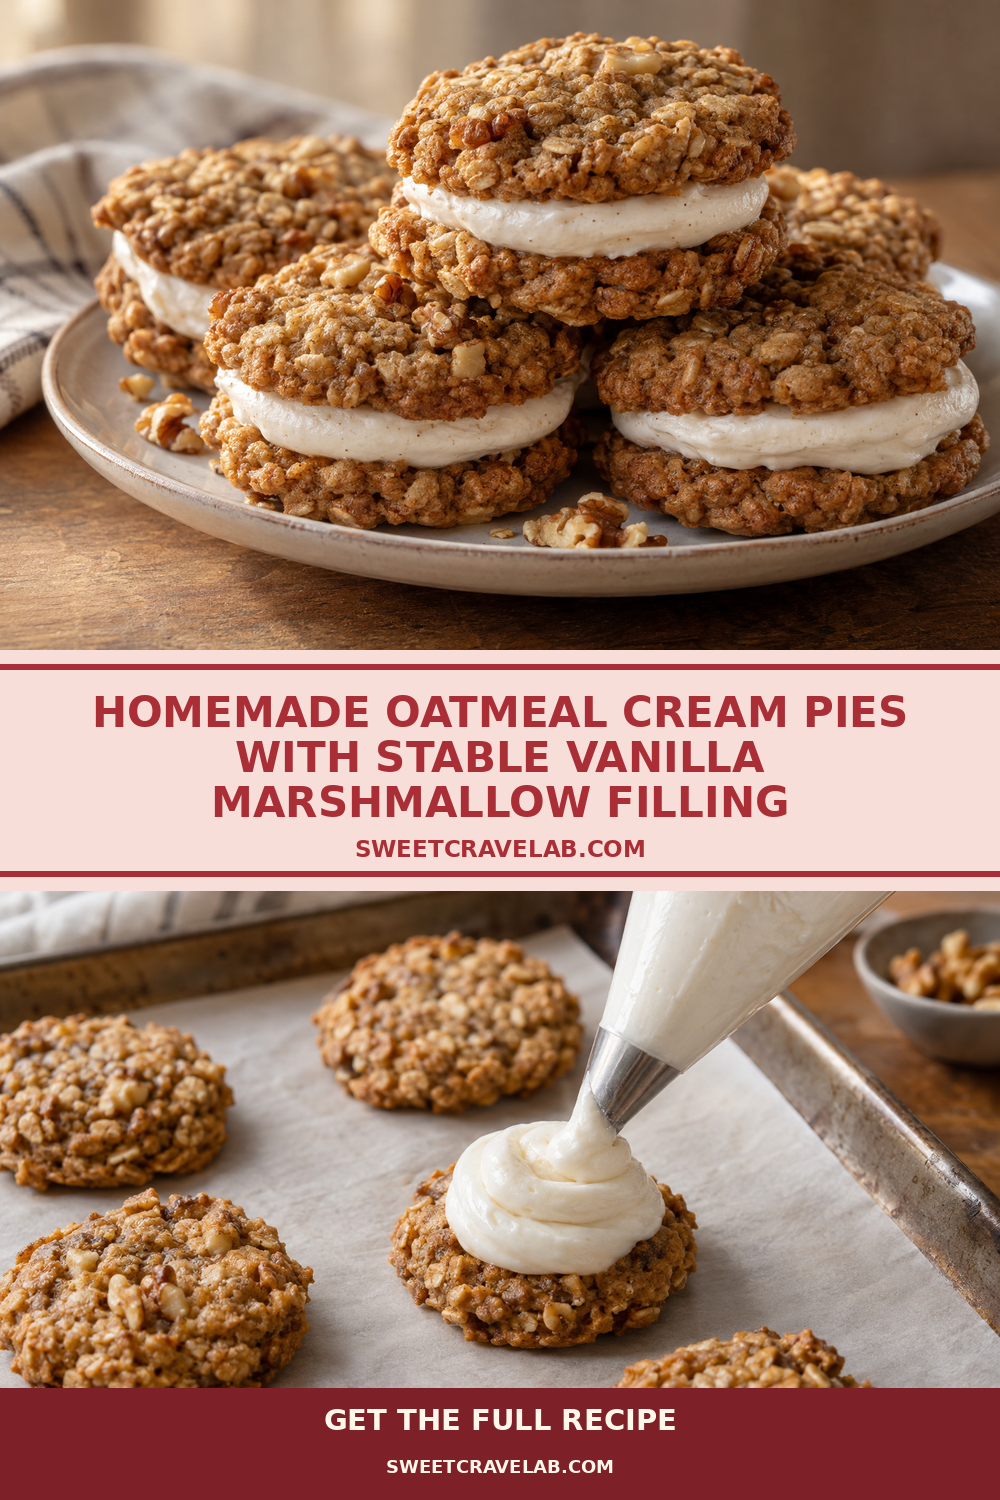
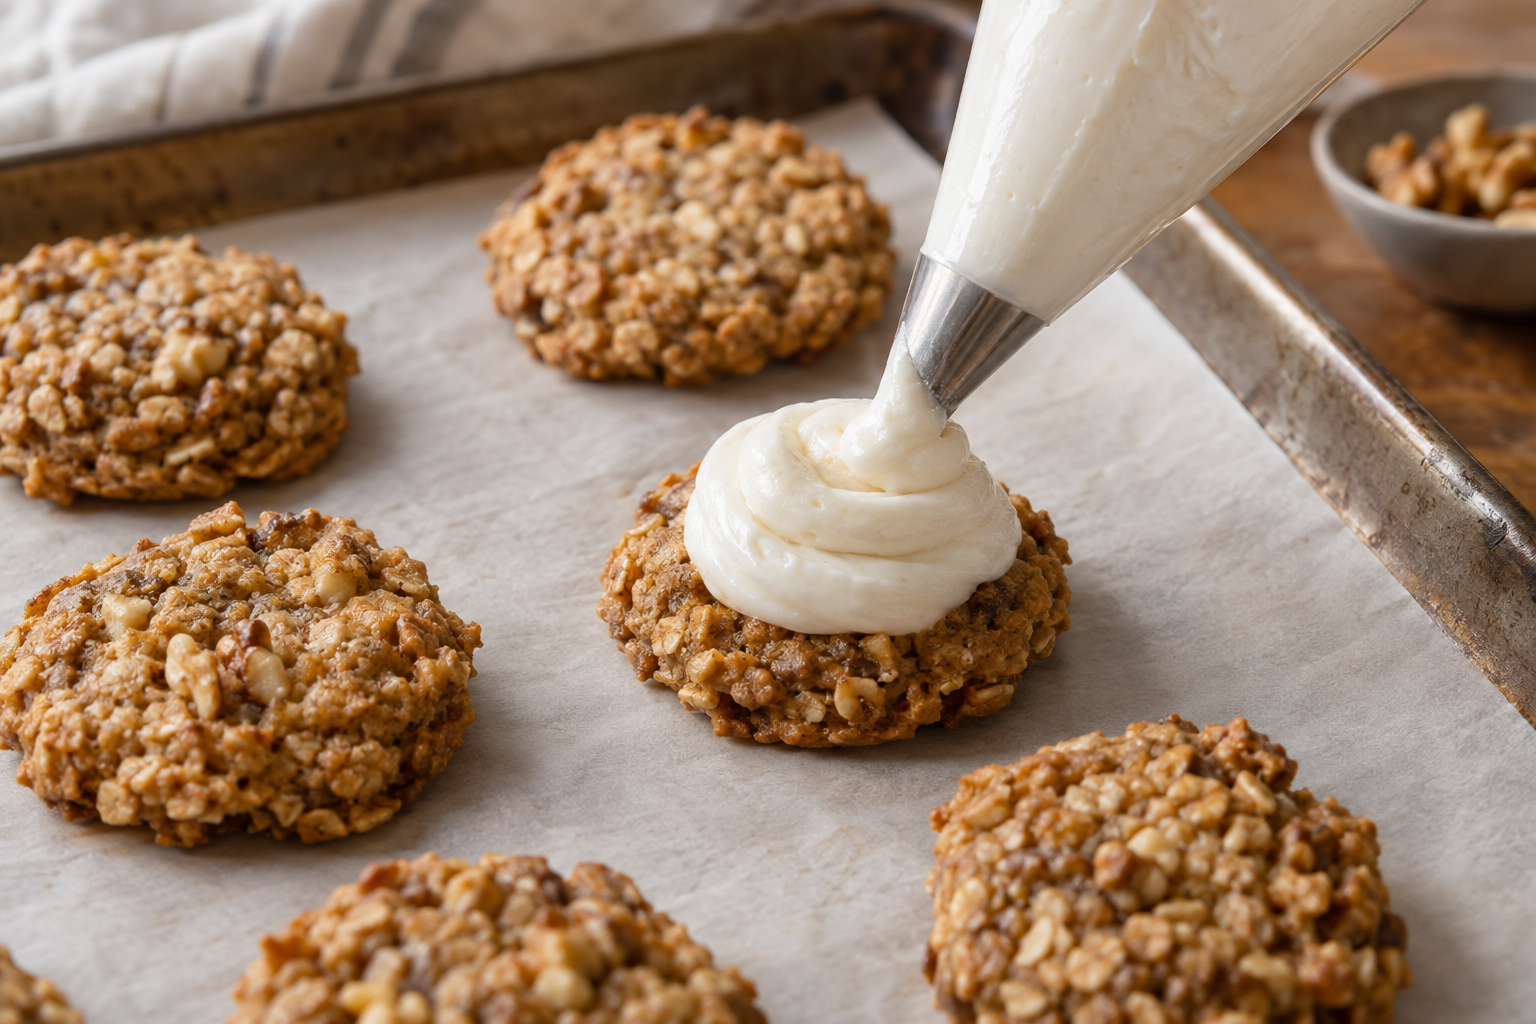
- What’s the best way to pipe the filling? Use a piping bag with a wide round tip or a zip-top bag with the corner snipped. Apply even pressure for consistent layers.
- Can I skip the walnuts? Absolutely. They’re optional for crunch and flavor contrast.
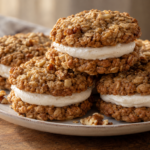
Homemade Oatmeal Cream Pies with Vanilla Marshmallow Filling
- Prep Time: 35 minutes
- Cook Time: 12 minutes
- Total Time: 2 hours 10 minutes
- Yield: 12 sandwich cookies (about 6 pies)
- Category: Cookies
- Method: Baking + whipped filling (stable meringue-style)
- Cuisine: American
- Diet: Vegetarian
Description
Soft, chewy oatmeal cookie rounds sandwiched with a stable vanilla marshmallow-style cream filling—made for stacking and lunchbox desserts.
Ingredients
- For the oatmeal cookies:
- 1 1/4 cups (150 g) all-purpose flour
- 3/4 cup (90 g) old-fashioned rolled oats
- 1 tsp baking soda
- 1/2 tsp fine salt
- 1 tsp ground cinnamon (optional, light)
- 1/2 cup (113 g) unsalted butter, softened
- 3/4 cup (150 g) packed light brown sugar
- 1/4 cup (50 g) granulated sugar
- 1 large egg
- 1 tsp vanilla extract
- 1/4 cup (60 ml) unsweetened applesauce (see note for substitutions)
- 1/2 cup (120 g) toasted walnuts, finely chopped (optional)
- 1–2 tbsp (8–16 g) water or milk, as needed to adjust dough
- For the stable vanilla marshmallow-style filling:
- 1/2 cup (120 ml) water
- 1 cup (200 g) granulated sugar
- 1/4 cup (60 ml) light corn syrup
- 2 large egg whites (about 60–70 g total)
- 1/4 tsp fine salt
- 2 tsp vanilla extract
- 1/2 cup (113 g) unsalted butter, softened
- Optional: 1–2 tbsp (8–16 g) toasted walnuts, very finely chopped, to fold into filling (optional, for extra crunch)
- Optional finishing:
- Extra toasted walnuts for sprinkling (optional)
Instructions
- Cookies: Toast oats (optional for deeper flavor): Spread rolled oats on a baking sheet and toast at 325°F (163°C) for 6–8 minutes until fragrant. Cool.
- Prep: Line 2 baking sheets with parchment paper. Set aside.
- Mix dry ingredients: In a bowl, whisk flour, oats, baking soda, salt, and cinnamon (if using).
- Cream wet ingredients: In a second bowl, beat butter, brown sugar, and granulated sugar until smooth and lighter in color (about 1–2 minutes).
- Add egg and flavor: Beat in the egg and vanilla until combined.
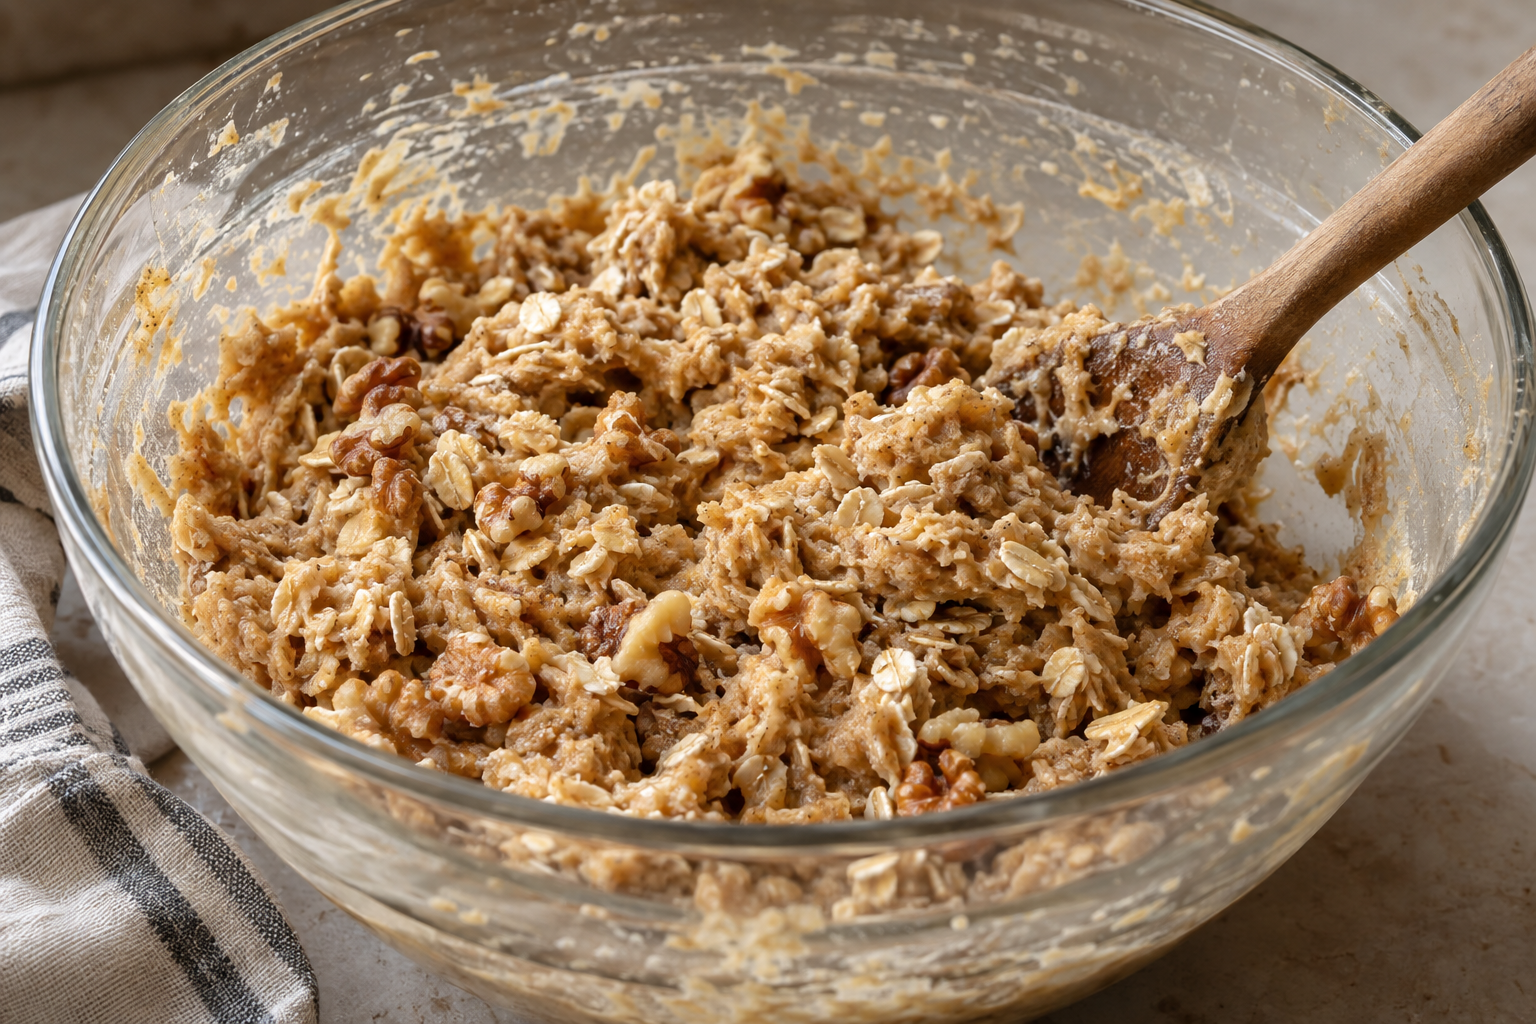
- Combine: Add the dry ingredients to the wet mixture. Mix just until a thick dough forms. Stir in walnuts (if using).
- Adjust texture: If the dough feels stiff/dry, add 1–2 tbsp water or milk as needed. It should be scoopable and thick.
- Chill: Refrigerate the dough 30–60 minutes for thicker, bakery-style rounds.
- Scoop and shape: Scoop mounded tablespoons (about 25–30 g each) and place 2 inches (5 cm) apart. Gently roll into rough rounds if needed.
- Bake: Bake at 350°F (177°C) for 10–12 minutes, rotating once if your oven has hot spots. Doneness cue: edges look set and matte; centers look slightly underdone but puffed.
- Cool on sheet: Let cookies cool on the baking sheet for 5 minutes, then transfer to a wire rack to cool completely.
- Stable vanilla marshmallow-style filling: Start syrup: In a small saucepan, combine water, granulated sugar, and corn syrup. Place over medium heat.
- Whip egg whites: When the syrup is actively simmering, add egg whites and salt to a clean bowl. Whip to soft peaks.
- Cook syrup to stage: Use a candy thermometer; cook syrup to 240°F (116°C). Syrup should be clear and thickening.
- Pour and whip: With mixer running on medium-high, carefully pour the hot syrup in a thin stream into the egg whites. Continue whipping 5–7 minutes until the bowl feels mostly cool and the meringue is glossy, thick, and holds soft peaks.
- Add butter: Add softened butter a few tablespoons at a time, whipping after each addition. If it looks curdled, keep whipping—it usually smooths out as the mixture emulsifies.
- Finish: Beat in vanilla (and optional finely chopped toasted walnuts, if using). Stop when the filling is thick, fluffy, and holds shape.
- Assemble: Pair cookies: Match cookies by size. Turn half of them (bottom-up) so you pipe filling on the flat side.
- Fill: Pipe or spread filling onto the flat side of each paired cookie, then sandwich with the remaining cookies.
- Set: Refrigerate assembled pies 20–30 minutes so the filling firms slightly for stacking.
- Serve: Enjoy chilled or at cool room temperature.
Notes
1) Applesauce substitution: For a similar moisture balance, you can use an equal amount of plain Greek yogurt (full-fat if possible). If you replace with yogurt, dough may be slightly looser—chill as needed.
2) Piping tip: A wide round tip (like 1A/1A-ish) creates bakery-like layers.
3) Make-ahead: Cookies can be baked 1–2 days ahead and stored airtight. Filling can be made up to 2 days ahead; re-whip until spreadable before assembling.
4) Shelf life: Assembled pies keep best refrigerated in an airtight container.