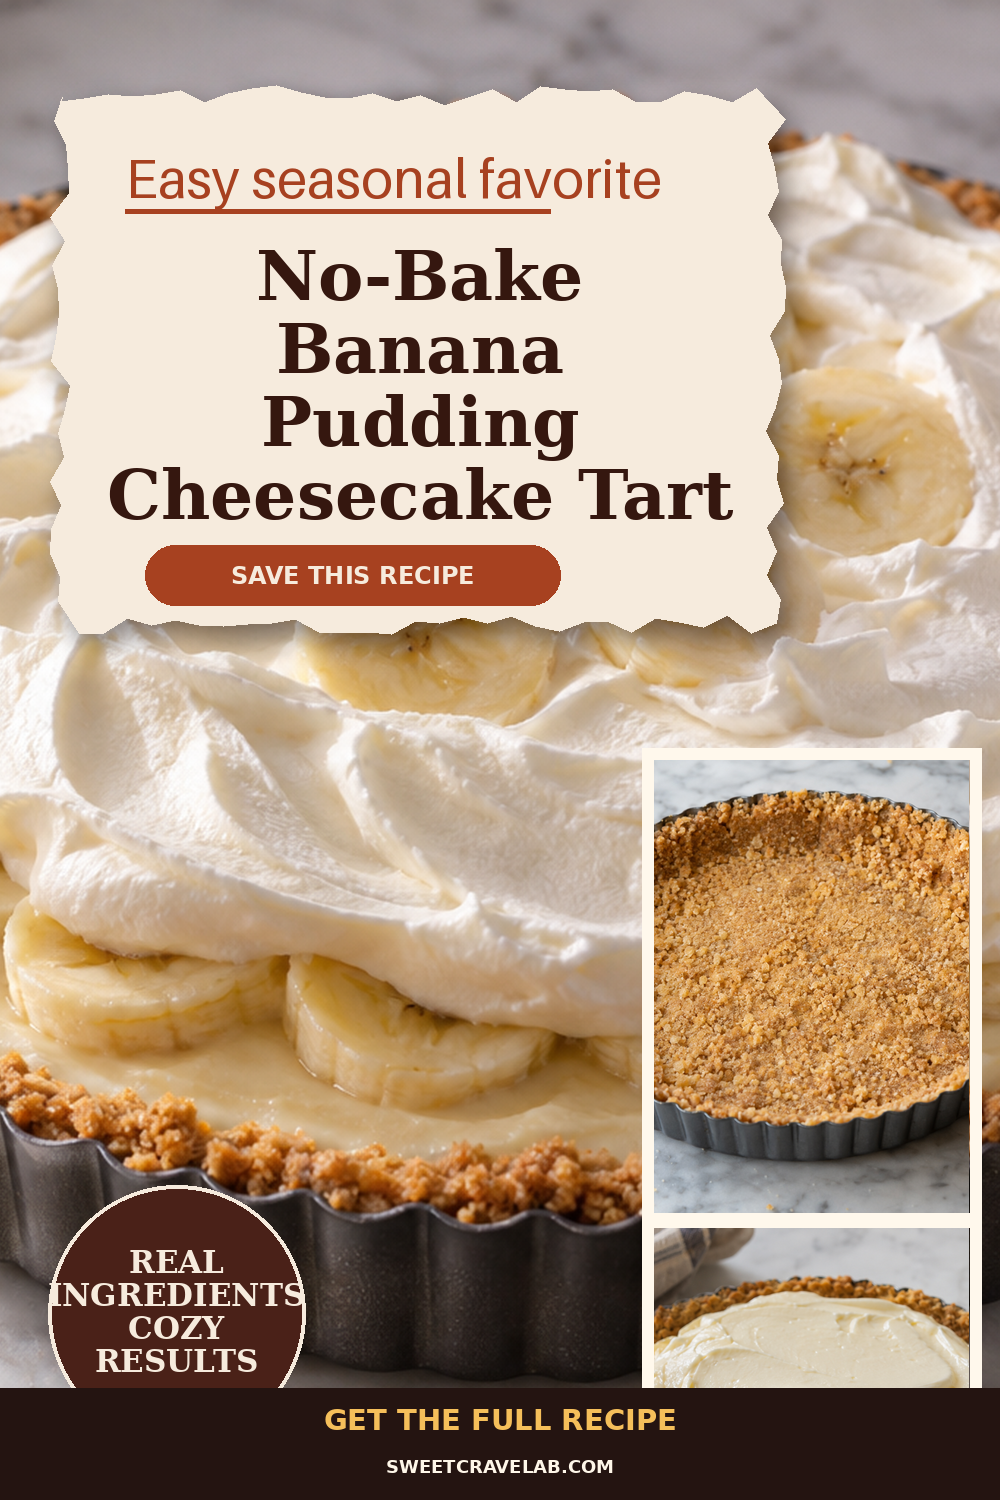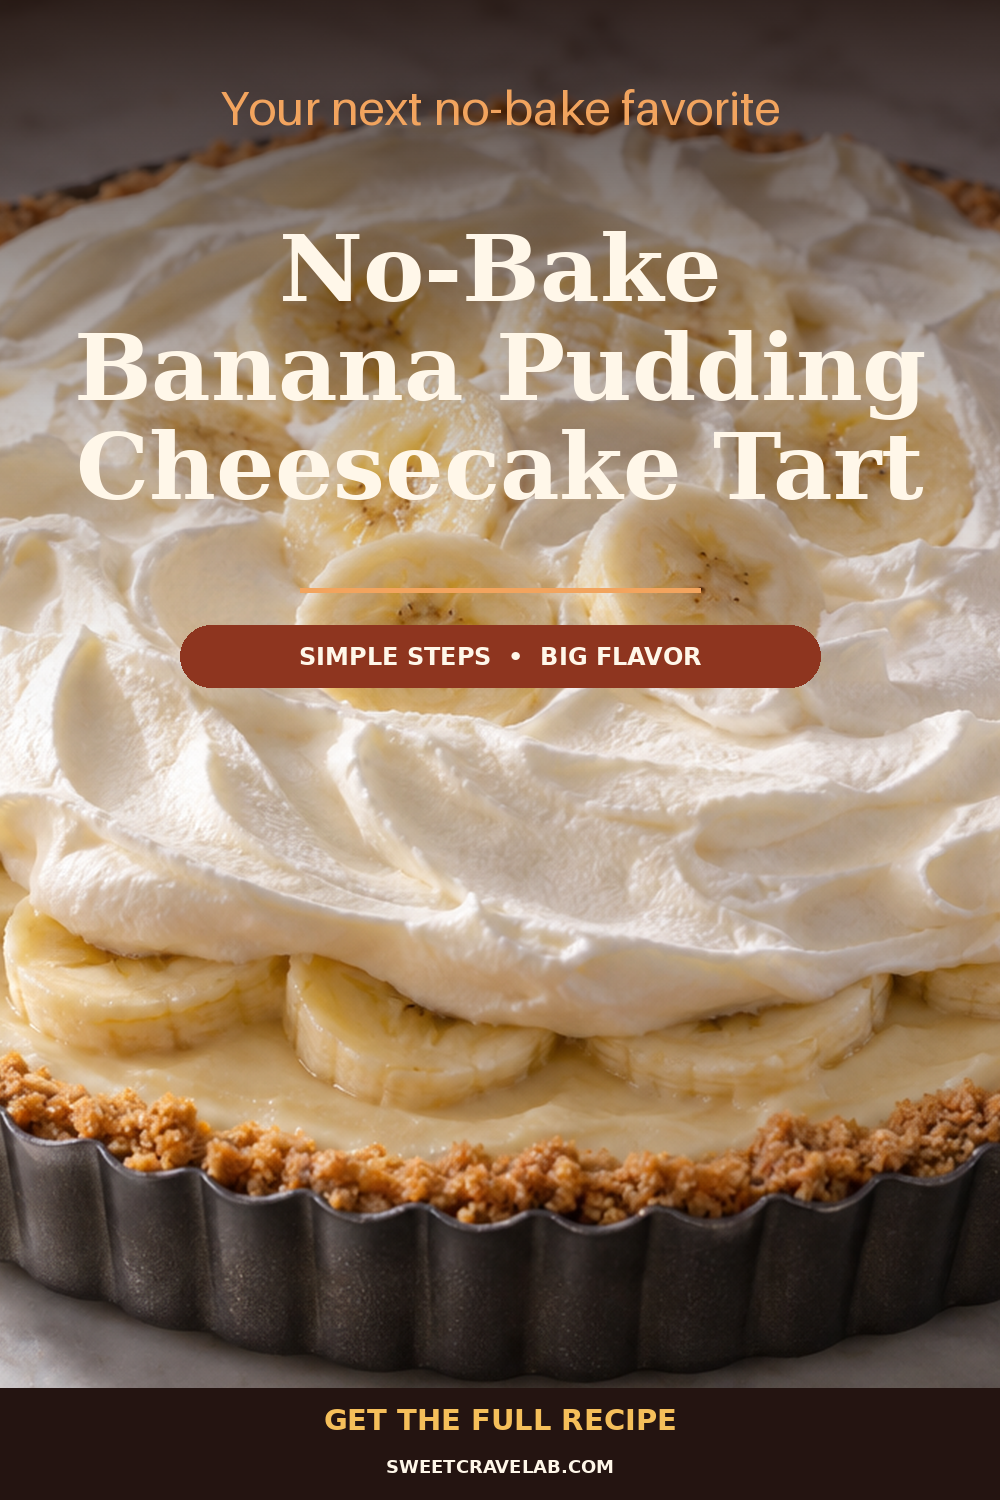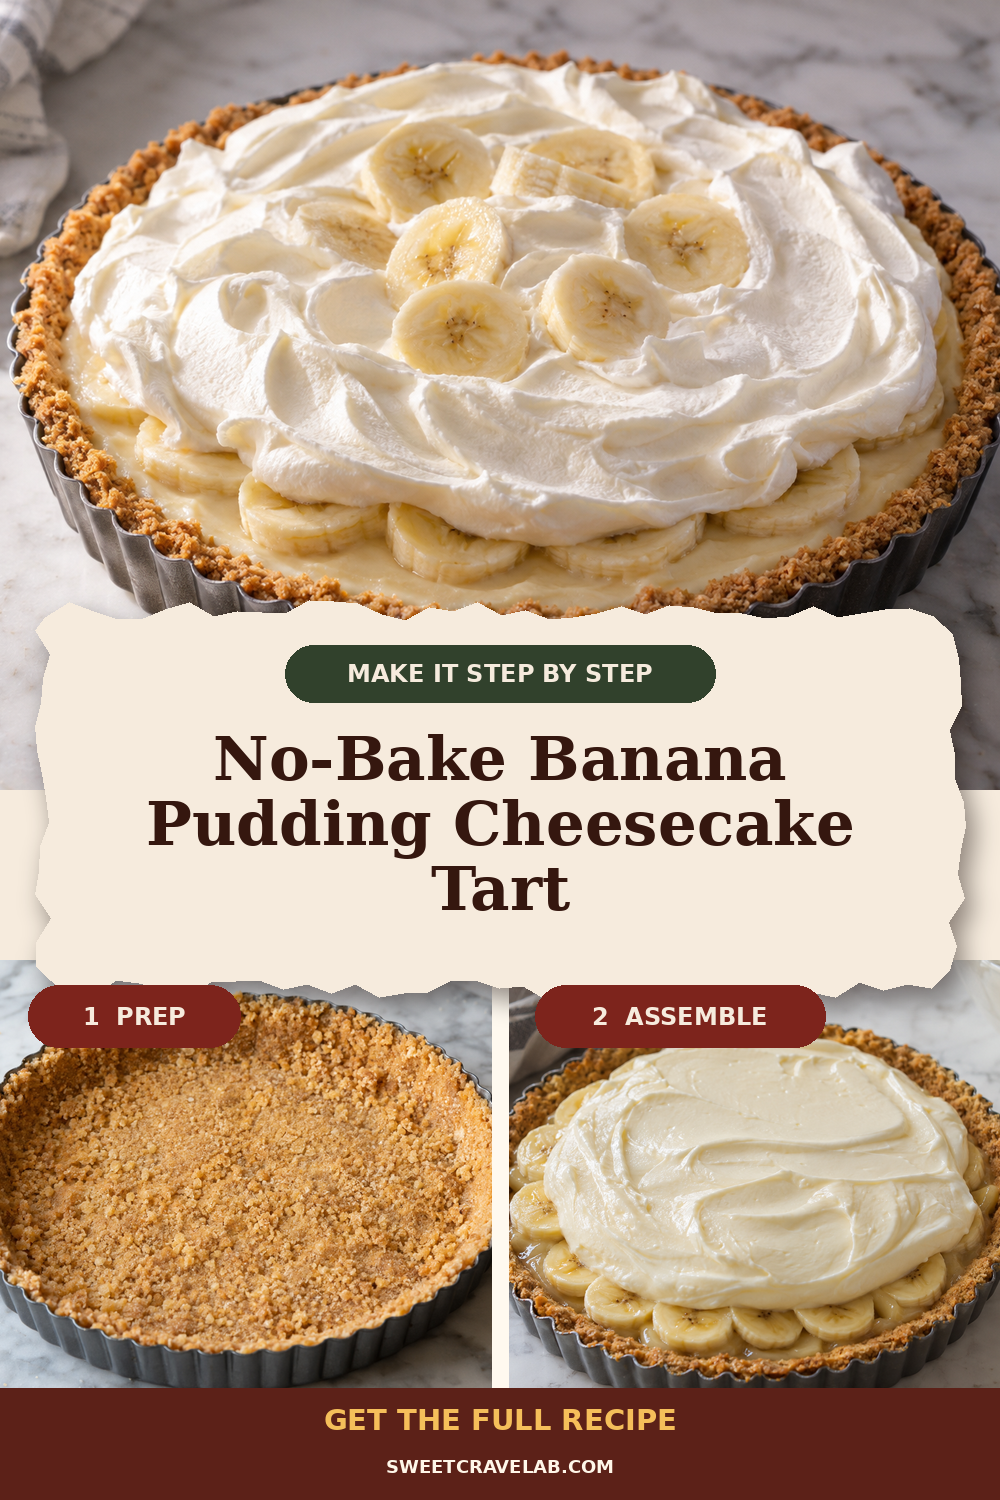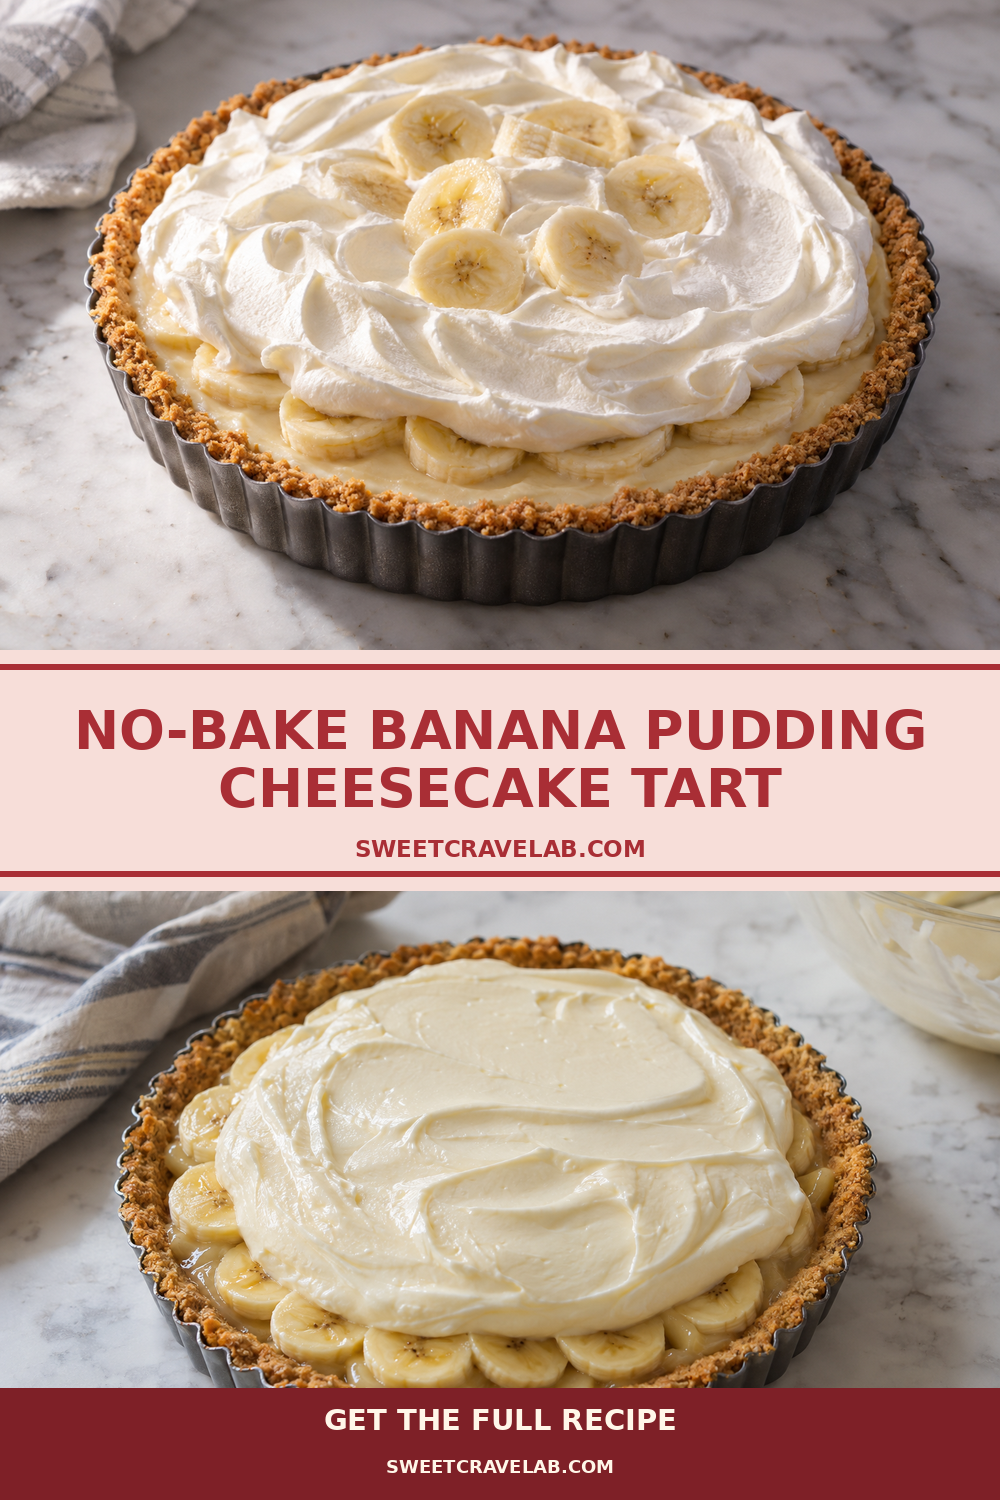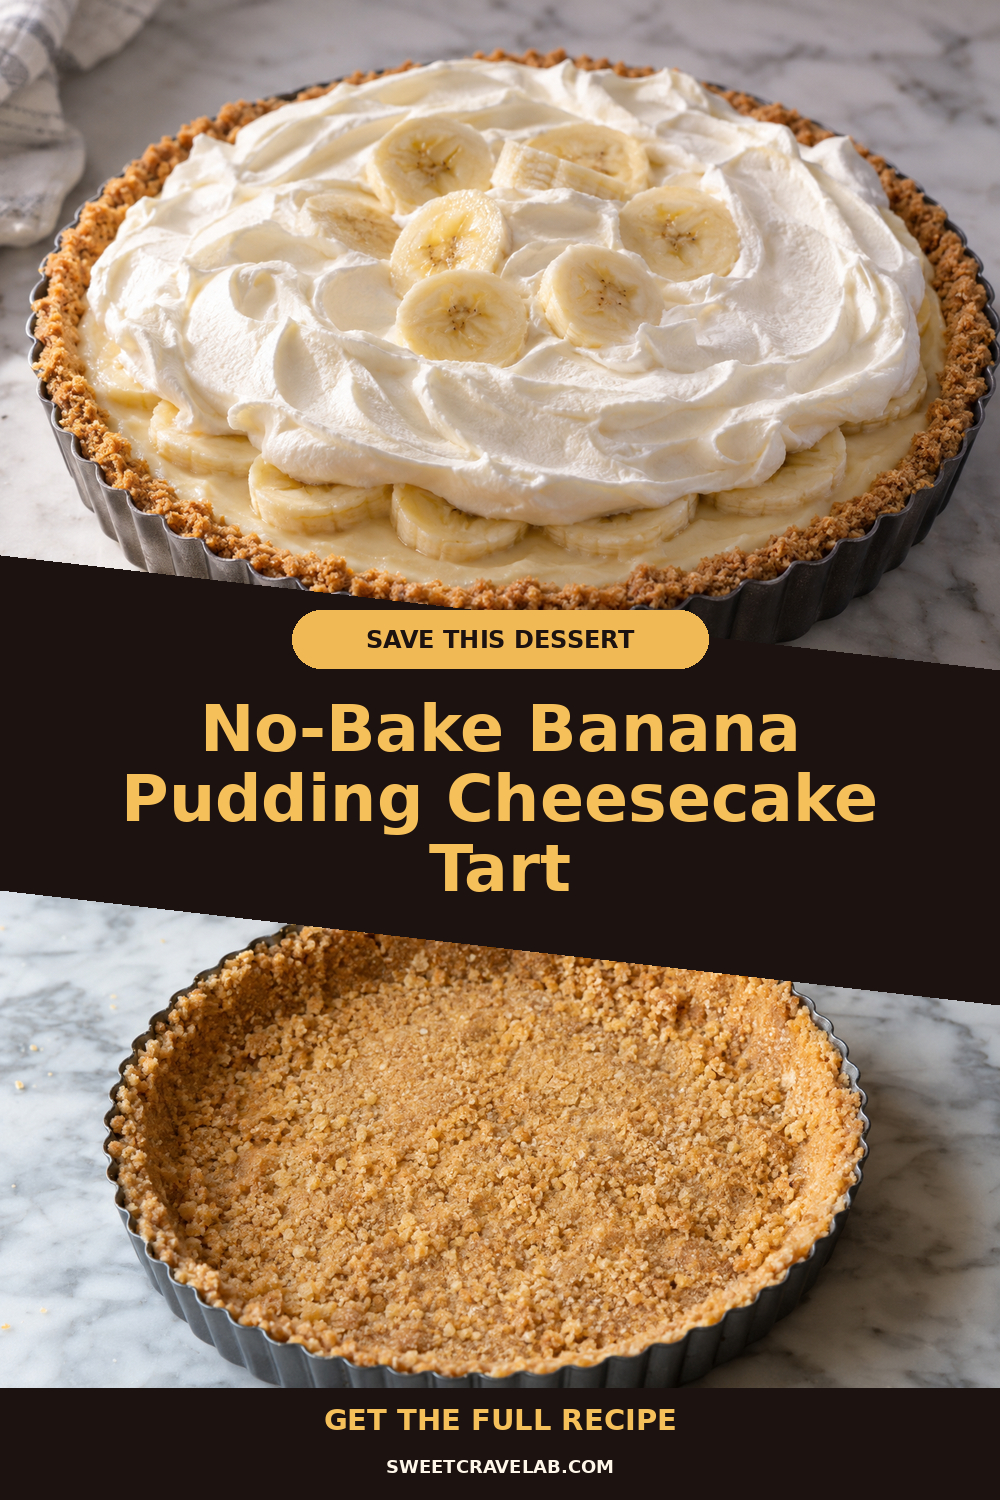
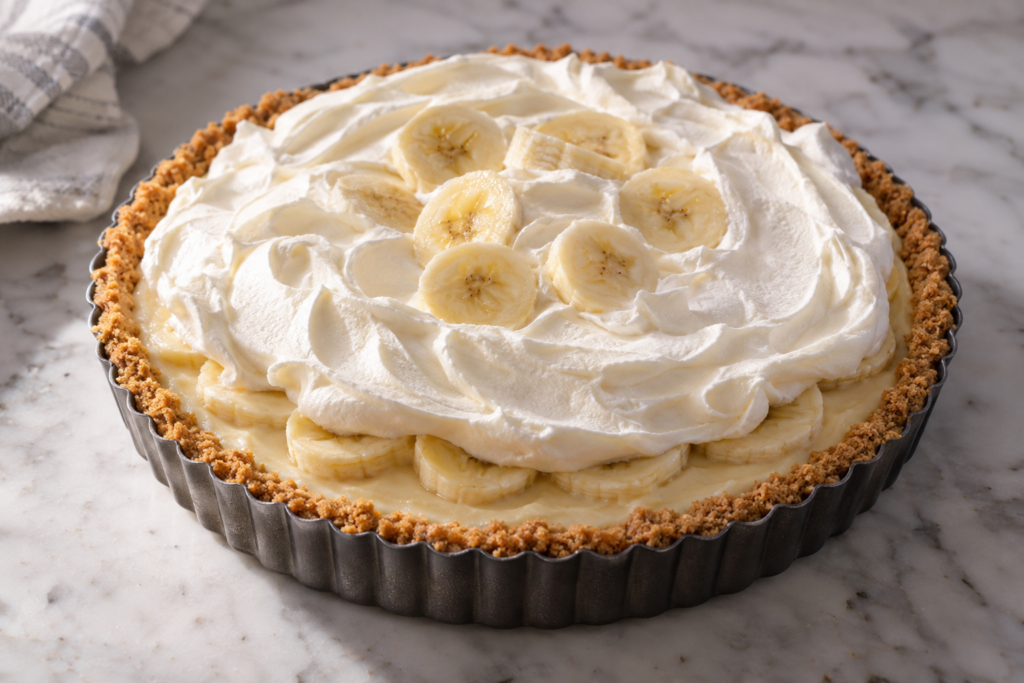
When you want that classic banana pudding vibe but you also want clean, confident slices, this no-bake banana pudding cheesecake tart is my go-to. It has a crisp vanilla wafer crust, a fresh banana layer that stays glossy (without citrus), and a gelatin-set cheesecake filling that holds its shape like a dream in the fridge.
I’m keeping it practical and repeatable: clear chilling times, visual dononeness cues, and a few troubleshooting tips so your tart comes out neat, not weepy.
What makes this tart sliceable (and no-bake)?
This tart uses a gelatin set mechanism in the cheesecake filling. Gelatin firms the dairy base so it slices cleanly instead of softening into a spoonable mess after chilling.
- Crust: pressed vanilla wafer crumbs + butter, chilled until firm.
- Banana layer: sliced bananas coated with a pudding-mix binder to reduce weeping and slow browning—no citrus required.
- Cheesecake filling: cream cheese + vanilla + sugar, set with dissolved gelatin, then folded with lightly sweetened whipped cream for a creamy, stable texture.
Method overview (quick scan)
I build this tart in three parts: crust, banana layer, then the gelatin-set filling. Most of the “work” is hands-on assembly, and most of the time is just chilling for structure.
- Press wafer crumbs into a tart pan and chill.
- Toss bananas with a thin pudding binder, then layer.
- Whip cream, dissolve gelatin into the cheesecake base, fold, pour, and chill until slice-stable.
Visual doneness cues (so you know it’s right)
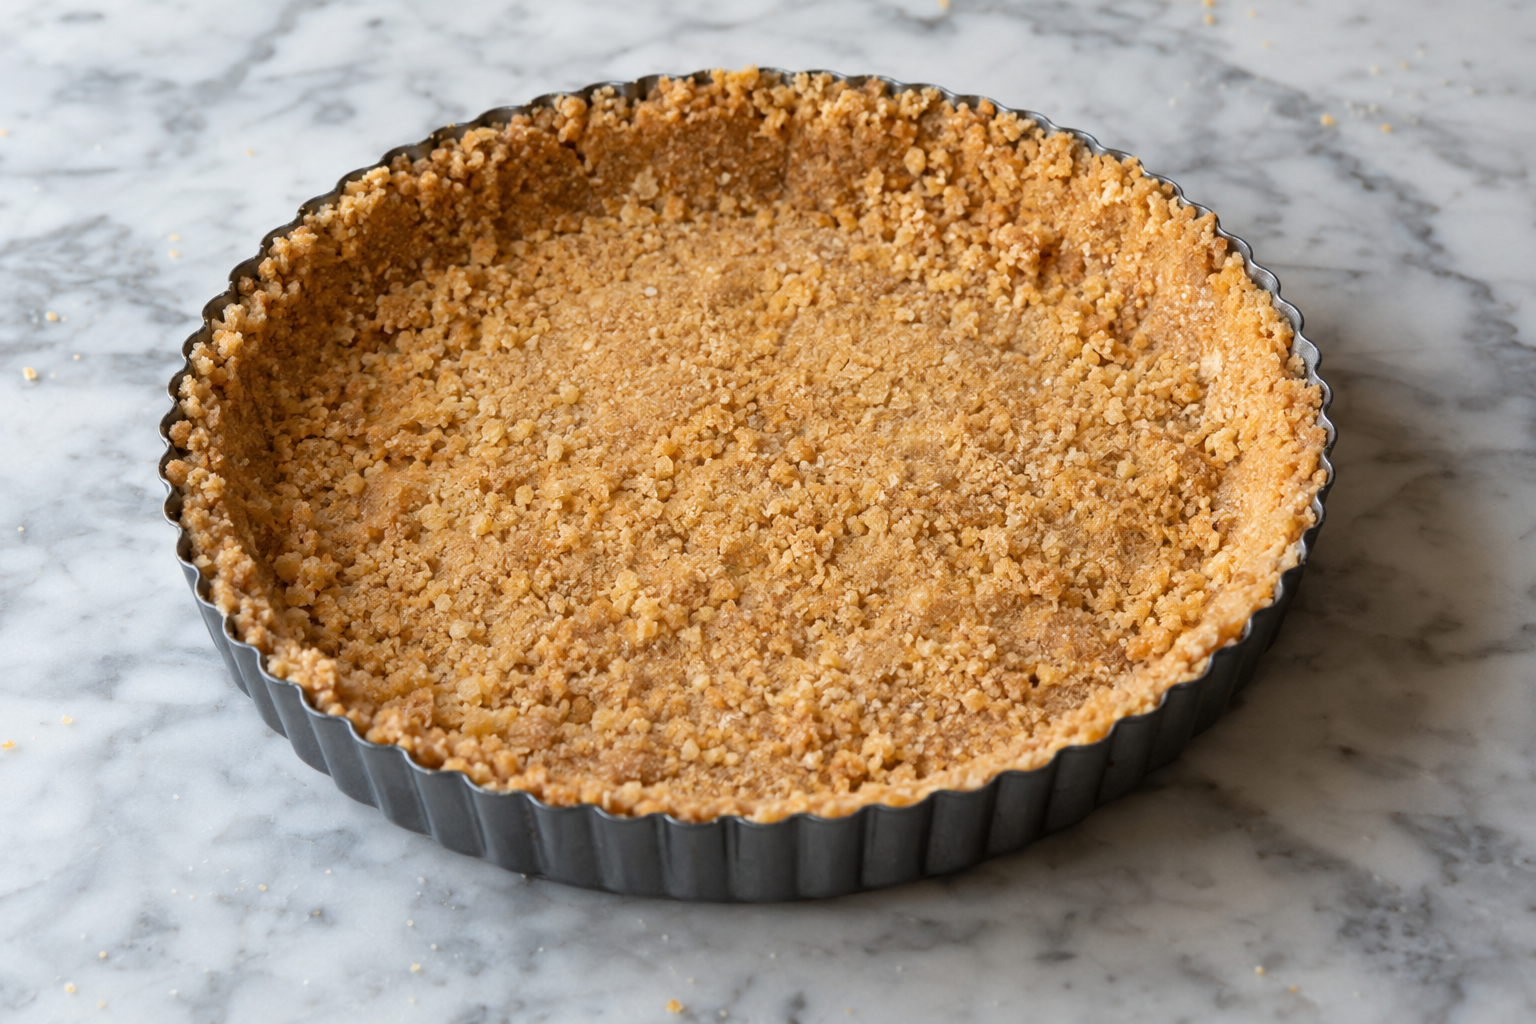
- Crust: when pressed and chilled, it should look matte and feel firm when you gently tap the edge.
- Gelatin-set filling: after the first chill, the center should look slightly less glossy and hold indentation from a light touch (it shouldn’t jiggle like pudding).
- Final slicing readiness: a chilled, clean slice will reveal defined layers—crust, banana band, then creamy cheesecake—without puddling at the edges.
Troubleshooting: what to do if something looks “off”
Banana layer looks watery
That’s usually from not coating the bananas enough (or assembling too soon). Toss banana slices with the pudding-mix binder until they look lightly dusted/coated, and chill the tart long enough before topping (and especially before serving).
Filling seems too soft after chilling
Two common causes: gelatin was not fully dissolved, or the tart didn’t chill long enough. Make sure gelatin is melted/liquefied completely before combining, and give it the full refrigeration time for clean slicing.
Crust crumbles when cutting
Pressing matters. Use a flat-bottom cup or tamper to compress firmly, then chill. For serving, wipe the knife between cuts.
Substitutions (still compatible with gelatin slicing)
- Vanilla wafer crumbs: vanilla sandwich cookie crumbs work as a 1:1 swap by weight. Aim for the same “sand-like” texture.
- Dairy-free option (partial): you can use dairy-free butter for the crust. Keep the cream cheese and whipped cream as dairy for best slice stability (gelatin set works, but dairy-free swaps vary widely).
- No instant pudding mix? Use cornstarch for the banana binder, but expect a slightly less cohesive coating.
- Whipped topping instead of whipped cream? It can work, but choose a stabilized whipped topping designed for desserts so it doesn’t break down.
Storage & make-ahead
- Refrigerate: cover and store up to 3 days.
- Freezing: I don’t recommend freezing because the banana layer can weep as it thaws.
- Make-ahead: You can fully assemble a day ahead. For the cleanest slices, chill at least overnight.
FAQ
Can I use bananas that are already very ripe?
Yes, but keep them medium-ripe. Extremely ripe bananas can release more moisture, which makes the banana layer more likely to look soft.
What size pan works best?
A 9-inch tart pan is ideal. If your pan is wider or taller, chilling time may shift slightly—look for the filling to hold a gentle indentation and stop jiggling.
Do I need to unmold it?
For the neatest presentation, you’ll get clean edges if you unmold. Chill well, warm the tart pan sides briefly (seconds, not minutes), then release.
Can I add a banana pudding-style swirl on top?
You can, but keep it thin. If you pile it on, it can interfere with the “layer definition” you want for slice-ready cuts.
Featured photography note
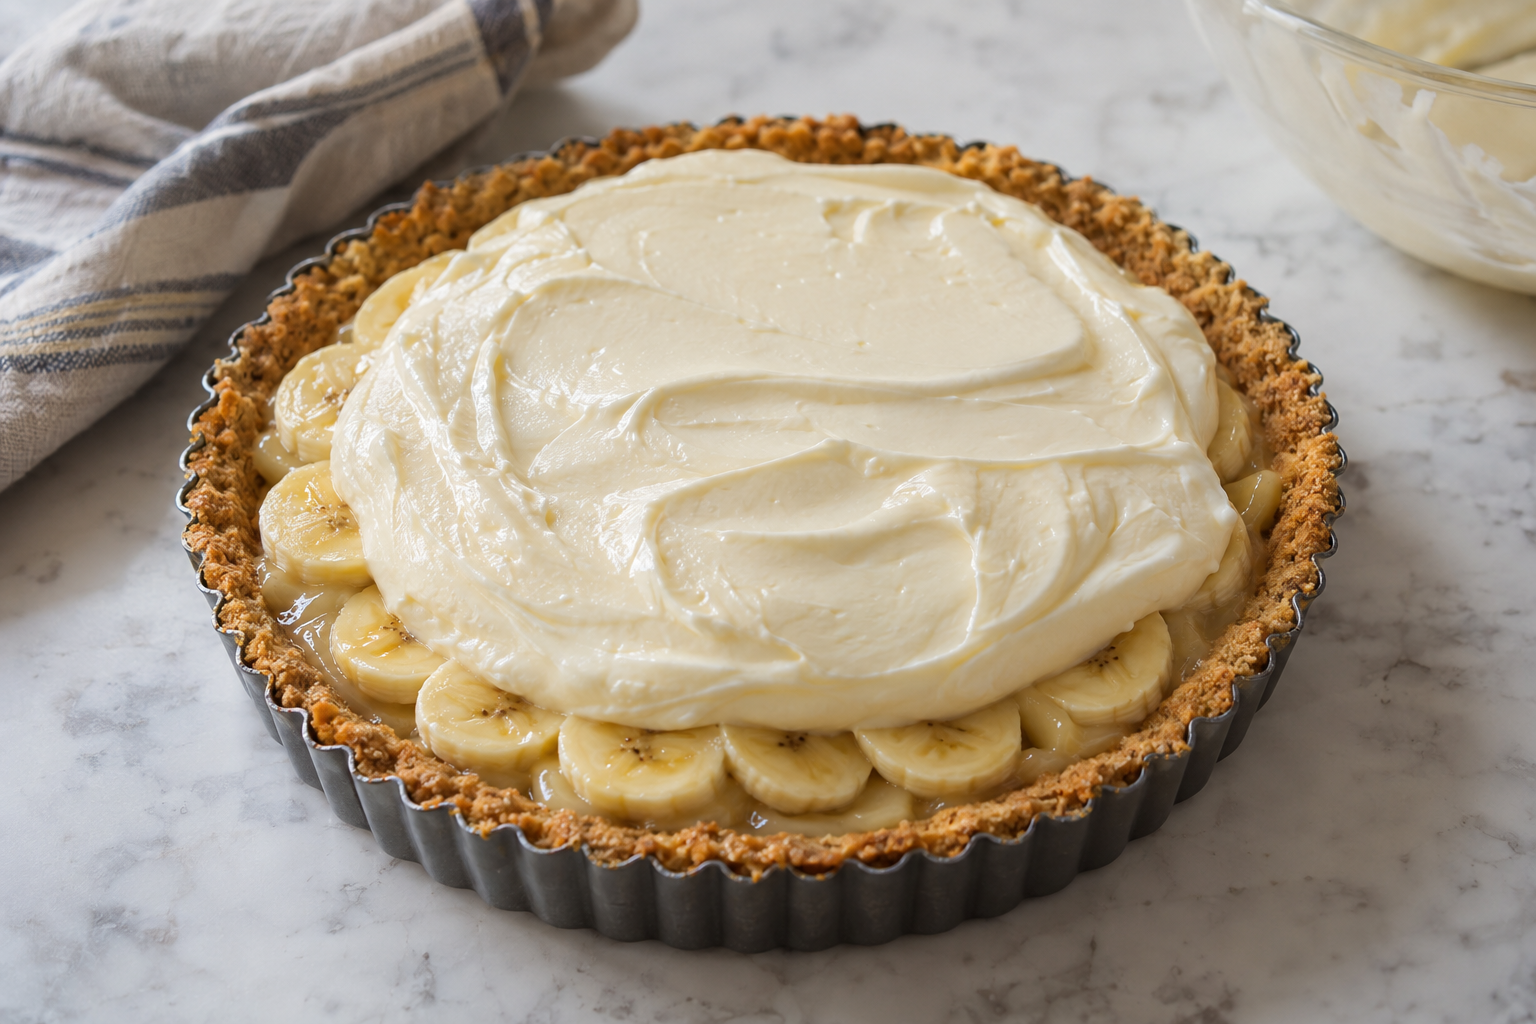
The images below are illustrative and intended to show the same recipe stages: crust preparation, banana layer assembly, and the later set/assembled tart look.
Print
No-Bake Banana Pudding Cheesecake Tart (Vanilla Wafer Crust, Sliceable)
- Prep Time: 30 minutes
- Cook Time: 0 minutes
- Total Time: 6 hours 30 minutes
- Yield: 1 (9-inch) tart (about 10–12 slices)
- Category: No-Bake Desserts
- Method: No-bake + gelatin-set cheesecake filling
- Cuisine: American
- Diet: Vegetarian
Description
A gelatin-set, sliceable no-bake banana pudding cheesecake tart with a vanilla wafer crust and a fresh banana layer bound with instant pudding mix to reduce weeping.
Ingredients
- Vanilla wafer crust: 2 cups vanilla wafer crumbs (about 200 g), finely crushed
- 6 tbsp unsalted butter, melted (about 85 g)
- 1 tbsp granulated sugar (about 12 g), optional but helpful for flavor
- Banana layer (citrus-less binder): 3 medium bananas, sliced (about 1 1/2 cups / 270 g), not over-ripe
- 2 tbsp instant vanilla pudding mix (about 15 g)
- 2 tbsp whole milk (about 30 ml)
- 1 tbsp granulated sugar (about 12 g)
- Gelatin-set cheesecake filling: 24 oz cream cheese, softened (about 680 g)
- 1/2 cup granulated sugar (about 100 g)
- 2 tsp vanilla extract
- 2 1/4 tsp unflavored gelatin powder (about 7 g)
- 1/4 cup cold water (about 60 ml)
- 1 cup heavy cream, cold (about 240 ml)
- 2 tbsp powdered sugar (about 15 g), for stabilizing the whipped cream
- Optional top (thin swirl): 1/2 cup heavy cream (about 120 ml)
- 1/2 tsp vanilla extract
- 1 tbsp powdered sugar (about 7 g)
- Pinch of salt
Instructions
- Make the crust. In a medium bowl, stir vanilla wafer crumbs, melted butter, and (if using) sugar until the mixture looks like wet sand and holds together when you press it.
- Press and chill. Press crumbs firmly into a 9-inch tart pan (including the bottom and up the sides if you like). Chill in the refrigerator for at least 30 minutes, until firm.
- Bind the banana layer. In a small bowl, whisk instant pudding mix with milk and sugar until you get a thick, lightly spreadable paste. Toss banana slices with the paste just until coated. Let sit 5 minutes while you prepare the filling (this helps the coating cling).
- Soften gelatin. Sprinkle gelatin over cold water in a small microwave-safe bowl. Let stand 5 minutes to bloom.
- Dissolve gelatin. Microwave in 10–15 second bursts, stirring each time, until gelatin is fully dissolved and the mixture is clear. Cool slightly so it’s warm, not hot.
- Mix cheesecake base. In a large bowl, beat softened cream cheese with granulated sugar and vanilla until smooth and lump-free.
- Fold in gelatin. Pour the warm gelatin into the cream cheese mixture while mixing on low (or slowly drizzling). Mix just until incorporated.
- Whip the cream. In a separate bowl, whip cold heavy cream with powdered sugar until you reach soft-to-medium peaks (it should look fluffy but still pourable).
- Combine. Fold whipped cream into the cheesecake base in 2–3 additions until smooth and airy. Avoid overmixing so the filling stays light.
- Assemble the tart. Remove the crust from the fridge. Spread the coated banana slices evenly over the crust.
- Fill and smooth. Pour cheesecake filling over the banana layer and smooth the top with a spatula.
- Optional thin top swirl. If using, whip the optional cream + powdered sugar + vanilla + pinch of salt to soft peaks, then spoon a thin layer on top and swirl lightly. Keep it minimal for clean slicing.
- Chill until slice-stable. Refrigerate at least 6 hours (overnight is best) until the center no longer jiggles and the layers look set.
- Slice and serve. For the cleanest cuts, wipe the knife between slices and use straight downward pressure. Unmold carefully after chilling.
Notes
For the best sliceable texture, don’t rush the final chill—this tart depends on gelatin structure. If your bananas are very ripe, expect more moisture; coating them well with the pudding binder helps. If the tart seems soft after the minimum chill, give it another 1–2 hours before slicing.