
Crochet Mini Santa Hat Ornament: Easy Free Pattern
Make a crochet mini Santa hat ornament with simple single crochet rounds, a snowy white brim, a fluffy pom-pom, and a hanging loop.
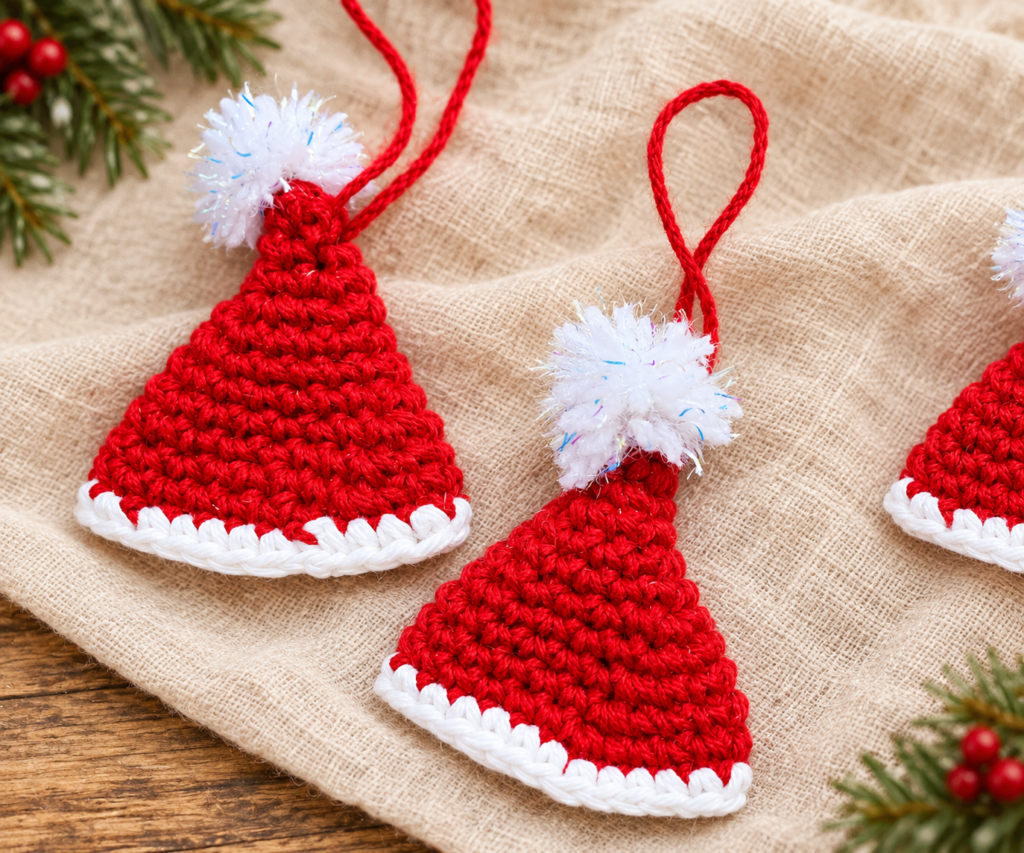
This crochet mini Santa hat ornament turns a small amount of red and white yarn into a cheerful handmade decoration. The pointed hat grows through simple single-crochet increases, then receives a snowy brim, a fluffy pom-pom, and a secure hanging loop. Work one for the tree, make a coordinated set for a garland, or tie one onto a wrapped baking gift.
Crochet Mini Santa Hat Ornament Guide
Why This Christmas Crochet Project Works
A miniature ornament is ideal when you want a quick seasonal project without a long materials list. The crochet mini Santa hat ornament uses only single crochet, increases, a slip stitch, and a color change. Because it is worked in continuous rounds, there is no visible seam running through the red section. A stitch marker identifies the first stitch and makes every count easier to check.
The pattern begins with only four stitches and adds two stitches on each increase round. That slow, controlled growth creates the tapered Santa-hat shape. Flattening the small cone gently after every round helps you see the triangular silhouette and compare both sides before moving on.
Materials and Tools
- Small amount of red yarn in a light or medium weight
- Small amount of smooth white yarn for the brim
- White fluffy or novelty yarn for the pom-pom
- 3 mm crochet hook, or a hook that produces firm fabric with your yarn
- Locking stitch marker
- Yarn needle
- Sharp scissors
- Optional pom-pom trimming scissors or small ruler
Choose red and white yarns with compatible thickness so the brim sits neatly against the body. A firm gauge keeps the ornament from stretching on the tree. If your label uses a number rather than a written weight, compare it with the Craft Yarn Council yarn-weight system.
US Crochet Abbreviations
| Abbreviation | Meaning |
|---|---|
| ch | chain |
| sc | single crochet |
| inc | work 2 single crochets in the same stitch |
| sl st | slip stitch |
| st / sts | stitch / stitches |
| rep | repeat |
Before You Begin
- Use US crochet terminology.
- Work the red section in continuous rounds without joining.
- Move the stitch marker to the first stitch of every new round.
- The starting ch 1 does not count as a stitch.
- Each increase round adds exactly two stitches.
- Count the round before continuing; one missed increase changes the symmetry.
- Keep the yarn tails long enough for secure finishing.
Free Crochet Mini Santa Hat Ornament Pattern
Step 1: Preview the Finished Ornament
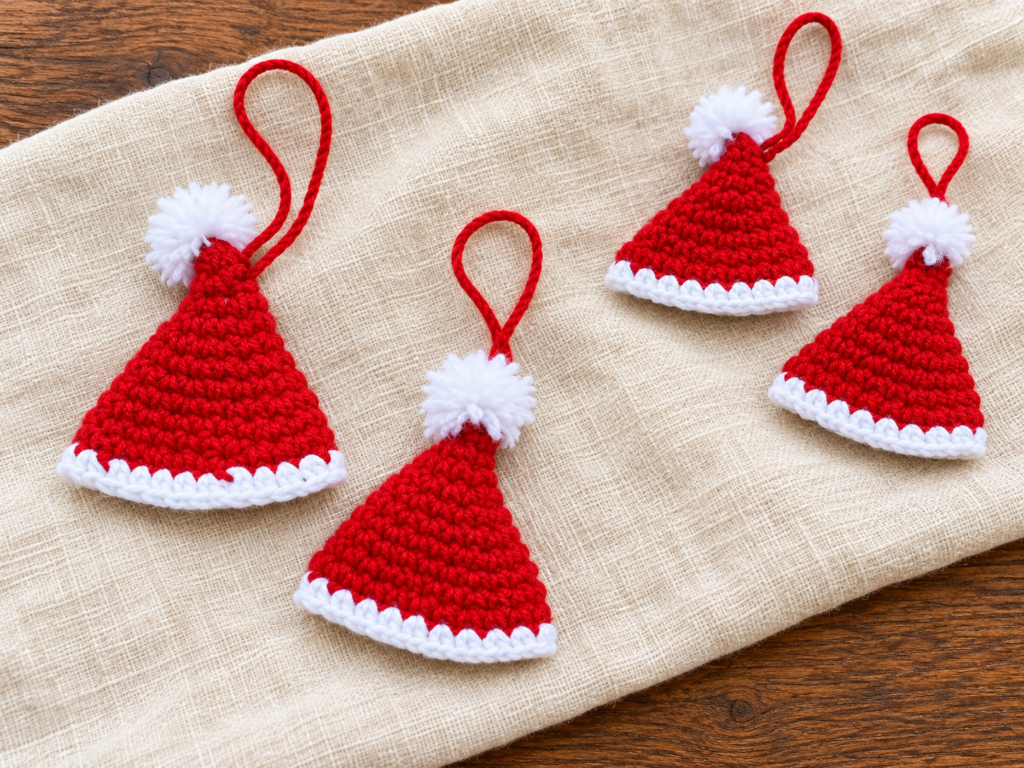
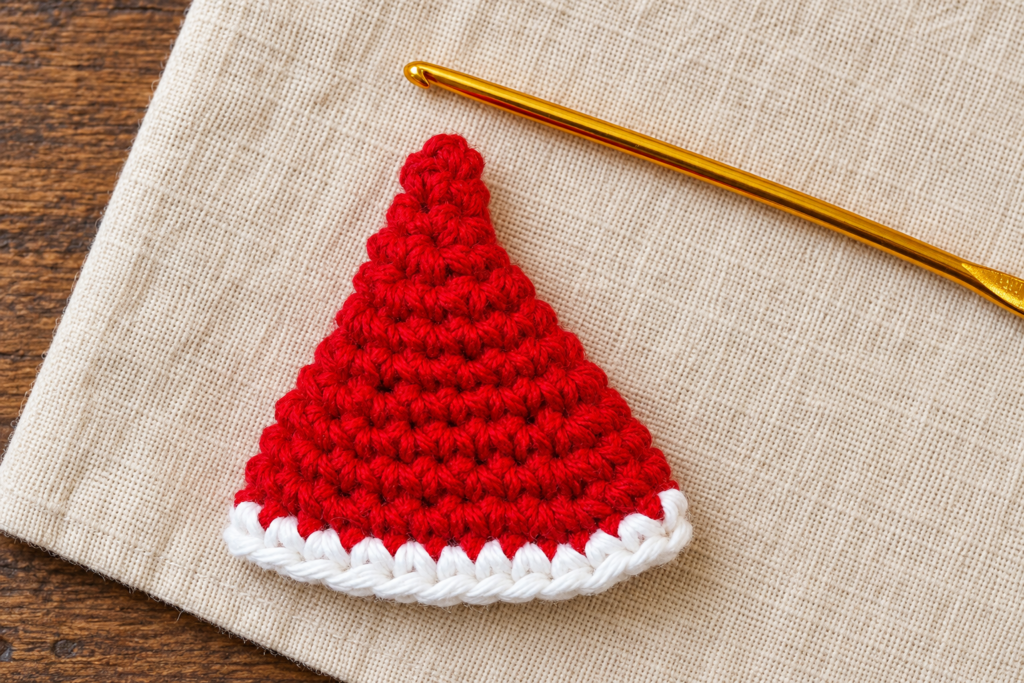
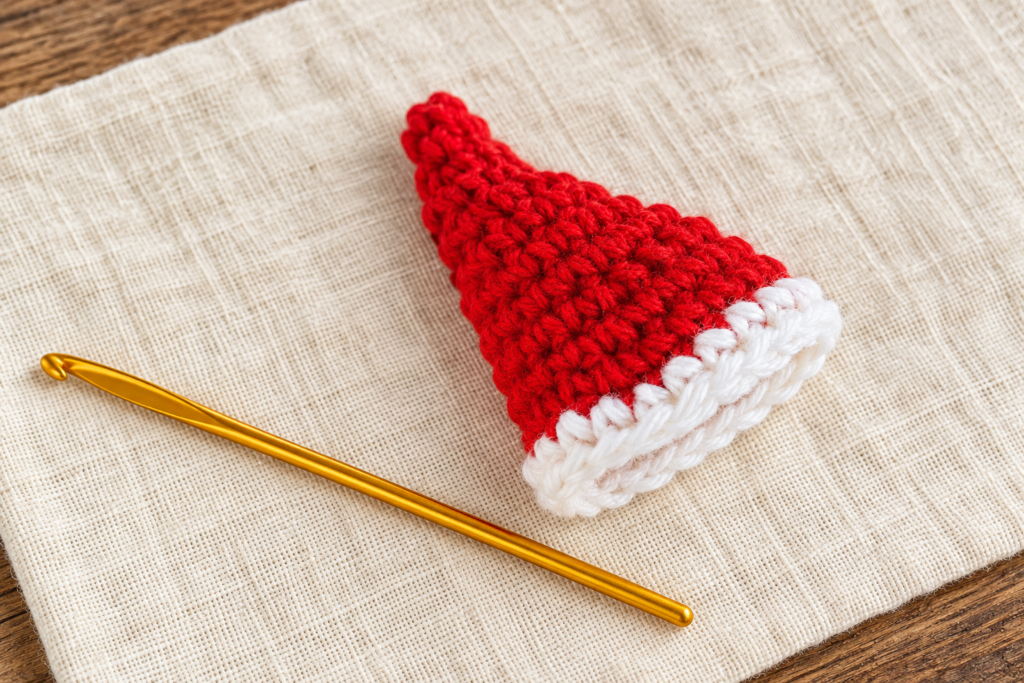
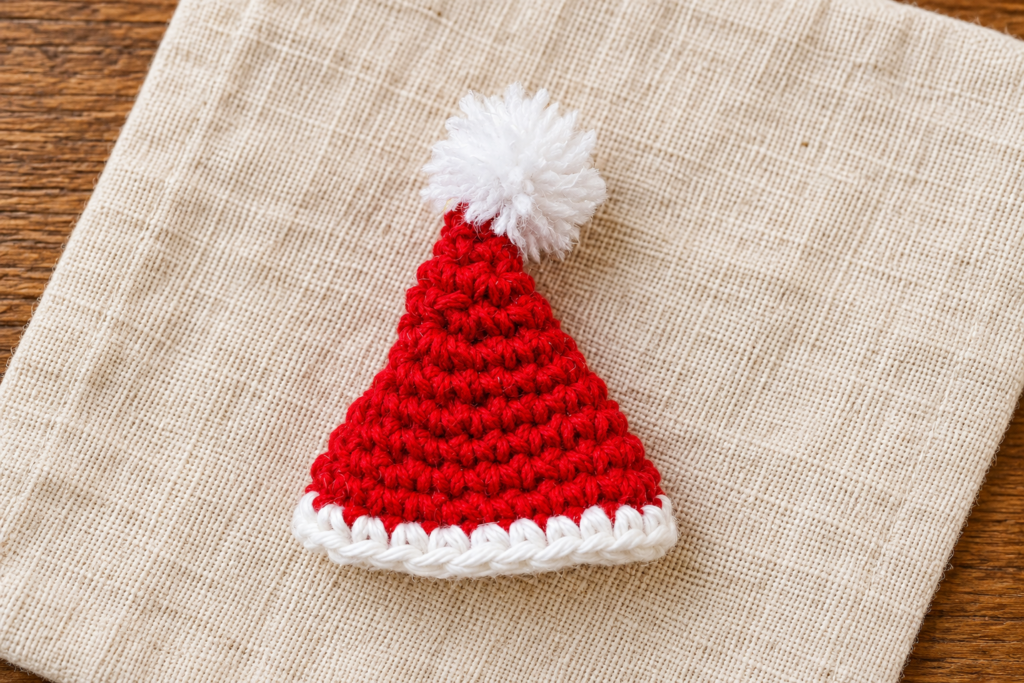
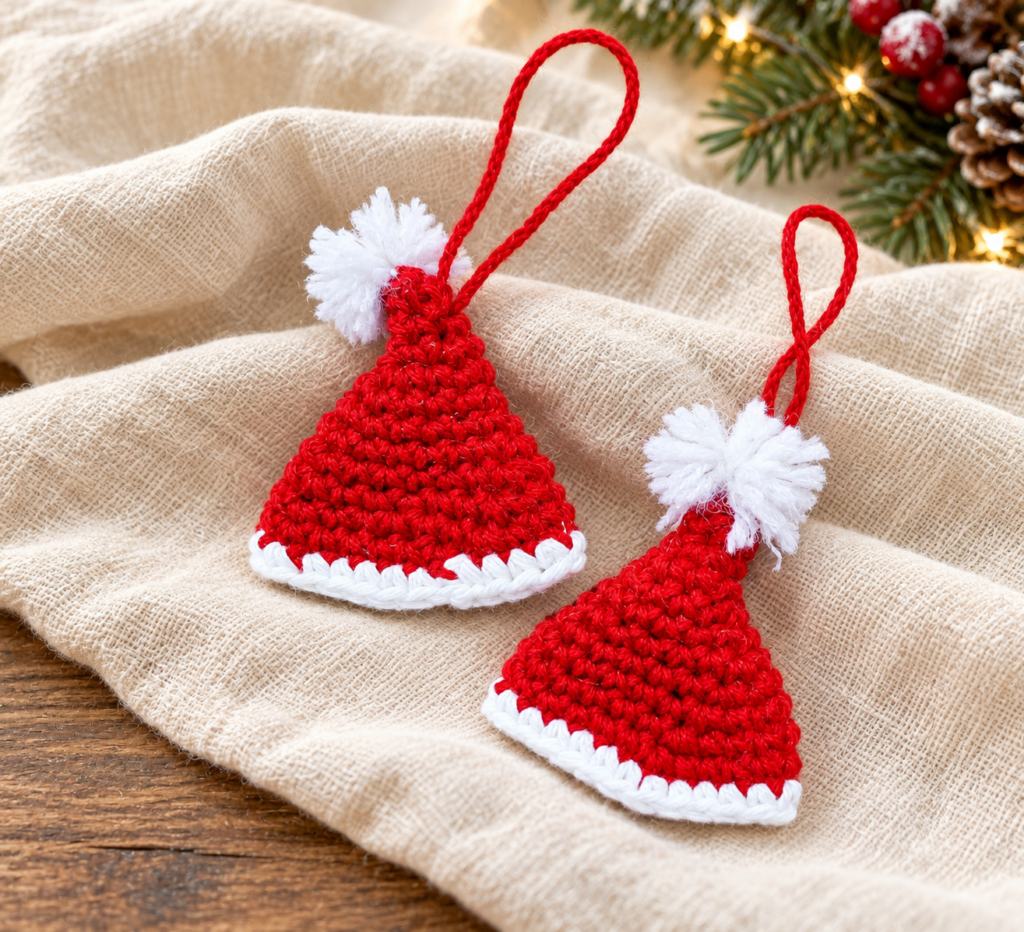
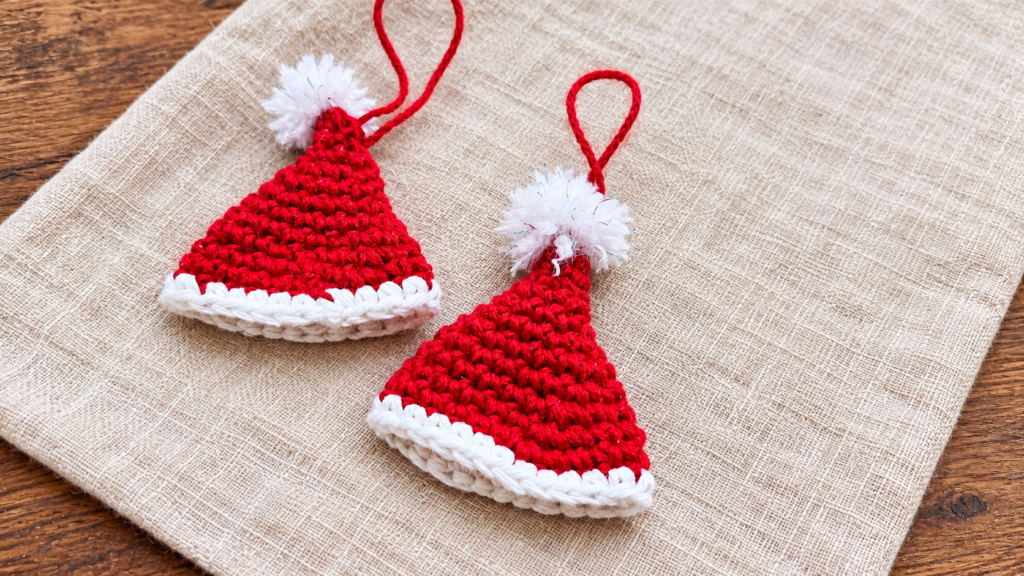
The finished crochet mini Santa hat ornament has a softly triangular red body, one white single-crochet brim, a small white pom-pom, and a red hanging loop. Read through all rounds once so the repeated increase rhythm feels familiar before you begin.
Step 2: Round 1 — Magic Circle
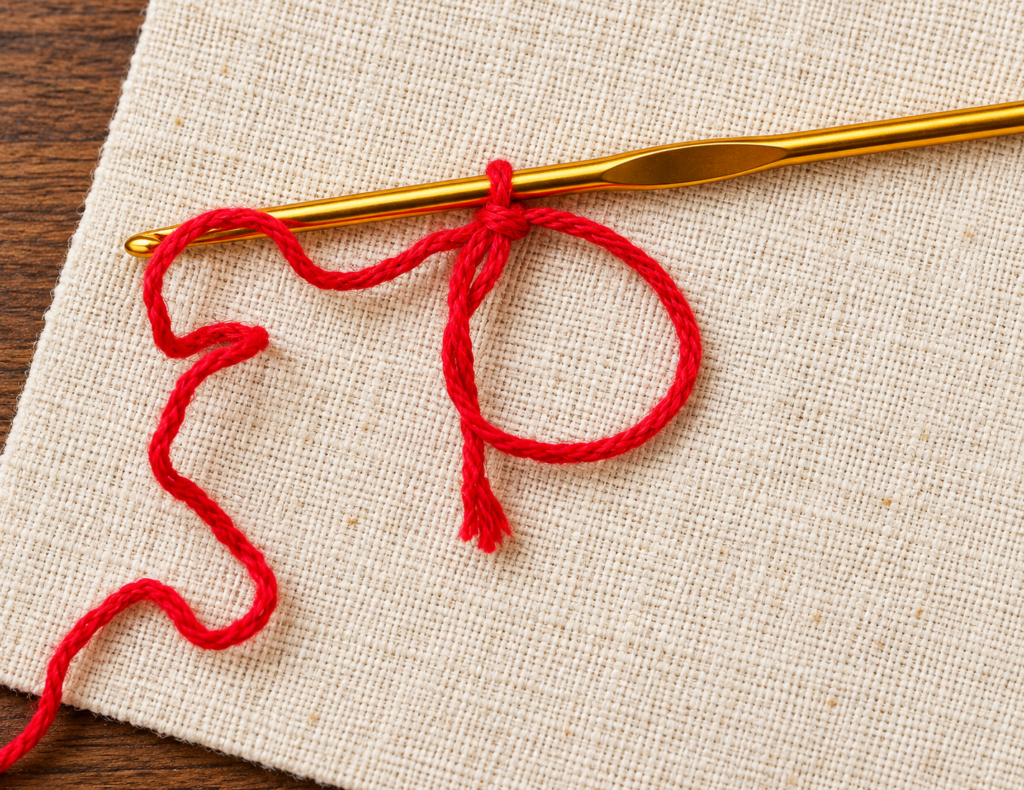
With red yarn, form a magic circle. Ch 1; this chain does not count as a stitch. Work 4 sc into the circle, pull the tail to close the center, and do not join. (4 sts)
Step 3: Round 2
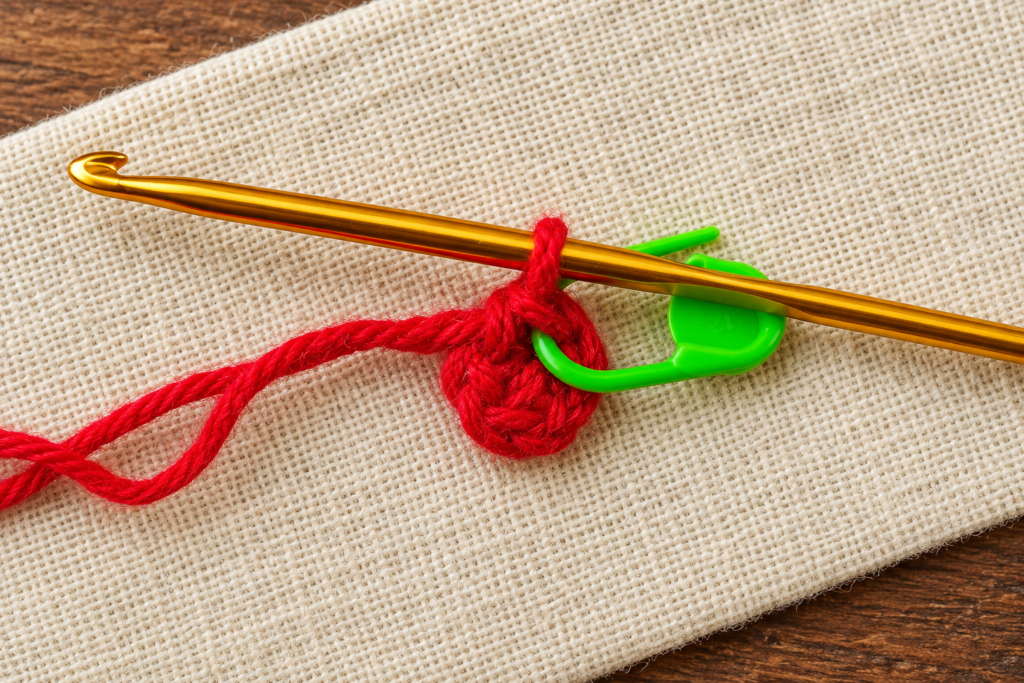
Place a marker in the first stitch. Work 1 sc in each stitch around and move the marker when the round is complete. (4 sts)
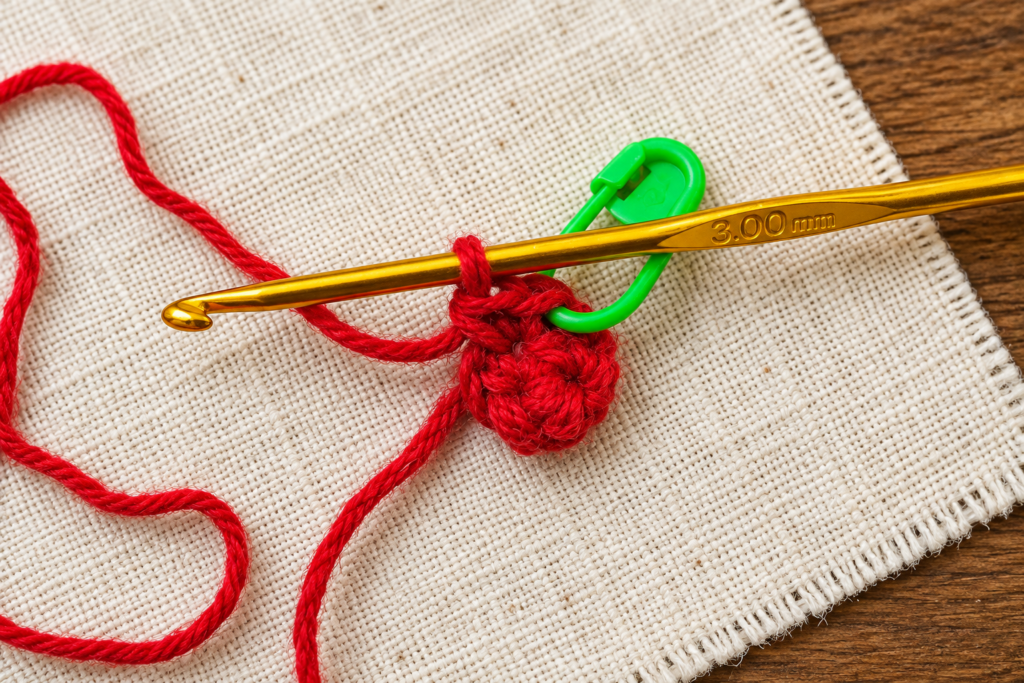
Step 4: Round 3
Work 2 sc in the first stitch, then 1 sc in the next stitch. Repeat [inc, sc] once more. (6 sts)
Step 5: Round 4
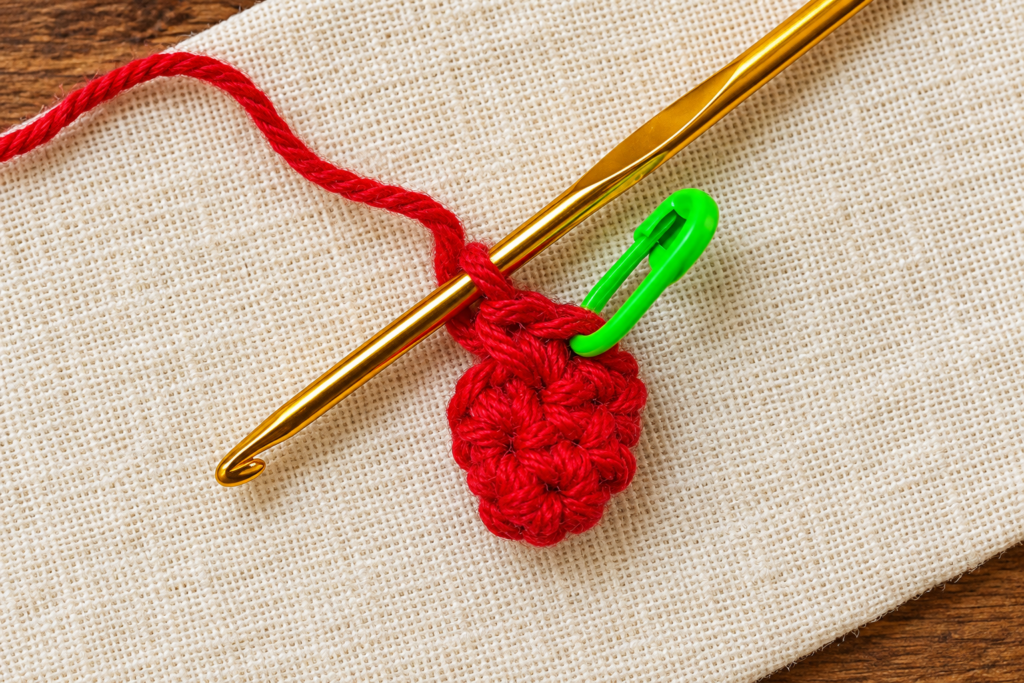
Work 2 sc in the first stitch, then 1 sc in each of the next 2 stitches. Repeat [inc, sc 2] once more. (8 sts)
Step 6: Round 5
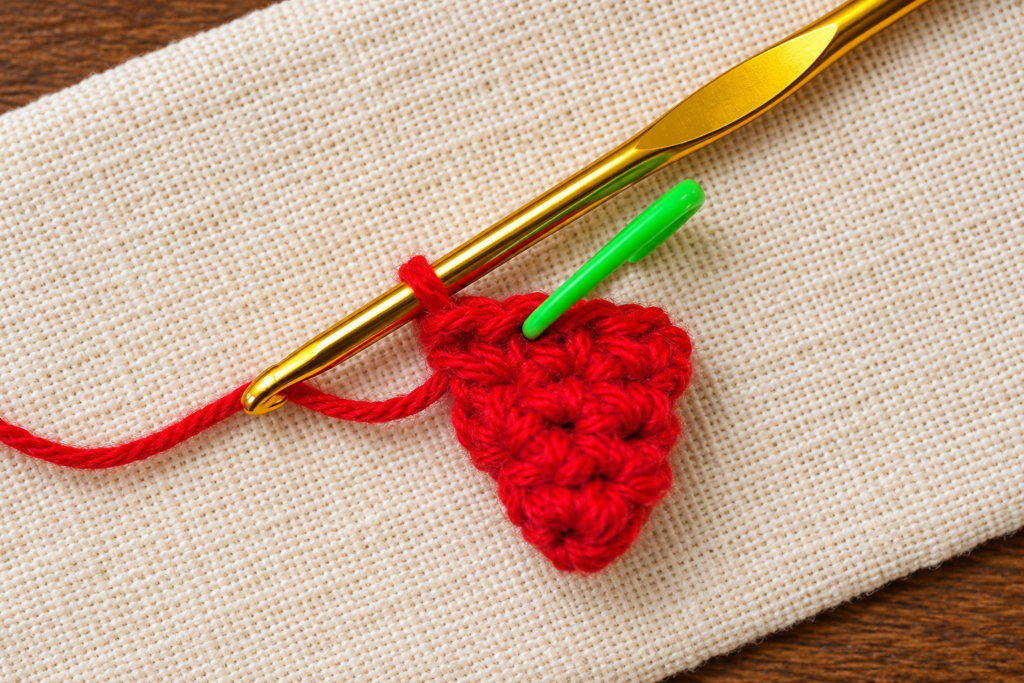
Work 2 sc in the first stitch, then 1 sc in each of the next 3 stitches. Repeat [inc, sc 3] once more. (10 sts)
Step 7: Round 6
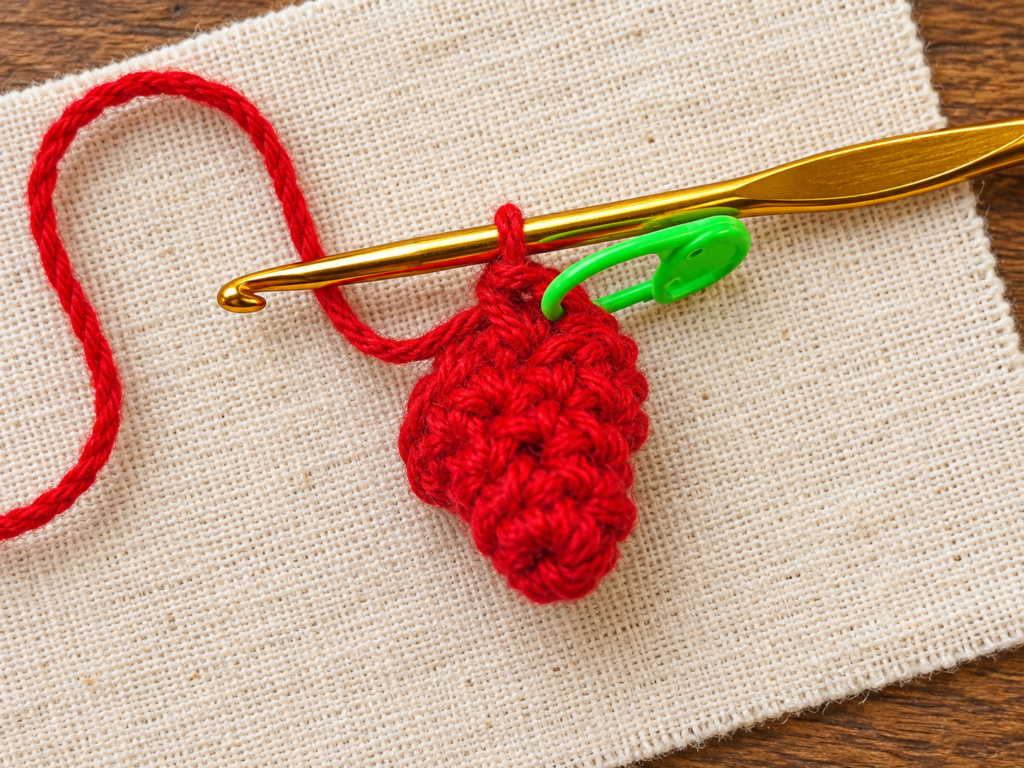
Work 2 sc in the first stitch, then 1 sc in each of the next 4 stitches. Repeat [inc, sc 4] once more. (12 sts)
Step 8: Round 7
Work 2 sc in the first stitch, then 1 sc in each of the next 5 stitches. Repeat [inc, sc 5] once more. (14 sts)
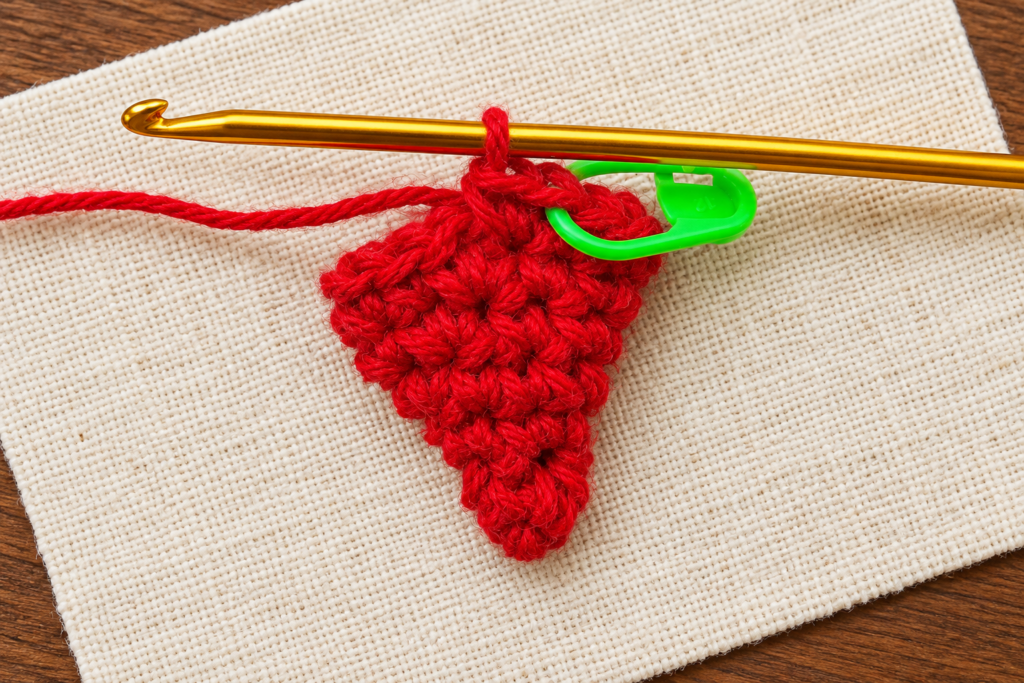
Step 9: Round 8
Work 2 sc in the first stitch, then 1 sc in each of the next 6 stitches. Repeat [inc, sc 6] once more. (16 sts)
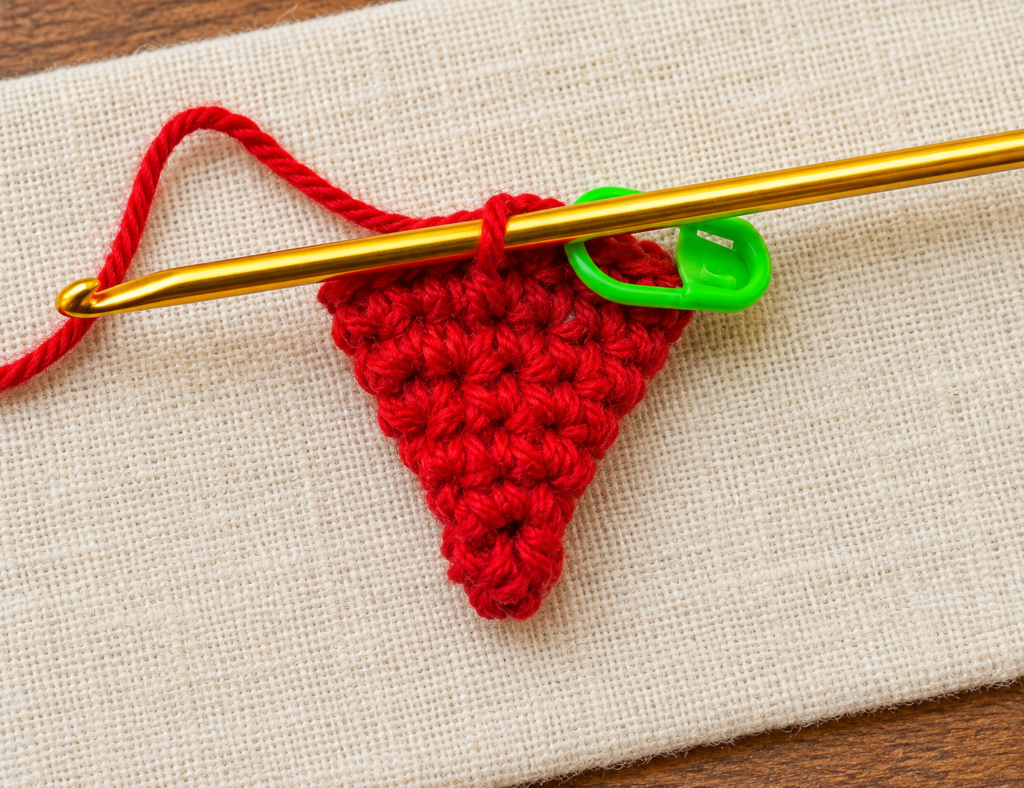
Step 10: Round 9
Work 2 sc in the first stitch, then 1 sc in each of the next 7 stitches. Repeat [inc, sc 7] once more. (18 sts)
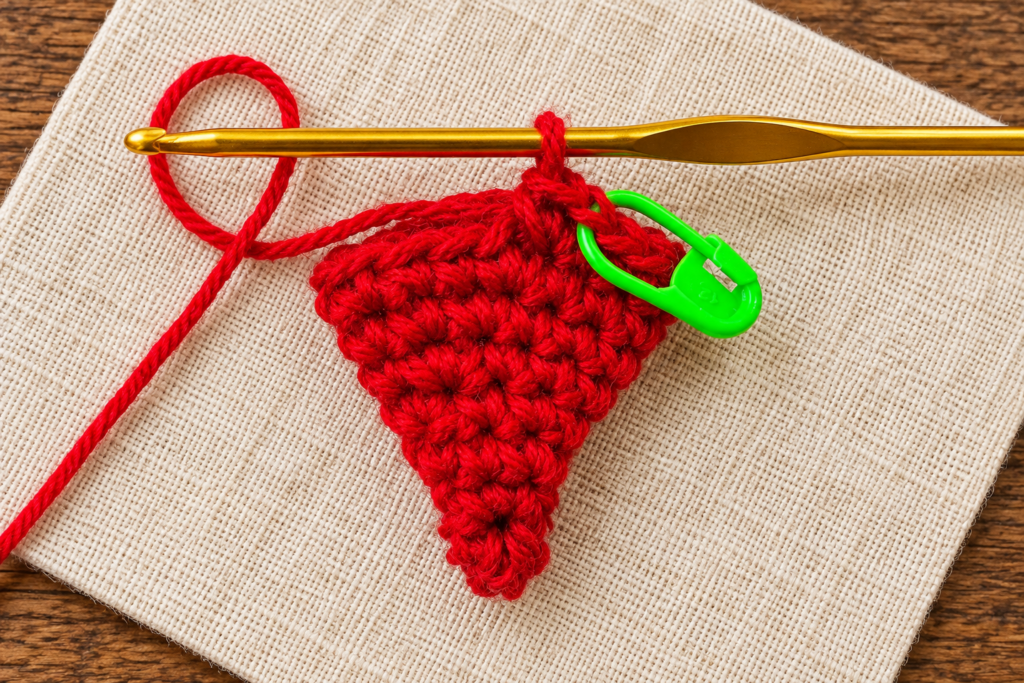
Step 11: Round 10
Work 2 sc in the first stitch, then 1 sc in each of the next 8 stitches. Repeat [inc, sc 8] once more. (20 sts)
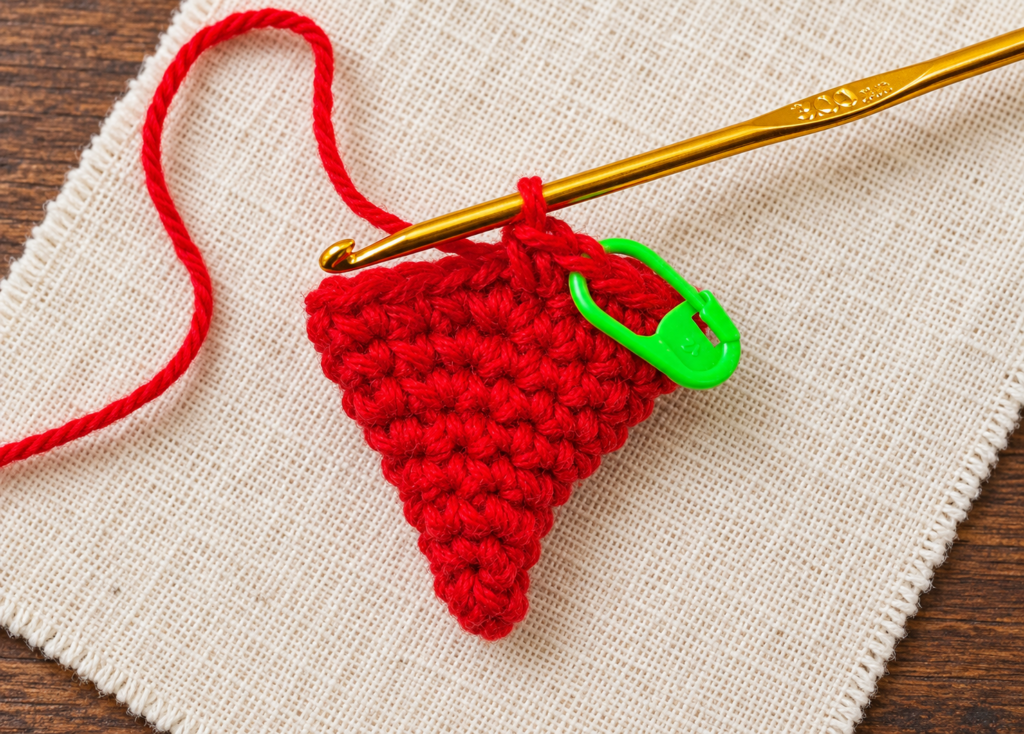
Step 12: Round 11
Work 2 sc in the first stitch, then 1 sc in each of the next 9 stitches. Repeat [inc, sc 9] once more. (22 sts)
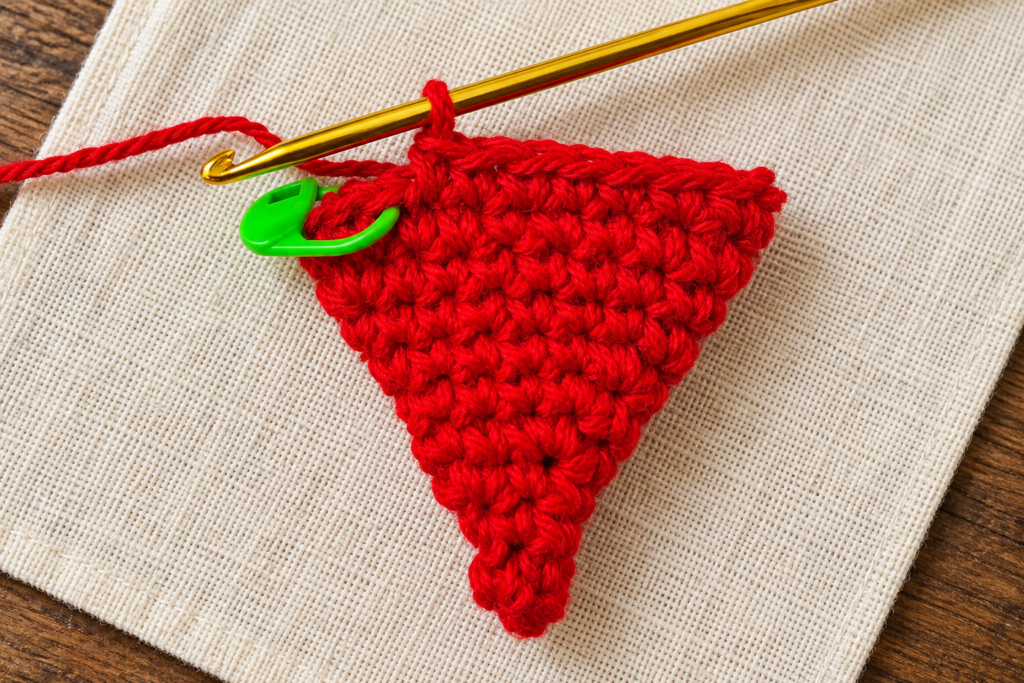
Step 13: Round 12
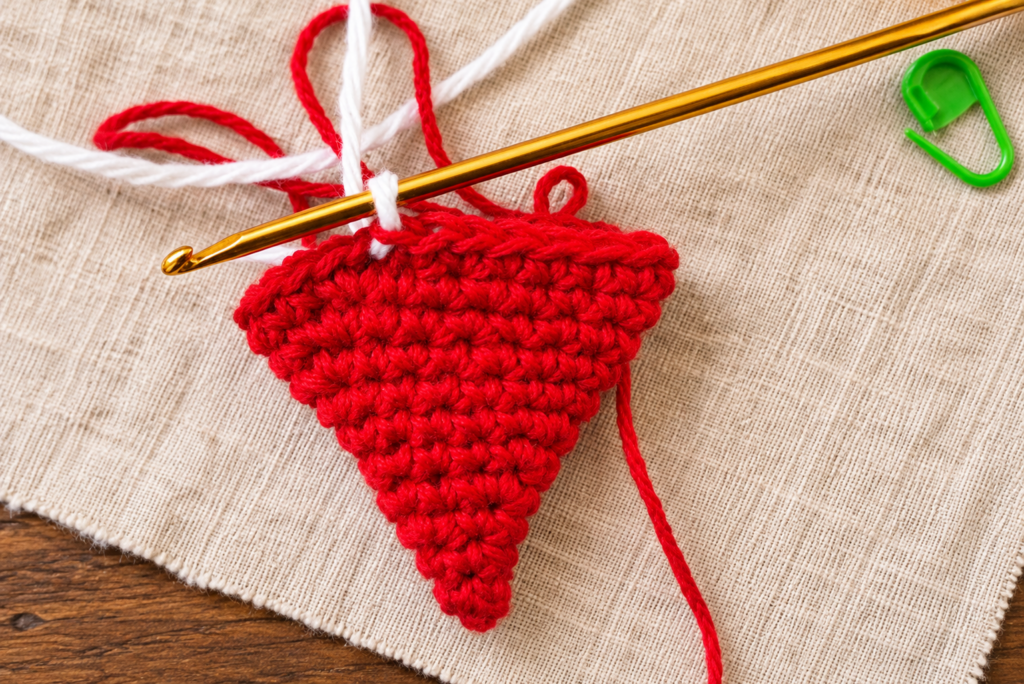
Work 2 sc in the first stitch, then 1 sc in each of the next 10 stitches. Repeat [inc, sc 10] once more. (24 sts) For a larger ornament, continue the same progression by placing one additional ordinary sc between increases on each new round.
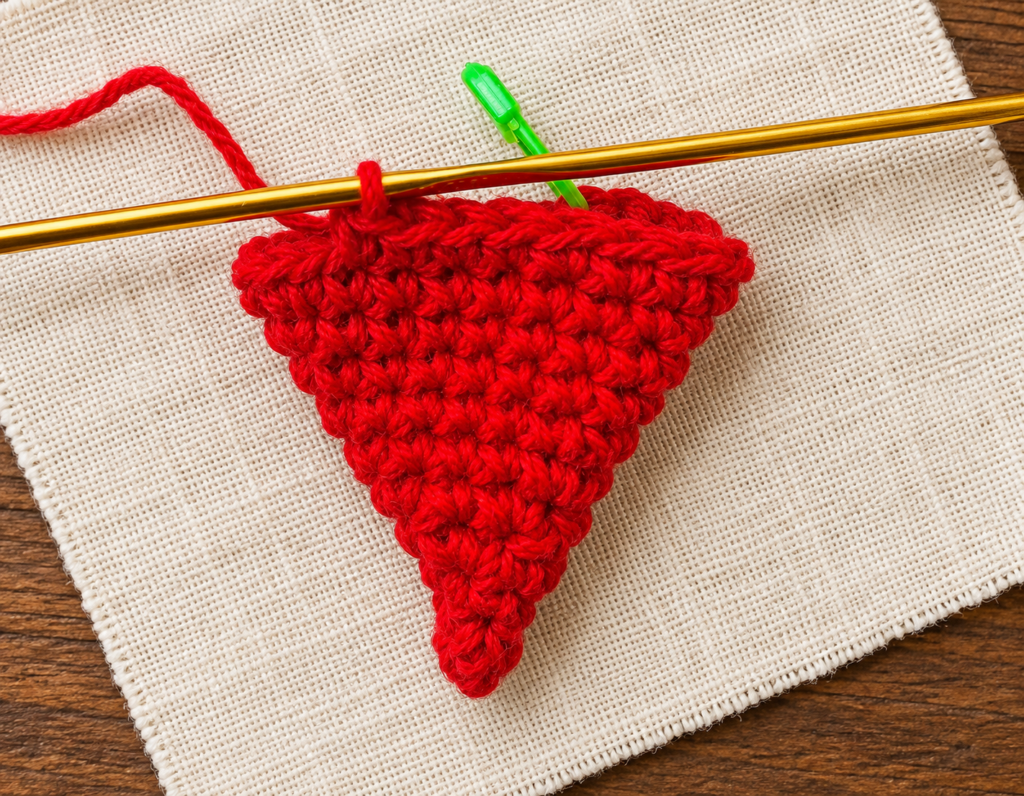
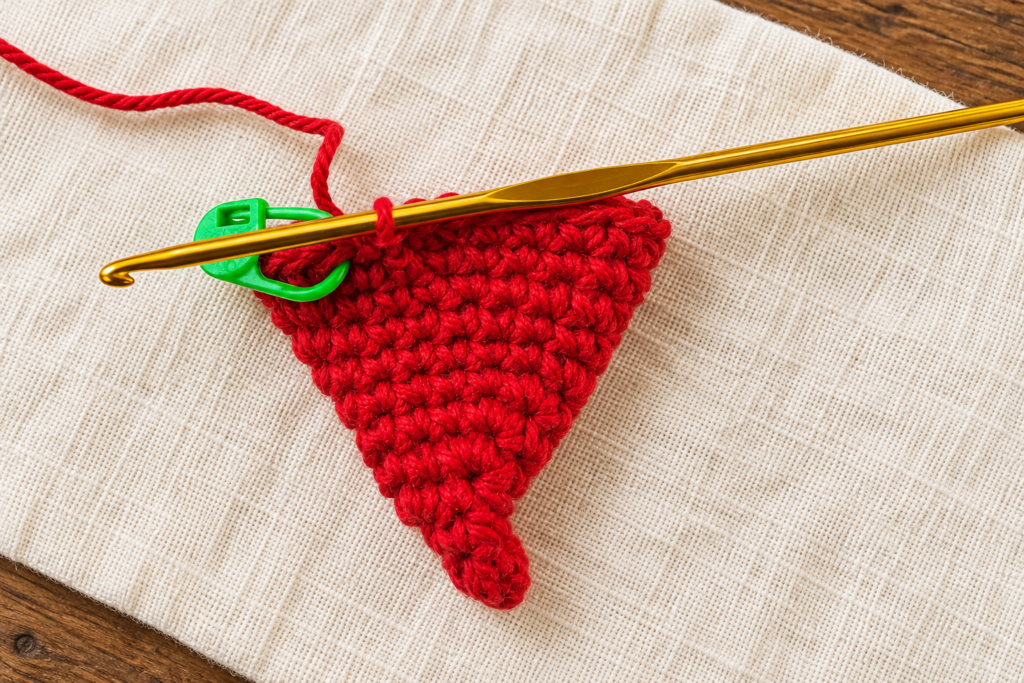
Step 14: Add the White Brim
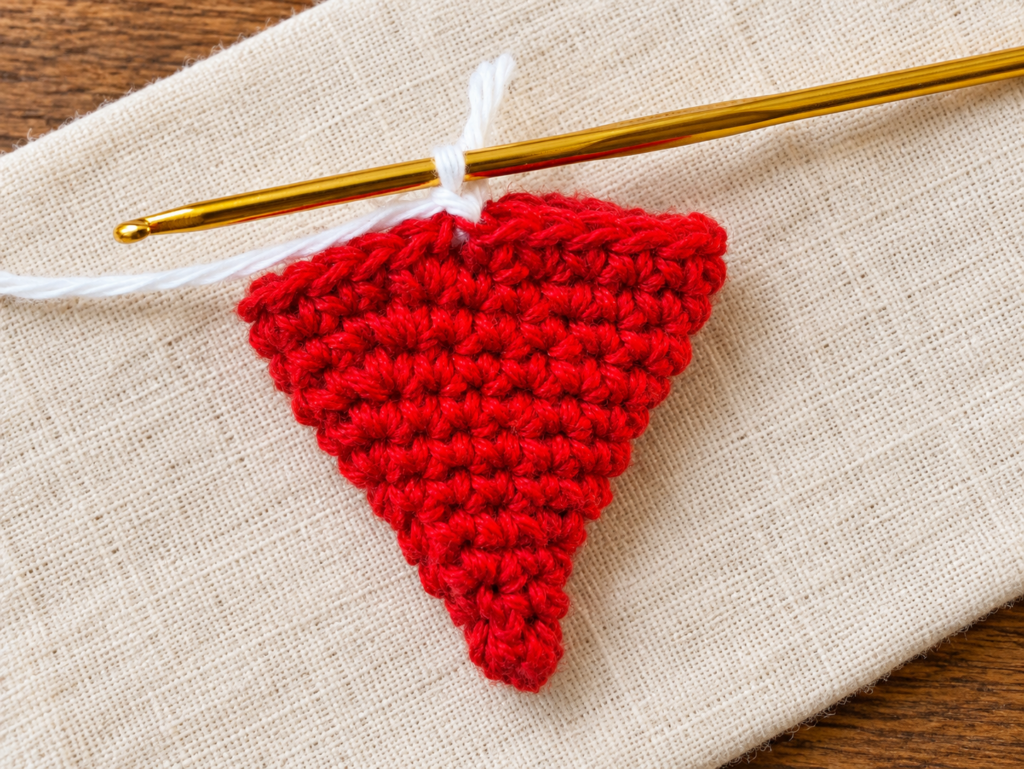
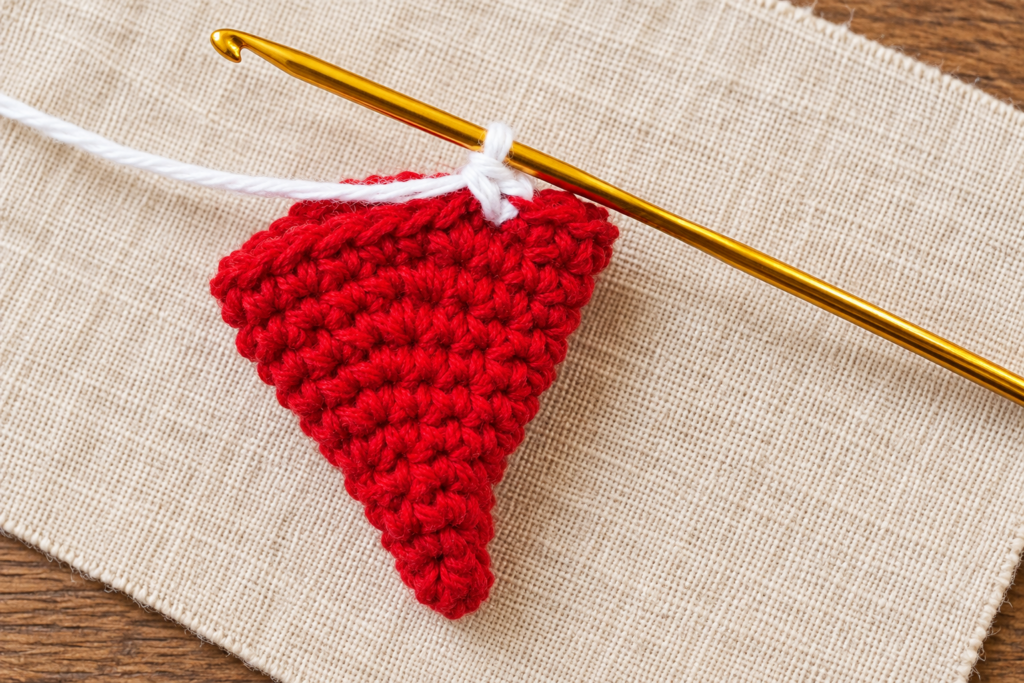
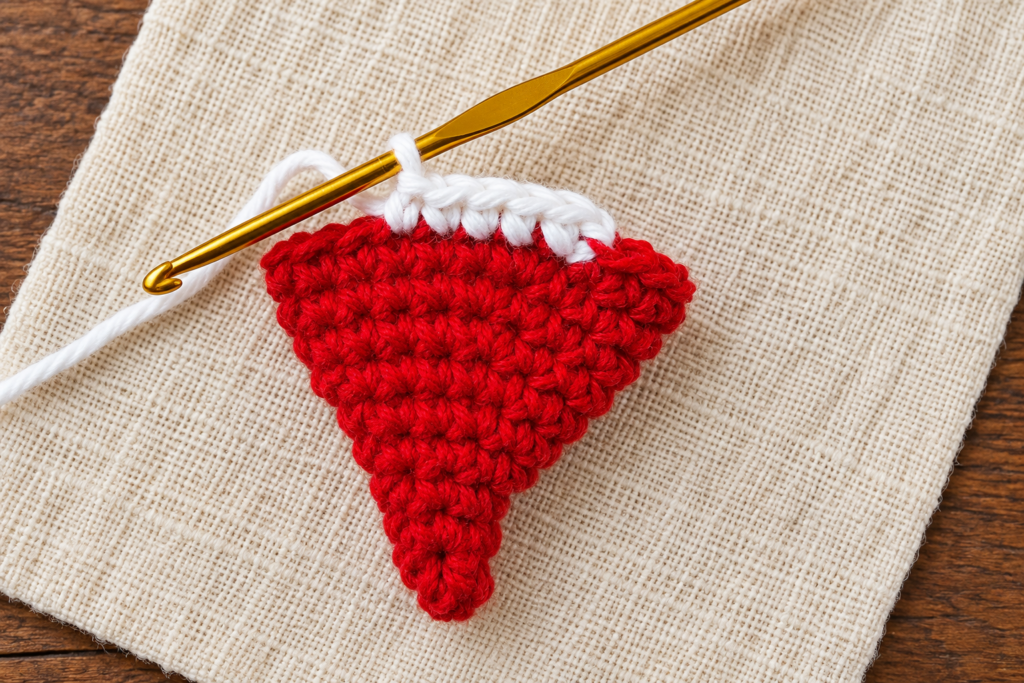
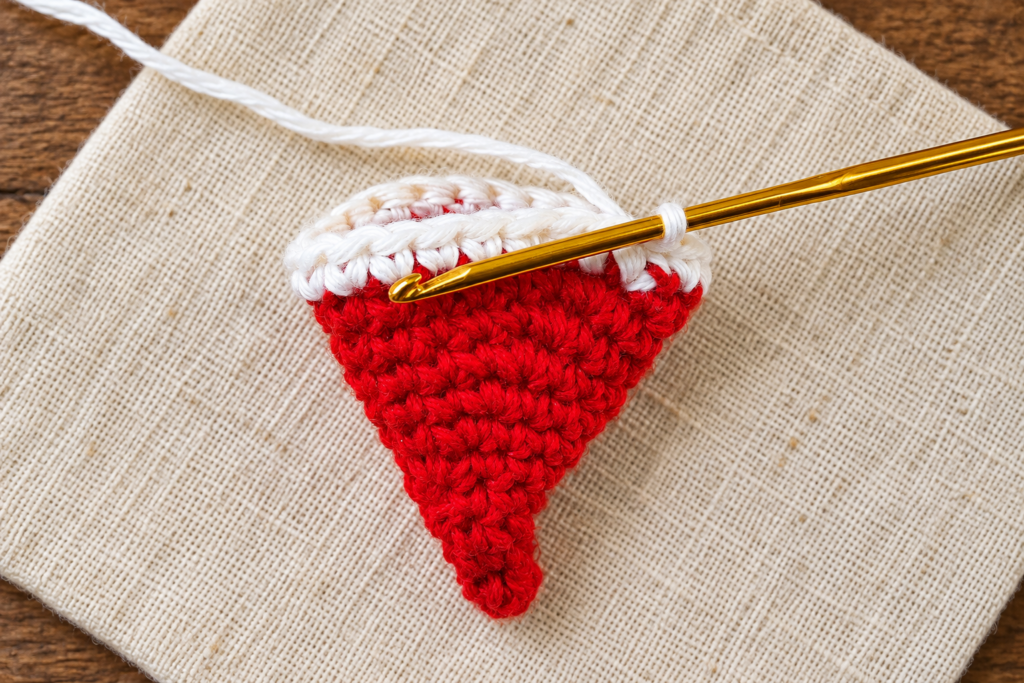
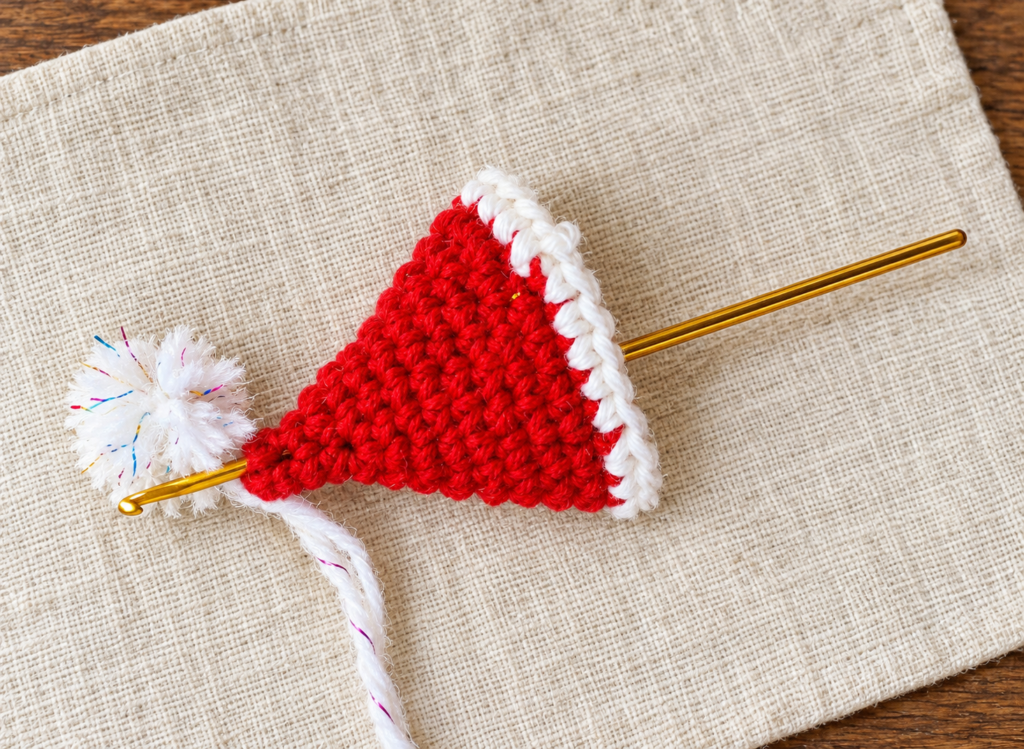
Sl st into the marked first stitch. While completing the slip stitch, change to white yarn. Ch 1, work 1 sc in the same stitch, and work 1 sc in every remaining stitch around. Join with a sl st to the first white sc. Fasten off and weave in the red and white ends securely. (24 sts)
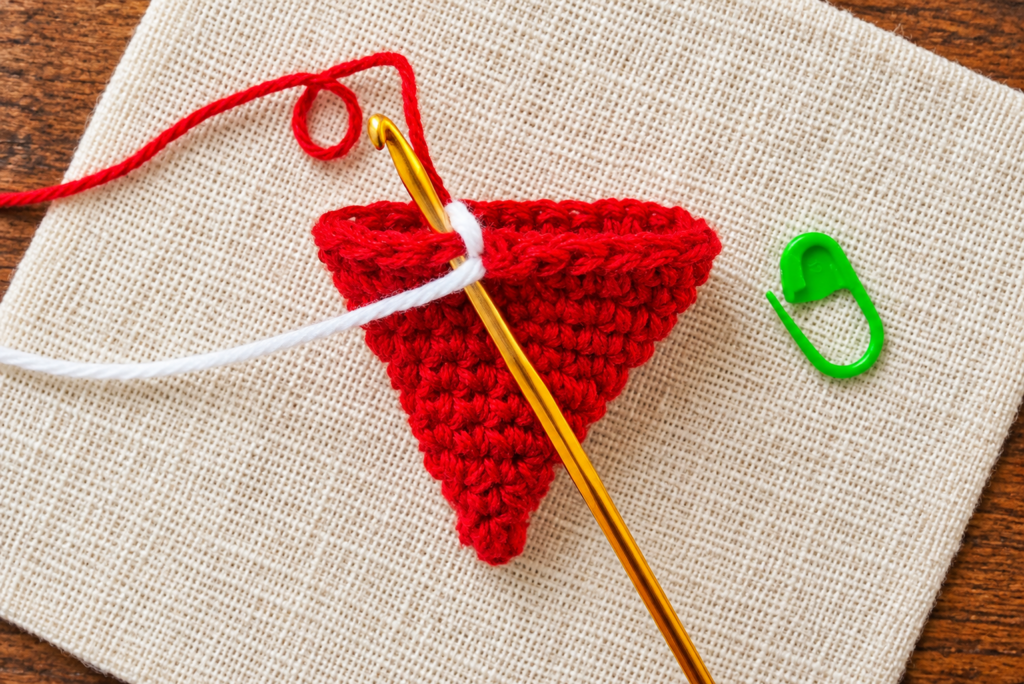
Step 15: Make and Attach the Pom-Pom
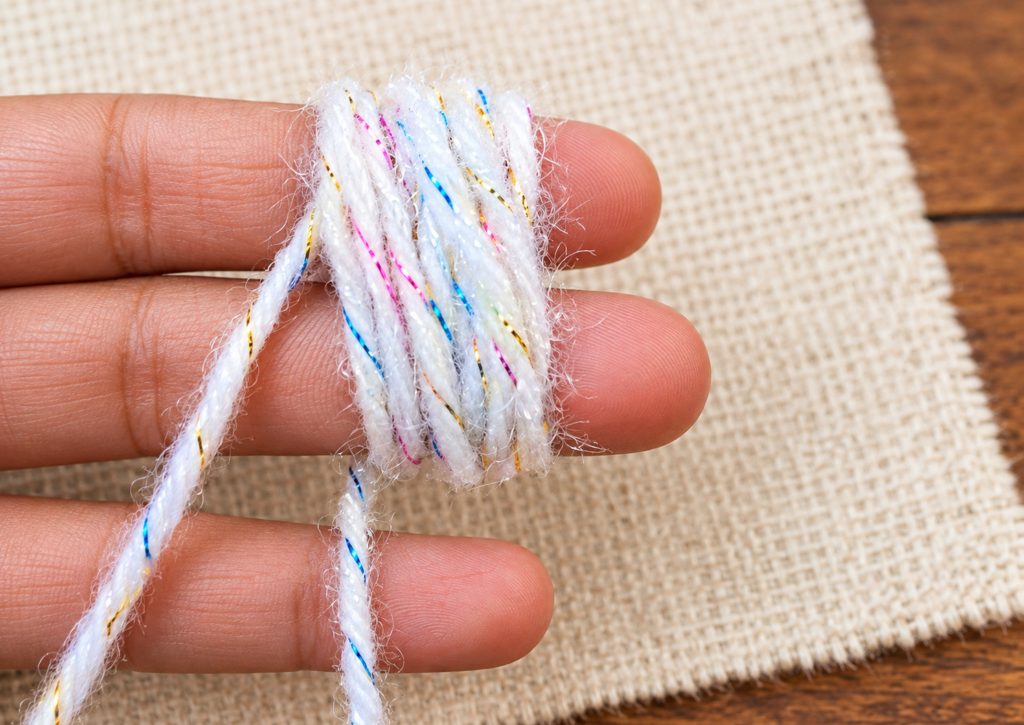
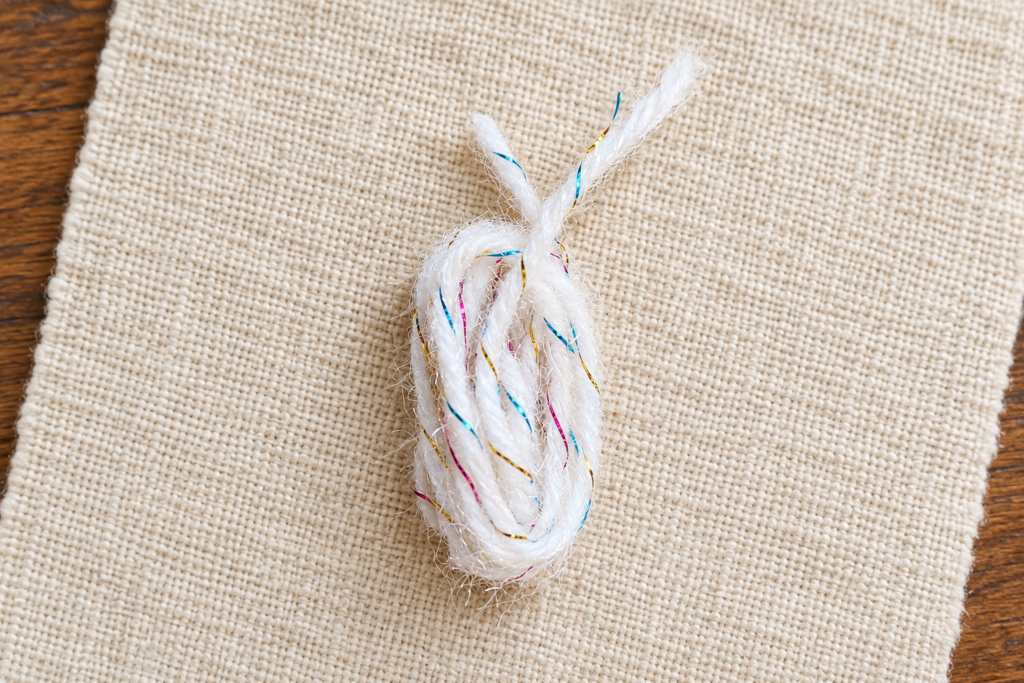
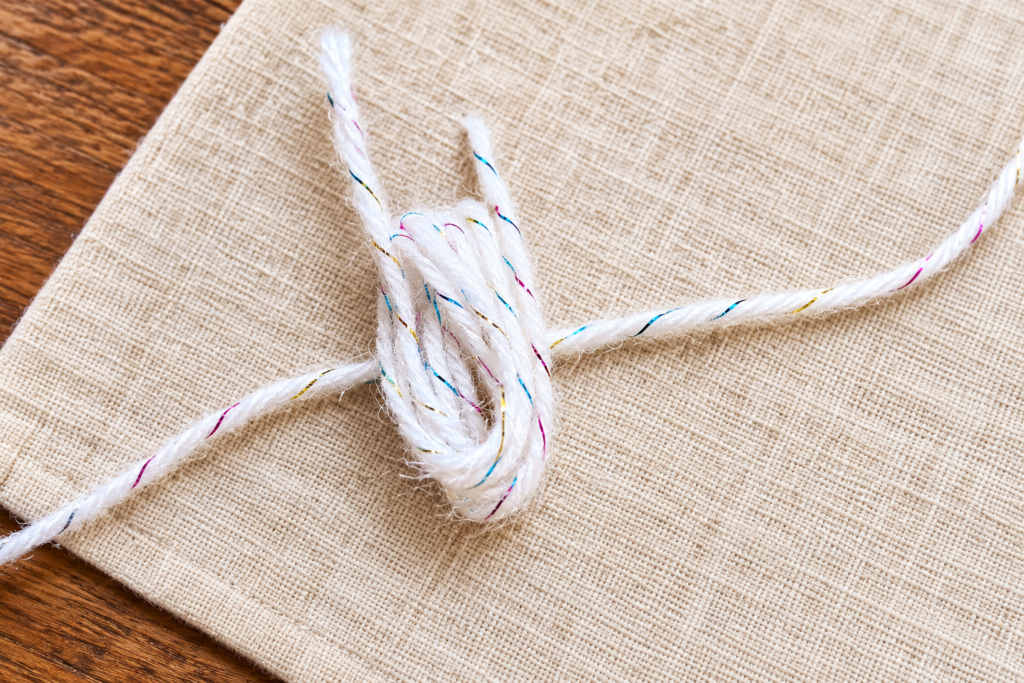
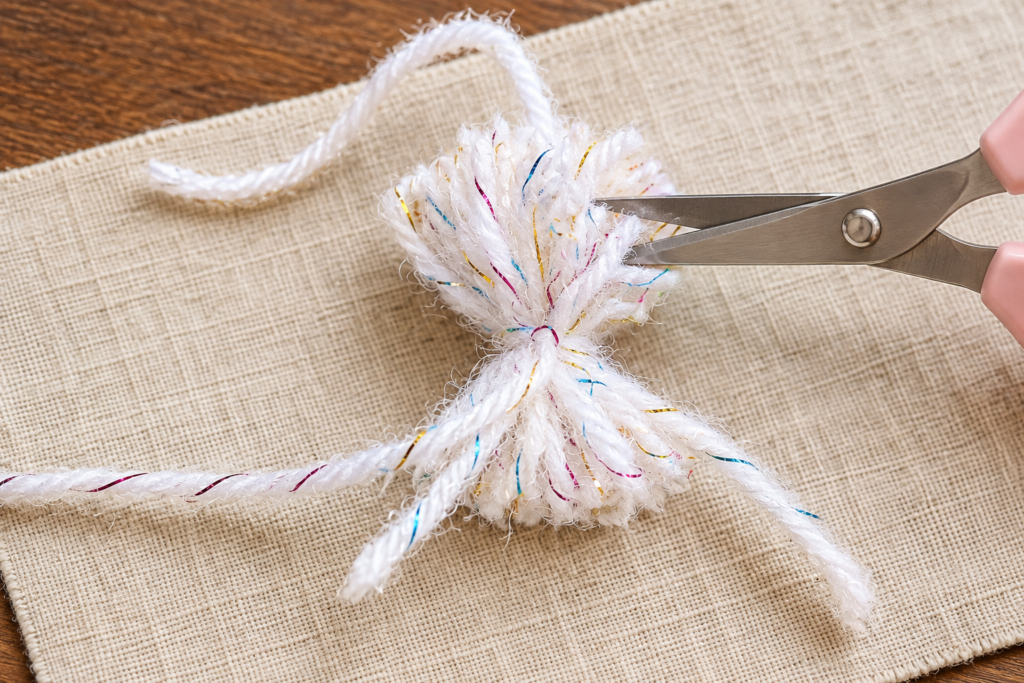
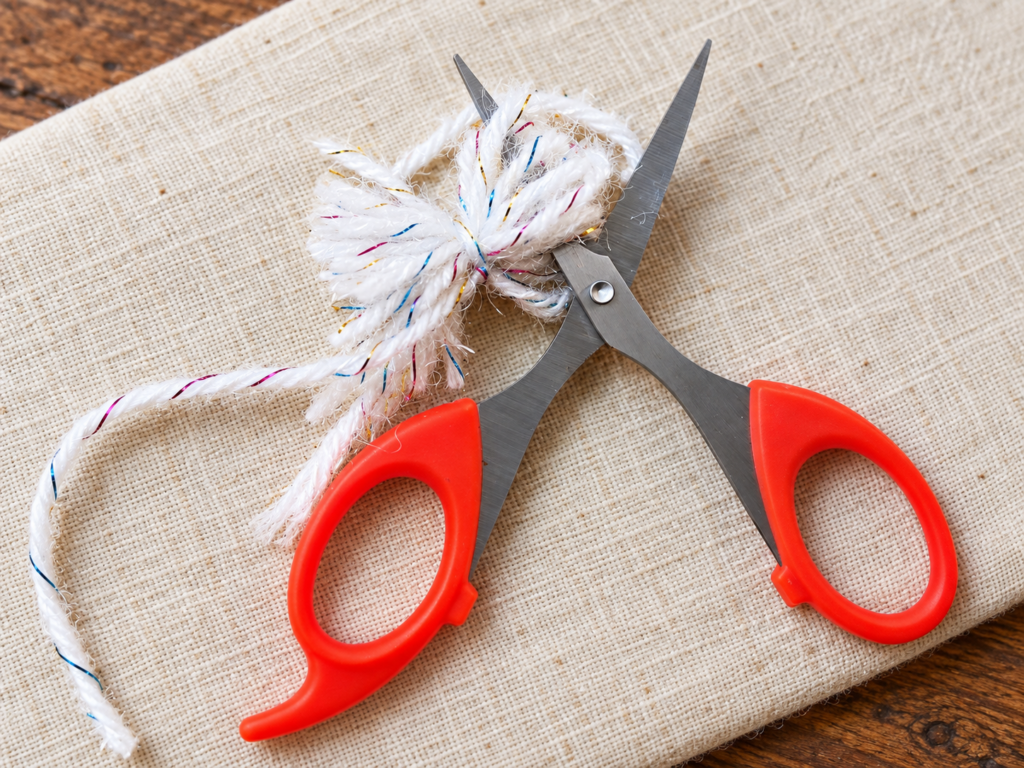
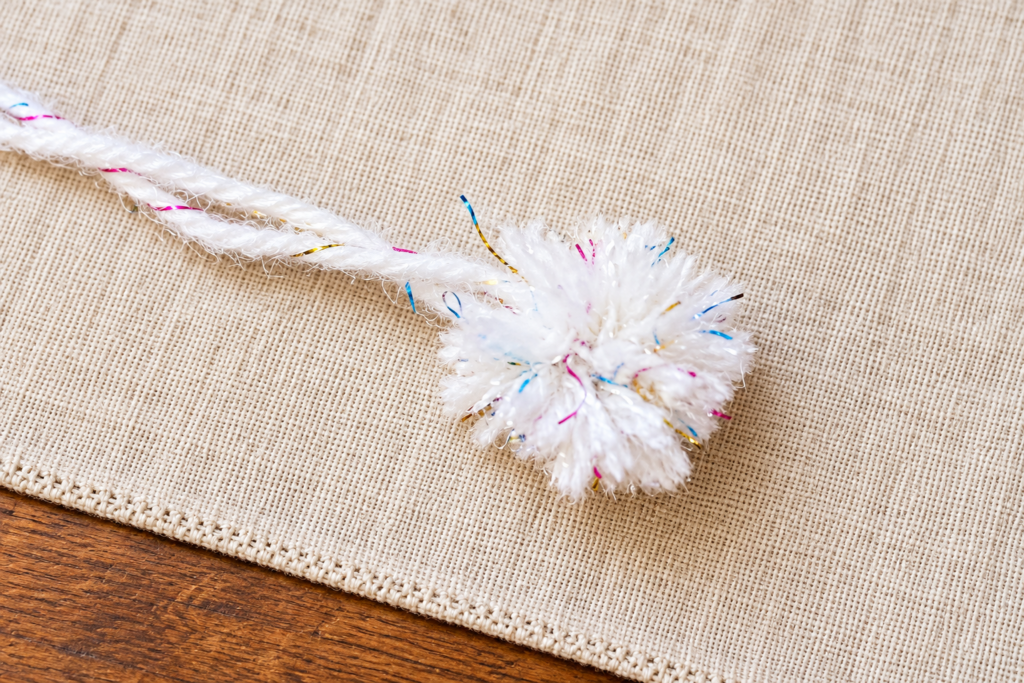
Hold the end of the fluffy white yarn against two fingers and wrap it around them several times. More wraps create a fuller pom-pom. Slide the bundle off carefully, tie a separate strand firmly around the center, cut through the folded loops, and trim the ends into a small round shape. Sew or tie the pom-pom securely to the point of the hat.
Step 16: Add the Hanging Loop
Cut a strand of red yarn long enough to form the loop. Thread it through the top stitches beside the pom-pom, bring the ends together, and tie them with a secure knot on the back. Weave or trim the short ends so the front remains tidy. Test the loop gently before placing the ornament on a branch.
How to Keep the Shape Even
Count every round before beginning the next one. If one side grows faster, the stitch marker may have shifted or an increase may have been repeated too soon. Lay the work flat, locate the first stitch, and compare the two increase points. Correcting one round is much faster than disguising an uneven edge beneath the brim.
Firm tension gives this crochet mini Santa hat ornament a crisp silhouette. If the fabric feels loose or the stuffing-free cone collapses, try a slightly smaller hook. If the hook struggles to enter the stitches, move up one size and relax your grip.
Ways to Use Mini Santa Hats
- Hang individual hats on a Christmas tree.
- Thread several ornaments onto twine for a kitchen-window garland.
- Tie one onto a cookie tin, recipe binder, or homemade dessert gift.
- Add a name tag and use it as a festive place marker.
- Make a set in red, cranberry, cream, or forest green.
- Attach a small magnet instead of a loop for seasonal refrigerator decor.
For more handmade kitchen gifts, browse the Sweet Stitches crochet-pattern library and pair the ornament with our autumn crochet coasters.
Care and Storage
Spot clean the ornament with cool water and mild soap, then reshape it and dry it flat. Store it only when completely dry. Place the hats in a shallow box rather than compressing them beneath heavy decorations, and fluff the pom-pom with your fingers when the holiday season returns.
Crochet Mini Santa Hat Ornament FAQ
Is this pattern suitable for beginners?
Yes. A beginner who can make a magic circle, single crochet, increase, and slip stitch can complete it. The marker and repeated stitch counts make the progression easy to audit.
Can I make the hat larger?
Yes. Continue adding two stitches per round. After Round 12, the next round would repeat [inc, sc 11] twice for 26 stitches. Continue the same formula, then add the white brim when the width suits your project.
Can I substitute the fluffy pom-pom yarn?
Yes. Smooth white yarn works well; simply add more wraps and trim the pom-pom carefully. A small purchased pom-pom can also be sewn on securely.
Why is my cone twisting?
A slight spiral is normal in continuous rounds. Strong twisting usually comes from misplaced increases or changing tension. Confirm the stitch count, reposition the marker, and smooth the work flat after each round.
Make a Set for Your Holiday Kitchen
Choose one classic red or mix several shades for a collected handmade look. After making your crochet mini Santa hat ornament, leave a comment with your yarn, hook size, finished measurements, and favorite way to display it.
More Sweet Stitches
Easy Autumn Crochet Coasters: Free Fall Pattern
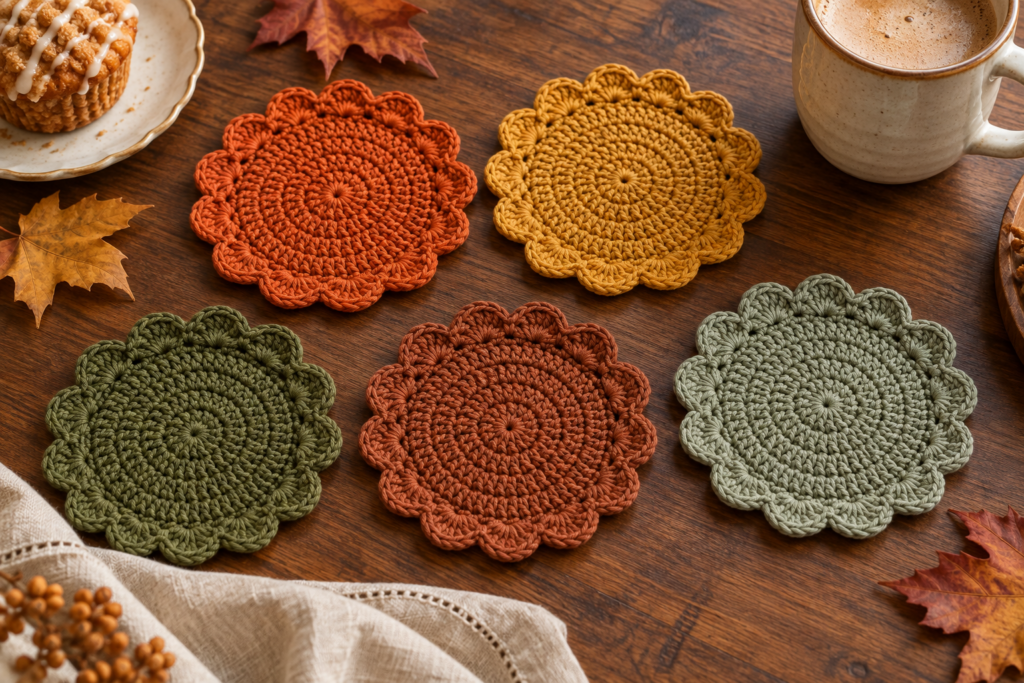
Make easy autumn crochet coasters with a flat double-crochet center and a softly scalloped edge. This free fall pattern includes clear US terms and progress photos.
Make this pattern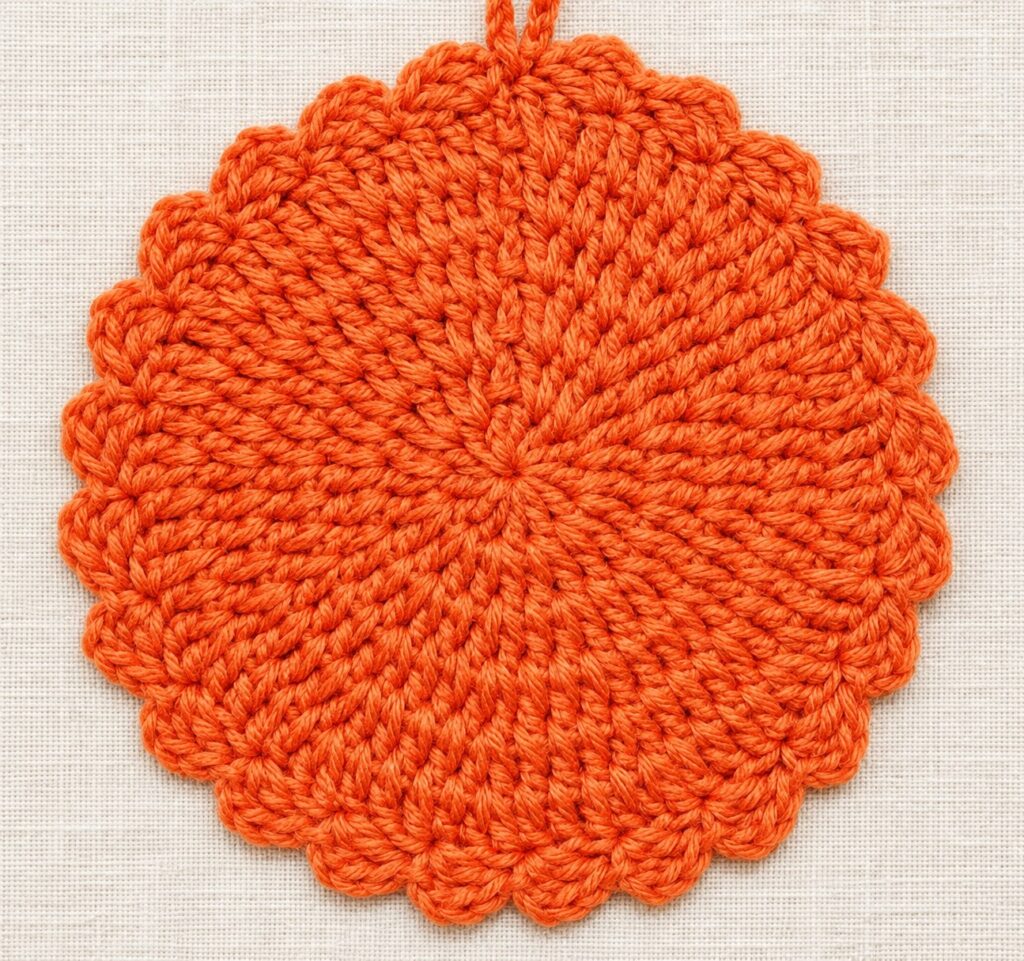
Easy Crochet Pumpkin Potholder: Free Fall Pattern
Crochet an easy 7-inch pumpkin potholder with raised spokes, a scalloped border, and a hanging loop using this free step-by-step fall pattern.
Make this pattern