
Easy Crochet Pumpkin Potholder: Free Fall Pattern
Crochet an easy 7-inch pumpkin potholder with raised spokes, a scalloped border, and a hanging loop using this free step-by-step fall pattern.
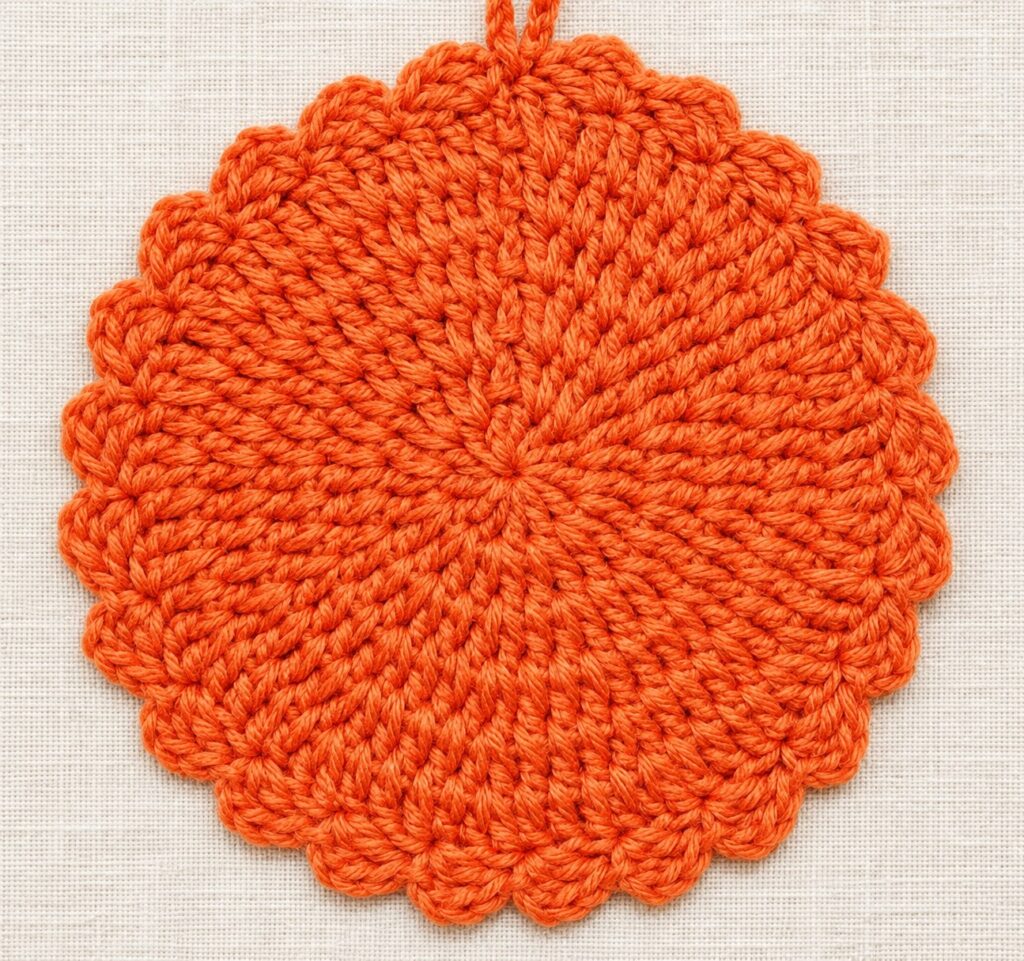
Bring a warm handmade touch to your fall kitchen with this easy crochet pumpkin potholder pattern. The project is worked in simple joined rounds, finished with a softly scalloped border, and topped with a practical hanging loop. It is quick enough for a cozy afternoon and charming enough to use in Thanksgiving table styling or a handmade gift basket.
About This Crochet Pumpkin Potholder
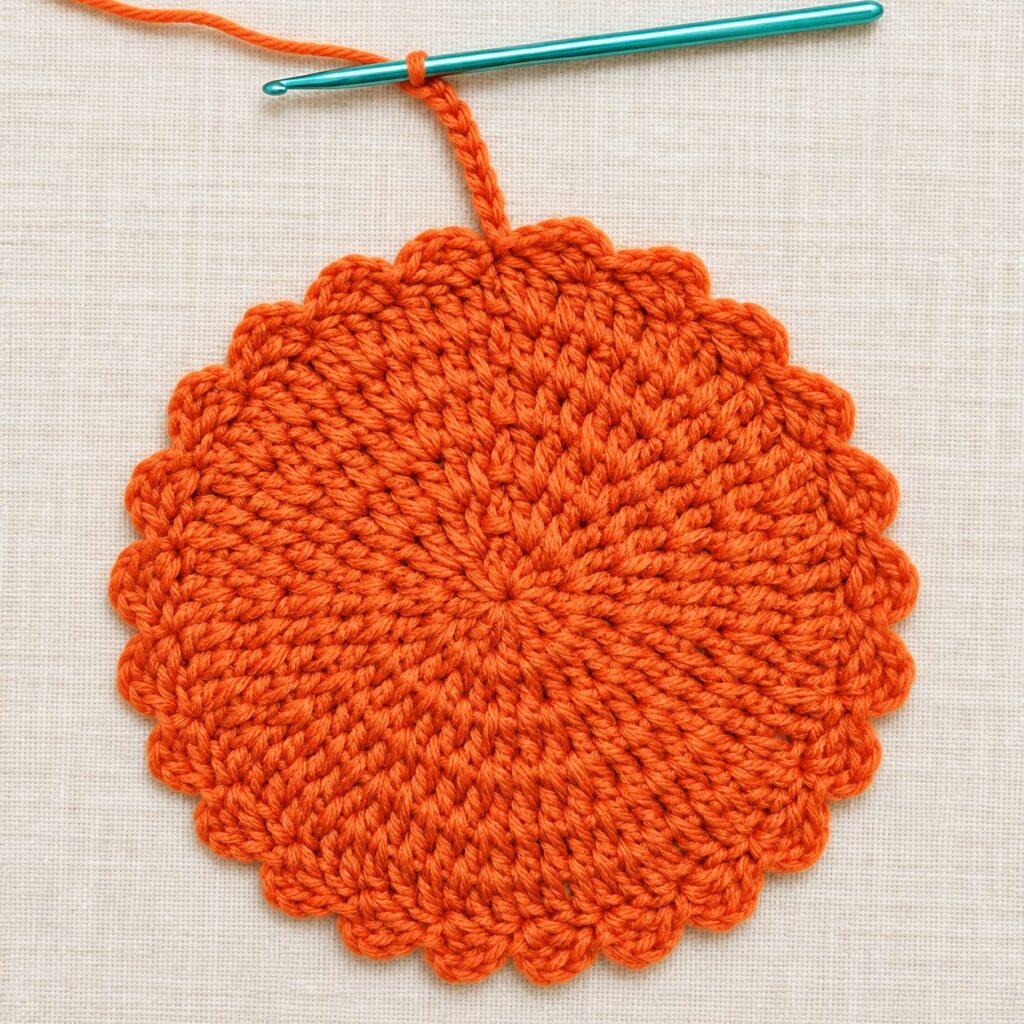
This flat pumpkin design begins with a magic circle and expands through six rounds of double crochet. Working around the posts instead of only through the top loops creates the raised spokes that give the piece its pumpkin-inspired texture. A repeating shell-style edging softens the circular outline, while a short chain loop makes it easy to hang between uses.
The finished sample measures approximately 7 inches (18 cm) across. You can stop after Round 6 for the same size or continue the established increase sequence when you want a larger trivet. Because yarn, hook size, and individual tension affect the final dimensions, measure your work before starting the border.
Kitchen safety note
Use 100% cotton yarn for a functional kitchen piece. Synthetic yarn can soften or melt when exposed to high heat. Keep the potholder completely dry, check that the fabric is thick enough for your intended use, and stop using it immediately if heat transfers through the stitches. This open-textured, single-layer project also works beautifully as a decorative trivet or fall table accent.
Materials and Supplies
- 8-ply cotton yarn in pumpkin orange
- 4 mm (G/6) crochet hook
- Yarn needle for weaving in the ends
- Scissors
- Optional stitch marker for marking the first stitch of each round
The original sample uses a single orange color so the raised stitch texture remains the focus. Cream, rust, mustard, sage, or deep burgundy also fit a fall kitchen beautifully. If the piece will touch warm cookware, confirm that every yarn color is 100% cotton.
US Crochet Abbreviations
| Abbreviation | Meaning |
|---|---|
| ch | chain |
| dc | double crochet |
| sl st | slip stitch |
| st / sts | stitch / stitches |
| rep | repeat |
Pattern Notes Before You Begin
- This pattern uses US crochet terminology.
- The beginning ch 2 brings the yarn to working height and does not count as a stitch.
- Begin the first dc of every round in the same stitch as the ch 2.
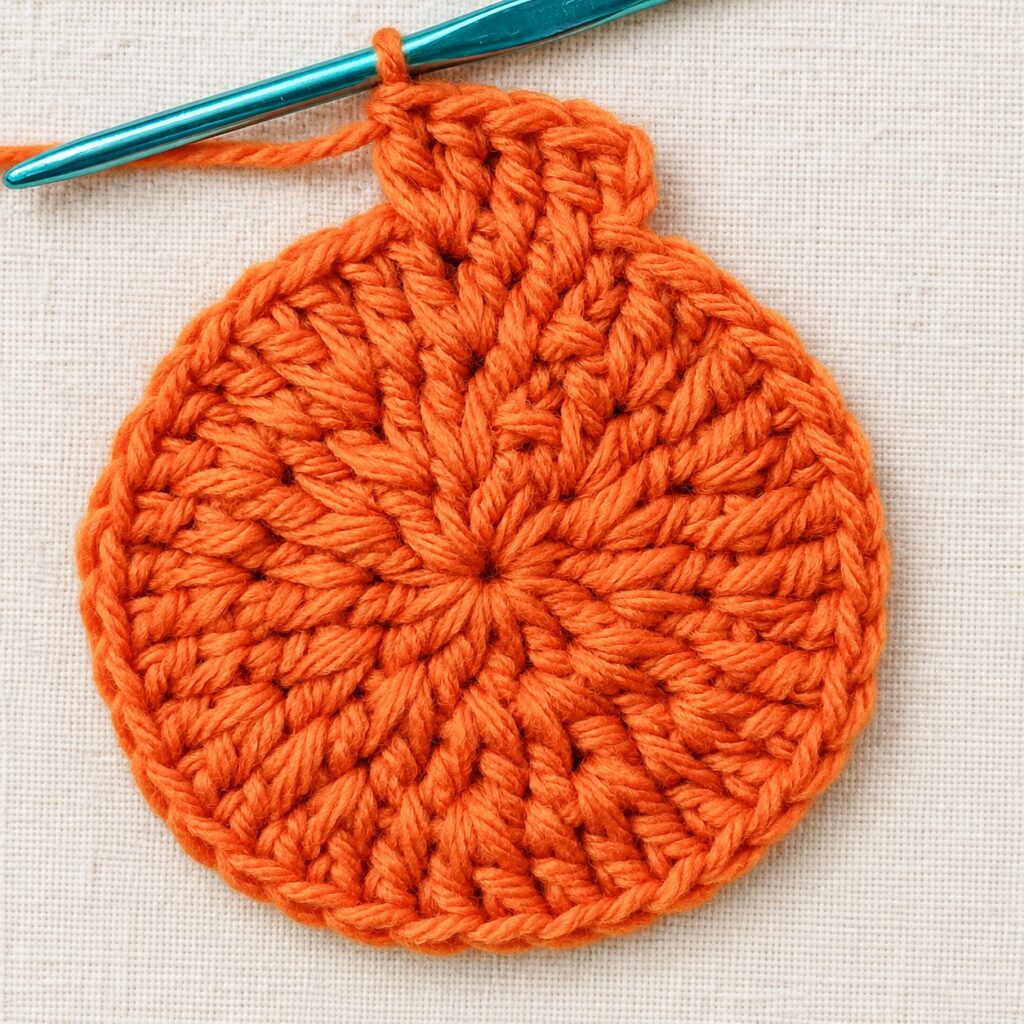
- For the textured spokes, yarn over and insert the hook beneath the entire stitch—between the neighboring stitches—instead of working only through the top loops.
- Join each round with a sl st to the first dc.
- The number in parentheses is the stitch count at the end of the round.
Free Crochet Pumpkin Potholder Pattern
Step 1: Make the Magic Circle
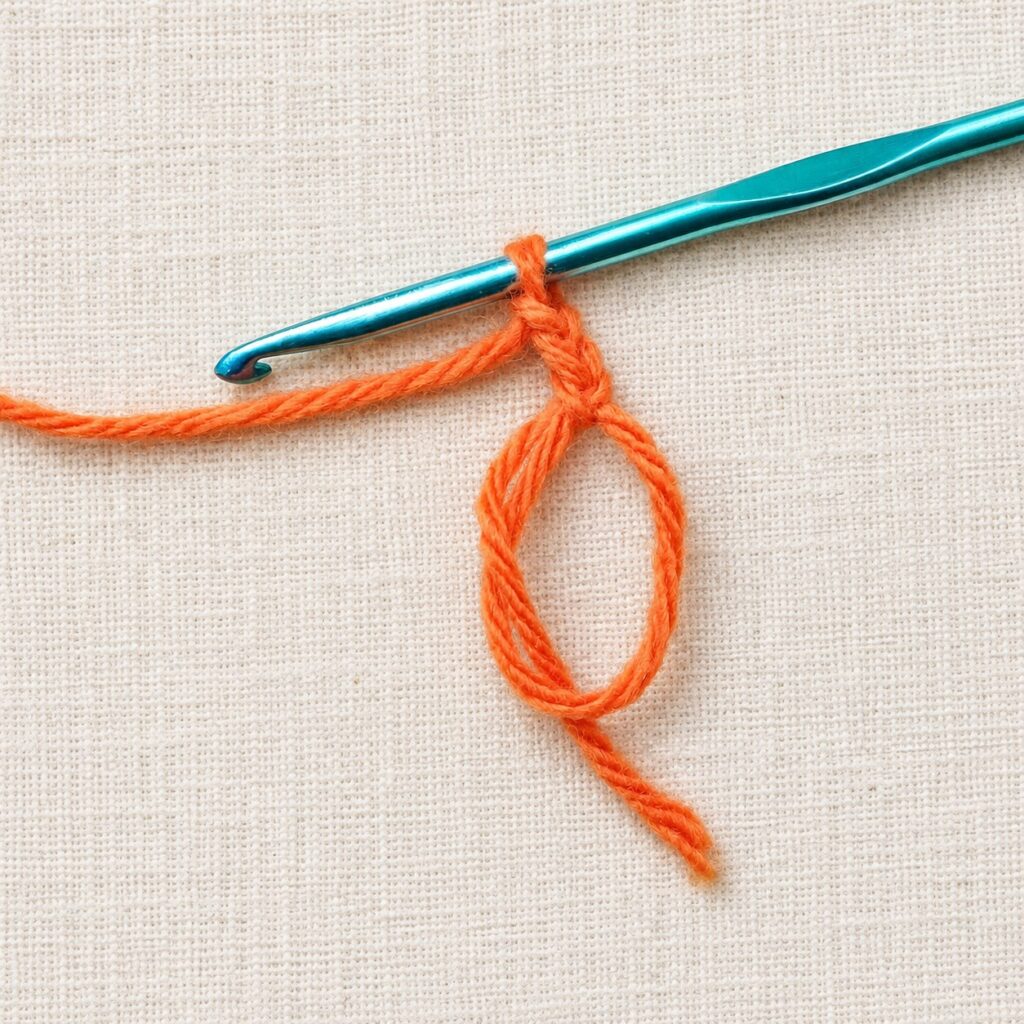
Form a magic circle with the orange cotton yarn. Keep the adjustable tail long enough to grip comfortably because you will use it to close the center after completing the first round.
Step 2: Round 1
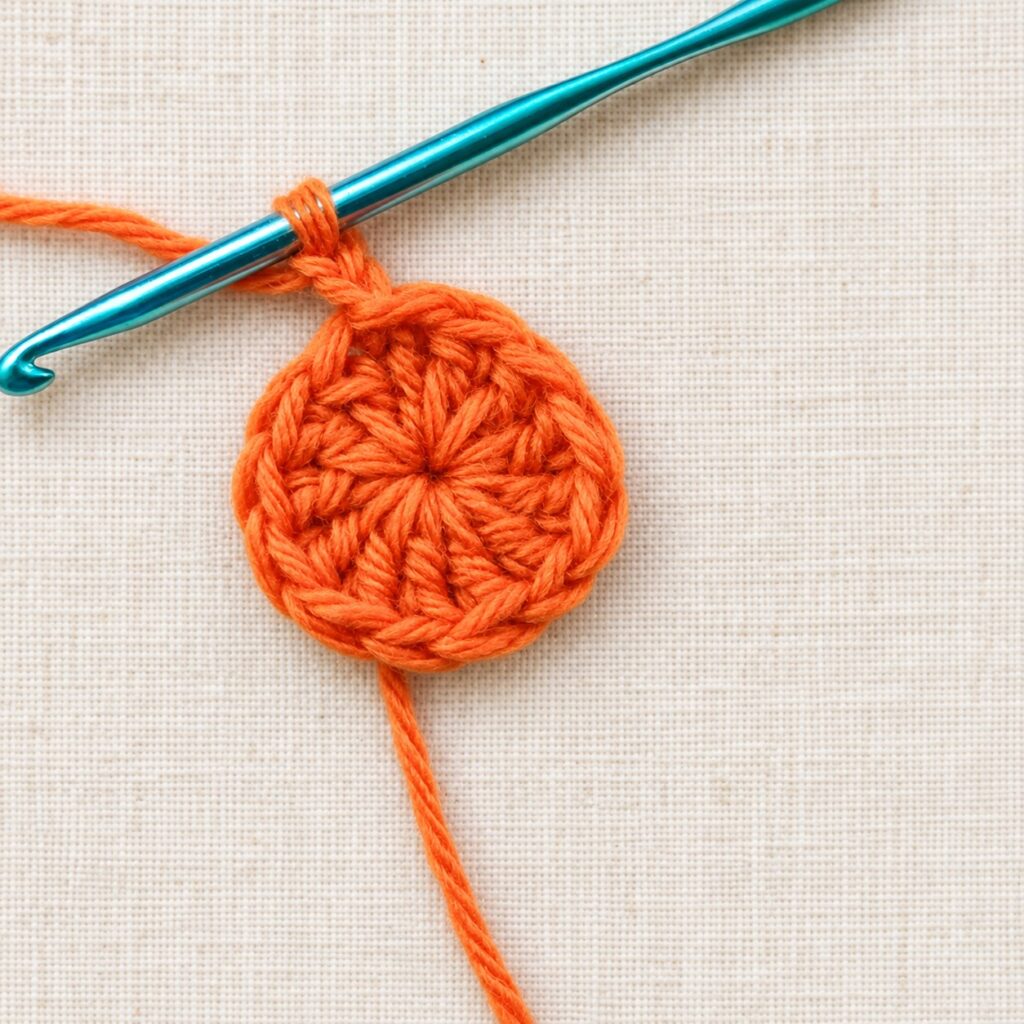
Ch 2, then work 12 dc into the magic circle. Pull the yarn tail firmly to close the center. Join with a sl st to the first dc. (12 sts)
Step 3: Round 2
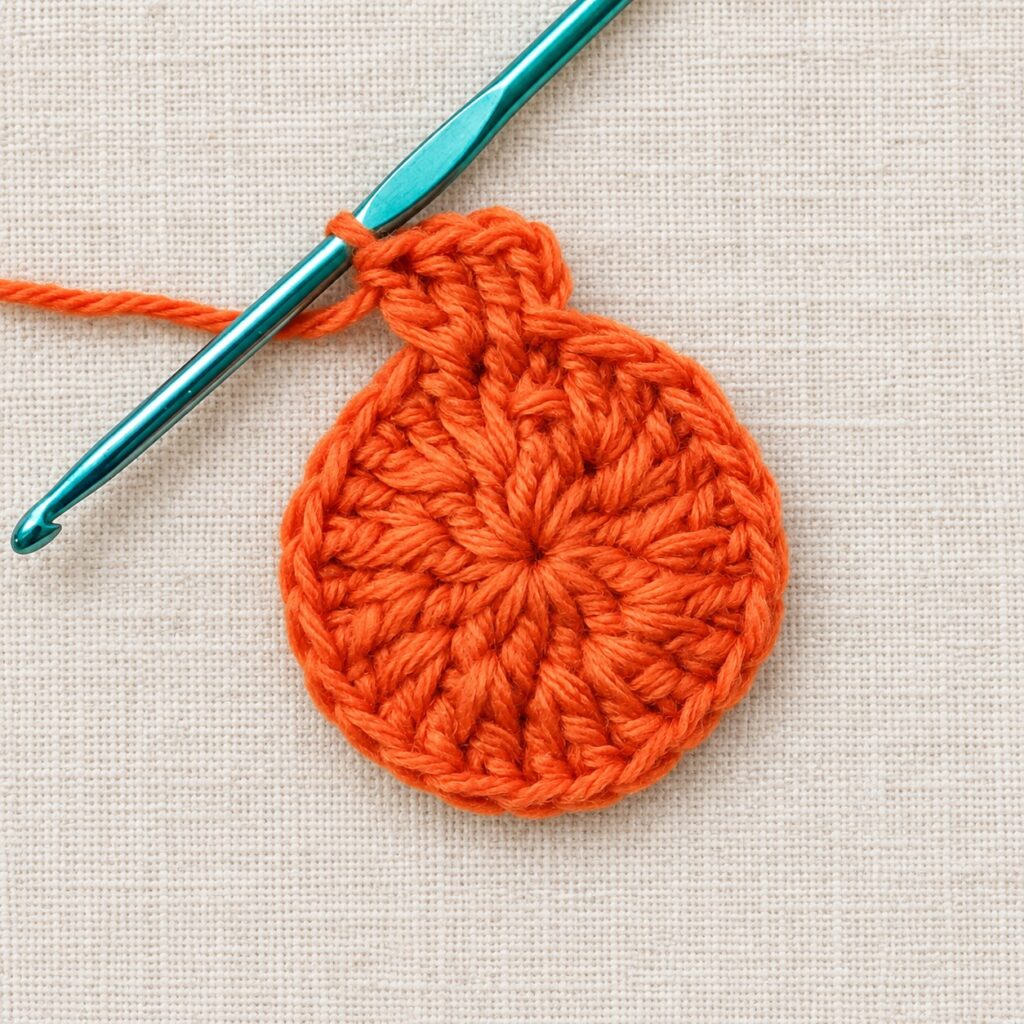
Ch 2. Work 2 dc around each stitch of the previous round, inserting the hook beneath the whole stitch as described in the pattern notes. Join with a sl st to the first dc. (24 sts)
Step 4: Round 3
Ch 2 and work 1 dc in the same stitch. Work 2 dc around the next stitch. Repeat [1 dc, 2 dc in the next stitch] around. Join with a sl st to the first dc. (36 sts)
Step 5: Round 4
Ch 2. Work 1 dc around each of the next 2 stitches, then work 2 dc around the next stitch. Repeat [1 dc in the next 2 stitches, 2 dc in the next stitch] around. Join with a sl st to the first dc. (48 sts)
Step 6: Rounds 5 and 6
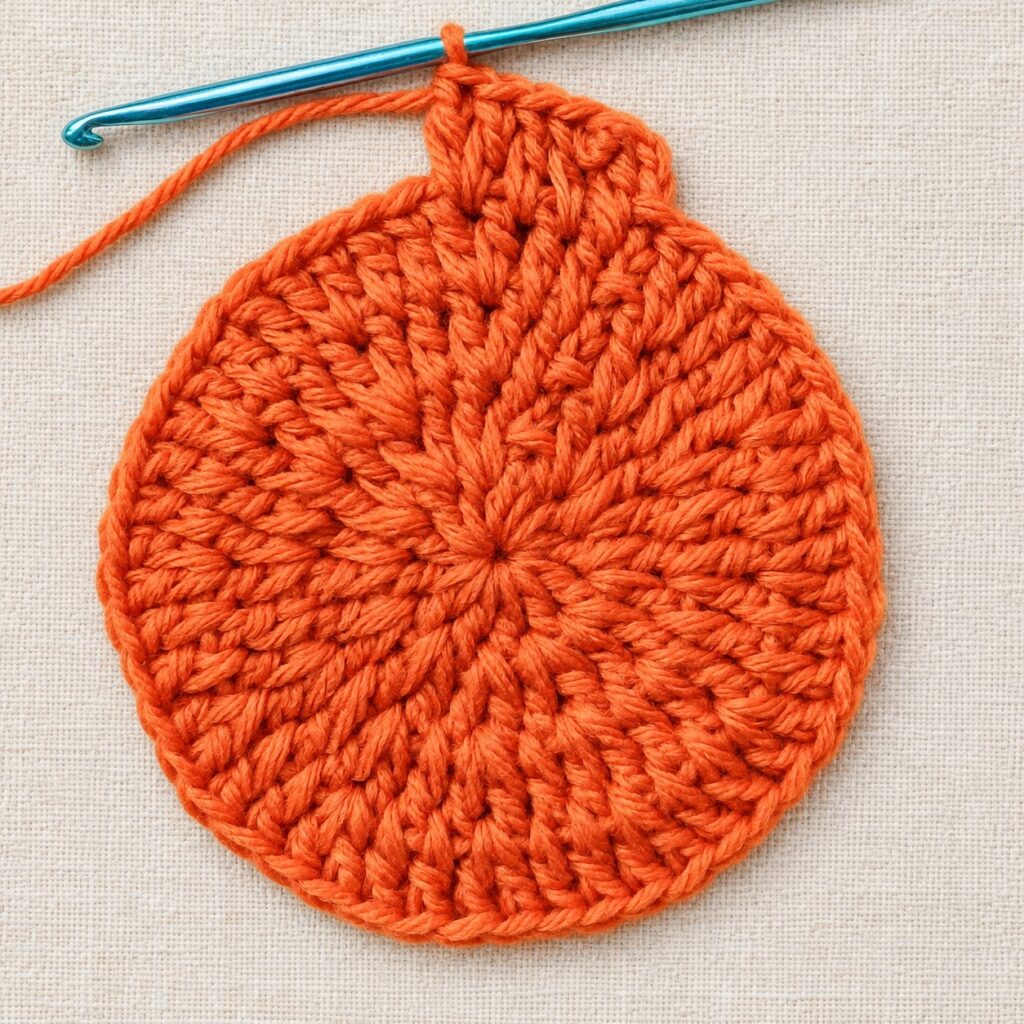
Round 5: Ch 2. Work 1 dc around each of the next 3 stitches, then 2 dc around the next stitch. Repeat around and join with a sl st to the first dc. (60 sts)
Round 6: Ch 2. Work 1 dc around each of the next 4 stitches, then 2 dc around the next stitch. Repeat around and join with a sl st to the first dc. (72 sts)
Step 7: Crochet the Scalloped Border
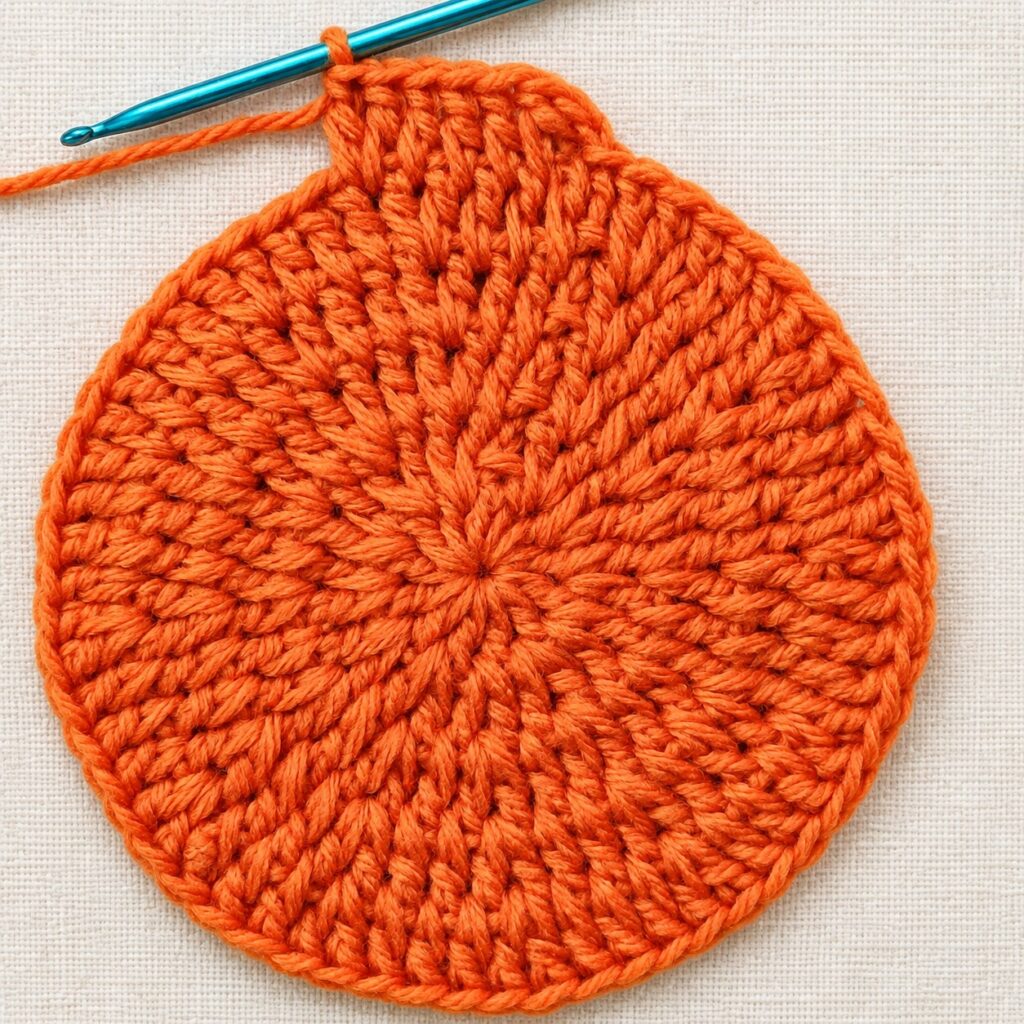
Ch 2 and work 2 dc in the same stitch. Skip the next 2 stitches and work 1 sl st in the following stitch. Repeat [ch 2, 2 dc in the same stitch, skip 2 stitches, sl st in the next stitch] around. Make the final sl st into the first dc to close the border.
Step 8: Add the Hanging Loop
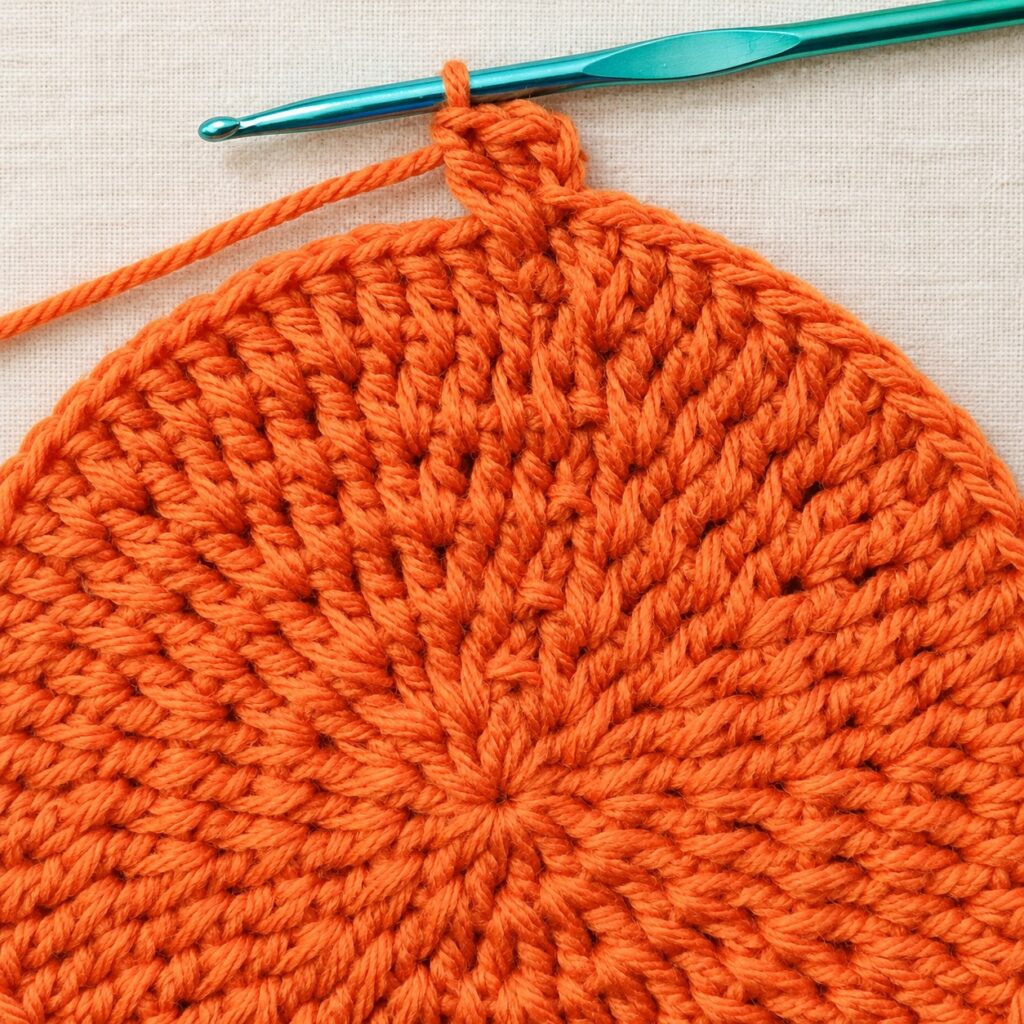
Ch 10. Bring the chain back toward the border and make a sl st into the stitch at the base of the chain to form a loop. Fasten off securely, then weave every yarn end into the back of the fabric with a yarn needle.
How to Make the Potholder Larger
To enlarge the project, continue the same increase formula before adding the border. Each new round adds one ordinary dc between increases:
- Round 7: [1 dc in the next 5 stitches, 2 dc in the next stitch] around. (84 sts)
- Round 8: [1 dc in the next 6 stitches, 2 dc in the next stitch] around. (96 sts)
- Round 9: [1 dc in the next 7 stitches, 2 dc in the next stitch] around. (108 sts)
Lay the work on a flat surface after every additional round. If the fabric begins to ripple, you may have too many increases or a looser tension. If it cups upward, check for missed increases or overly tight stitches.
Finishing and Care
Gently shape the finished piece with your hands so the spokes radiate evenly and the scallops sit neatly around the edge. If the cotton yarn label permits it, light blocking can help the circle relax. Pin the damp—not soaking—piece to its intended measurements and allow it to dry completely before removing the pins.
Wash according to the yarn manufacturer’s instructions. Reshape while damp and dry flat. Always inspect the fabric before kitchen use: loose ends, worn yarn, damp fibers, or an overly open center can reduce its usefulness around warm cookware.
Helpful Tips for a Neater Pumpkin
- Count the stitches at the end of every round; catching an error early prevents rippling later.
- Place a marker in the first dc if the join is difficult to see.
- Keep the slip-stitch joins snug but not tight so the final spoke does not pull inward.
- Choose a smooth cotton yarn with clear stitch definition when making the pattern for the first time.
- Weave the magic-circle tail in several directions after closing the center so it remains secure through washing.
Frequently Asked Questions
Is this crochet pumpkin potholder beginner-friendly?
Yes. The pattern uses a magic circle, chains, double crochet, increases, and slip stitches. A confident beginner who can count stitches and recognize the first stitch of a joined round should be comfortable with it.
Why should I use cotton yarn?
Cotton is the recommended fiber for kitchen crochet because it does not melt like many synthetic fibers can. The item must still be thick, dry, undamaged, and appropriate for the temperature of the cookware you handle.
What if my crochet circle starts to ripple?
First recount the current and previous rounds. Extra stitches are the most common cause. If the counts are correct, your tension may be looser than the sample; try a slightly smaller hook and check the fabric again after a few inches.
Can I use this as fall wall decor instead?
Absolutely. The hanging loop makes this pattern a sweet seasonal accent for a kitchen hook, fall gift basket, or Thanksgiving display—even when you prefer not to use it with hot cookware.
Share Your Finished Pumpkin
Which fall color would you choose for your crochet pumpkin potholder? Leave a comment with your yarn choice, finished size, and any adjustments you made. Your notes can help another maker feel confident starting the pattern.
More Sweet Stitches
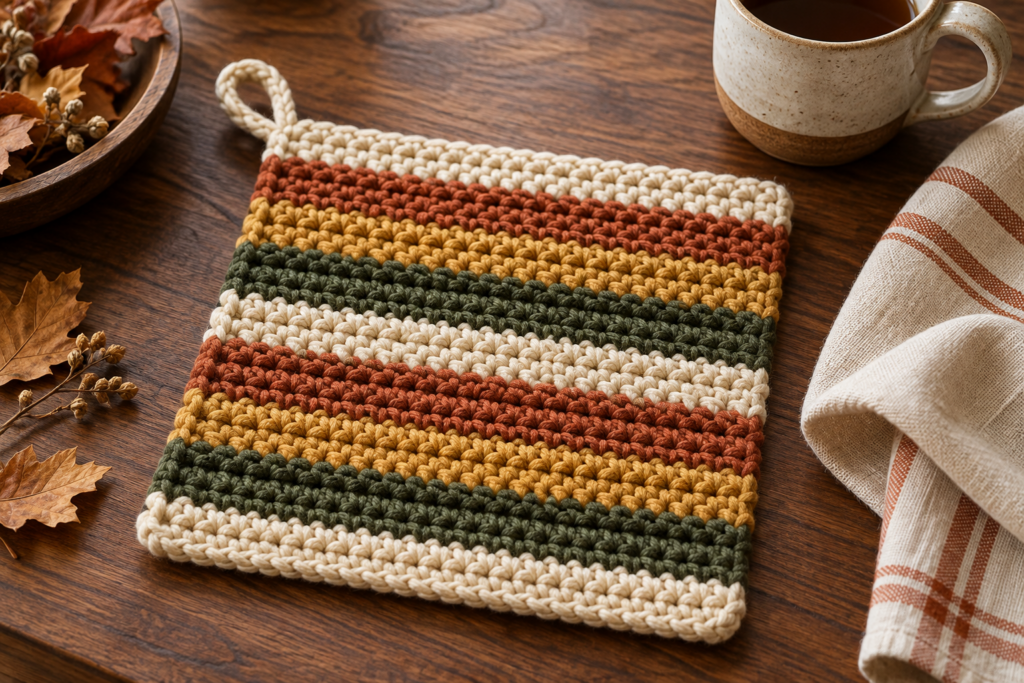
Harvest Stripe Crochet Potholder Pattern
Make a textured crochet potholder pattern with cotton yarn, simple back-loop single crochet, warm harvest stripes, and a practical hanging loop.
Make this pattern
Easy Crochet Coaster Pattern: Sea Grass Style
Make an easy round crochet coaster with cotton yarn, five double-crochet rounds, and a fresh green V-stitch border.
Make this pattern
Crochet Mini Santa Hat Ornament: Easy Free Pattern
Make a crochet mini Santa hat ornament with simple single crochet rounds, a snowy white brim, a fluffy pom-pom, and a hanging loop.
Make this pattern