
Harvest Stripe Crochet Potholder Pattern
Make a textured crochet potholder pattern with cotton yarn, simple back-loop single crochet, warm harvest stripes, and a practical hanging loop.
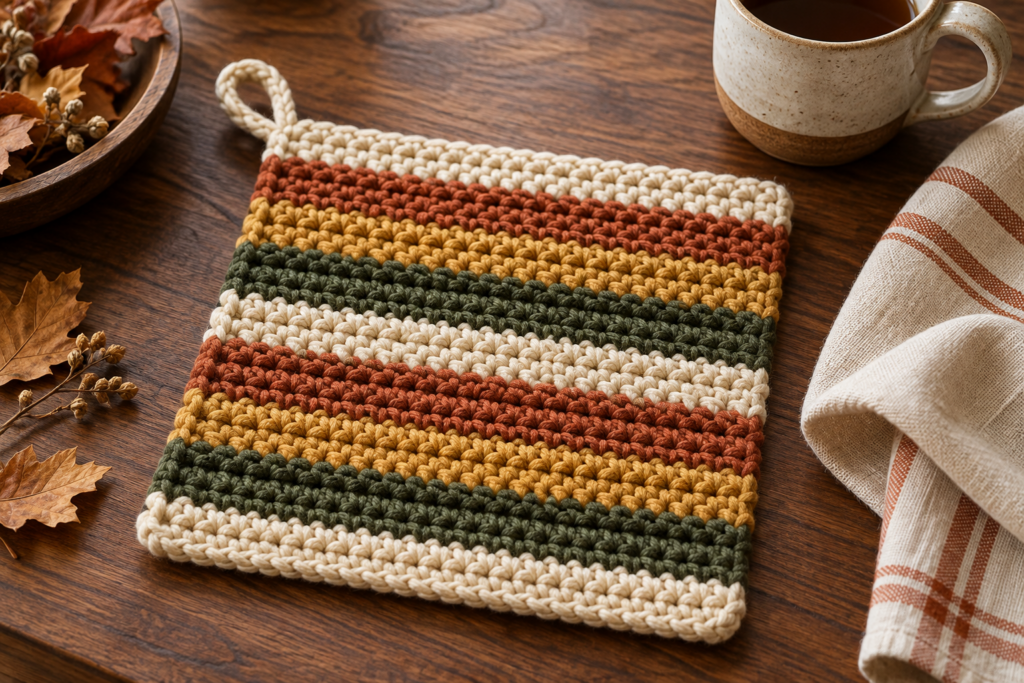
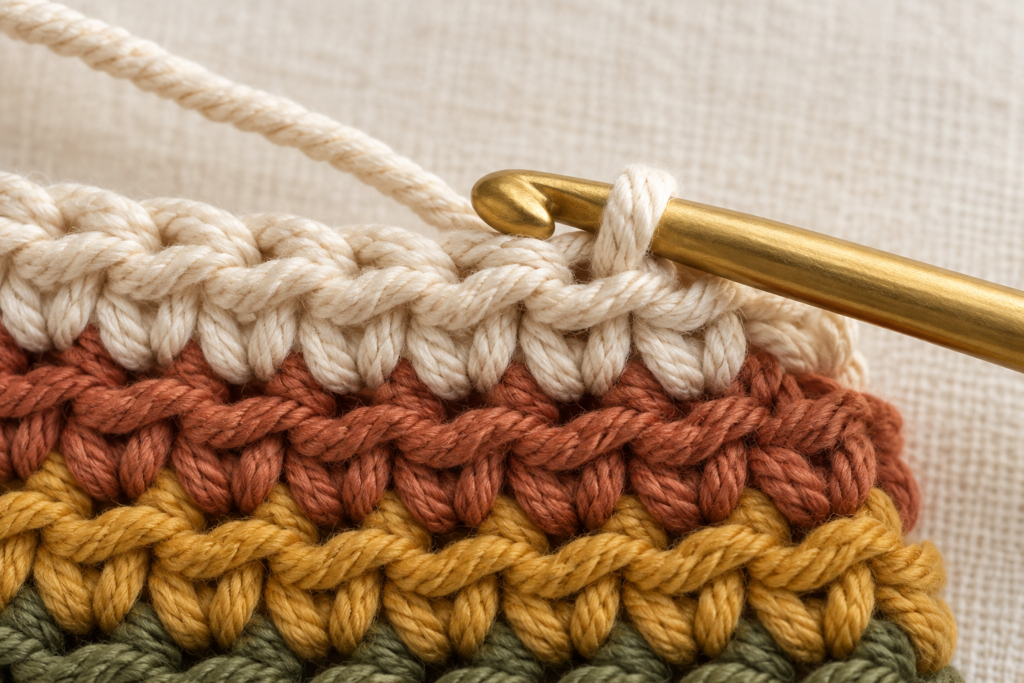
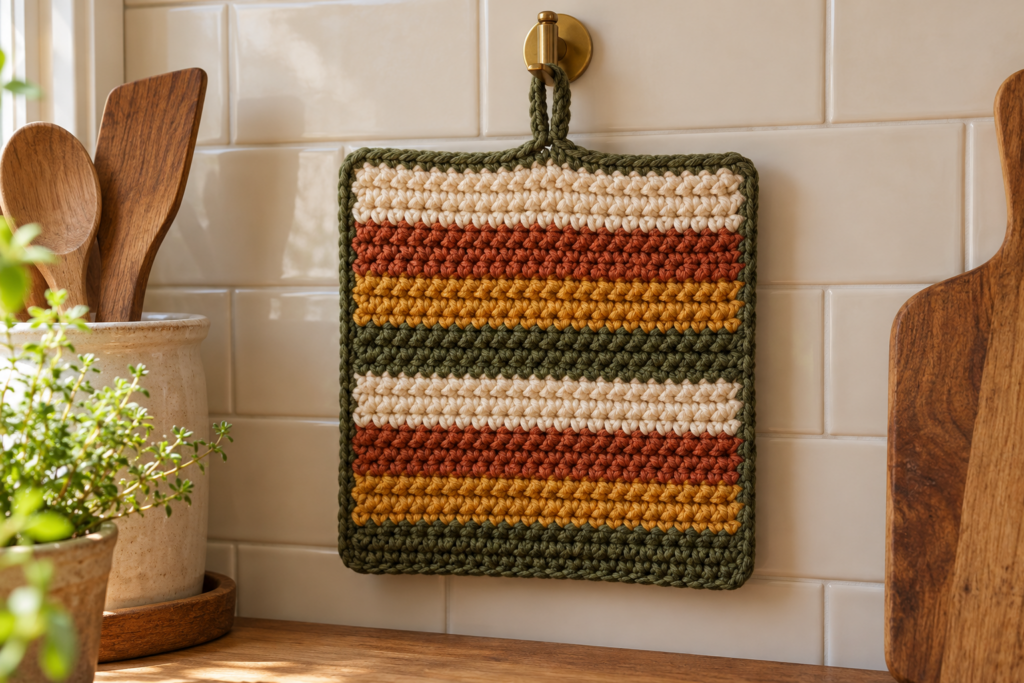
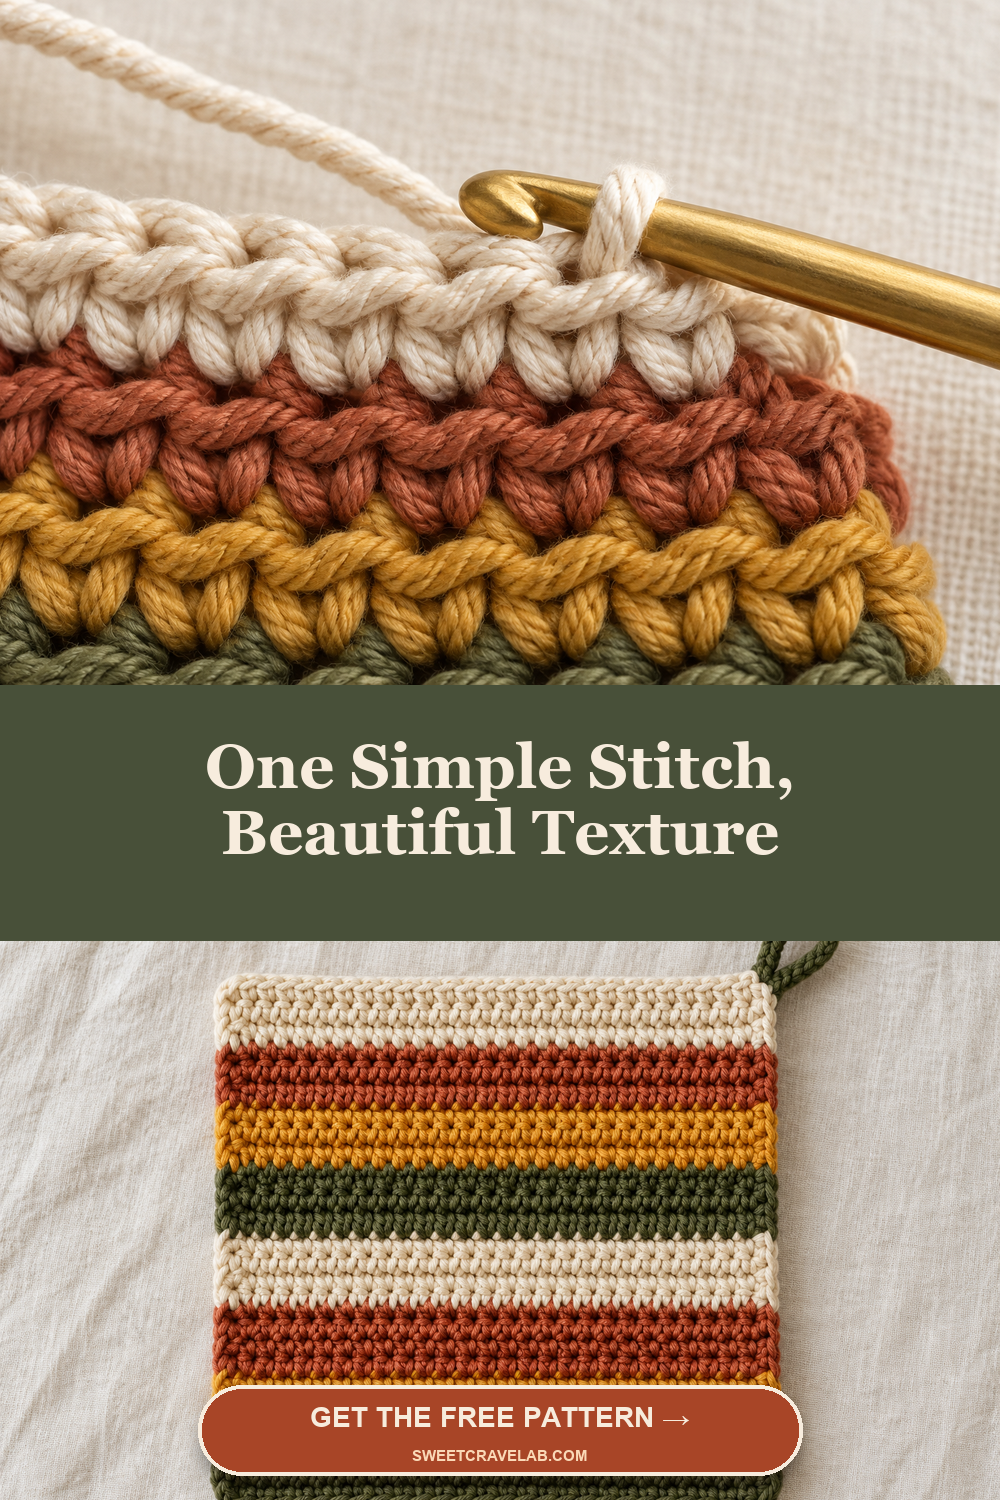
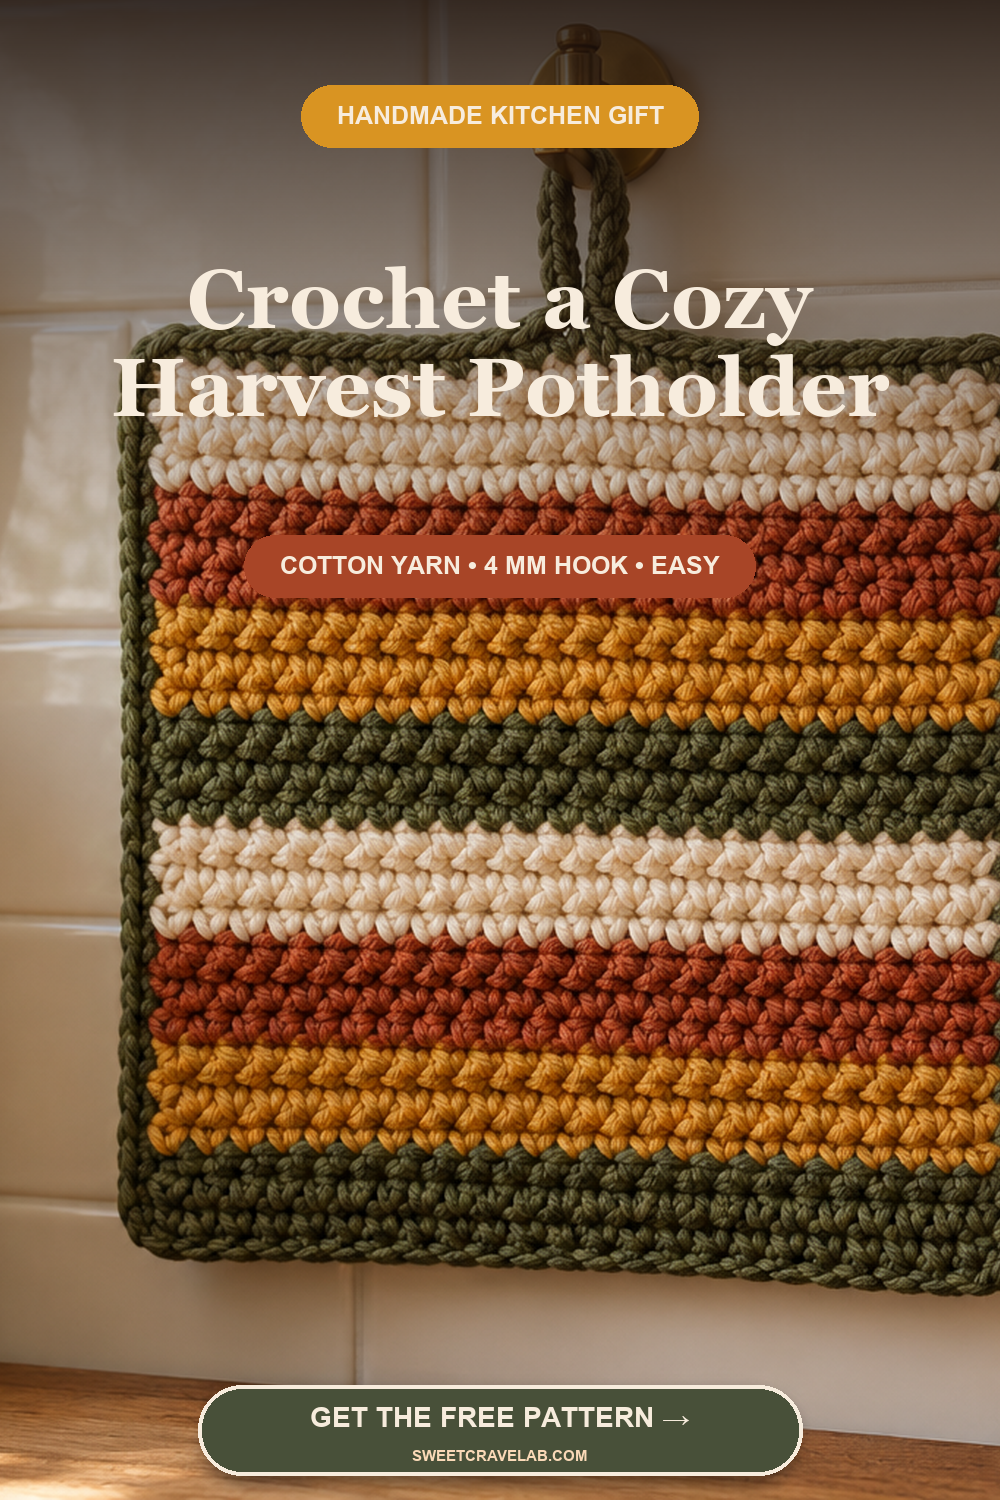
This crochet potholder pattern combines one beginner-friendly stitch with a warm harvest palette and practical kitchen construction. Back-loop single crochet creates dense horizontal ridges, while four cotton colors turn the simple square into a polished handmade accent. The tutorial includes 32 original step photos, exact stitch counts, a customizable stripe plan, and a sturdy hanging loop.
Crochet Potholder Pattern Guide
- Materials and cotton yarn
- Finished size and gauge
- Step-by-step crochet instructions
- Hanging loop and finishing
- Troubleshooting
- Frequently asked questions
Why This Easy Crochet Potholder Works
The design is built as a flat rectangle, so there are no rounds, shaping formulas, or complicated joins to memorize. Once the foundation row is complete, every row follows the same movement: chain one, turn, and single crochet through the back loop of each stitch. Leaving the front loop visible creates the raised line that gives the fabric its woven-looking texture.
The stripe sequence also acts as a progress guide. Instead of counting a long stack of identical rows, you can see where each small color section begins and ends. The finished square is useful for a cozy autumn kitchen, a Thanksgiving table, or a handmade hostess gift. Swap the colors and the same crochet potholder pattern can suit any season.
Materials and Yarn Choice
- Worsted-weight (4) 100% cotton yarn, approximately 120-150 yd (110-137 m) total
- Four colors: cream, terracotta, muted mustard, and deep olive
- 4 mm (G/6) crochet hook
- Two locking stitch markers, optional
- Yarn needle with a blunt tip
- Sharp scissors
- Ruler or flexible measuring tape
- Blocking mat and rustproof pins, optional
Choose smooth, firmly spun cotton that makes the back loops easy to see. Cotton also gives this crochet potholder pattern the dense, washable structure it needs. Cotton handles kitchen use better than acrylic because synthetic fibers can soften or melt near high heat. Do not use novelty, fuzzy, or loosely plied yarn for the first sample. If the label does not list a number, compare it with the Craft Yarn Council yarn-weight guide.
Finished Size, Gauge, and Safety
The target is an 8-inch (20 cm) square after gentle blocking. A practical starting gauge is about 16 single crochet stitches and 15 rows per 4 inches (10 cm) in back-loop single crochet. Exact gauge is less important than dense, even fabric, but a loose fabric with visible gaps is not suitable for handling hot cookware.
Use this project only after testing the finished sample. Keep it dry, keep it away from an open flame or heating element, and never rely on one thin layer for extreme heat. For extra protection, crochet two matching panels and join them around the edges. A decorative sample can also be used as a trivet for warm serving dishes rather than as an oven mitt.
US Crochet Abbreviations
| Abbreviation | Meaning |
|---|---|
| ch | chain |
| sc | single crochet |
| BLO | back loop only |
| sl st | slip stitch |
| st / sts | stitch / stitches |
| rep | repeat |
Stripe Plan
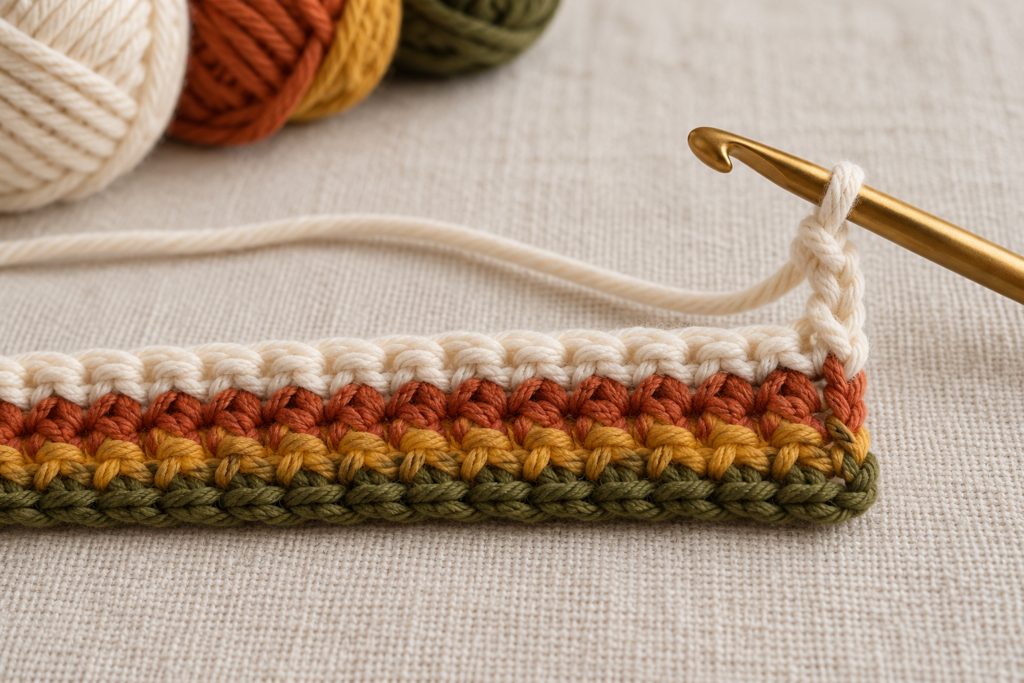
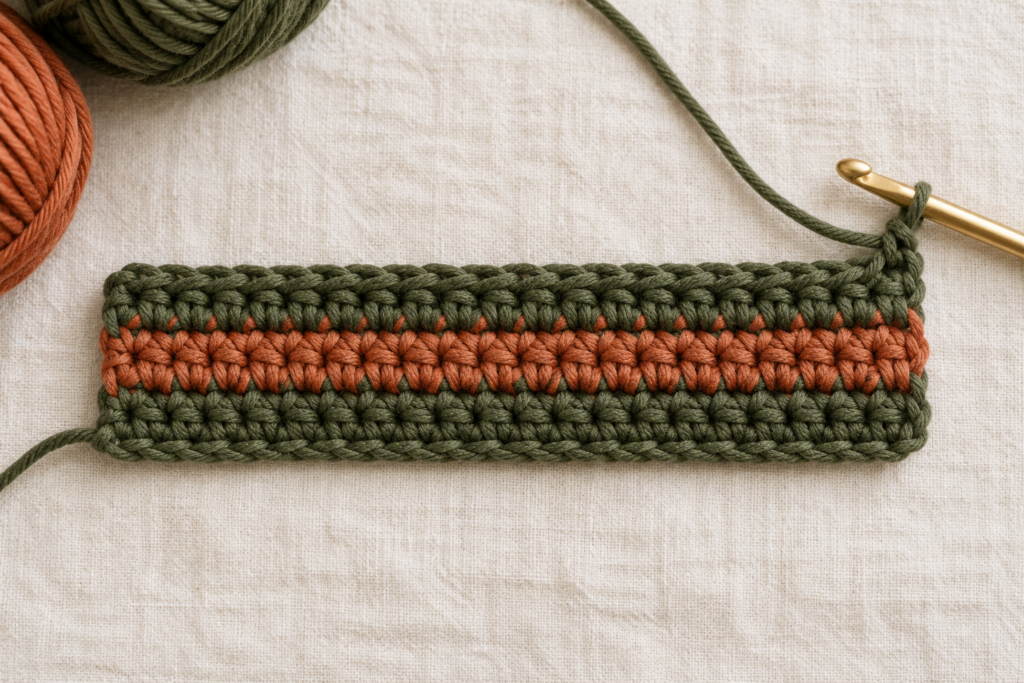
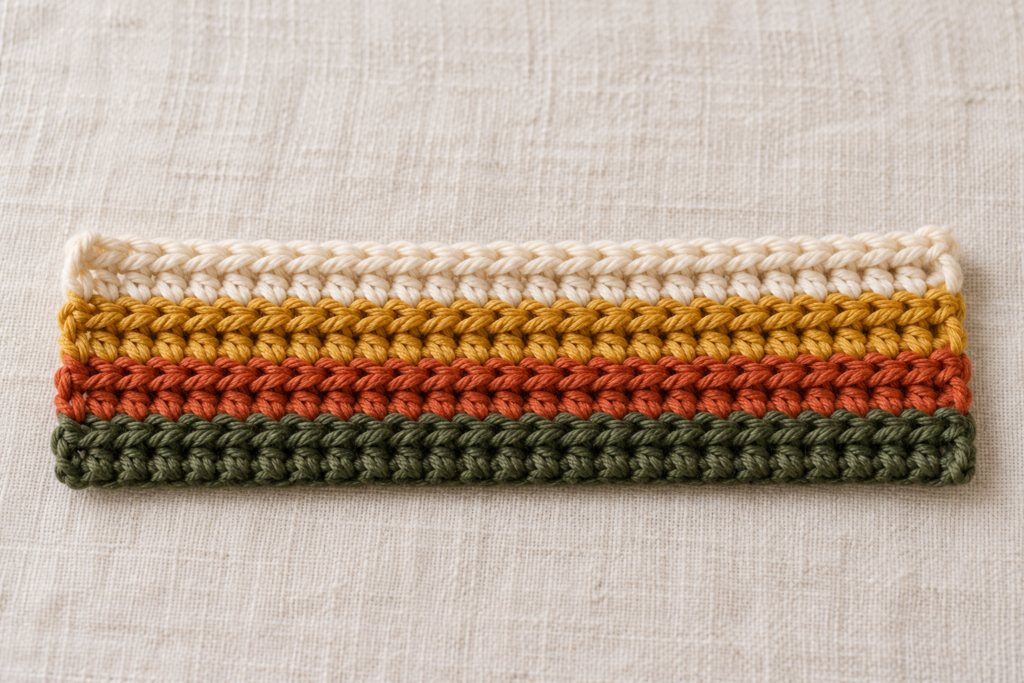
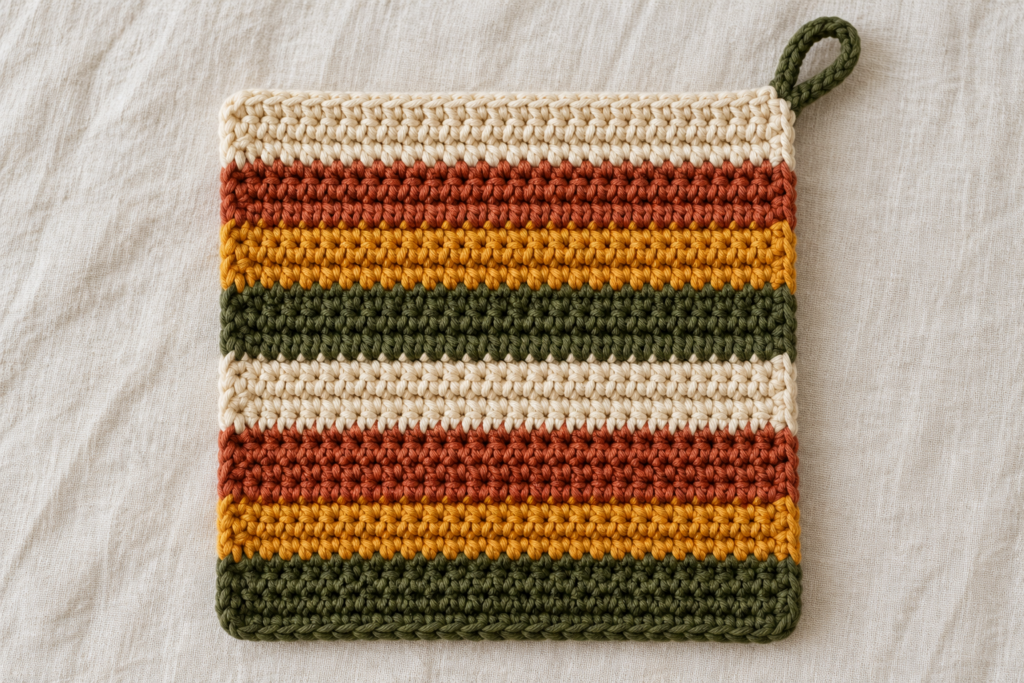
The sample crochet potholder pattern repeats four two-row bands: deep olive, cream, terracotta, and mustard. You may start with cream as shown in the foundation photos, then establish the repeating order at the next color change. Always change color on the final yarn-over of the last stitch in a row so the new shade is ready for the turning chain. Keep every join on the same side for a tidy edge.
- Rows 1-2: cream
- Rows 3-4: terracotta
- Rows 5-6: mustard
- Rows 7-8: deep olive
- Repeat the four-color sequence until the panel is square
Crochet Potholder Pattern Instructions
Step 1: Foundation Chain and First Row
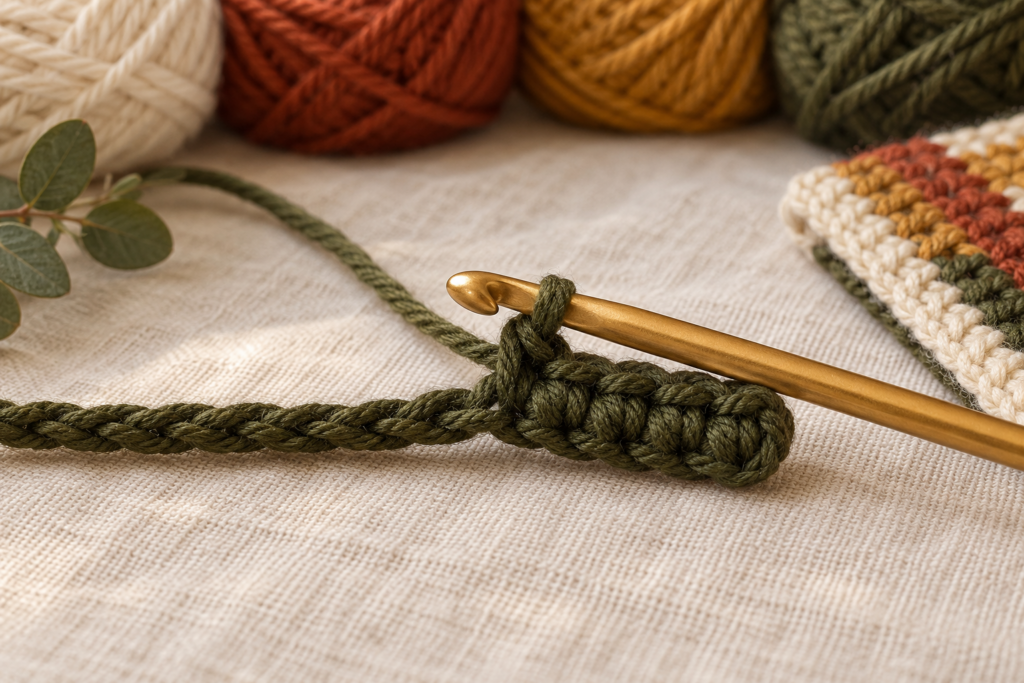
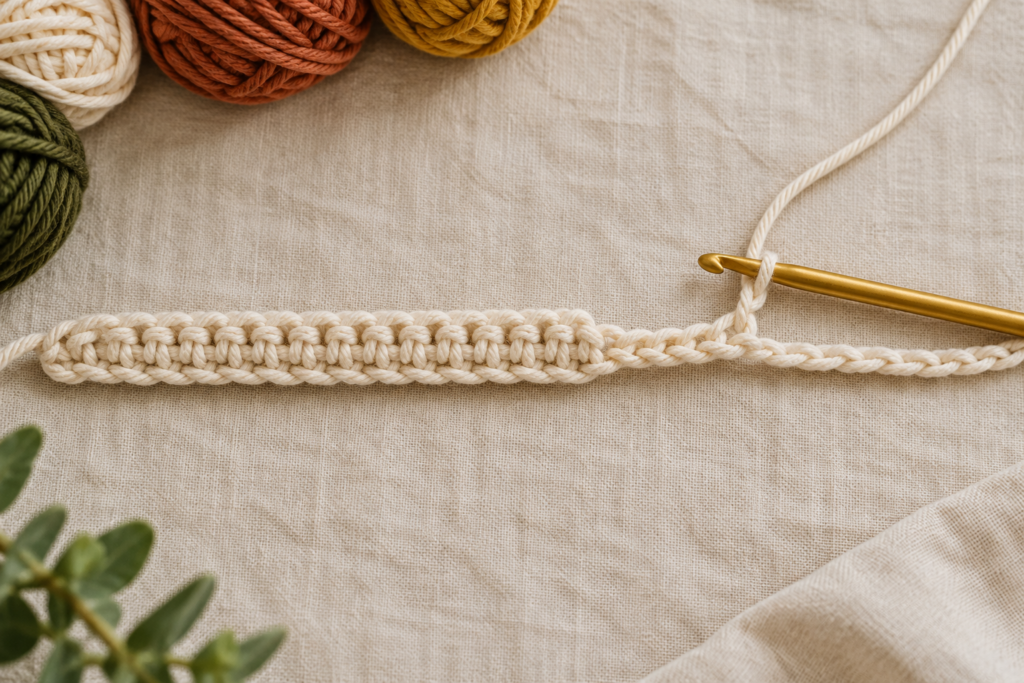
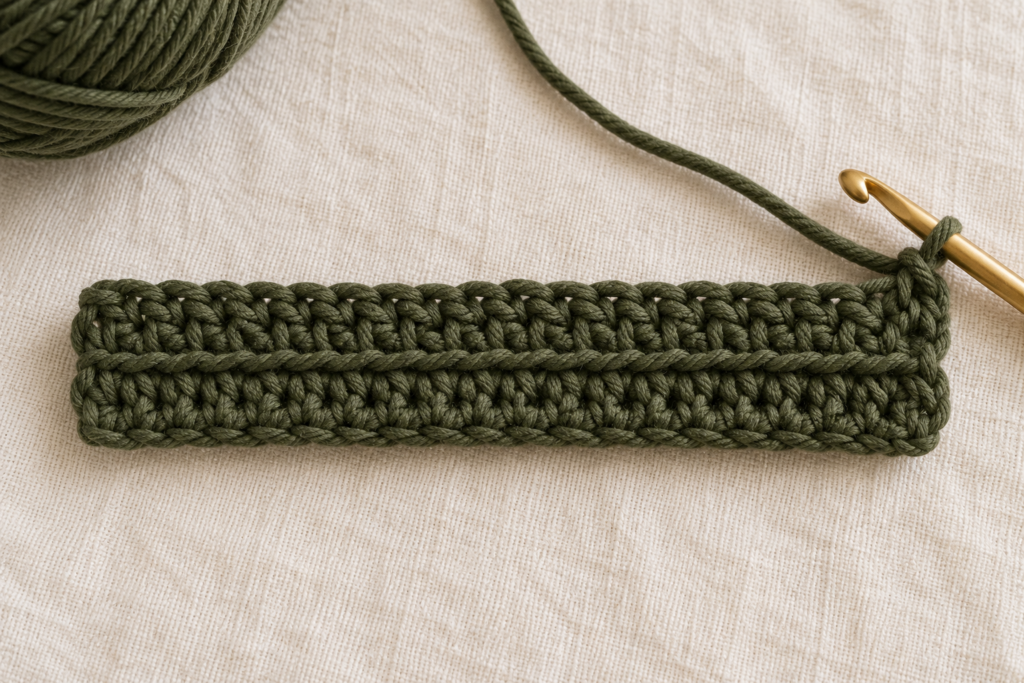
With cream yarn, make a slip knot and ch 34. Work 1 sc in the second ch from the hook, then 1 sc in every remaining chain. Count carefully before turning. (33 sts)
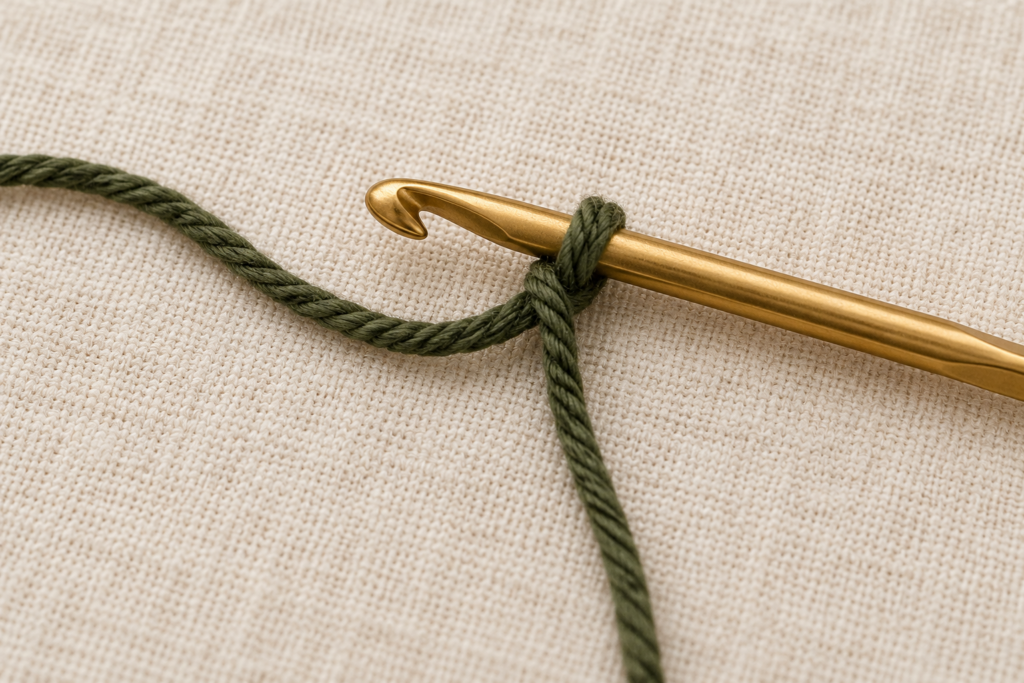
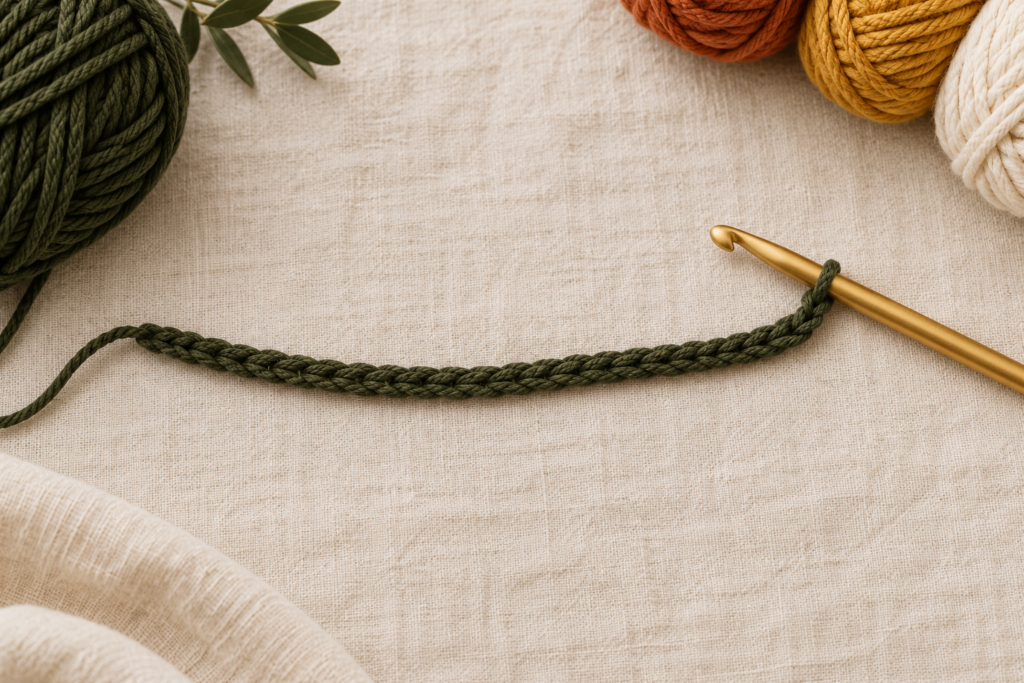
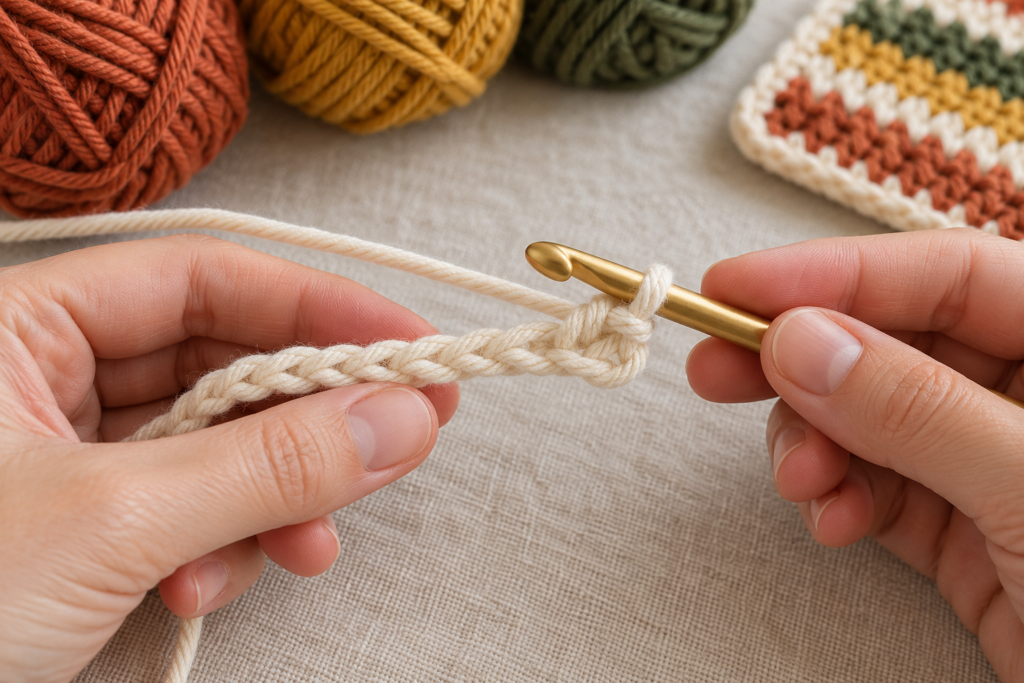
Step 2: Learn Back-Loop Single Crochet
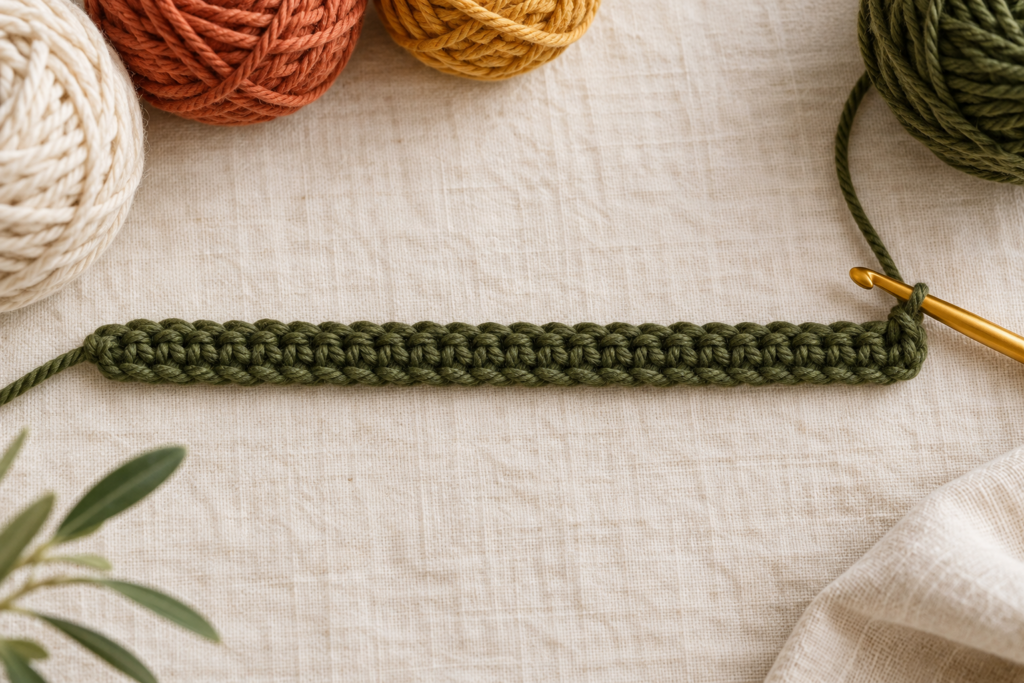
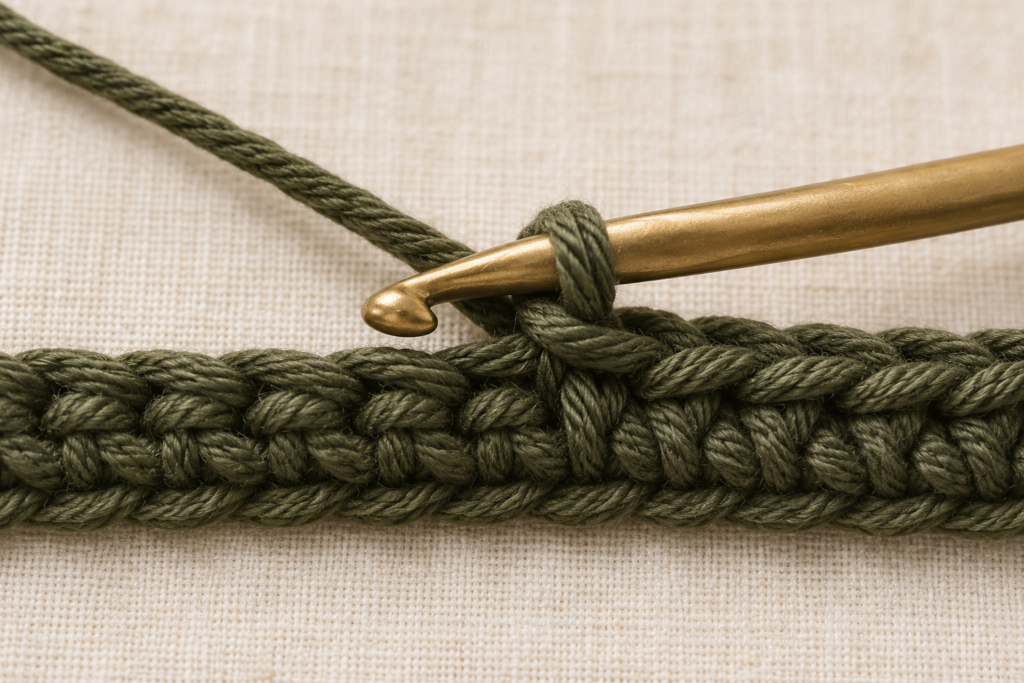
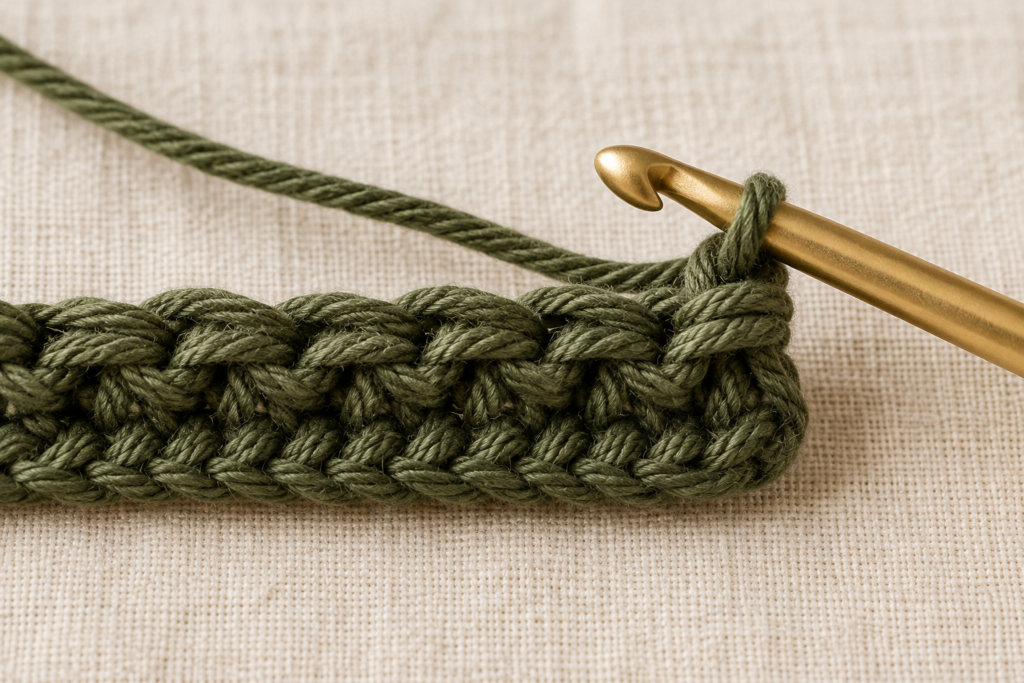
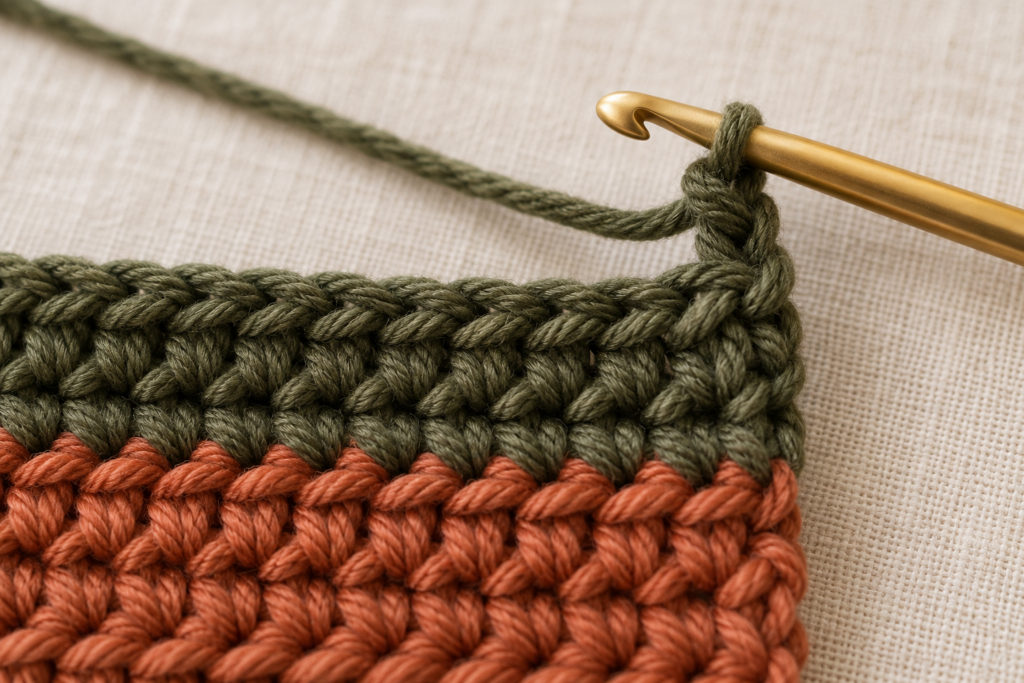
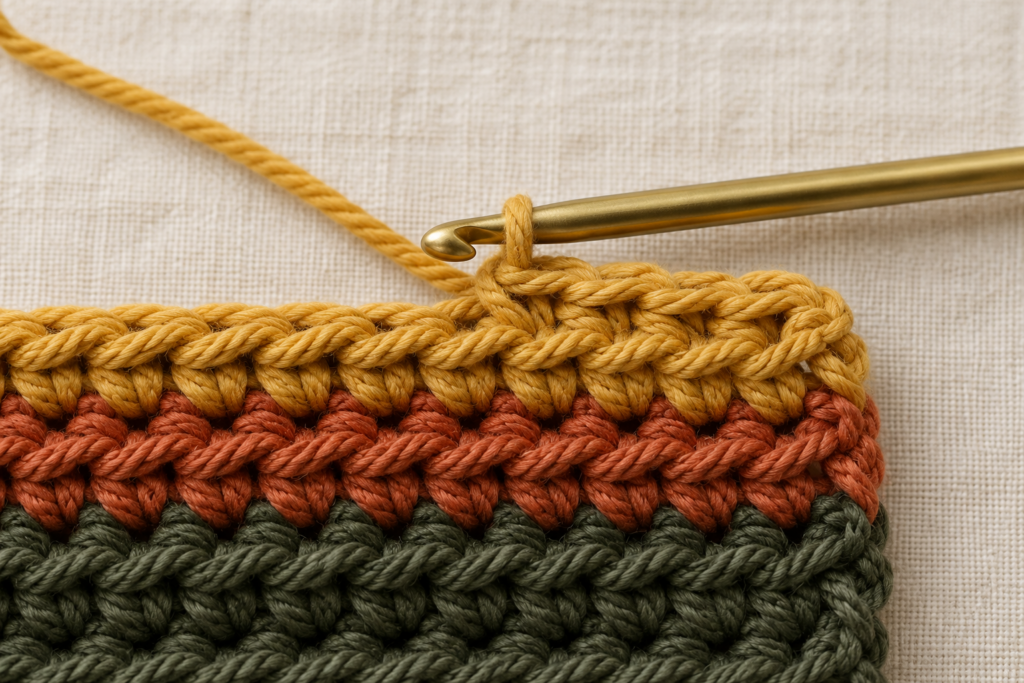
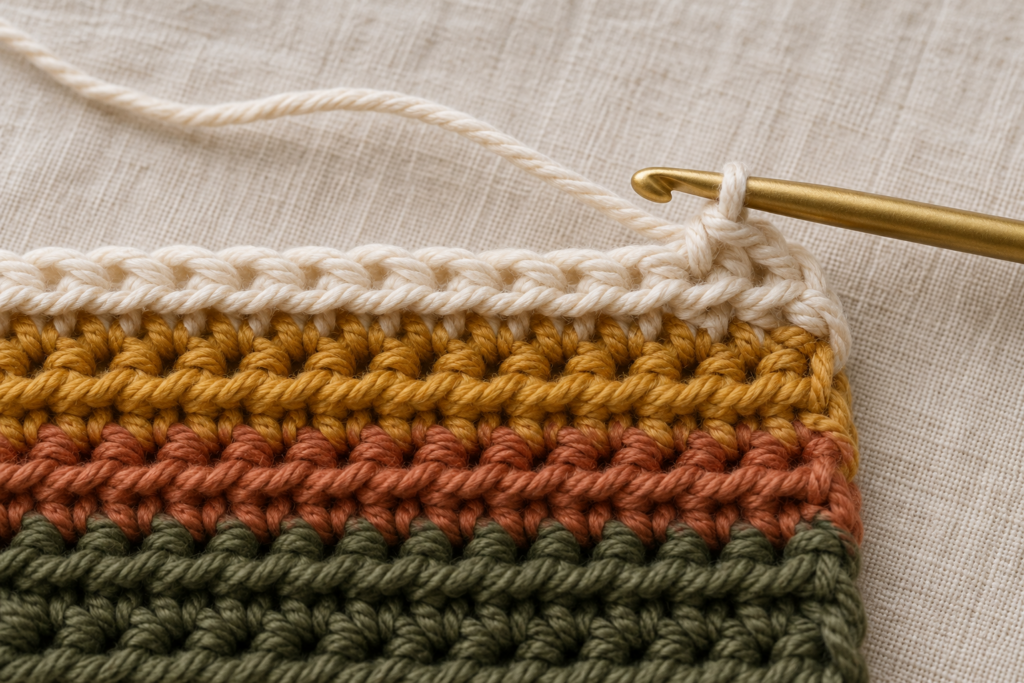
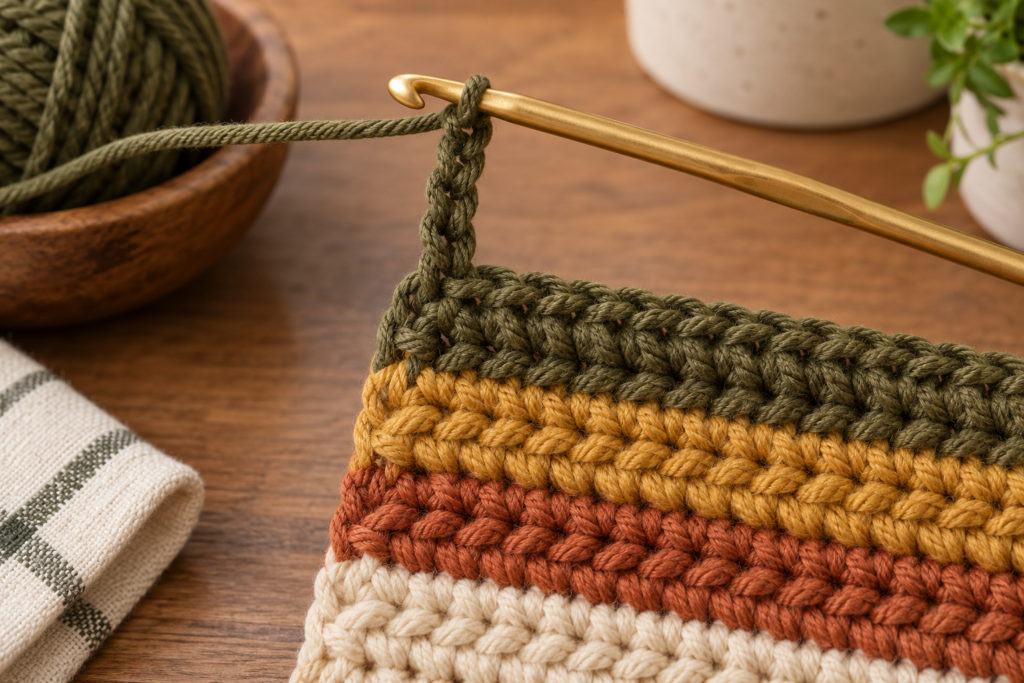
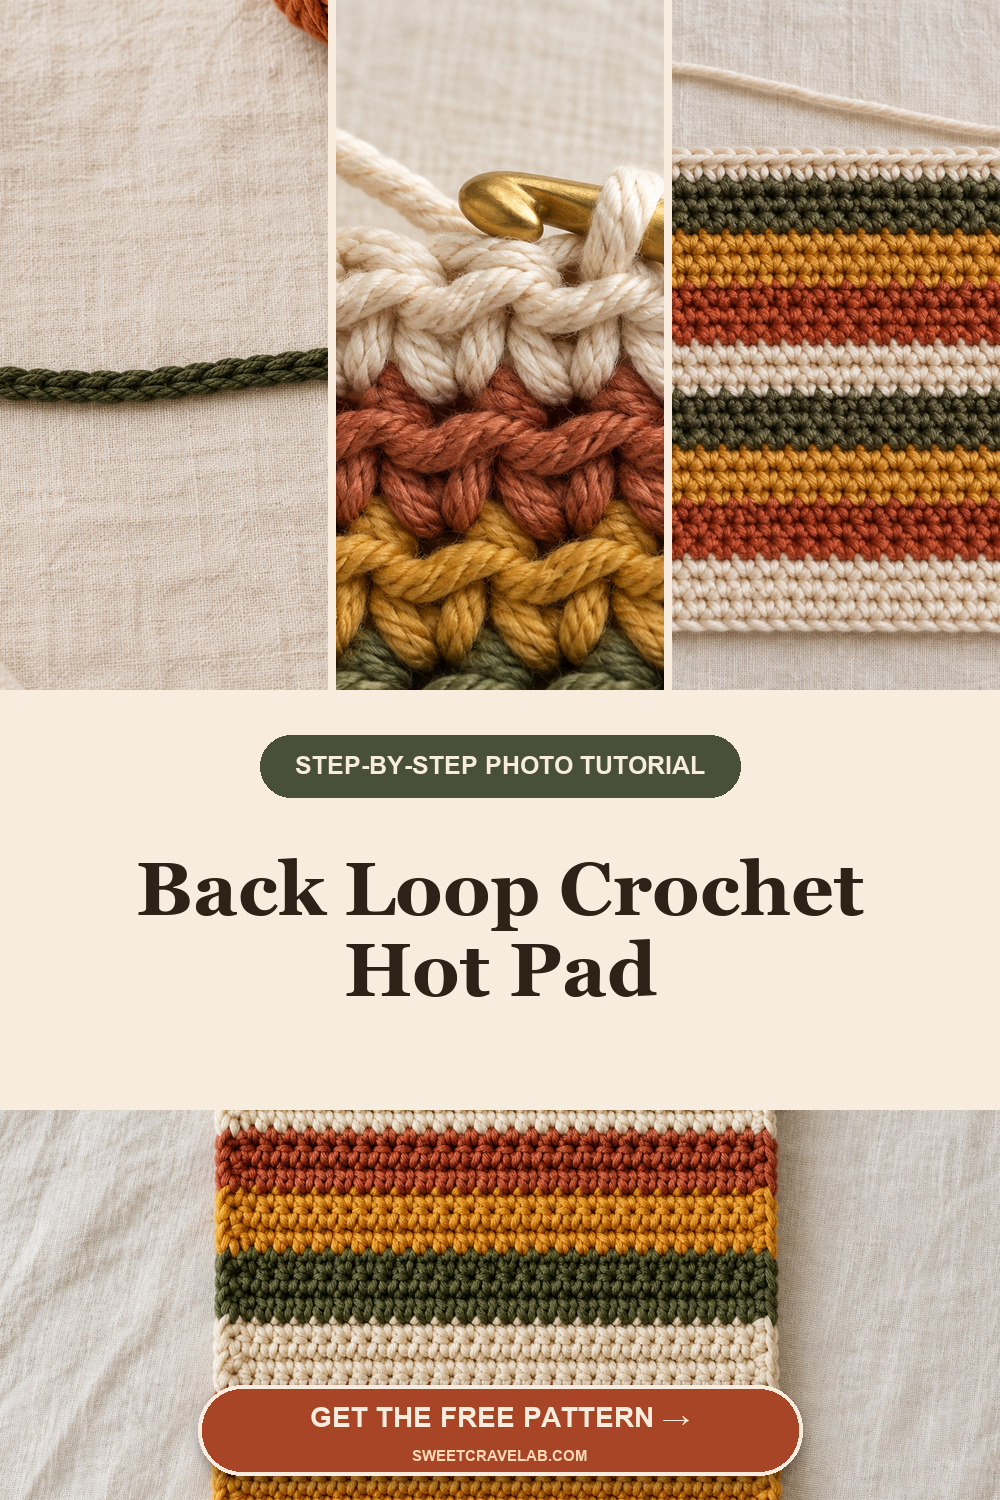
Ch 1 and turn. The turning chain does not count as a stitch. Look at the V-shaped top of the next stitch: the strand closest to you is the front loop and the strand farthest from you is the back loop. Insert the hook under the back loop only, yarn over, pull up a loop, yarn over again, and pull through both loops. Work 1 BLO sc in every stitch across. (33 sts)
Step 3: Build the Harvest Stripes
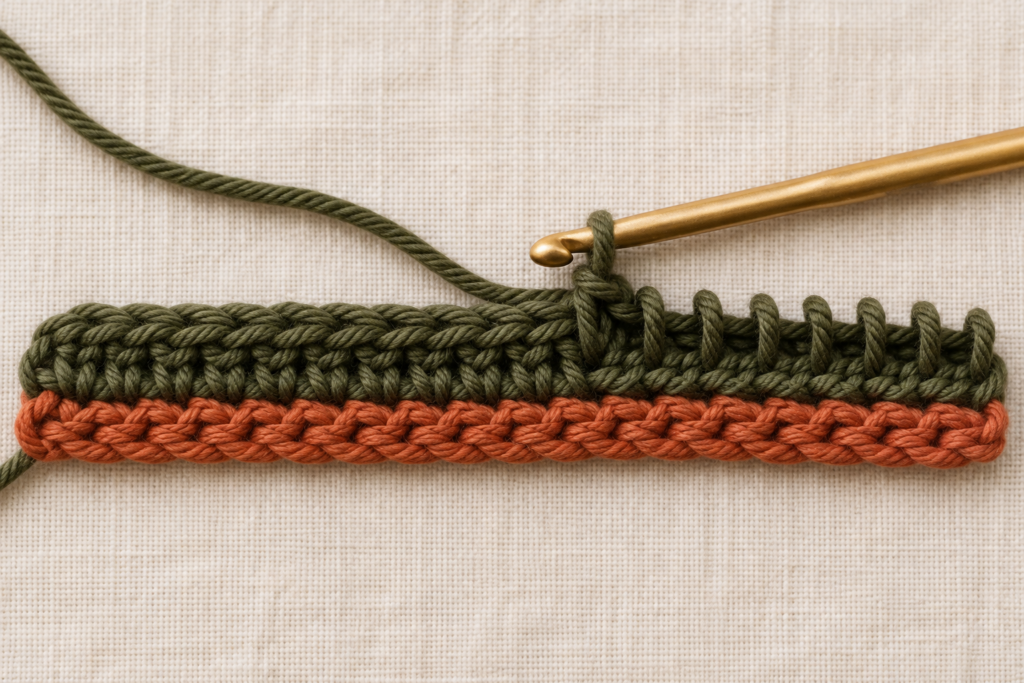
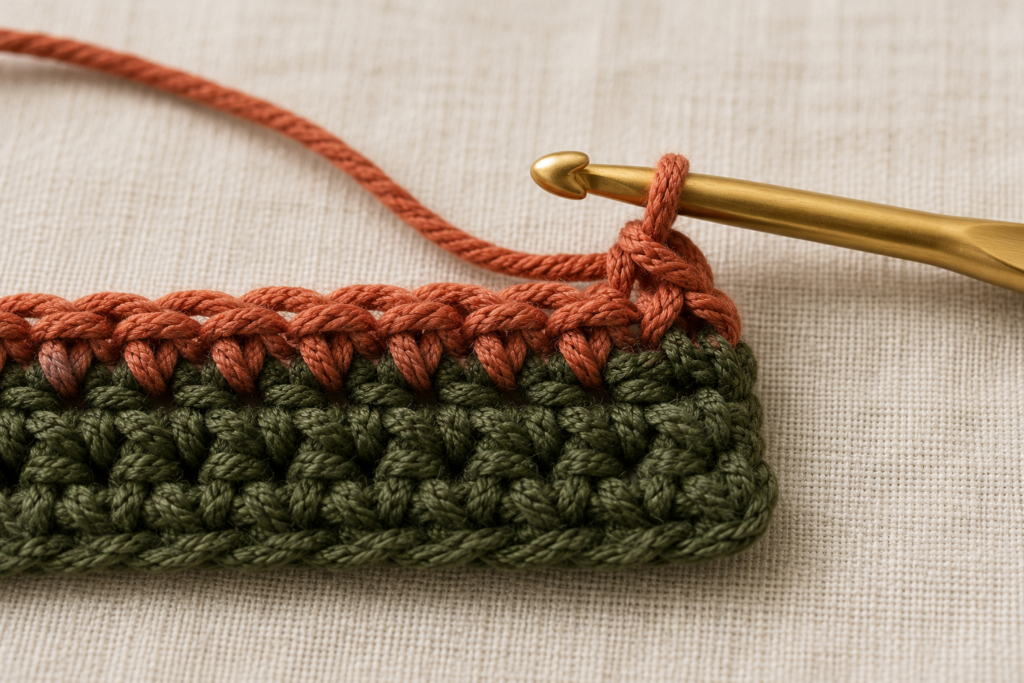
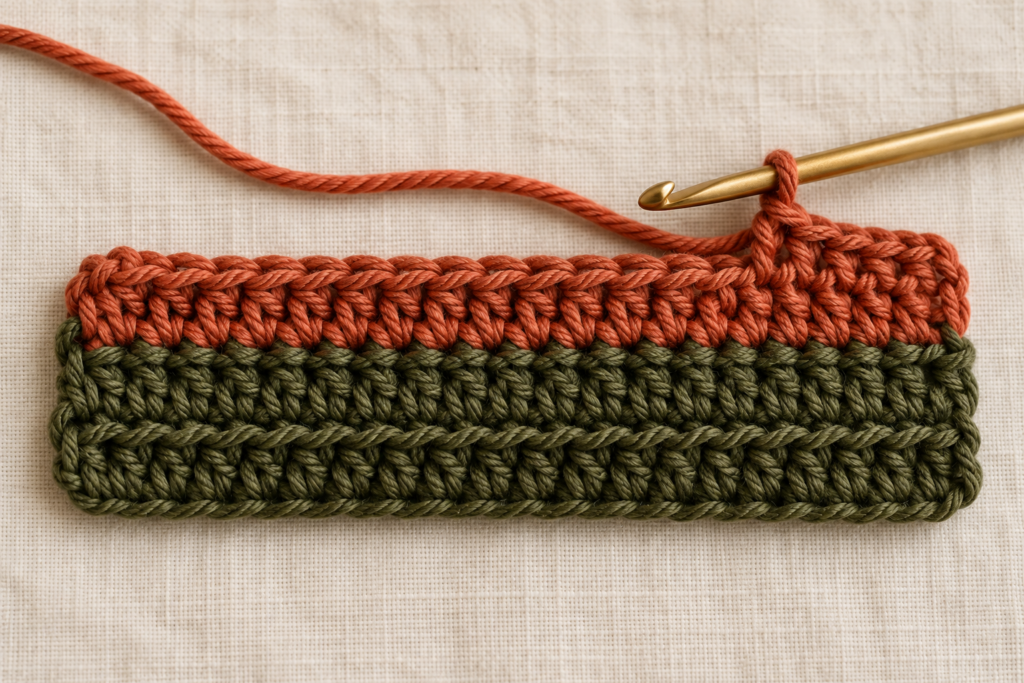
Continue repeating the same row: ch 1, turn, and work 1 BLO sc in each of the 33 stitches. Follow the color order above, completing two rows per shade. At the end of every row, count the stitches and check that the first and last stitches have not disappeared into the turning edge.
When changing color, begin the final stitch with the old shade. After inserting the hook and pulling up a loop, drop the old yarn and complete the final yarn-over with the new shade. Turn and work the next row with the new yarn. Cut the previous shade with a weaving tail unless it will be reused within two rows and can be carried neatly up the edge.
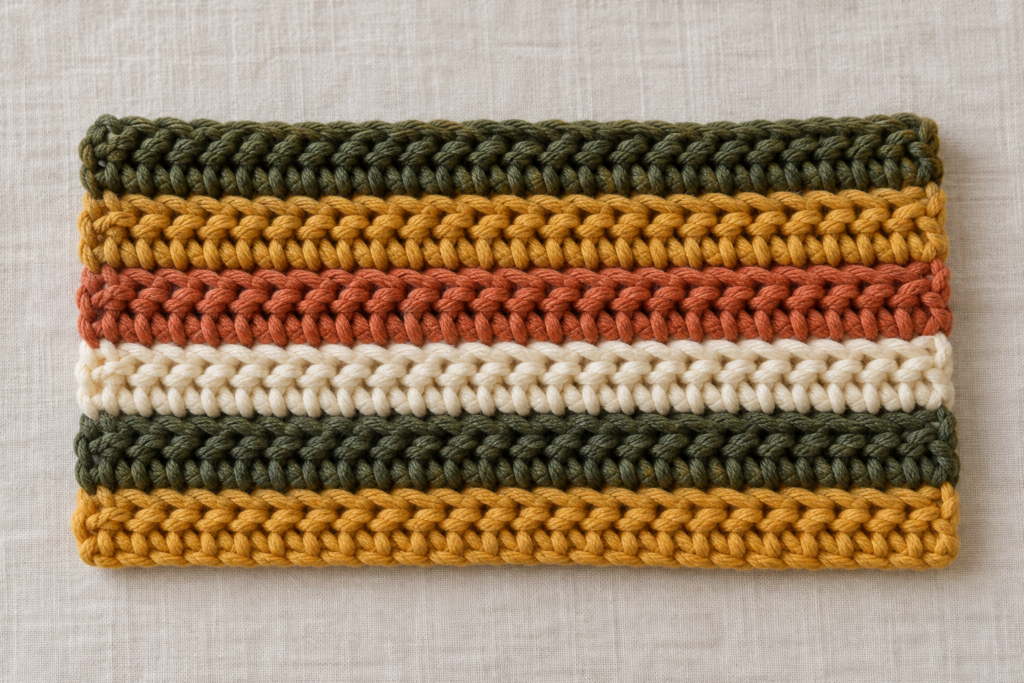
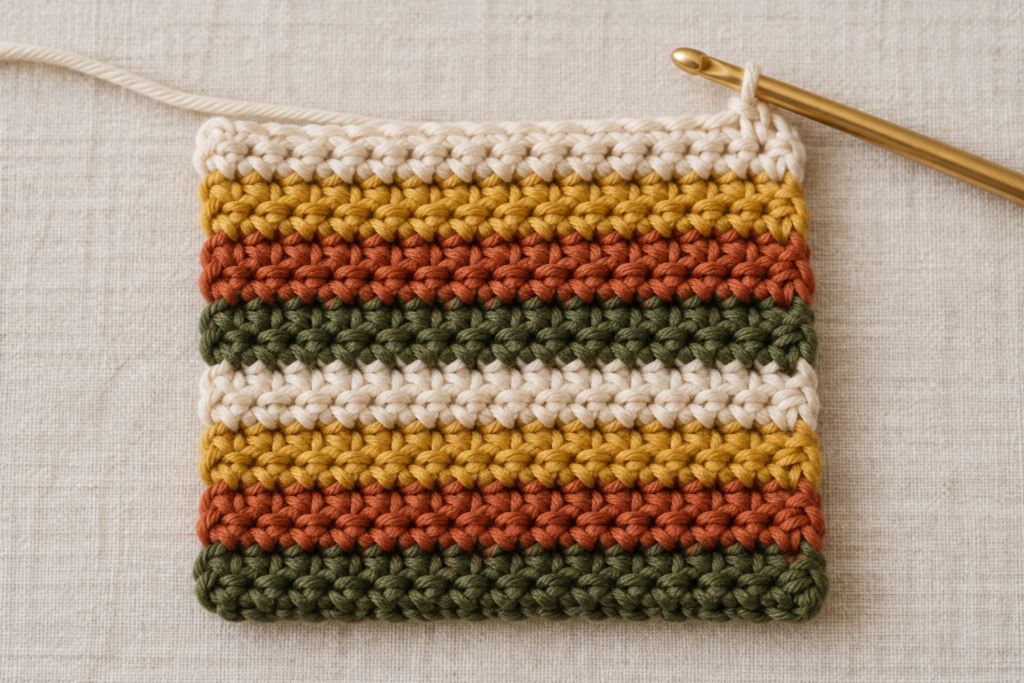
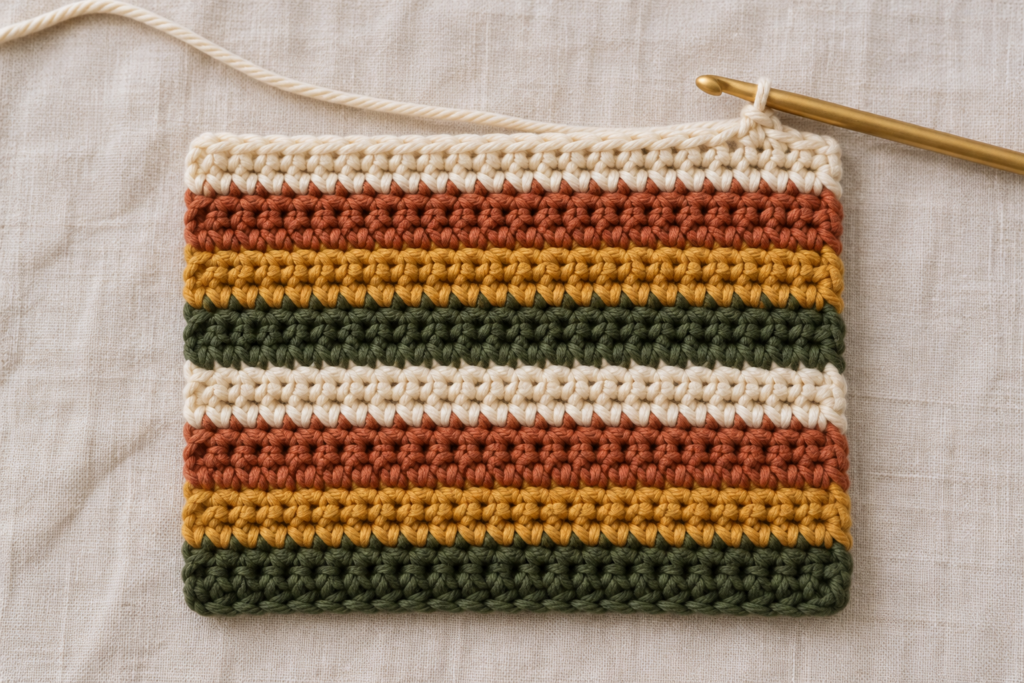
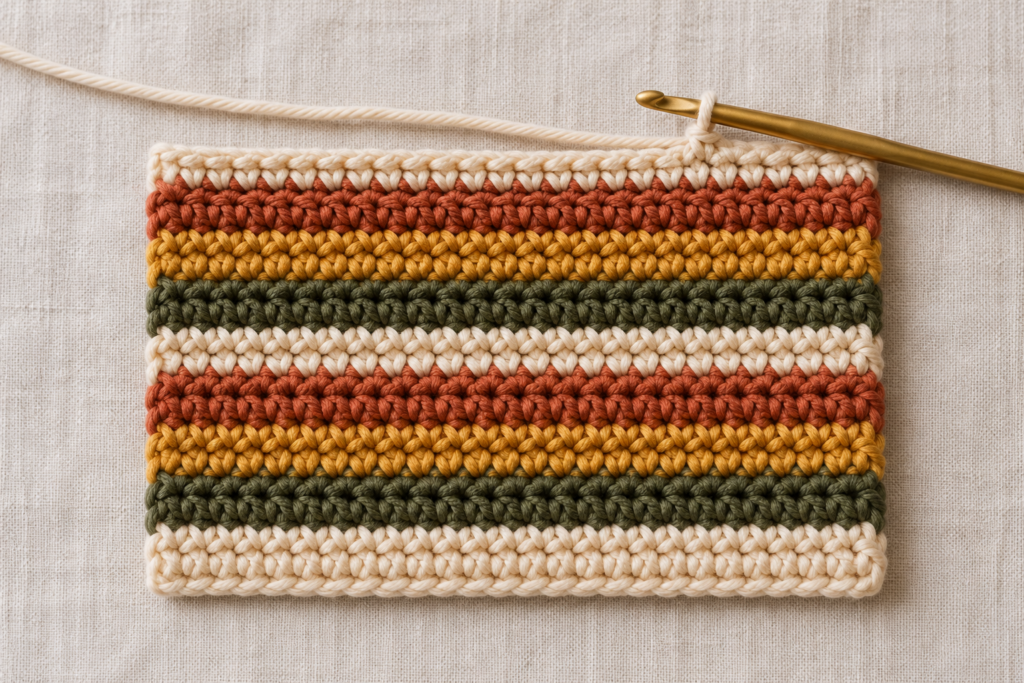
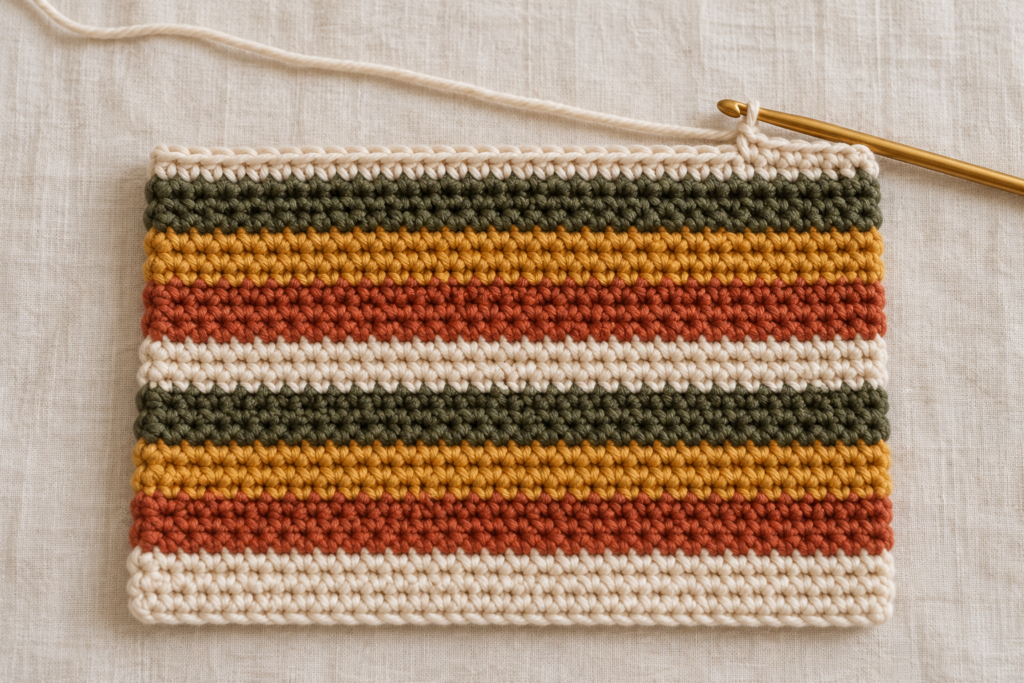
Step 4: Decide When the Panel Is Square
Continue until the height matches the width without stretching. Depending on your row gauge, this may require about 28-32 rows. Place the panel on a flat surface and measure through the center. If it is slightly rectangular, add one or two rows in the next planned color rather than pulling it aggressively during blocking.
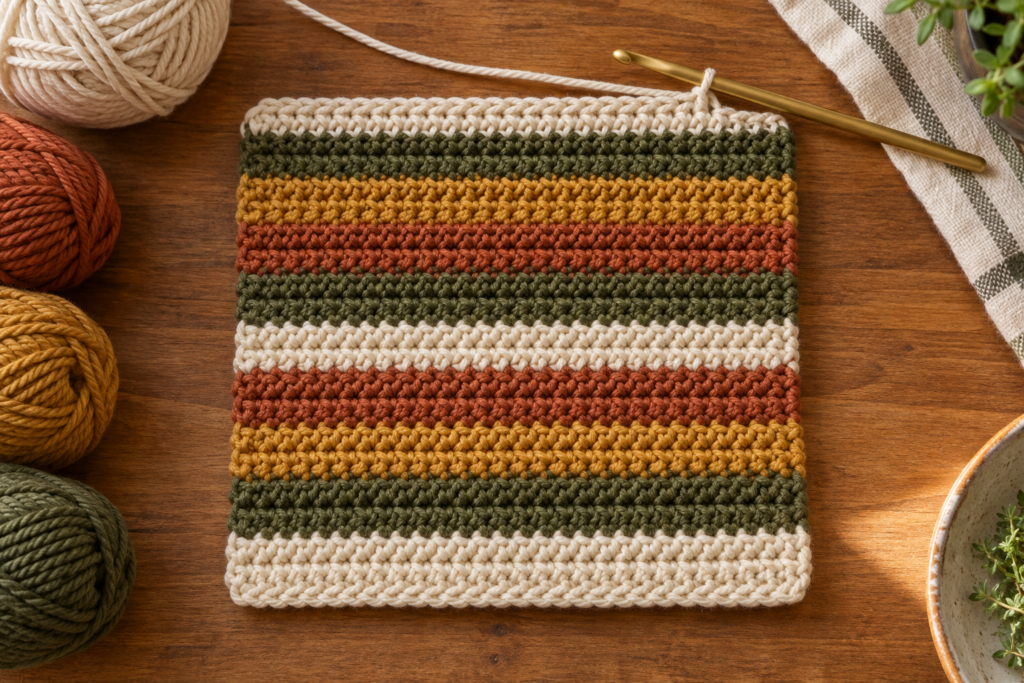
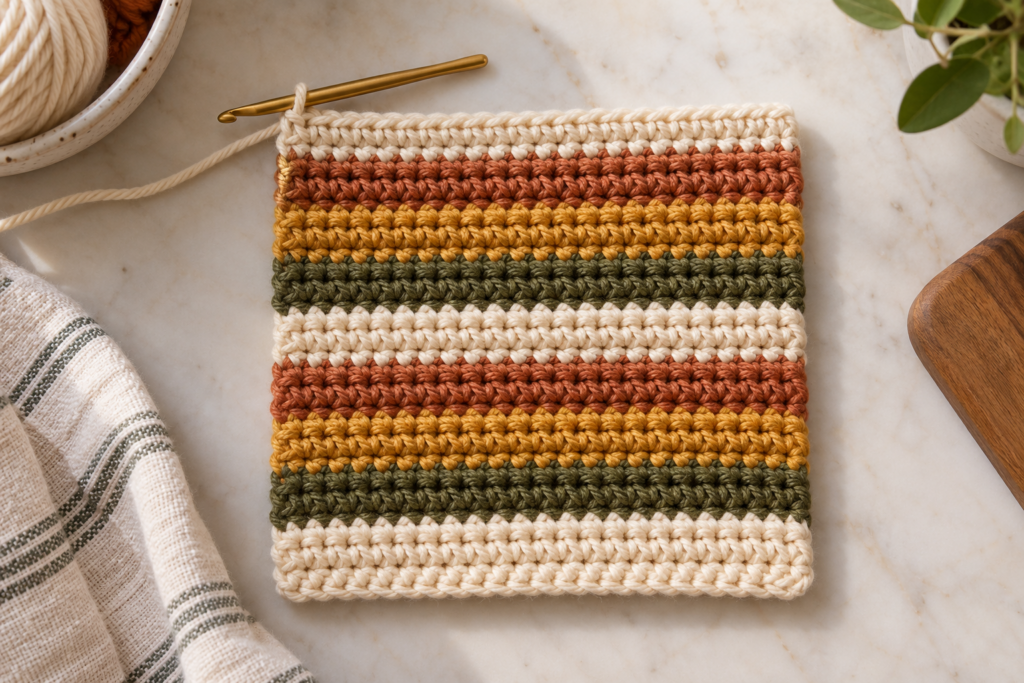
Hanging Loop and Finishing
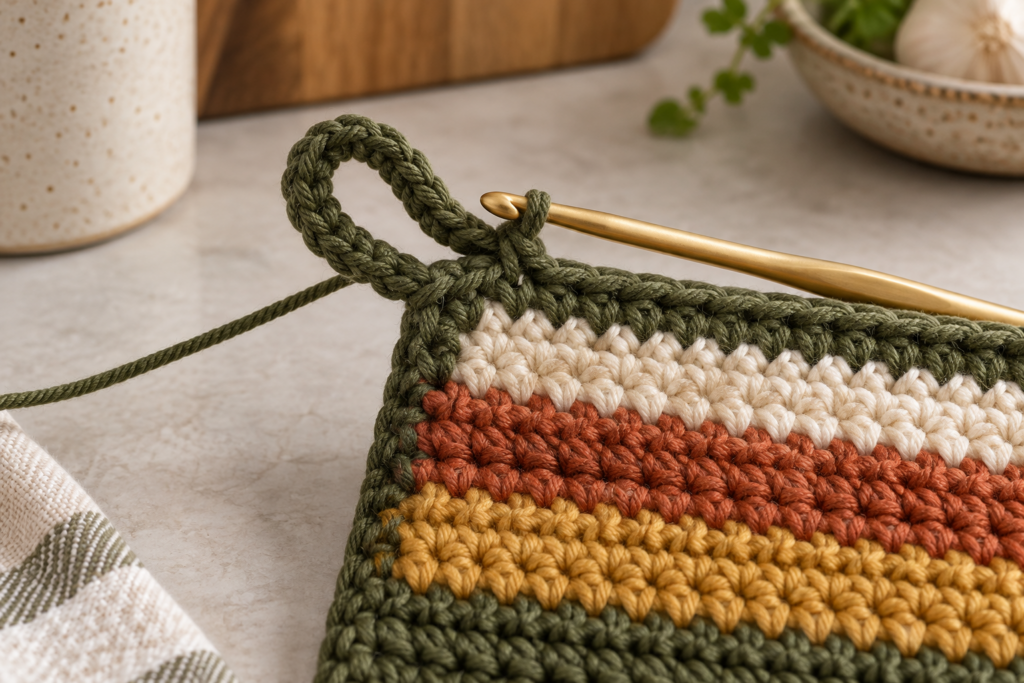
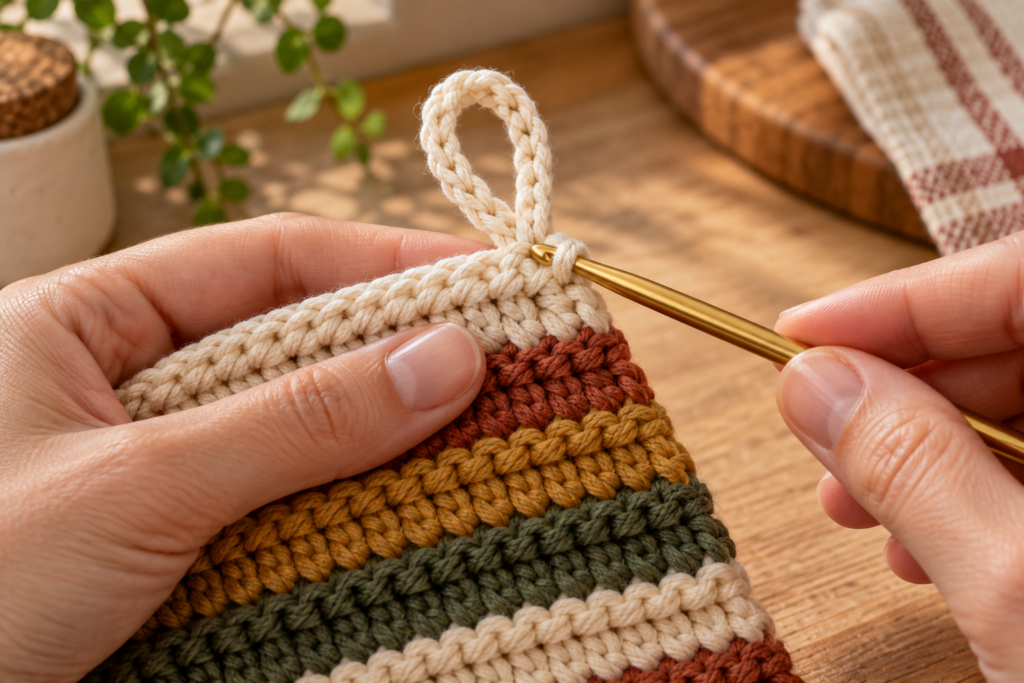
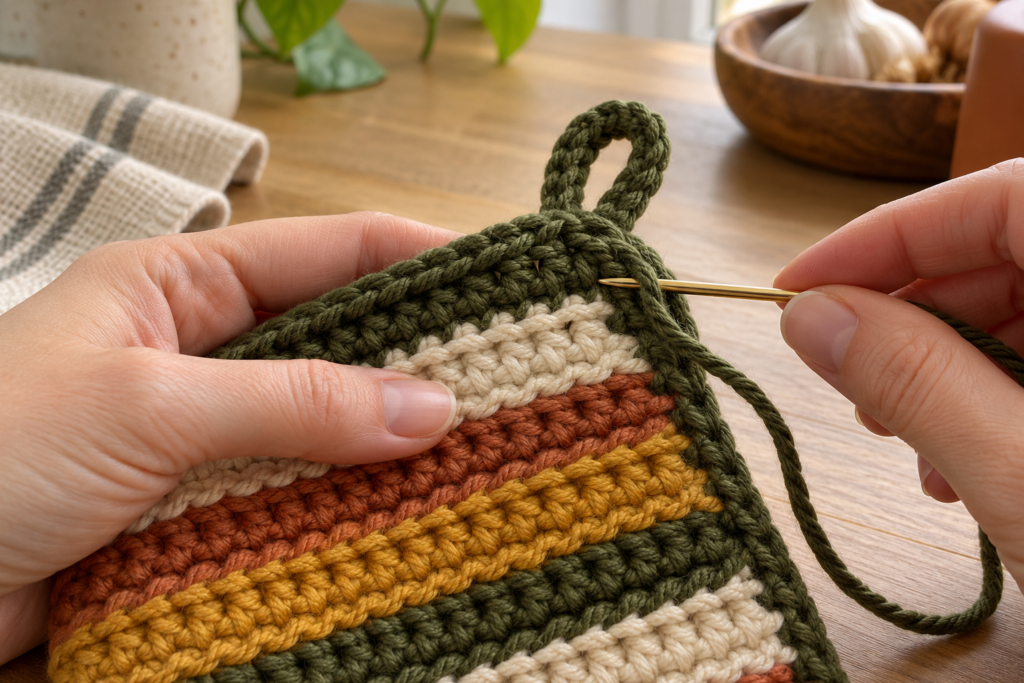
At the final corner, ch 12. Curve the chain back toward the same corner without twisting it, then sl st into the corner stitch to close the loop. Fasten off with a 6-inch (15 cm) tail. Thread the tail through a yarn needle and weave it through several dense stitches in one direction, reverse direction, and weave again before trimming.
For a crisper square, dampen the cotton, press out excess water in a towel, and pin the four corners to the target measurement. Add pins along the sides only if needed. Let the fabric dry completely before removing it. Follow the yarn label for washing and reshape the square while damp after future laundering.
Crochet Potholder Pattern Troubleshooting
Why is the square getting narrower?
The first or last stitch is probably being skipped. Mark both edge stitches and count 33 stitches after every row. The turning chain is not included in that count. If the edge has already narrowed, unravel to the last correct row rather than trying to hide the missing stitches with a border.
Why are the ridges inconsistent?
A smooth ridge appears only when every stitch is worked through the back loop. If the hook passes through both loops, the front loop disappears into the stitch and breaks the horizontal line. Slow down at color changes, where the loops can be harder to distinguish.
Why is the fabric curling?
Mild curling is common in dense back-loop fabric and usually relaxes after blocking. Strong curling may mean the hook is too small or the turning chains are too tight. Try going up 0.5 mm, loosen the first and last stitch, and avoid stretching the yarn as you work.
Easy Ways to Customize the Pattern
- Use one self-striping cotton yarn and let the color changes happen naturally.
- Work two colors in wider four-row blocks for a modern farmhouse look.
- Make two identical panels and single crochet them together for added thickness.
- Omit the loop and use the square as a small cotton trivet.
- Coordinate the palette with handmade placemats or kitchen towels.
- Embroider a small initial in one corner after blocking.
After finishing this crochet potholder pattern, explore more handmade kitchen projects in the Sweet Stitches crochet pattern library, including the pumpkin potholder and the easy crochet coaster pattern.
Crochet Potholder Pattern FAQ
Can a beginner make this potholder?
Yes. You need to know how to chain, single crochet, turn rows, and change color. The back-loop placement is shown in close-up, and the row itself never changes after it is learned.
Can I use acrylic yarn?
Do not use acrylic for a potholder intended near heat. Acrylic is a synthetic fiber that can soften or melt. Choose 100% cotton, make dense fabric, and test the finished thickness carefully before kitchen use.
How do I make the crochet potholder pattern larger?
Add foundation chains until the width suits your goal, then subtract one to find the stitch count for every row. Work until the height matches the new width. Make a gauge swatch first if an exact finished measurement matters.
Do I need a border?
No. Careful edge stitches create a clean finish without a border. If you prefer a framed look, work one round of single crochet after the sample has been measured. Place three stitches in each corner so the edging lies flat.
How much cotton yarn should I buy?
Allow approximately 120-150 yd (110-137 m) total for one single-layer 8-inch square, with extra for swatching and color changes. Actual use depends on the yarn, gauge, stripe plan, and whether you add a second layer or border.
Make the Harvest Stripe Potholder Your Own
Once the test sample is complete, note the yarn brand, hook size, number of rows, final measurements, and heat test results. Those details turn this crochet potholder pattern into a repeatable project you can confidently remake as a coordinated kitchen set or thoughtful handmade gift.
More Sweet Stitches
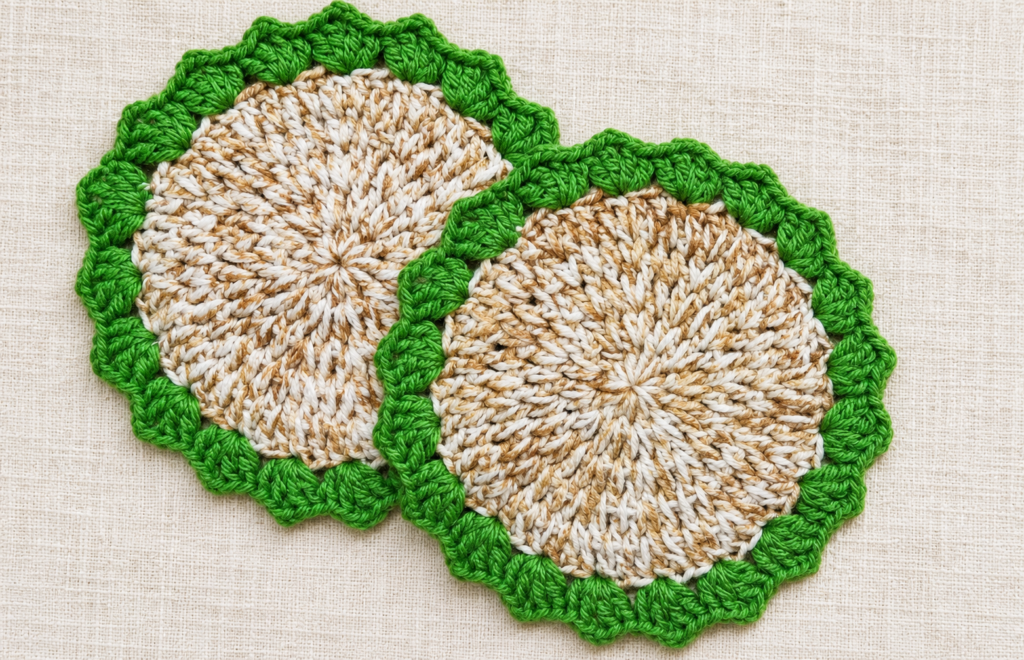
Easy Crochet Coaster Pattern: Sea Grass Style
Make an easy round crochet coaster with cotton yarn, five double-crochet rounds, and a fresh green V-stitch border.
Make this pattern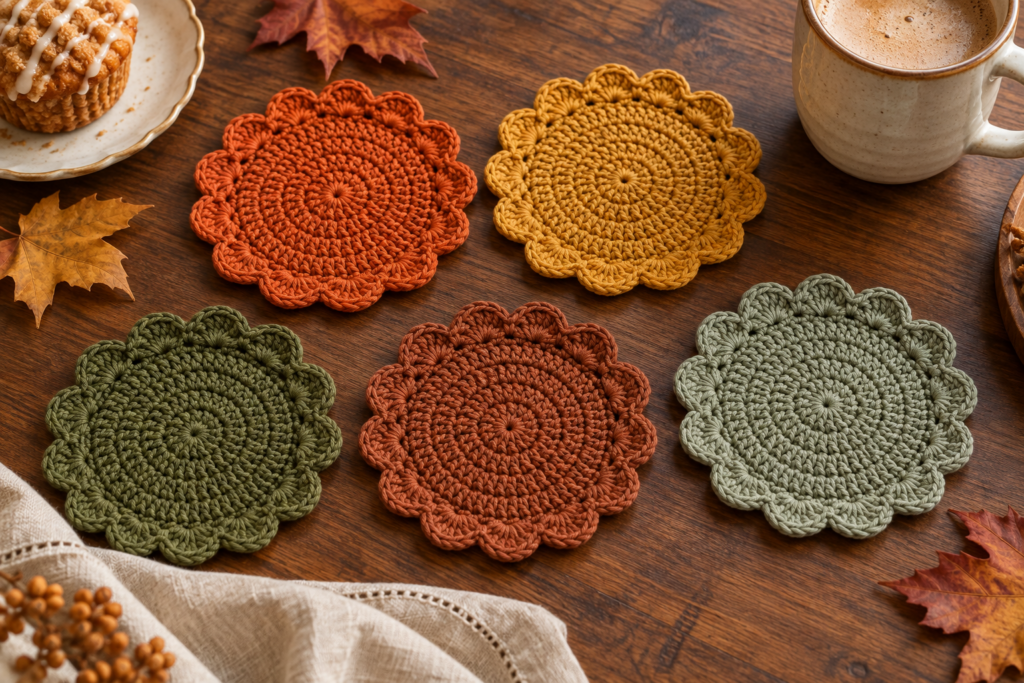
Easy Autumn Crochet Coasters: Free Fall Pattern
Make easy autumn crochet coasters with a flat double-crochet center and a softly scalloped edge. This free fall pattern includes clear US terms and progress photos.
Make this pattern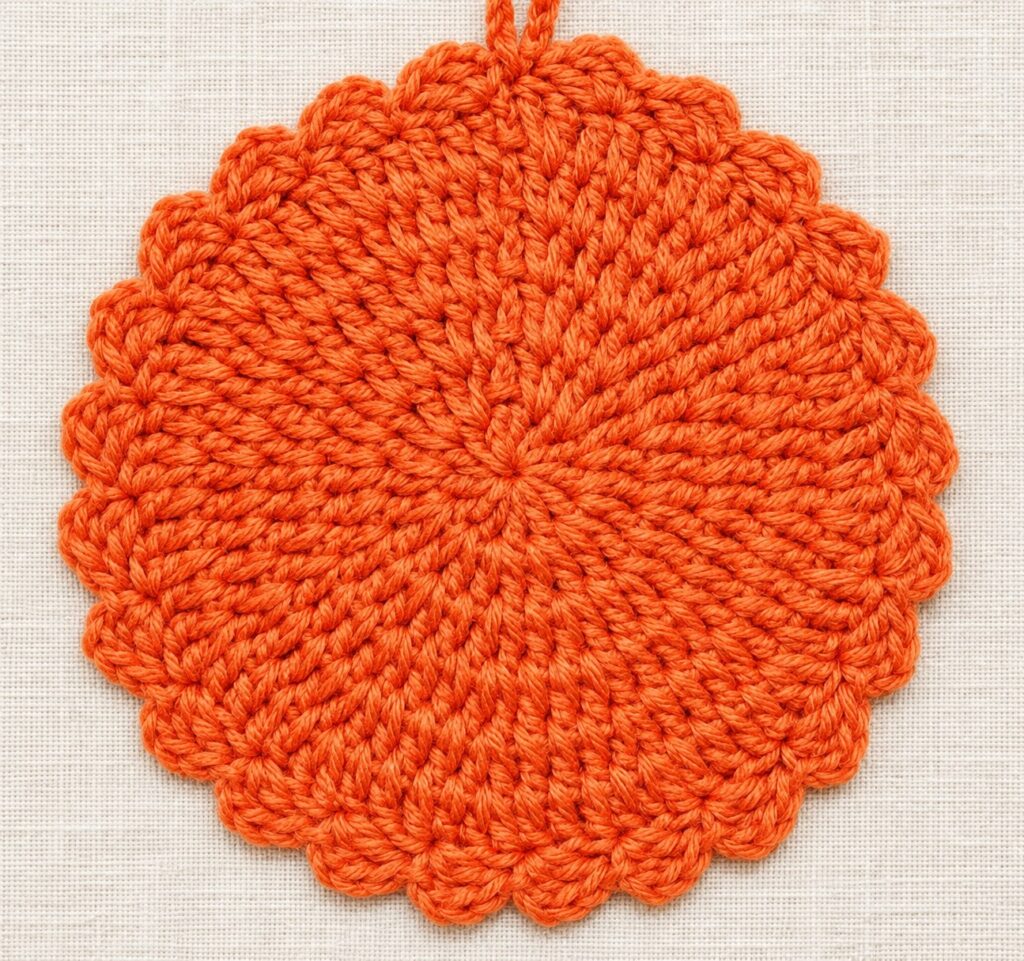
Easy Crochet Pumpkin Potholder: Free Fall Pattern
Crochet an easy 7-inch pumpkin potholder with raised spokes, a scalloped border, and a hanging loop using this free step-by-step fall pattern.
Make this pattern